How to Draw a Cartoon Hawk: Easy Step-by-Step Guide
Ready to bring a majestic bird of prey to life? This tutorial is perfect for young artists ages 6+ looking to master cartoon bird anatomy. Grab your pencil, eraser, and paper, and follow along to build your hawk from simple shapes into a character with personality.
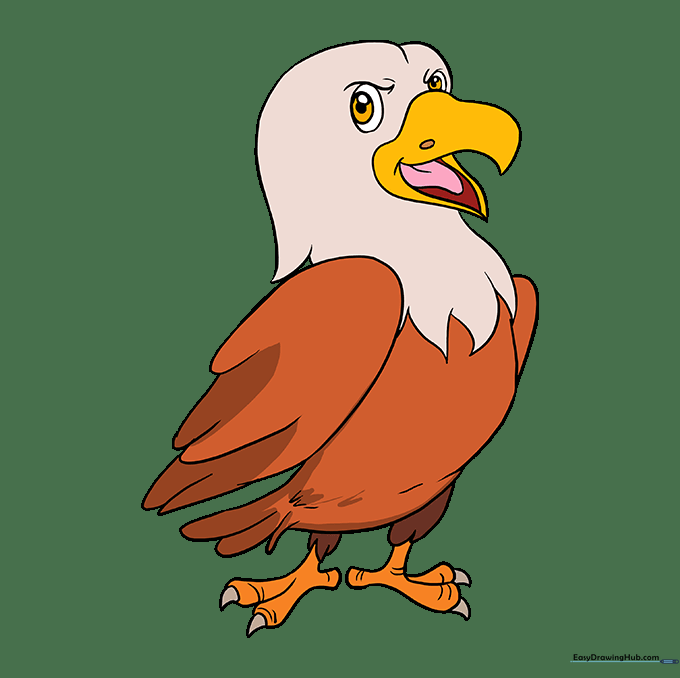
🎯 Final Result
Step-by-Step Instructions
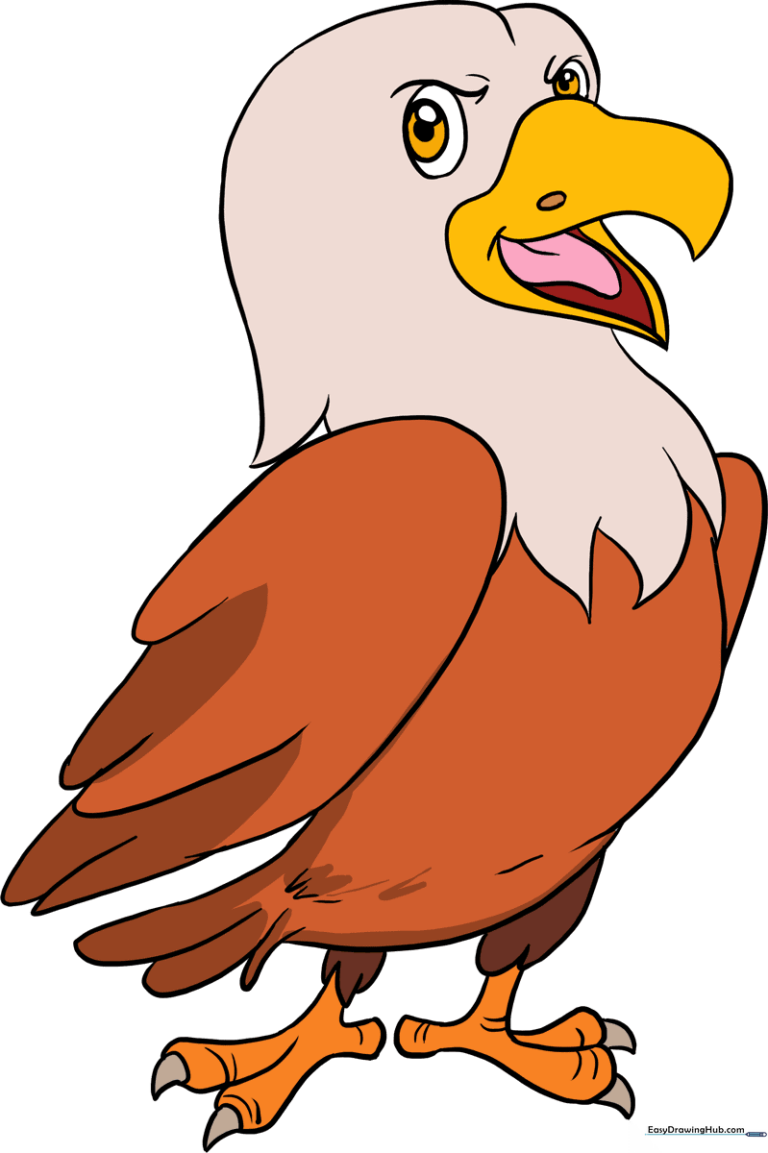
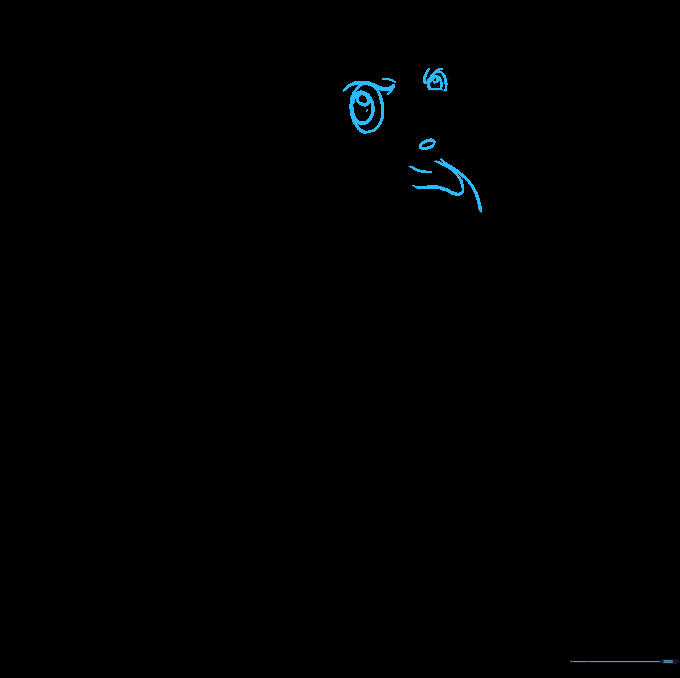
Sketching the Head Shape
Begin by outlining the hawk's head using one long and one short overlapping curved line. Teacher's Tip: Keep your pencil pressure light here; the overlap creates the brow, which gives your hawk its focused, sharp look.
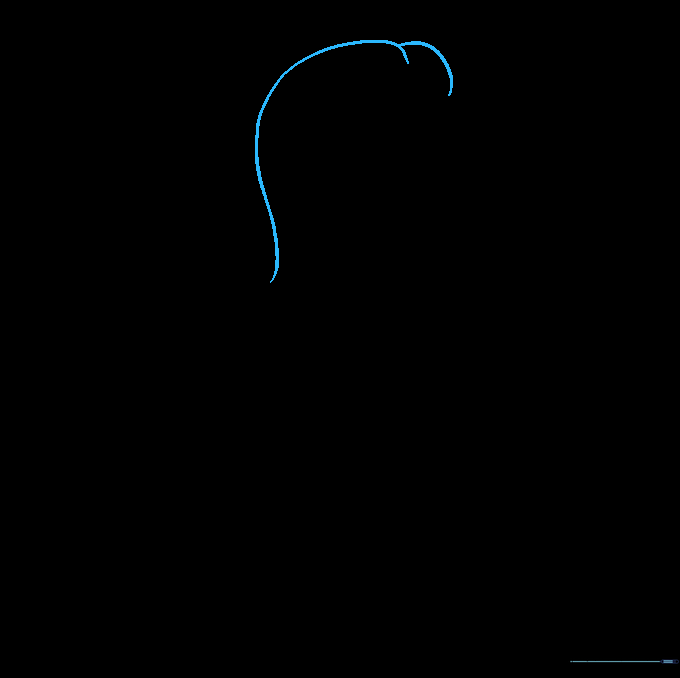
Forming the Sharp Beak
Draw the beak using a series of curved lines that meet at a sharp point. Teacher's Tip: Think of the beak as a hook—keep the curve smooth so it looks strong and ready for action.
Adding Neck Feathers
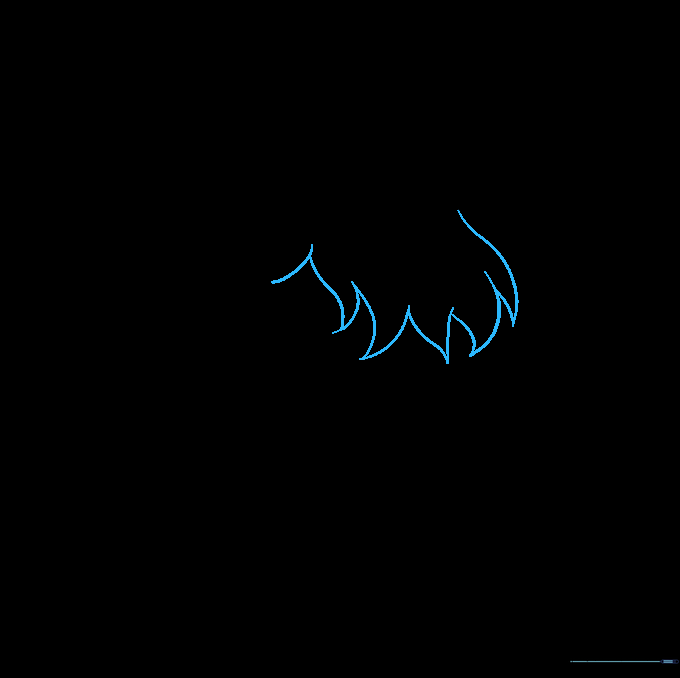
Outline the feathers at the base of the neck using short, jagged, curved lines. Teacher's Tip: Vary the length of your 'v' shapes to make the feathers look natural and fluffy rather than perfectly uniform.
Sketching the Primary Wing
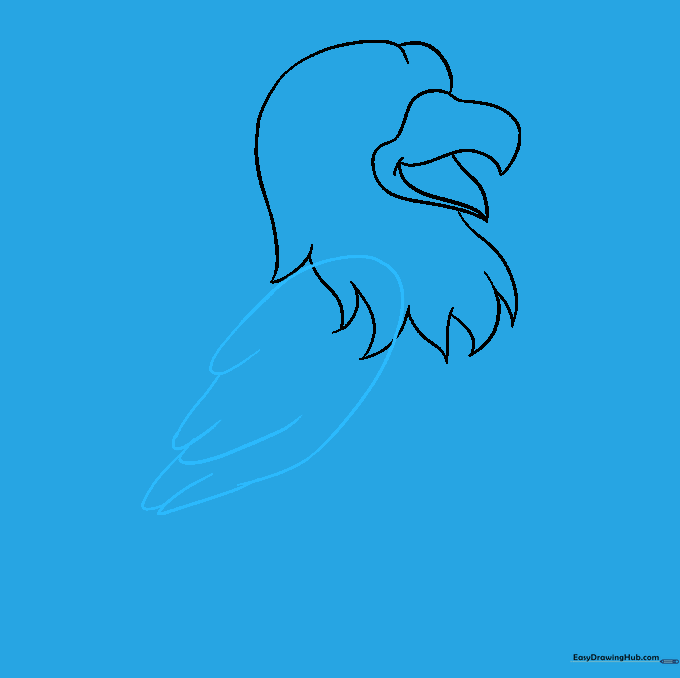
Draw the wing using one long, sweeping curve for the top and shorter, overlapping curves for the flight feathers. Teacher's Tip: Imagine the wing is a fan—the feathers should overlap like shingles on a roof.
Defining the Body and Tail
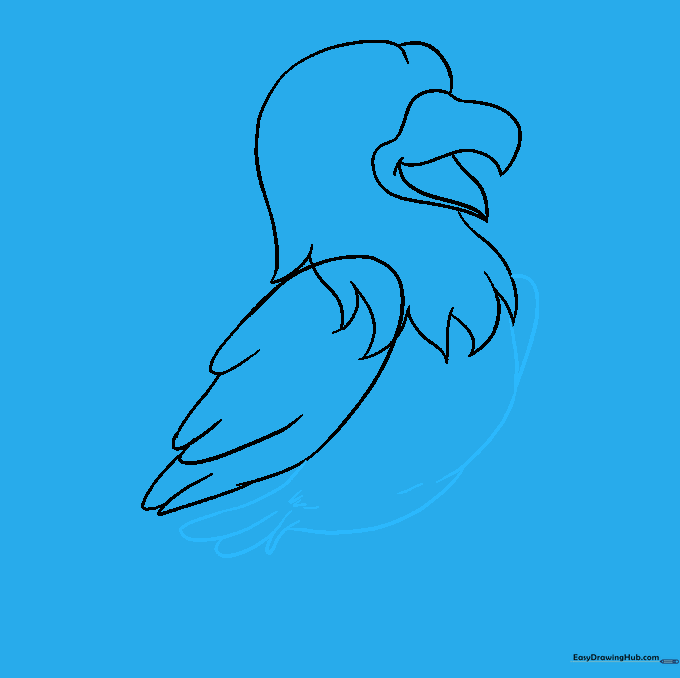
Use long, curved lines to form the chest and belly, then add the tail feathers by doubling back on your lines. Teacher's Tip: Keep the belly line rounded to give your hawk a sturdy, cartoonish build.
Cleaning Up Your Lines

Carefully erase any overlapping guide lines inside the wing. Teacher's Tip: Use a soft eraser and gentle strokes so you don't smudge your work or tear the paper.
Drawing the Legs and Feet
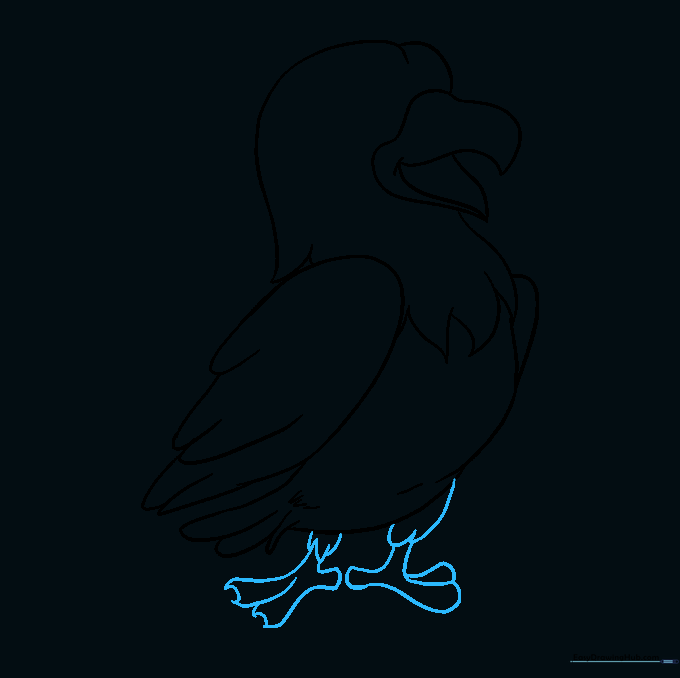
Draw the legs with short, feathery lines and add the toes using curved lines that double back. Teacher's Tip: Give the hawk two toes facing forward and two backward to make it look anatomically correct for a bird of prey.
Adding Sharp Talons
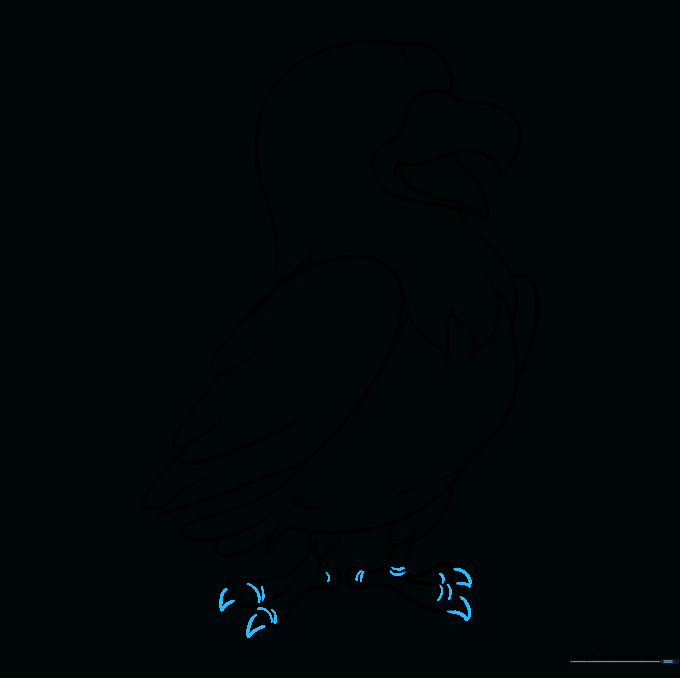
Add triangular talons to each toe and band the toes with small lines. Teacher's Tip: Make the talons slightly curved to emphasize that this is a powerful hunter!
Final Facial Details
Draw the eye with a pupil and a small white gleam, add a nostril to the beak, and sketch the tongue inside the open mouth. Teacher's Tip: The 'gleam' in the eye is what brings your character to life—don't skip it!
Coloring Your Hawk
Bring your hawk to life with colors! Use earthy tones like browns, creams, and oranges. Teacher's Tip: Try using light brown for the belly and darker brown for the wings to create a realistic contrast.
More Tutorials


