How to Draw a Cartoon Hand: Easy 10-Step Guide
Drawing hands is often considered the ultimate challenge for young artists, but this cartoon-style approach makes it approachable and fun. Designed for ages 6 and up, this tutorial requires only a pencil, eraser, and paper. By breaking the hand down into simple shapes, you will build the confidence to draw expressive characters in no time.
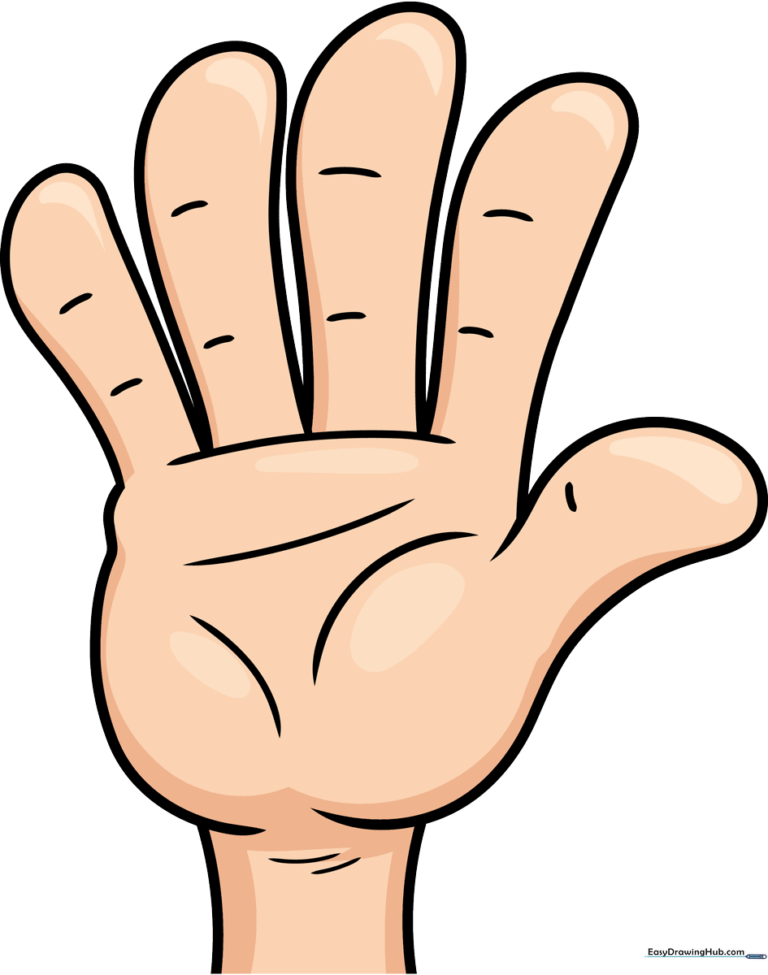
🎯 Final Result
Step-by-Step Instructions
Step 1: Sketching the Palm and Thumb Base
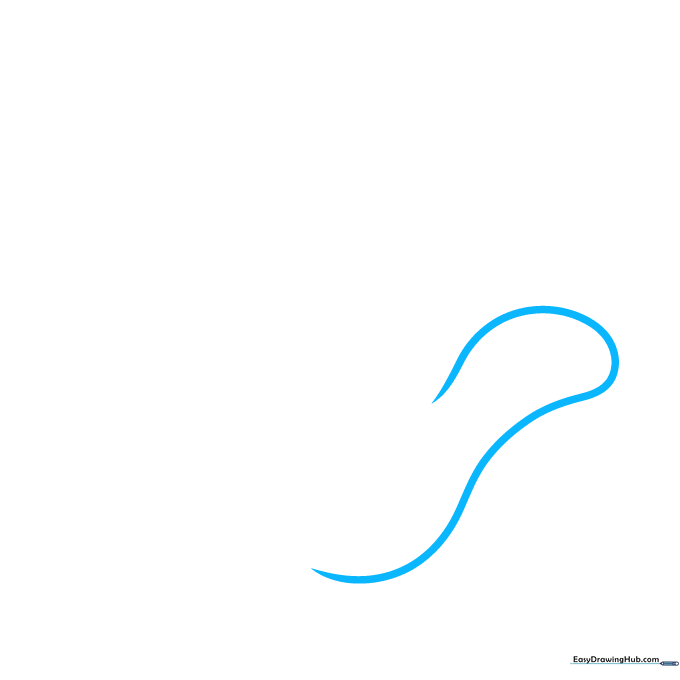
Start by drawing a long, gentle curved line that doubles back on itself to form the side of the palm and the base of the thumb. Teacher's Tip: Keep your pencil pressure light here; these are just guidelines that we will refine later.
Step 2: Defining the Outer Palm
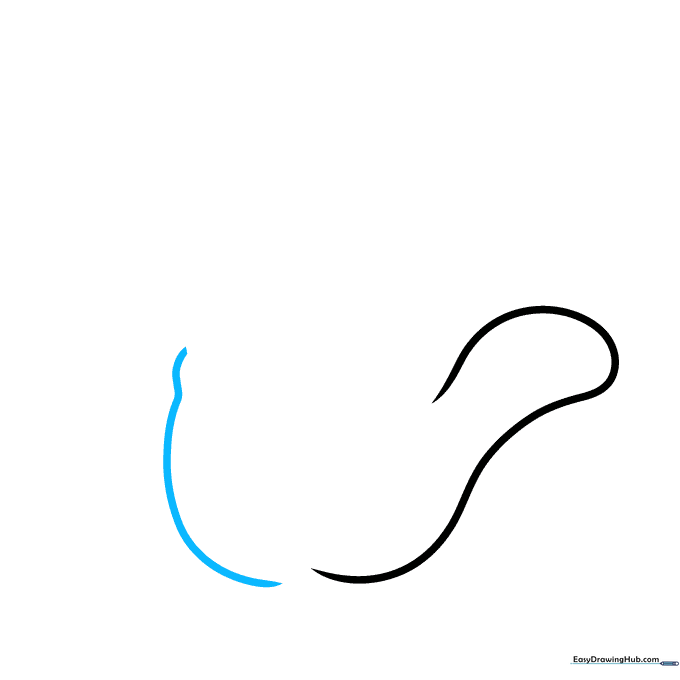
Draw a second curved line for the opposite side of the hand. Add a tiny 'squiggle' near the top to represent the natural curve of the wrist-to-palm transition. Tip: Imagine the hand is resting on a table to help get the angle right.
Step 3: Drawing the Pointer Finger
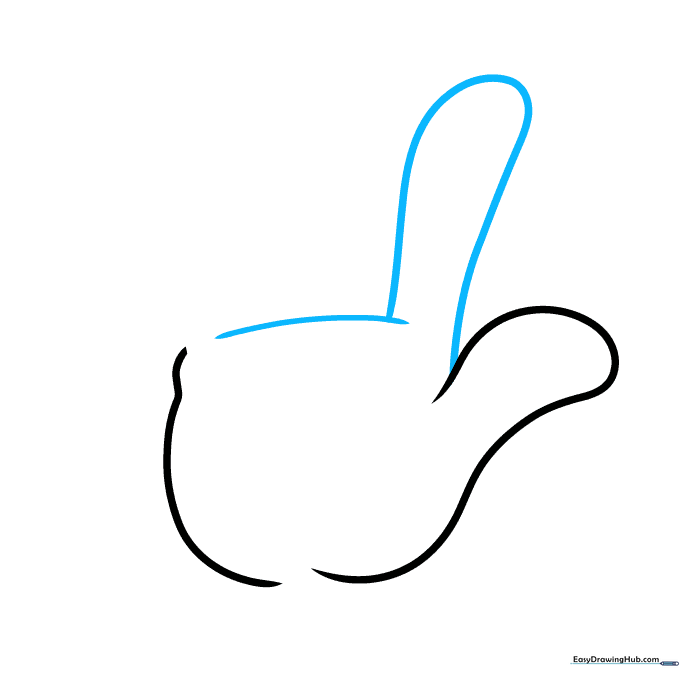
Create a 'U' shaped line for the pointer finger, connecting it to the thumb side. Add a curved line across the top of the palm to anchor the finger. Tip: Ensure the finger isn't too long, or it will look like a glove!
Step 4: Adding the Middle Finger
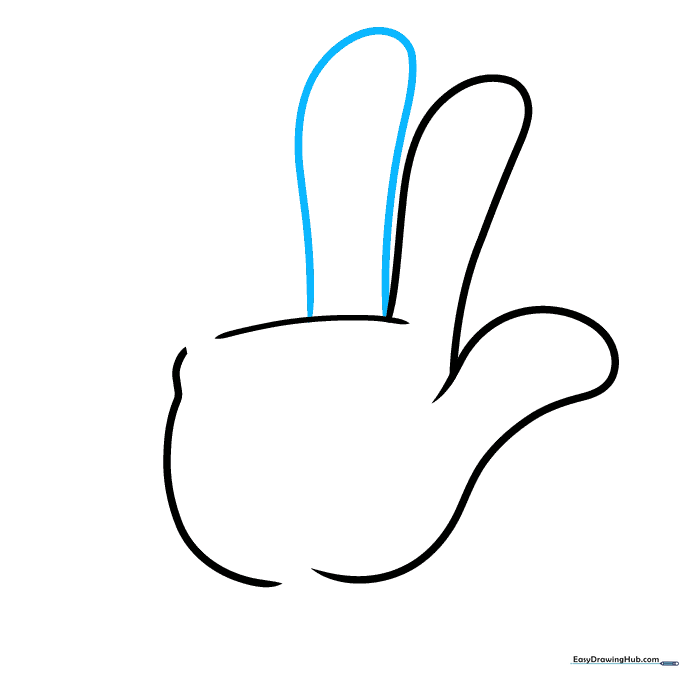
Draw another 'U' shape for the middle finger, connecting both ends to the top of the palm. Tip: Keep the width of this finger consistent with the pointer finger for a clean, cartoon look.
Step 5: Sketching the Ring Finger
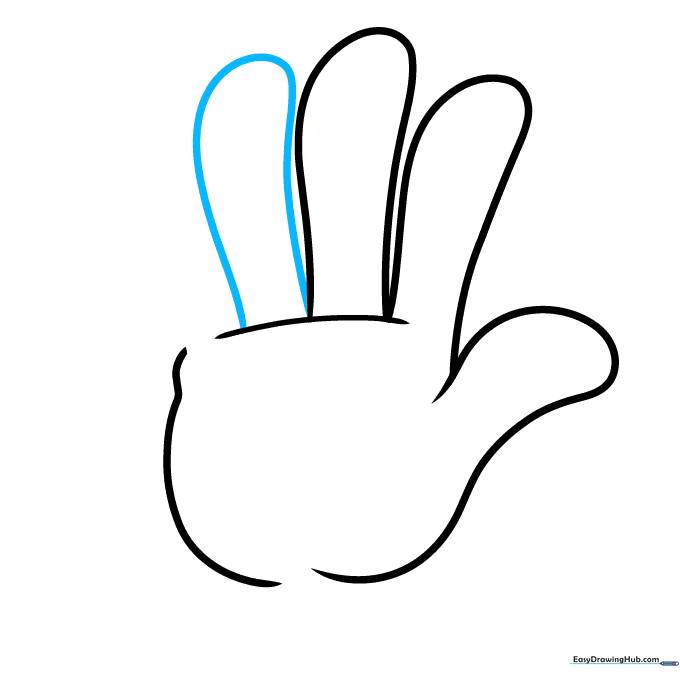
Add a third 'U' shaped line for the ring finger. Tip: Try to space your fingers evenly so the hand looks balanced.
Step 6: Finishing the Pinky and Palm Pad
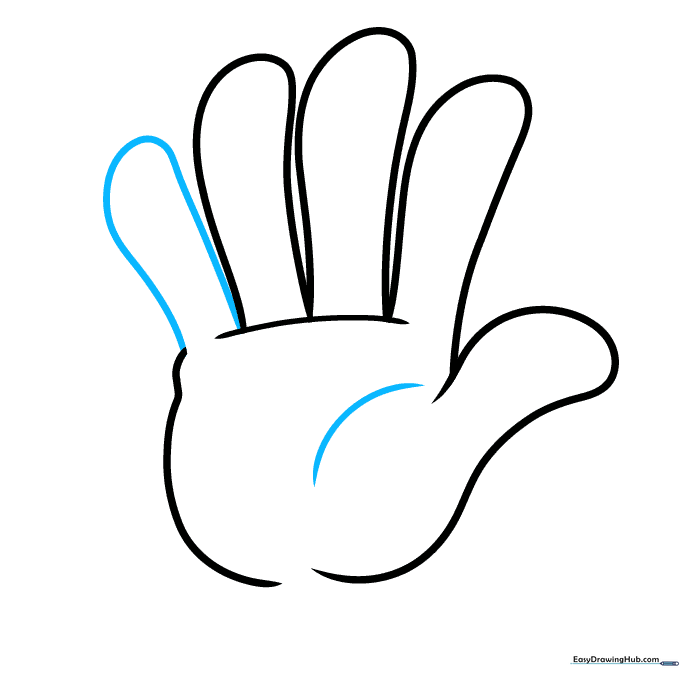
Draw the final 'U' shape for the pinky finger. Then, add a curved line across the palm to define the fleshy pad at the base of the thumb. Tip: This small curve adds 'weight' to the hand, making it look more realistic.
Step 7: Adding Palm Contours
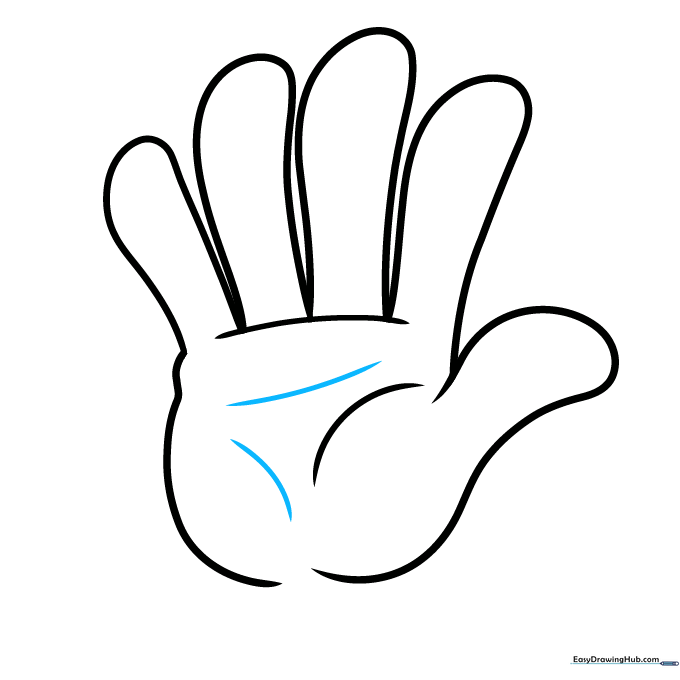
Add two more curved lines across the palm. These represent the natural creases of the skin. Tip: Keep these lines soft and curved, not sharp or jagged.
Step 8: Sketching the Wrist
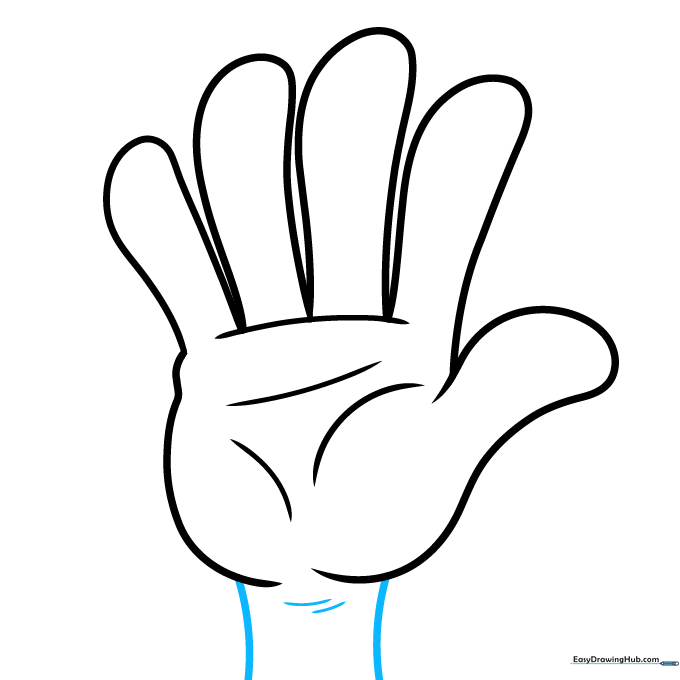
Extend two curved lines from the bottom of the palm to form the wrist. Add two short, curved lines on the wrist to show the skin folding. Tip: Think of the wrist as a cylinder connecting the hand to the arm.
Step 9: Adding Knuckle Detail
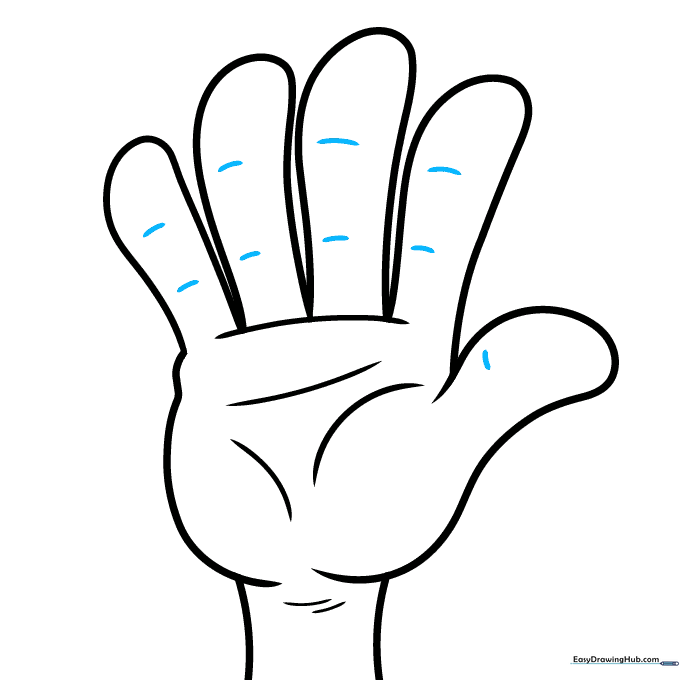
Detail the fingers by drawing a short line across each knuckle—one on the thumb and two on each finger. Tip: These small details make the hand look much more expressive.
Step 10: Final Coloring
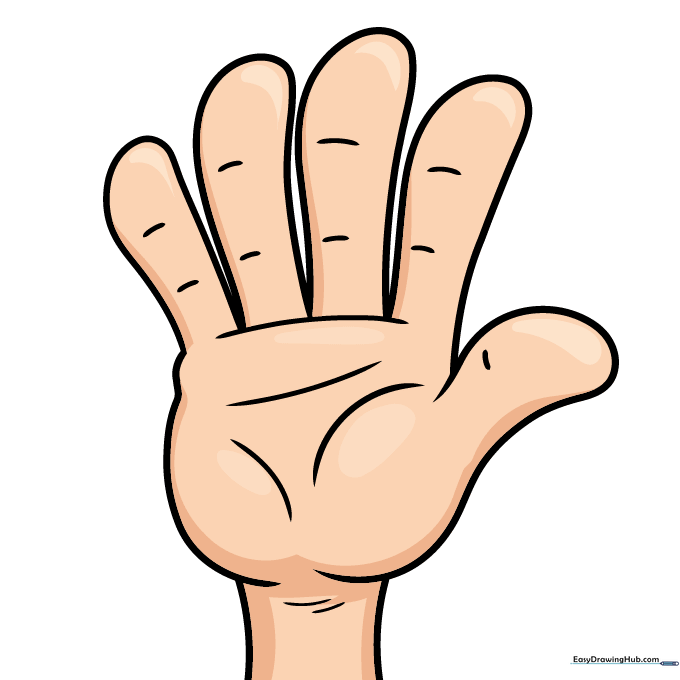
Your cartoon hand outline is ready! Use colored pencils to fill it in. Tip: Try using a lighter shade for the palm and a slightly darker shade for the shadows to give your drawing a 3D effect.
More Tutorials


