How to Draw a Cartoon Forest: Easy 20-Step Guide
Ready to build your own woodland world? This tutorial is perfect for young artists ages 6+ looking to master landscape composition. You’ll only need a pencil, an eraser, and some paper to bring this forest to life. Follow along to learn how to layer trees and create depth in your drawings.
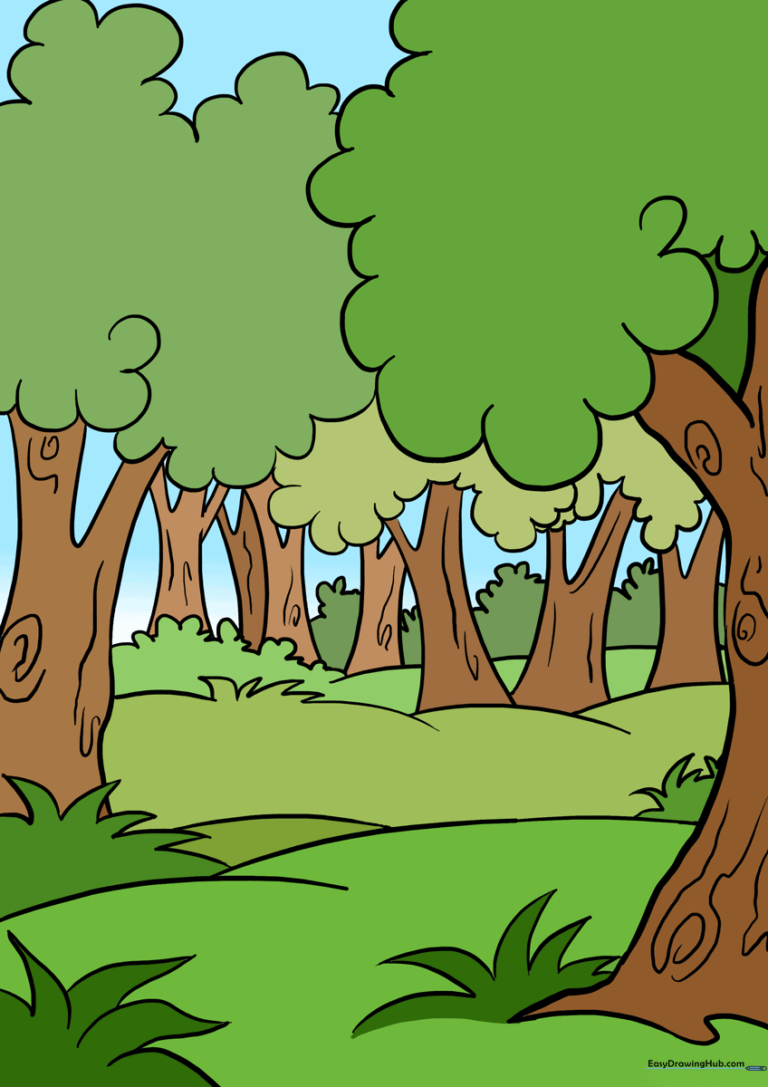
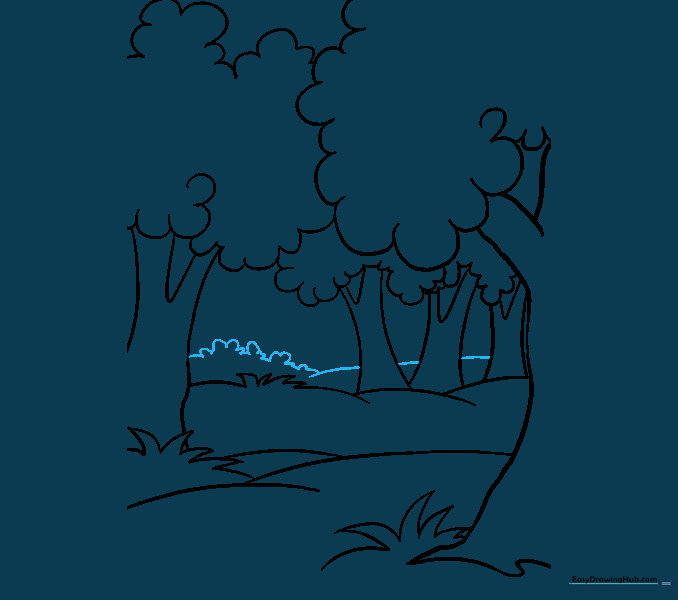
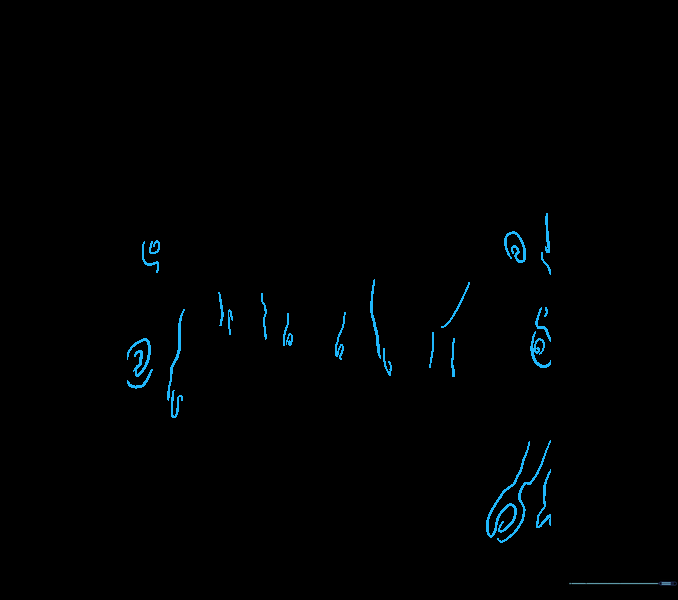
🎯 Final Result
Step-by-Step Instructions
Step 1: Sketching the First Trunk
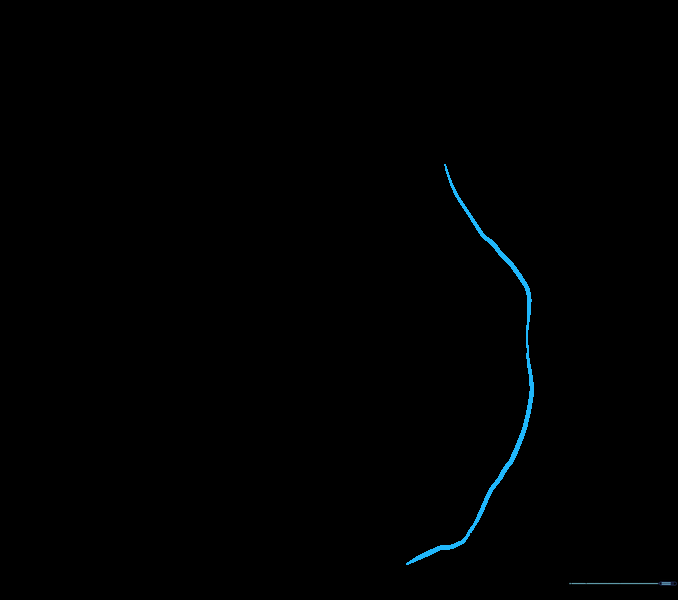
Draw a gentle, curved line to outline the trunk of your first tree. Tip: Keep the curve soft to give the tree a natural, organic feel.
Step 2: Adding Roots and Branches
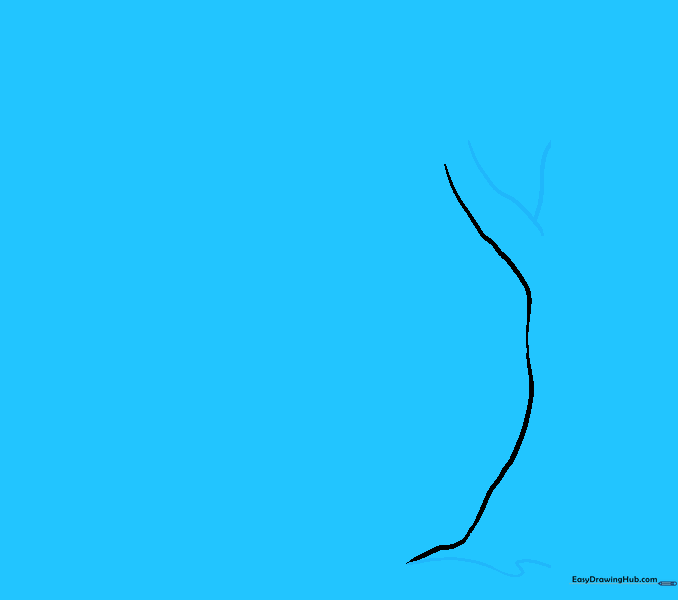
Draw an 'S' shaped line for the roots and a 'Y' shape at the top for the branches. Tip: Don't worry about perfect symmetry; trees in nature are wonderfully irregular!
Step 3: Creating the Foliage
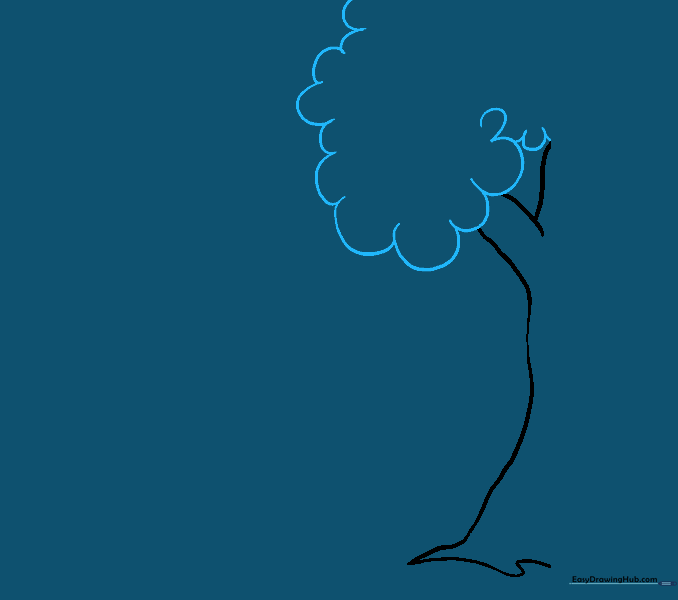
Use a series of connected, rounded 'U' shapes to enclose the leaves. Tip: Vary the size of your 'U's to make the tree look fluffy and full.
Step 4: Establishing the Ground
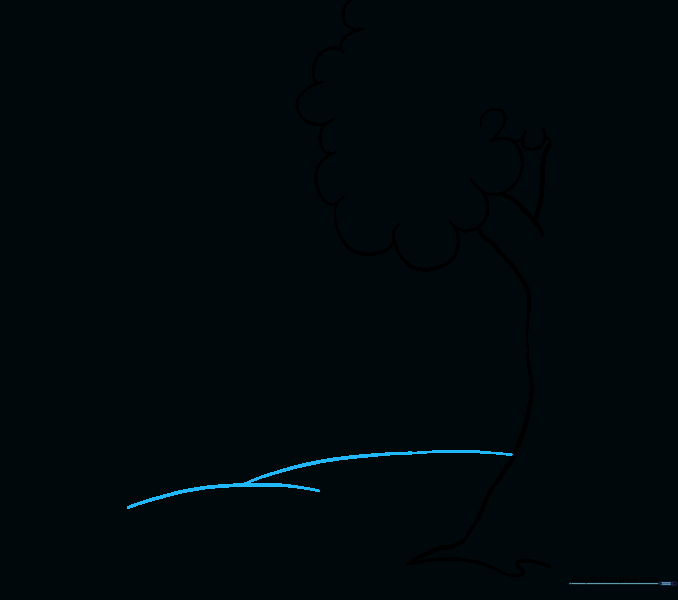
Draw a curved line from the trunk to the edge of your paper to create the horizon. Tip: A gentle curve makes the ground look like a rolling hill.
Step 5: Adding Grass Tufts

Draw small, sharp, pointed lines at the base of the tree to create grass. Tip: Make these lines different heights to keep it looking natural.
Step 6: Expanding the Landscape

Add more grass and extend the ground line. Tip: Use long, sweeping curves to lead the eye across the page.
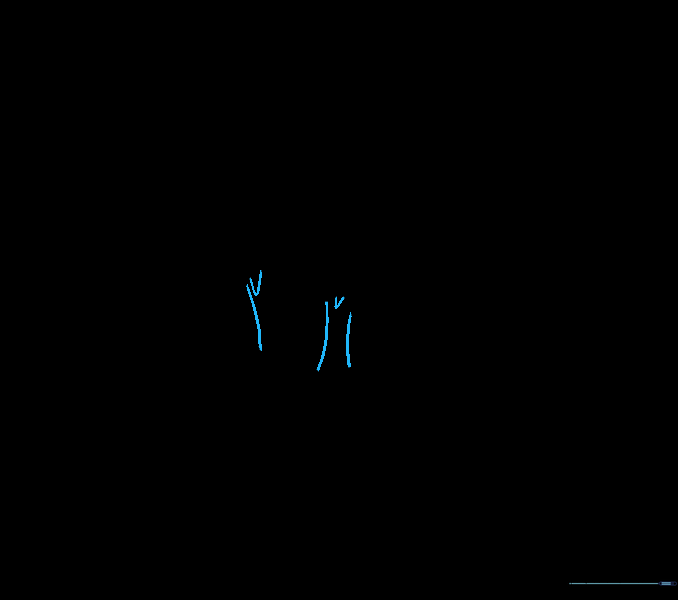
Step 7: Adding a Second Tree
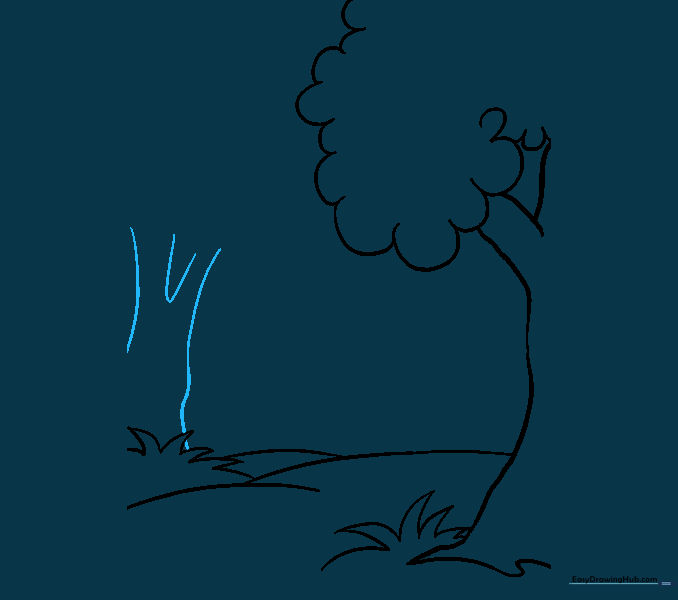
Draw a second trunk in the background using parallel lines. Tip: Draw this one slightly smaller to show it is further away.
Step 8: Foliage for the Second Tree
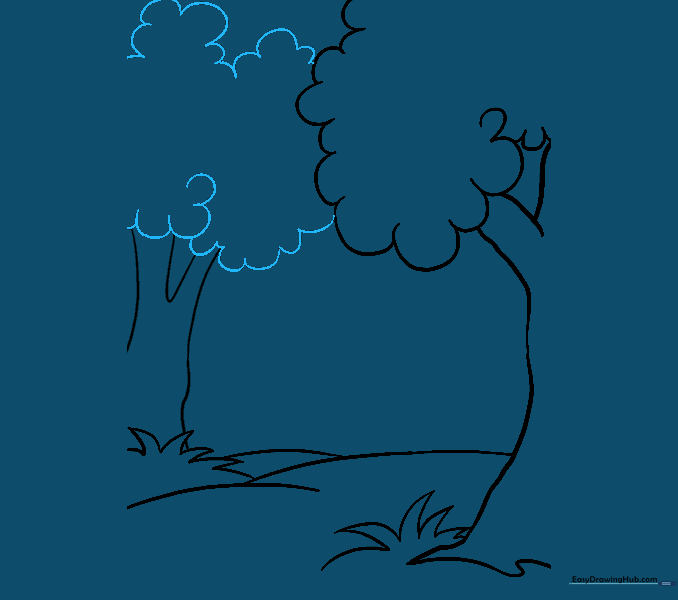
Add the leaves using the same 'U' shape method. Tip: Let some of the 'U' shapes overlap the trunk to make it look like the branches are in front.
Step 9: Horizon Details
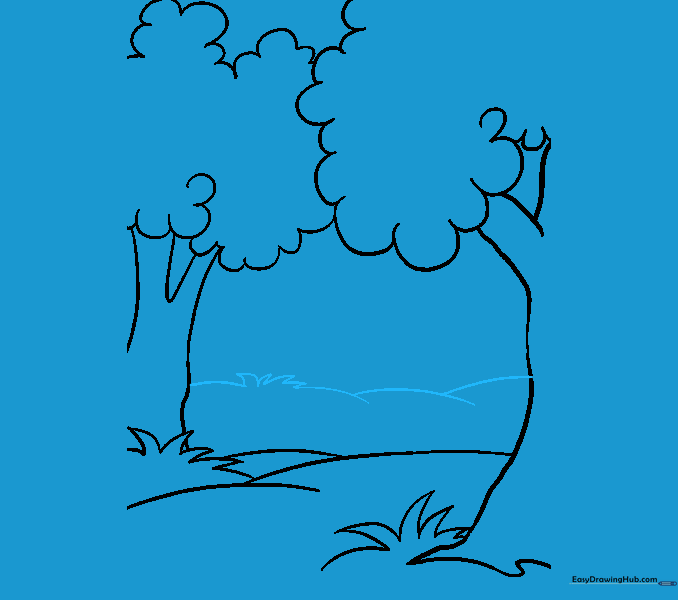
Draw a horizon line and more grass. Tip: Keep these lines faint so they don't distract from your main trees.
Step 10: Adding a Third Tree
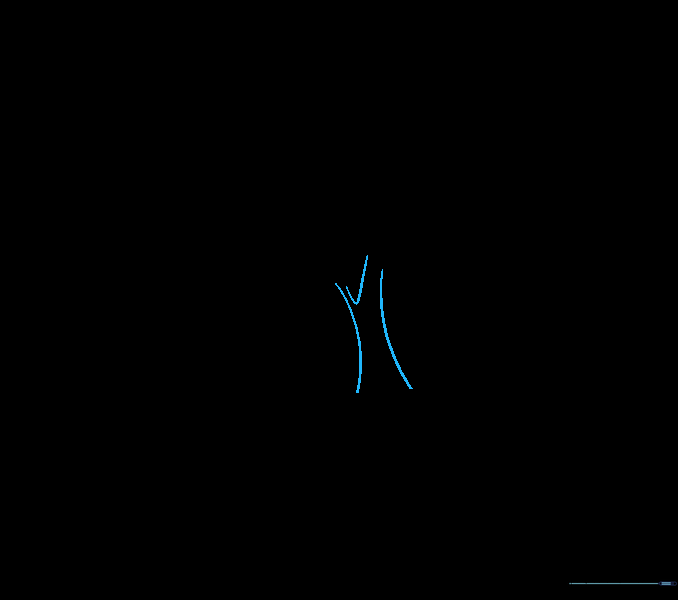
Draw another trunk with a checkmark-shaped branch split. Tip: Vary the height of your trees to make the forest look realistic.
Step 11: Foliage for the Third Tree

Enclose the leaves with 'U' shapes. Tip: Try to make this tree's shape slightly different from the others.
Step 12: Adding a Fourth Tree

Repeat the trunk and foliage process for a fourth tree. Tip: Keep your pencil pressure light until you are happy with the placement.
Step 13: Adding a Fifth Tree

Draw another trunk and a 'V' shaped branch. Tip: Use a 'V' shape for a sharper, more angular branch look.
Step 14: Background Hills and Bushes
Draw rolling hills and small bushes in the distance. Tip: Use smaller, tighter 'U' shapes for bushes to show they are further away.
Step 15: More Background Trees
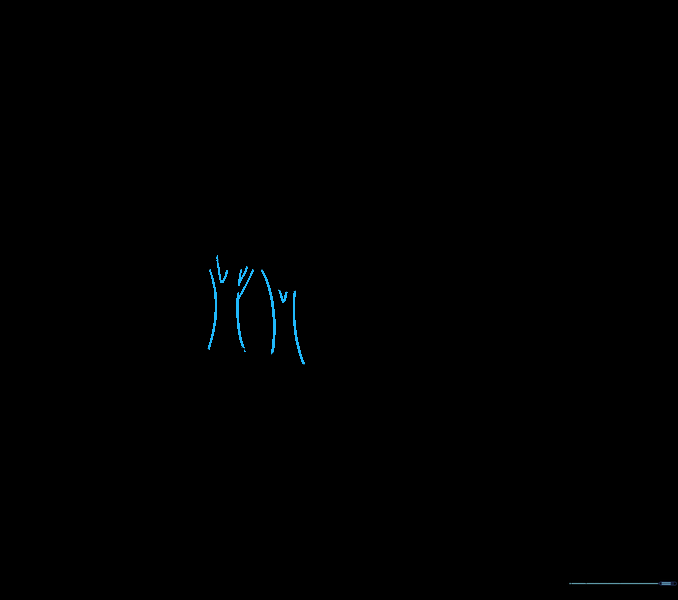
Add even more trees in the far distance. Tip: Just draw the tops of the trunks to suggest a dense forest.
Step 16: Layering Trees
Add trees that look partially hidden behind others. Tip: This layering technique is the secret to making your drawing look 3D!
Step 17: Adding Undergrowth

Fill in the gaps with more bushes. Tip: Use small, quick strokes to make the bushes look leafy.
Step 18: Final Ground Details

Add final grass tufts in the foreground. Tip: Make these the largest and most detailed to show they are closest to the viewer.
Step 19: Adding Bark Texture
Add swirling lines to the trunks to represent bark. Tip: Keep these lines thin and irregular to mimic real wood texture.
Step 20: Color Your Forest

Bring your forest to life with color! Tip: Use light green for the leaves and brown for the trunks, adding a bit of darker brown on one side of the trunk to create a shadow effect.
More Tutorials


