How to Draw a Cartoon Football: Easy 9-Step Guide
Ready to score a touchdown in your sketchbook? This tutorial is perfect for young artists ages 5 and up. All you need is a pencil, an eraser, and some paper to create your own sports-themed masterpiece.
🎯 Final Result

Step-by-Step Instructions
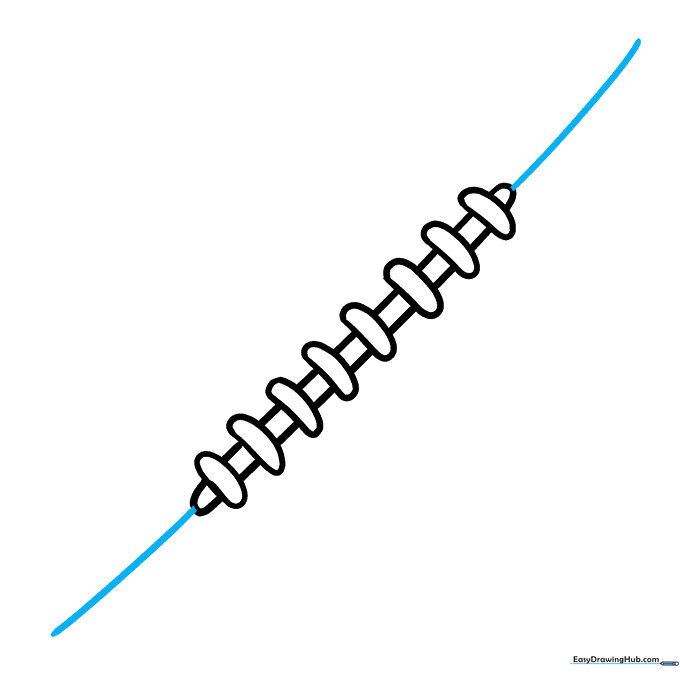
Step 1: Sketching the Stitching Base
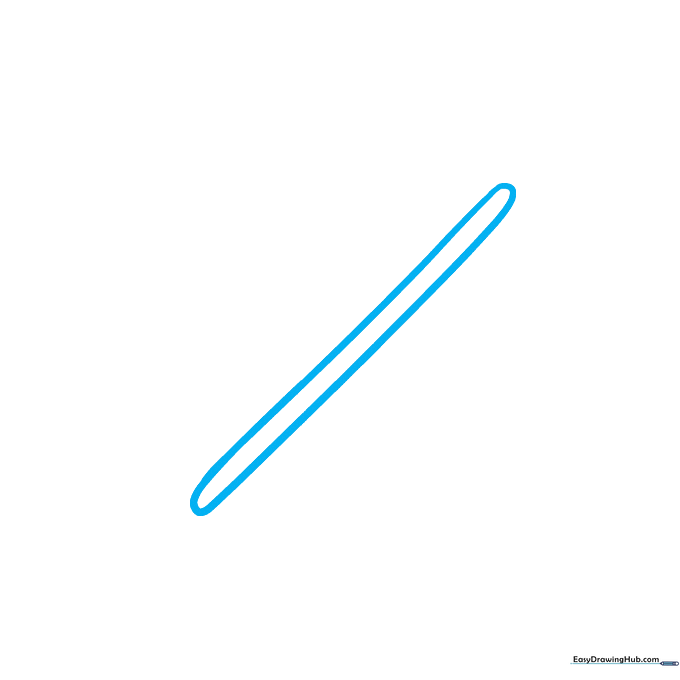
Start by drawing two straight, parallel lines. Connect them at both ends to create a long, thin rectangle. Teacher's Tip: Keep your pencil pressure light so you can easily adjust the shape later if needed.
Step 2: Adding the First Stitches
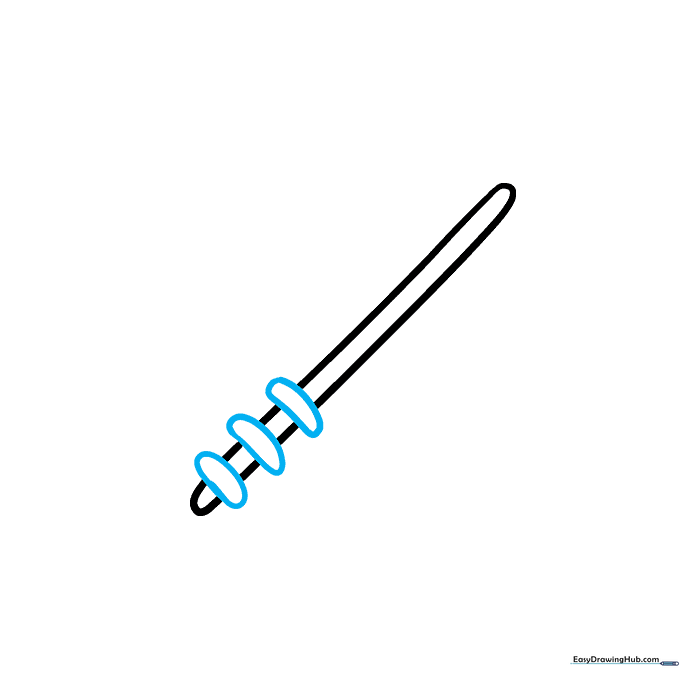
Draw small, curved shapes across your parallel lines. Teacher's Tip: Think of these as little 'U' shapes resting on the seam; don't worry if they aren't perfect, as football laces are organic and slightly uneven.
Step 3: Continuing the Laces
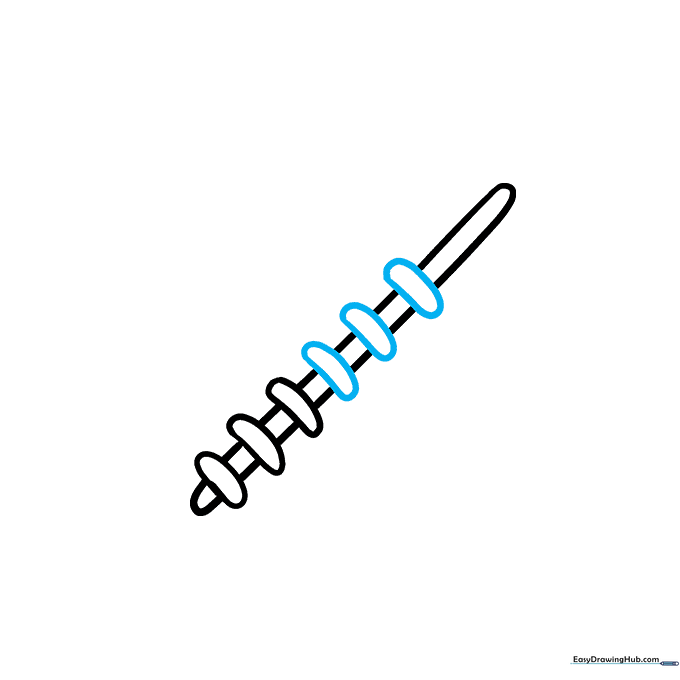
Add more curved, rectangular shapes along the center. Teacher's Tip: Use your eraser to clean up any overlapping lines inside the stitches to make them look like they are sitting on top of the ball.
Step 4: Finishing the Stitching
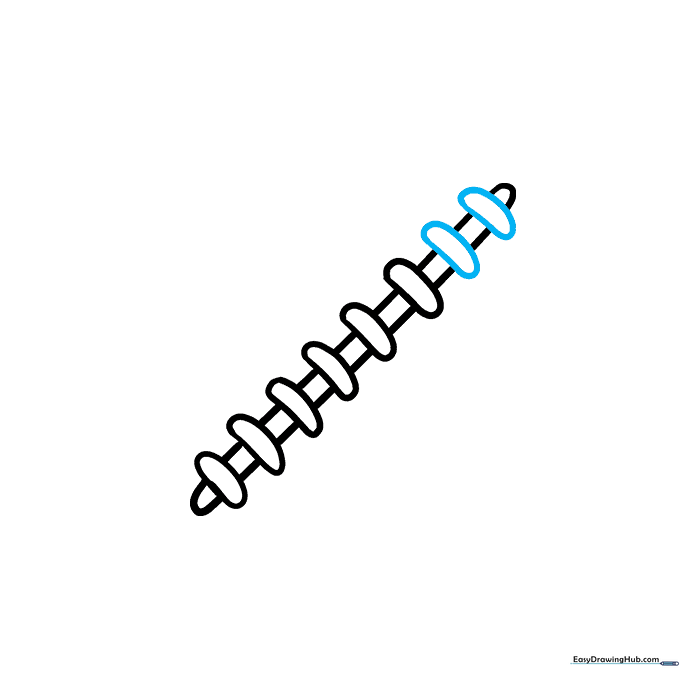
Fill in the remaining space between your parallel lines with more stitches. Teacher's Tip: Try to keep the spacing between each stitch consistent for a professional, clean look.
Step 5: Defining the Seam
Draw a gently curved line extending from each end of your stitching area. Teacher's Tip: These lines act as the 'spine' of the ball, so make sure they curve outward slightly to suggest volume.
Step 6: Outlining the First Side
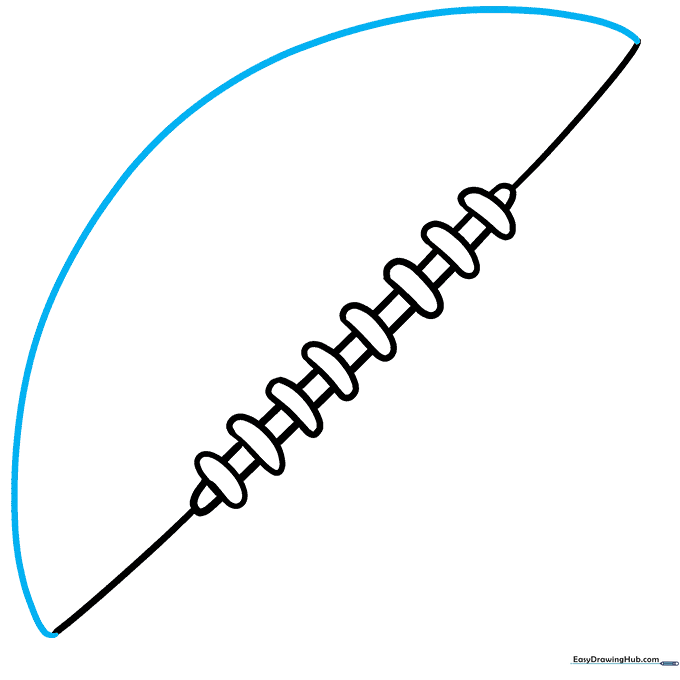
Connect the ends of your seam lines to form a partial circle or oval shape. Teacher's Tip: Imagine you are drawing a large almond shape; this helps maintain the classic football silhouette.
Step 7: Completing the Football Shape
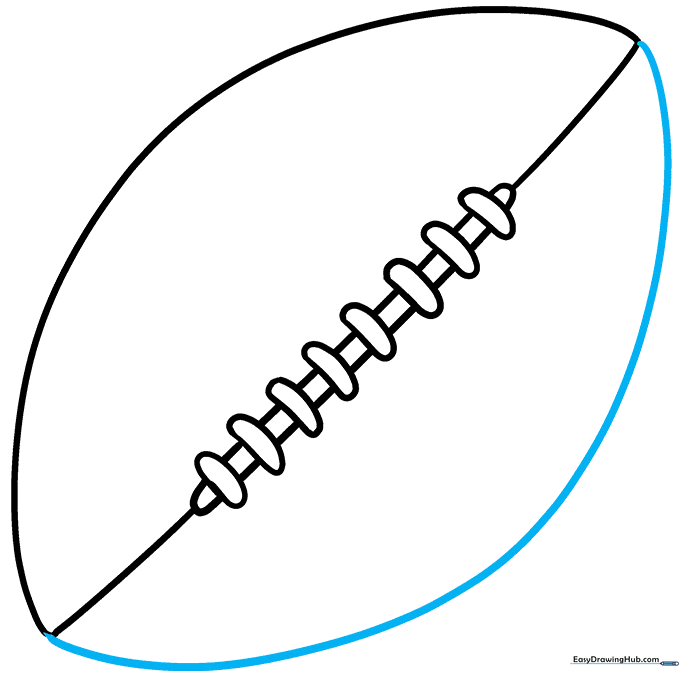
Mirror your previous step on the bottom to enclose the football. Teacher's Tip: If the ball looks a bit lopsided, don't worry! Real footballs are often handled and slightly squashed, so a little character adds charm.
Step 8: Adding the First Stripe
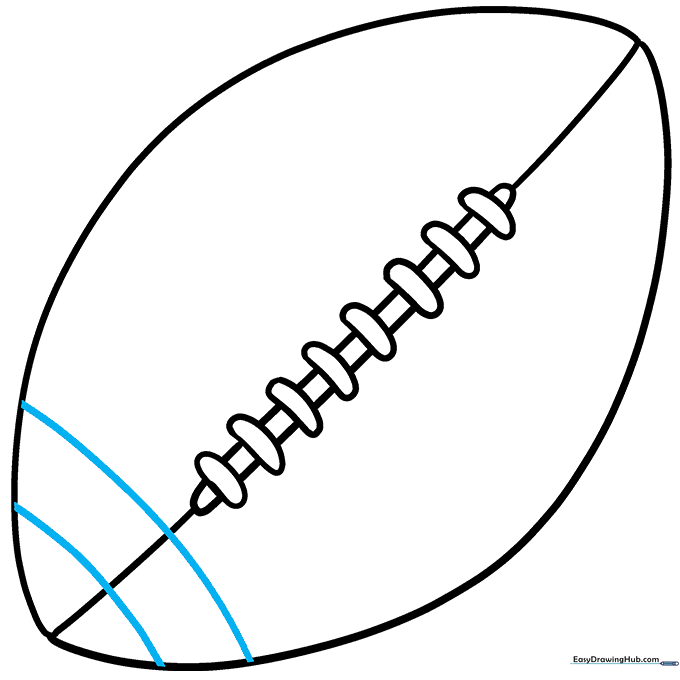
Draw two curved lines near one of the pointed ends to create a decorative stripe. Teacher's Tip: Make sure the lines follow the curve of the ball's end to make it look like it's wrapping around the surface.
Step 9: Adding the Final Stripe
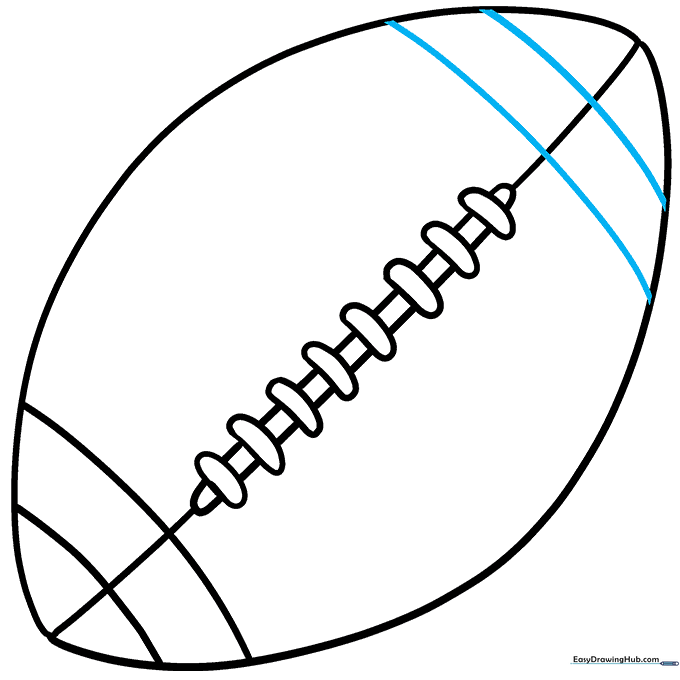
Repeat the stripe process on the opposite end of the football. Teacher's Tip: You've now finished the outline! Use a black marker to trace your final lines before erasing your pencil marks for a clean, professional look.
Step 10: Bring Your Football to Life with Color

Time to color! Use classic brown for the leather, white for the stripes and laces, or get creative with your favorite team's colors. Teacher's Tip: Use light pressure with your crayons to create a smooth, even texture.
More Tutorials


