How to Draw a Cartoon Flame: Easy 10-Step Guide
Ready to add some heat to your artwork? This tutorial is perfect for young artists ages 5+ looking to master stylized fire shapes. All you need is a pencil, an eraser, and your favorite markers to bring this dancing flame to life.
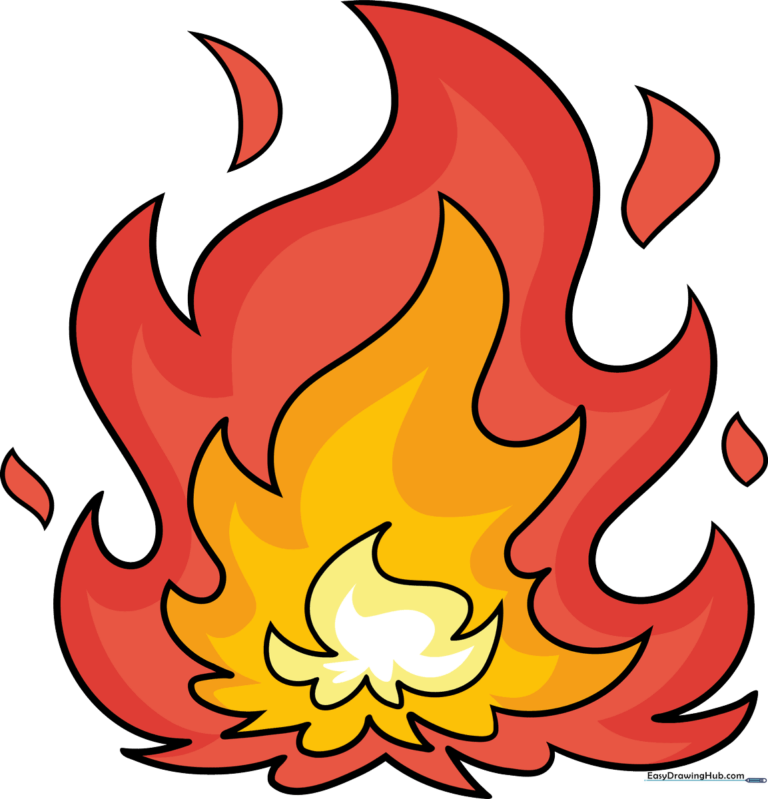
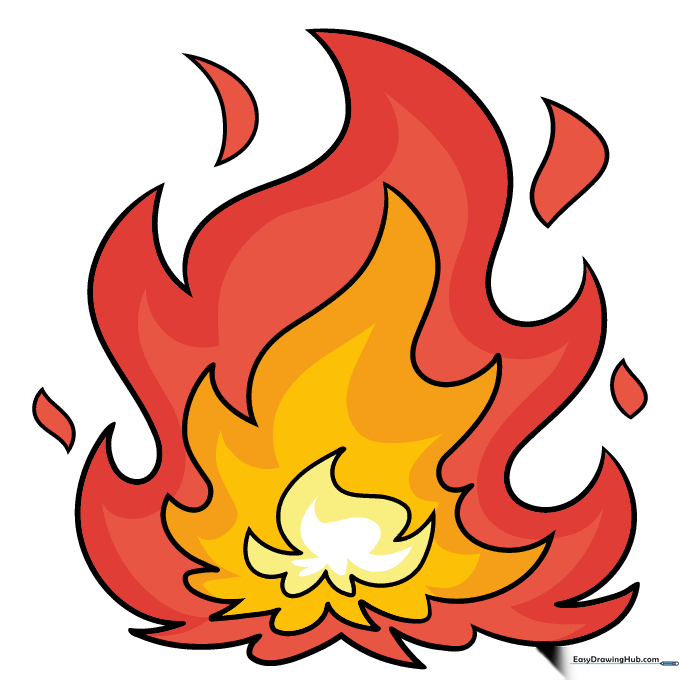
🎯 Final Result
Step-by-Step Instructions
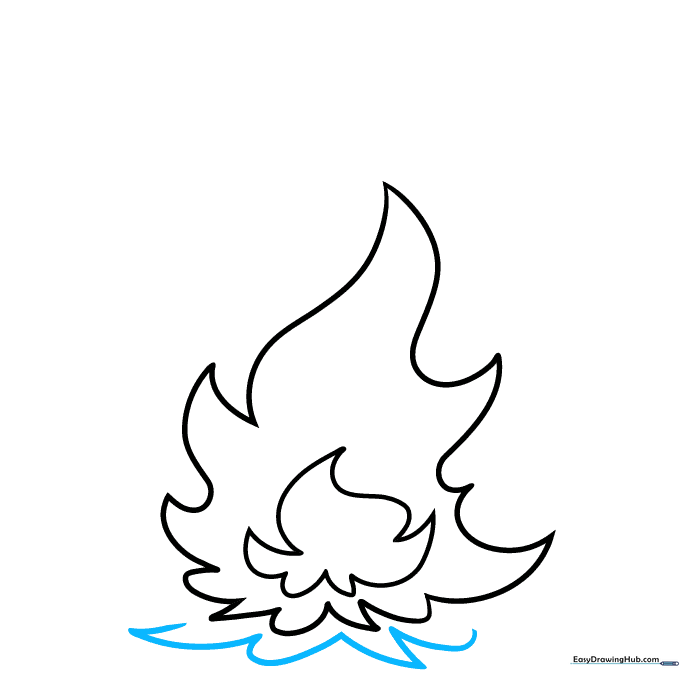
Step 1: Sketching the Base
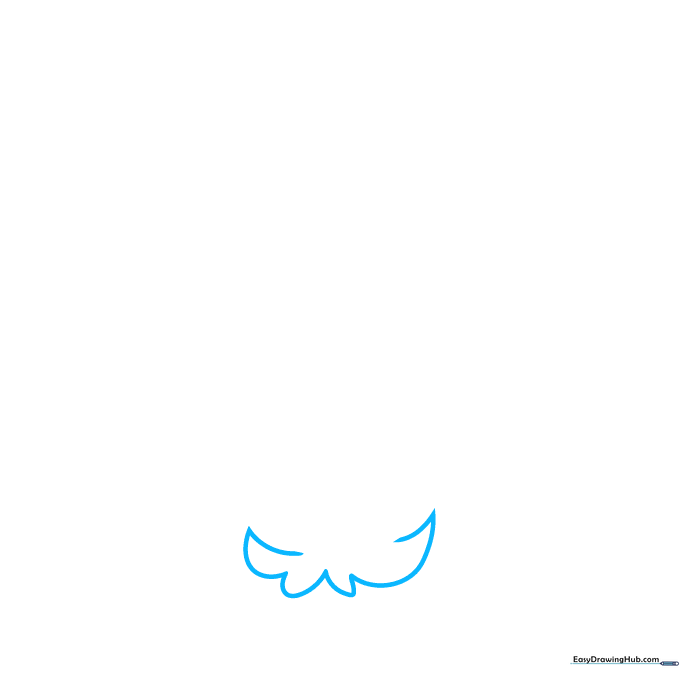
Start by drawing two curved lines that meet at a sharp point at the top. Connect them at the bottom with a soft 'U' shape. Teacher's Tip: Keep your lines fluid—fire is always moving, so don't worry about making it perfectly symmetrical!
Step 2: Adding Inner Flames
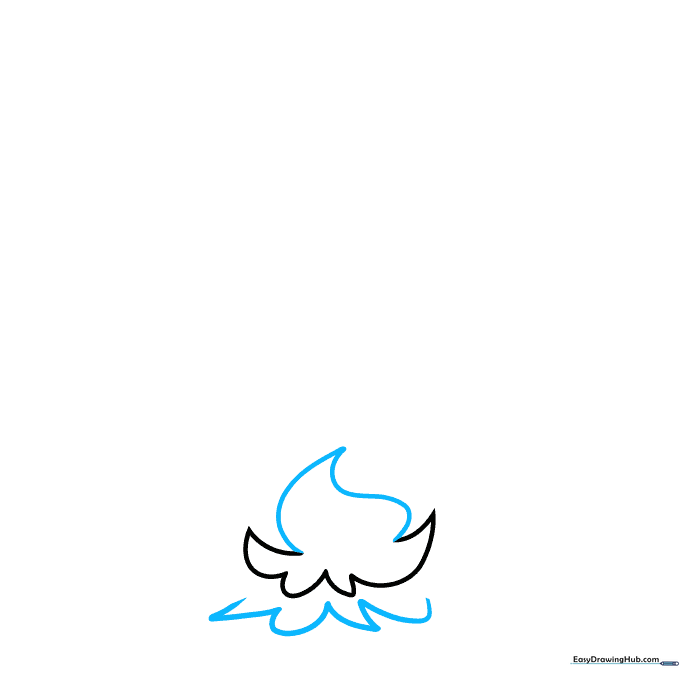
Extend two more curved lines from the top opening to create a smaller inner flame. Below, add a series of 'U' shapes to create the base layer. Tip: Think of these as little waves crashing upward.
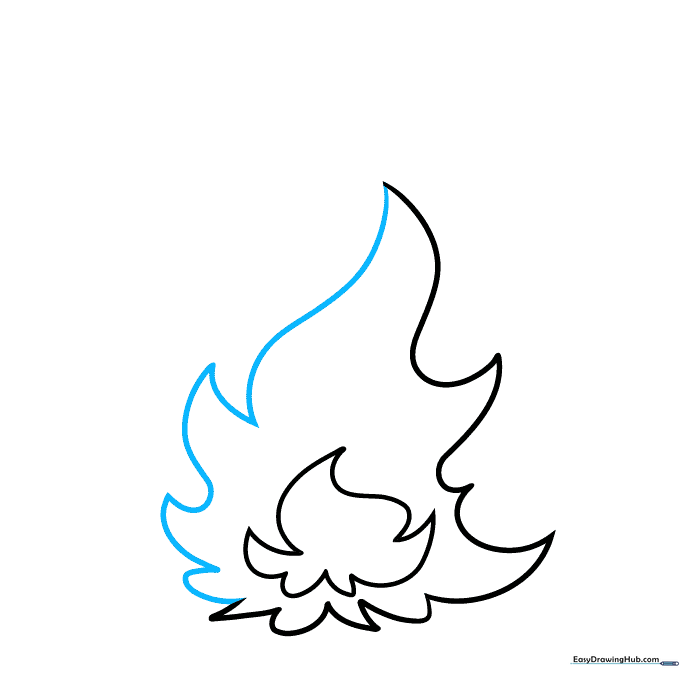
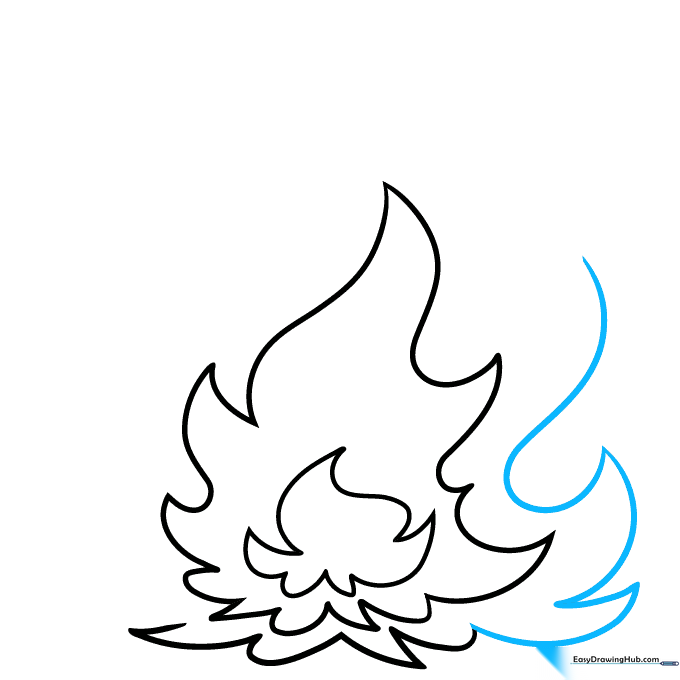
Step 3: Extending the Height

Use longer, sweeping curved lines to extend the flames upward. Ensure they meet at sharp, jagged points. Tip: Vary the length of your lines to make the fire look more natural and energetic.
Step 4: Building the Second Layer
Work on the opposite side by adding more 'U' shapes and points to enclose the second layer of the flame. Tip: Keep your pencil pressure light so you can easily adjust the shape if it looks too stiff.
Step 5: Adding the Third Layer
Start the third layer by drawing curved lines that echo the shape of the layer above. Keep these protrusions roughly parallel to maintain a consistent style. Tip: Imagine the flame is dancing in the wind!
Step 6: Defining the Sides
Flesh out the side of the flame using varied curved lines that meet at sharp points. Tip: Don't worry about making the sides identical; flames are naturally irregular.
Step 7: Balancing the Flame

Repeat the process on the opposite side. Ensure your lines are sharp and crisp. Tip: If you make a mistake, just erase and redraw—that's why we use pencils first!
Step 8: Adding Detail
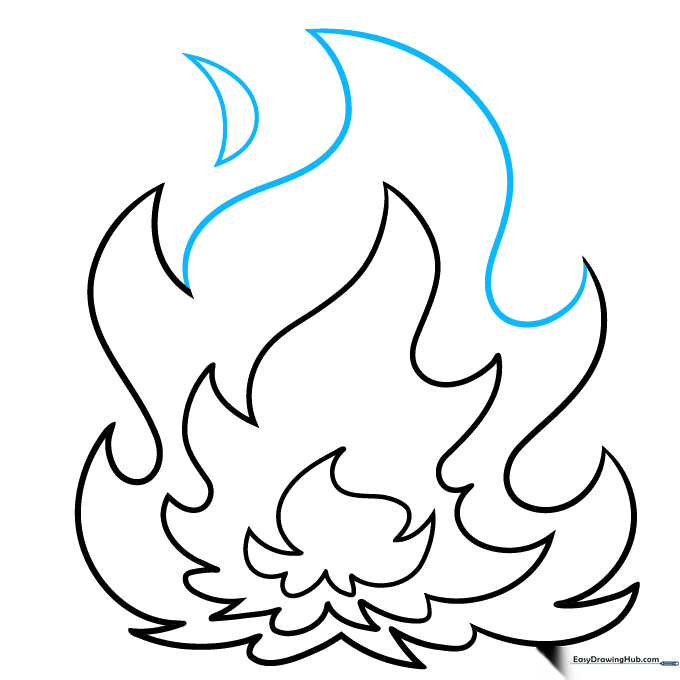
Extend lines from the sides to close the primary flame. Add a crescent moon shape above to suggest the flame is licking upward. Tip: This small detail adds a great sense of motion to your drawing.
Step 9: Final Touches
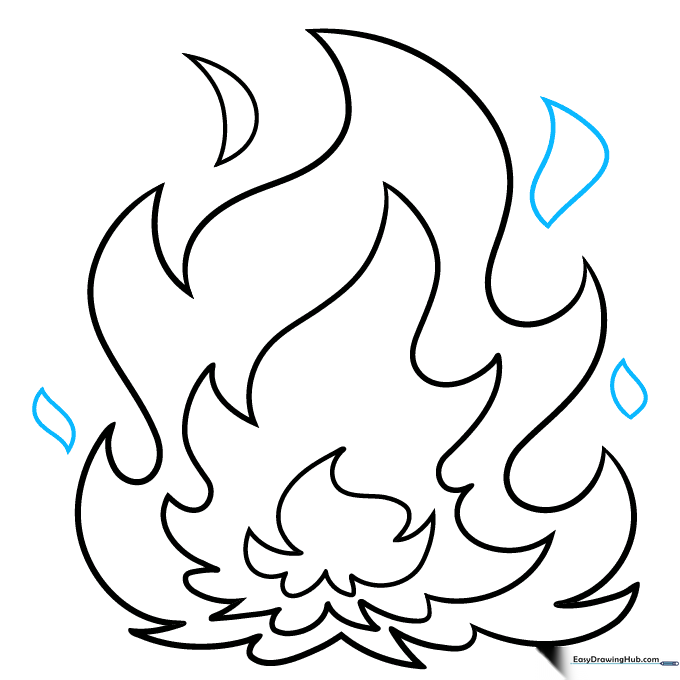
Add a few more teardrop-shaped flames floating above the main body. Tip: These 'floating' bits make the fire look more realistic and active.
Step 10: Bring it to Life with Color
Time to color! Use yellow for the center, transitioning to orange and red toward the edges. Tip: Use a white gel pen or leave small white spots to make the flame look like it's glowing!
More Tutorials


