How to Draw a Cartoon Face: Easy 10-Step Guide
Ready to bring a character to life? This tutorial is perfect for ages 5 and up, requiring only a pencil, eraser, and paper. You will learn the fundamentals of facial proportions and expression, helping you build core drawing skills while having fun.
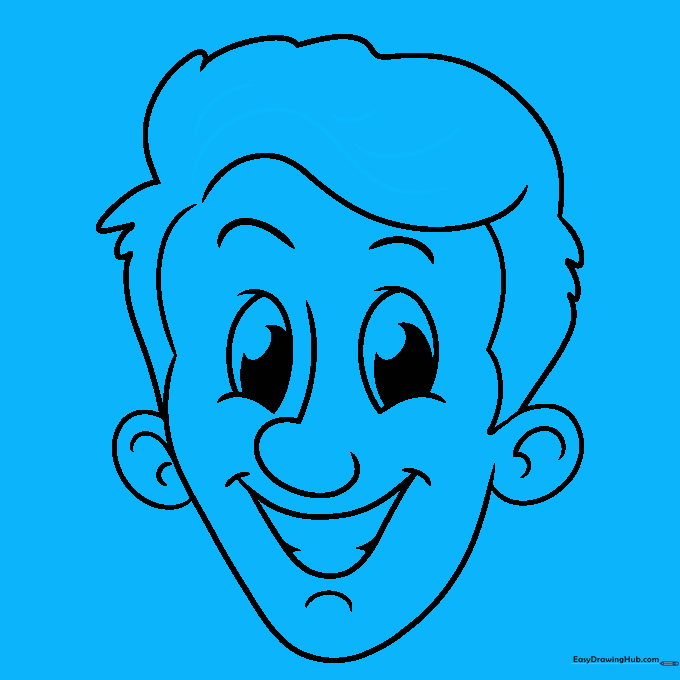
🎯 Final Result

Step-by-Step Instructions
Step 1: Sketching the First Eye

Draw a clean oval for the eye. Add a smaller oval inside for the pupil, then a tiny circle inside that to represent a highlight. Teacher's Tip: Keep the highlight circle white when coloring to make the eye look 'alive' and bright.
Step 2: Adding the Second Eye

Repeat the previous step to draw the second eye. Ensure the curve at the bottom of the eye mirrors the first one. Teacher's Tip: Try to space them about one eye-width apart for balanced proportions.
Step 3: Brows, Nose, and Mouth

Sketch curved lines above the eyes for brows. Draw a small hook-shaped oval for the nose, and a curved line with small dashes for a happy mouth. Teacher's Tip: Use light, feathery strokes for the mouth to keep it looking friendly.
Step 4: Defining the Jawline
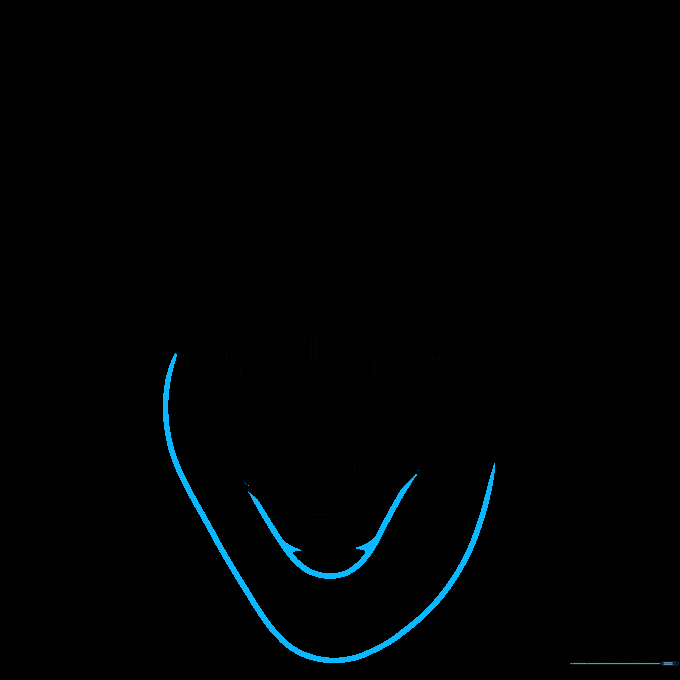
Outline the face using a long, curved 'V' shape. Add a loop underneath the mouth with small triangles at the edges to suggest teeth. Teacher's Tip: Keep the jawline rounded to maintain a soft, cartoonish look.
Step 5: Adding Ears

Draw two circles on the sides of the head for ears, adding inner curves for detail. Sketch a curve under the mouth to define the chin. Teacher's Tip: Ears usually align with the top and bottom of the eyes.
Step 6: Starting the Hair
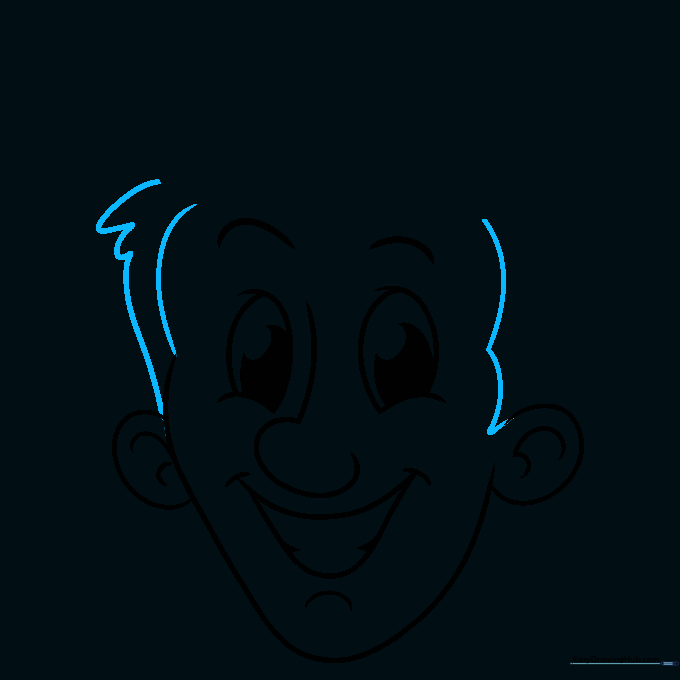
Draw two vertical hills on the right side of the head. On the left, sketch wavy lines connecting to the body. Teacher's Tip: Use long, fluid motions for hair to make it look natural and flowing.
Step 7: Shaping the Hairline
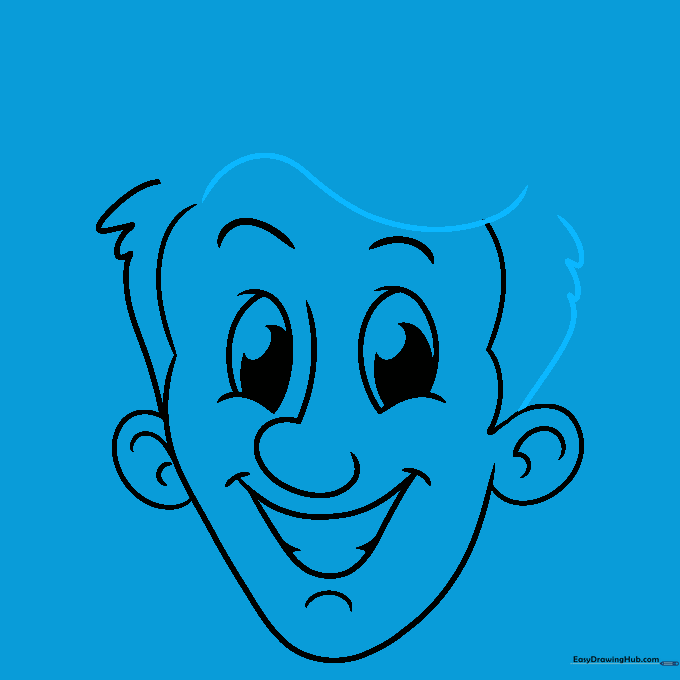
Sketch a swooping, wave-like line across the top of the head. Add loose, sketchy lines on the right to build volume. Teacher's Tip: Don't worry about perfection; hair is naturally messy!
Step 8: Adding Hair Texture
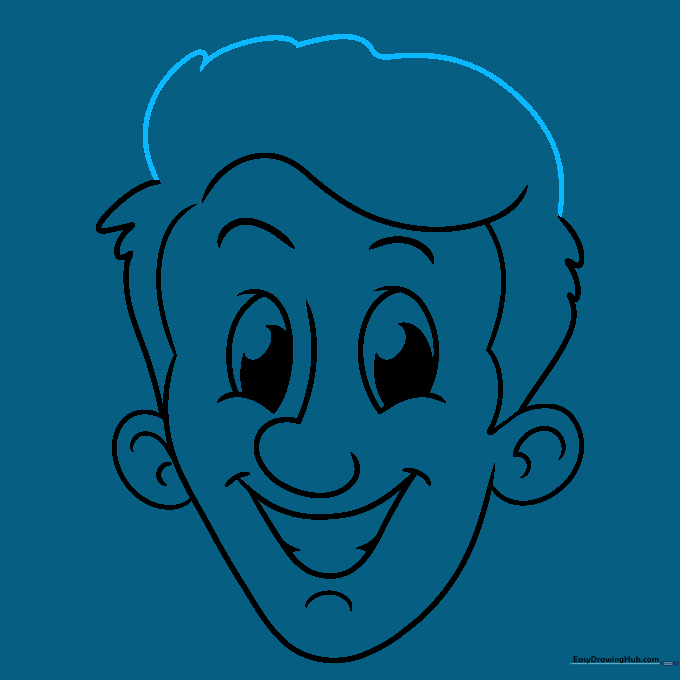
Add a squiggly line on top of the head to finalize the hair shape. Teacher's Tip: Vary the size of your squiggles to give the hair a more realistic, textured look.
Step 9: Refining the Details
Add a few more wavy lines throughout the hair to create depth. Teacher's Tip: Use these lines to show the direction the hair is flowing.
Step 10: Final Outline and Color

Trace your pencil lines with a black marker. Fill in the pupils with black, and add your favorite colors for the skin and hair. Leave the eye highlights white. Teacher's Tip: Use light pressure with colored pencils to create soft shading.
More Tutorials


