How to Draw a Cartoon Egg: Easy 5-Minute Step-by-Step Guide
Bring a silly character to life with this fun, beginner-friendly drawing activity. Designed for children ages 5 and up, this project requires only a pencil, paper, and an eraser to build confidence in basic shape construction. Follow along to create your own expressive egg character with personality!
🎯 Final Result

Step-by-Step Instructions
Step 1: Sketching the Main Body

Draw a large, smooth oval for the egg's body. Near the bottom, sketch two small, curved 'V' shapes for the legs. Teacher's Tip: Keep the oval slightly wider at the bottom to give your character a sturdy, grounded look.
Step 2: Starting the First Foot

At the end of one leg, draw a small, rounded foot. Use overlapping curved lines to define the toes. Teacher's Tip: Think of these as little 'U' shapes connected together.
Step 3: Adding Claws

Add a rear-facing toe and small triangles at the tips of each toe to represent claws. Teacher's Tip: Keep the claws sharp and small to make the feet look more 'bird-like'.
Step 4: Drawing the Second Foot

Repeat the process for the second foot. Use a smooth curved line to outline the toes. Teacher's Tip: Make sure the feet are roughly the same size so your character stays balanced.
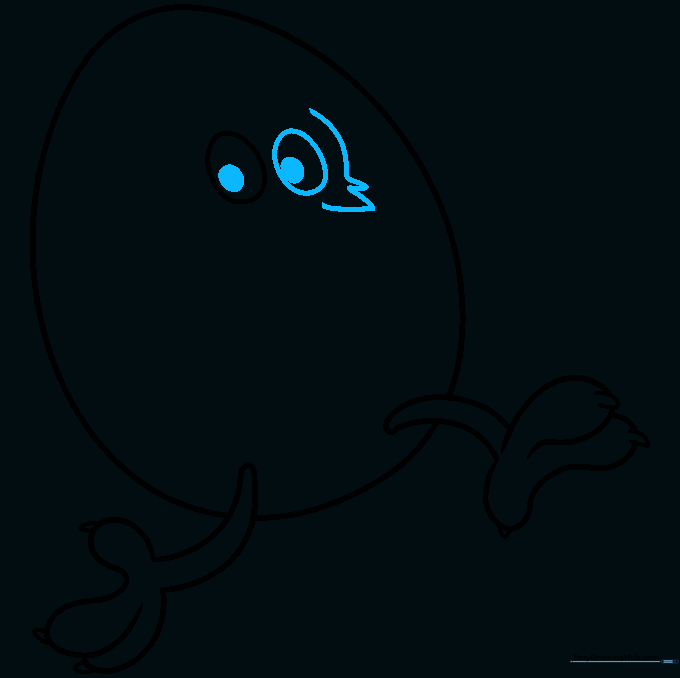
Step 5: Adding the First Eye

Finish the second foot with claws, then draw a small oval in the center of the egg for the first eye. Teacher's Tip: Placing the eye slightly off-center makes the character look more expressive.
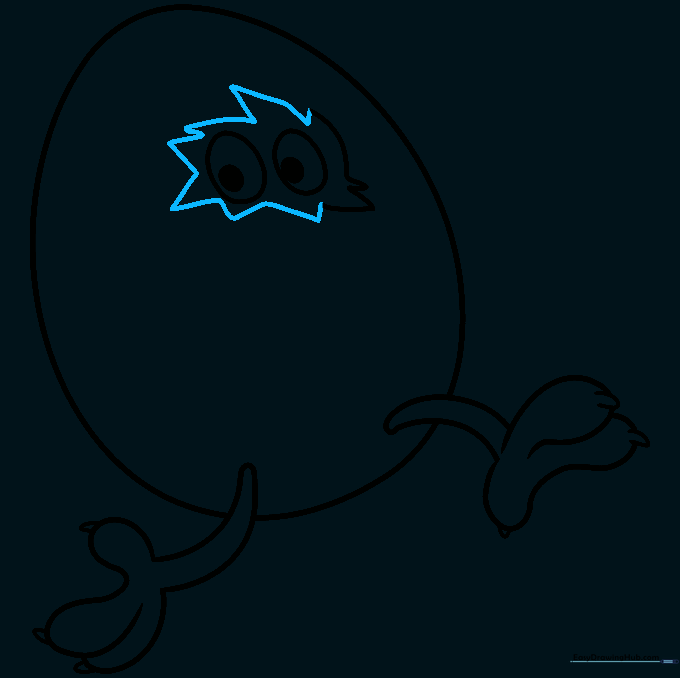
Step 6: Adding Pupils and Cracks
Draw the second eye and shade in small pupils. Add jagged, zigzag lines around the eyes to suggest a cracked shell. Teacher's Tip: Use short, quick strokes for the cracks to make them look sharp and authentic.
Step 7: Expanding the Shell Crack
Continue the jagged lines until they form a complete 'broken' opening around the eyes. Teacher's Tip: Vary the length of your zigzag lines to make the crack look more natural.
Step 8: Adding Detail Cracks
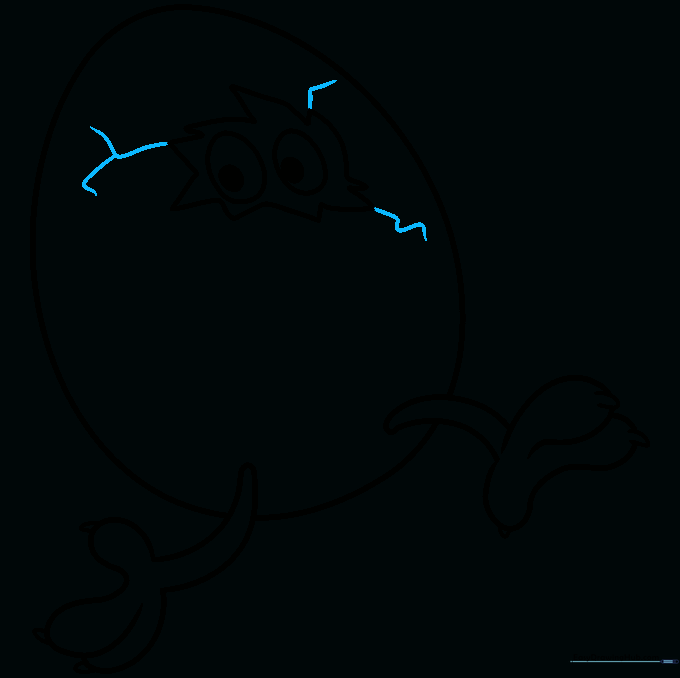
Add 'Y' shaped lines extending from the main crack to show stress on the shell. Teacher's Tip: Don't overdo it—a few well-placed cracks look better than too many.
Step 9: Final Touches
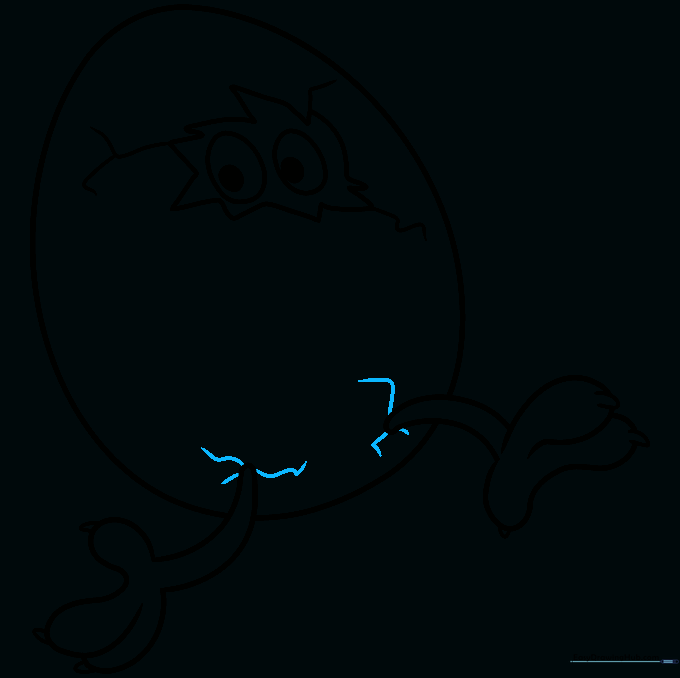
Add a few final cracks near the base of the legs to tie the design together. Teacher's Tip: Erase any overlapping lines from the legs to make the drawing look clean.
Step 10: Bring Your Egg to Life with Color

Color your egg! Use warm yellows for the yolk or bright whites for the shell. Teacher's Tip: Use a light grey or blue to shade the cracks for a 3D effect.
More Tutorials


