How to Draw a Cartoon Earth: Easy 9-Step Guide for Kids
This step-by-step tutorial is perfect for young artists ages 5 and up who want to bring our planet to life on paper. You will only need a pencil, an eraser, and your favorite coloring markers or crayons. Follow along to practice basic shapes and spatial awareness while creating a friendly, stylized globe.
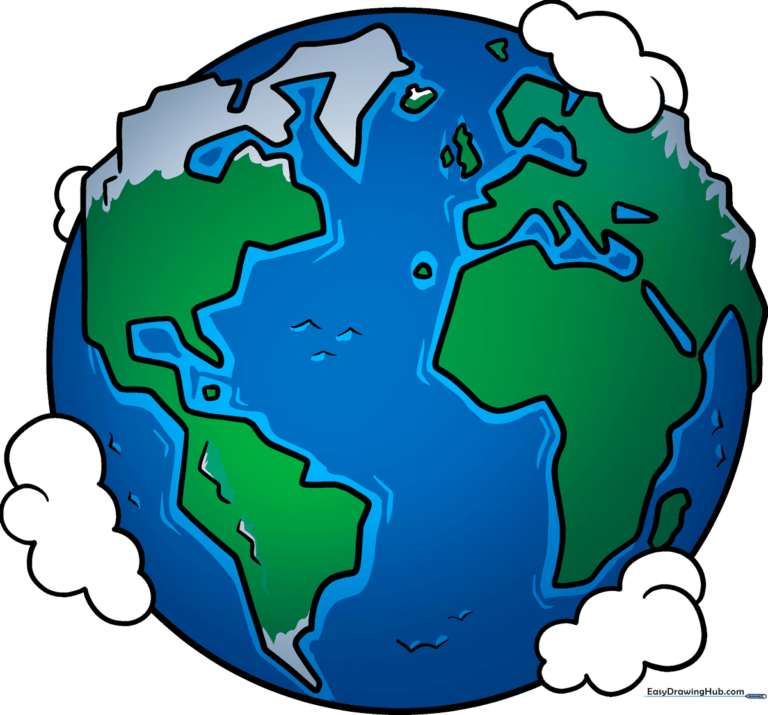
🎯 Final Result
Step-by-Step Instructions
Step 1: Sketching the Base Circle
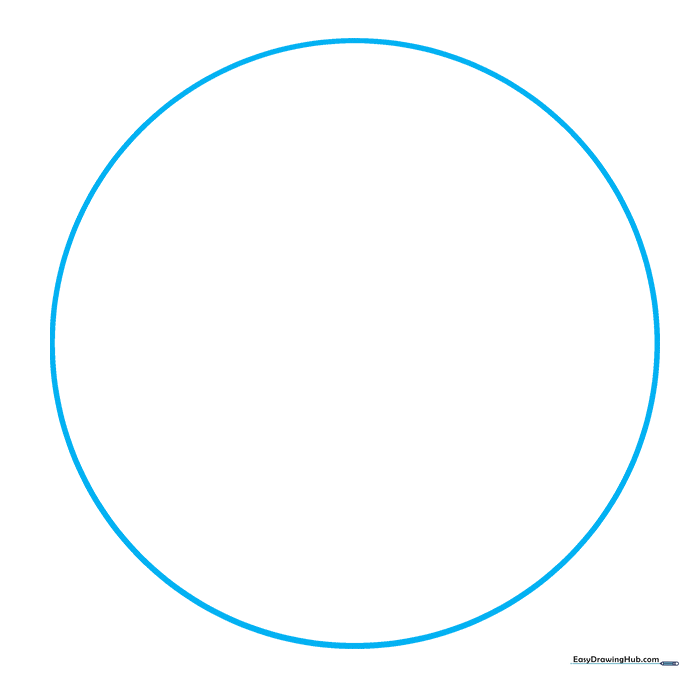
Draw a large, light circle to serve as the foundation of your planet. Tip: If you struggle with freehand circles, trace a circular object like a cup, but keep the pressure light so you can erase it later.
Step 2: Outlining the Americas
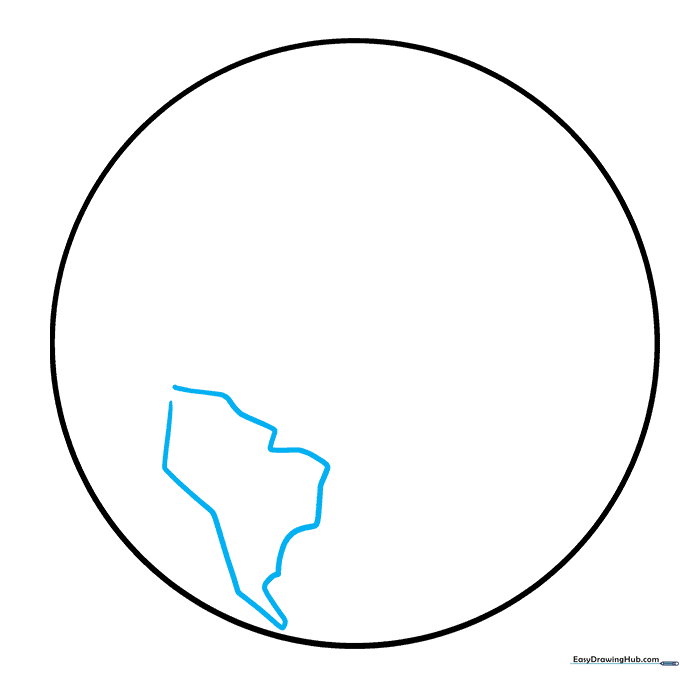
Extend a line from the top to begin shaping South America. Sketch the eastern side of North America, paying attention to the narrow Florida peninsula and the Y-shaped inlet near Canada. Tip: Use short, deliberate strokes to capture the jagged coastline.
Step 3: Refining North America
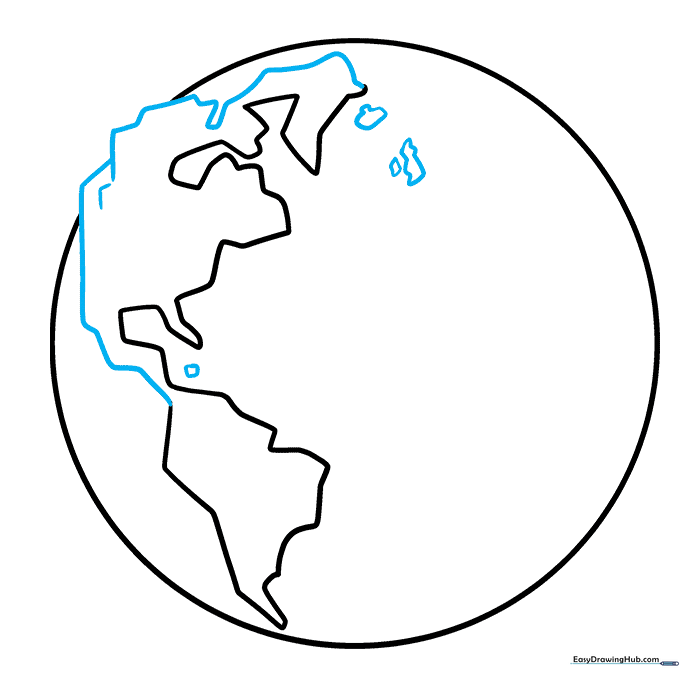
Use overlapping curved lines to finish the western side of North America. Erase the original circle line where the land overlaps. Tip: Add small, pointed shapes for Iceland and the UK to give your map more detail.
Step 4: Adding the Andes and Africa
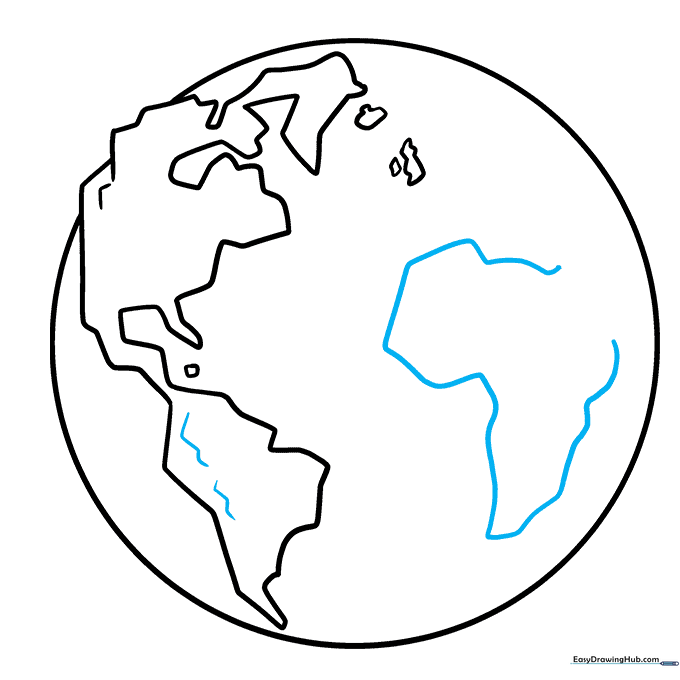
Draw zig-zag lines along western South America to represent the Andes mountains. Then, begin the outline of Africa using a long, sweeping curved line. Tip: Keep the lines fluid to make the continents look natural rather than stiff.
Step 5: Europe and Asia
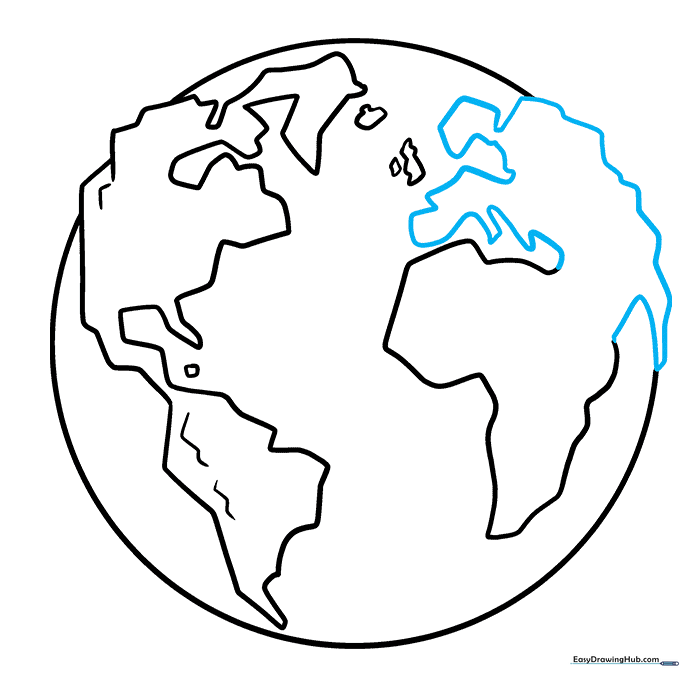
Sketch the visible portions of Europe and Asia. Erase the circle guide lines where the landmasses are drawn to create a clean silhouette. Tip: Use jagged lines to suggest mountain ranges, which adds texture to your drawing.
Step 6: Oceans and Islands
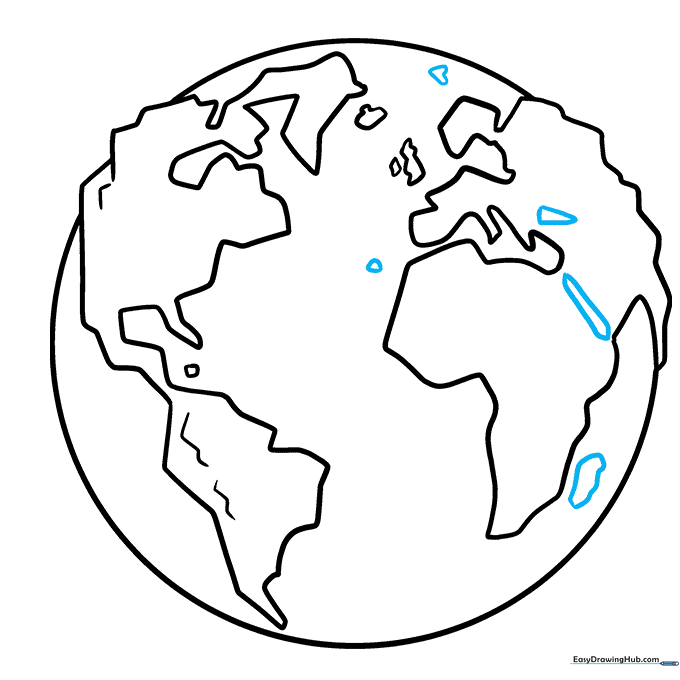
Enclose two large bodies of water near the Mediterranean and add islands near Europe and Africa, including Madagascar. Tip: Vary the size of your islands to make the map look more realistic.
Step 7: Clouds and Texture
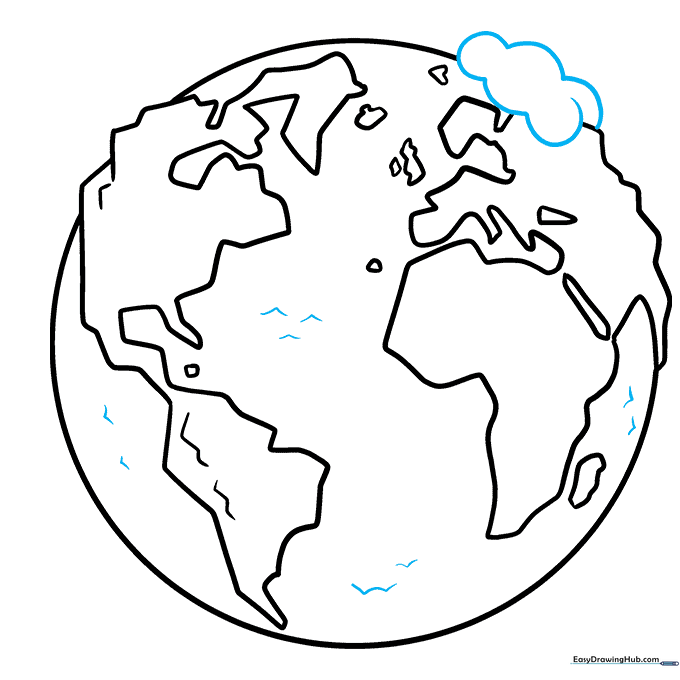
Draw a large, fluffy cloud over Europe using soft, curved lines. Add small 'V' shapes in the oceans to represent waves. Tip: Clouds should look soft and rounded, contrasting with the jagged edges of the land.
Step 8: Final Cloud Details
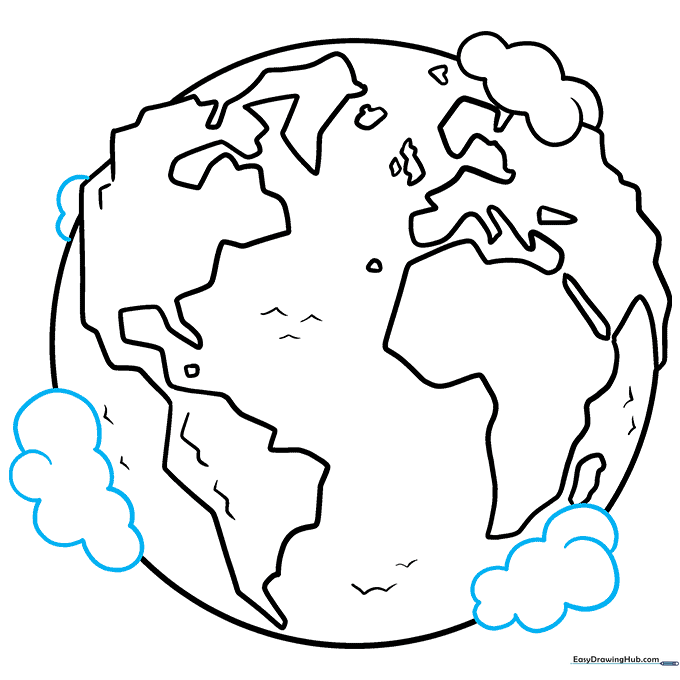
Add a few more clouds around the edges of the planet to give it a sense of atmosphere. Erase any remaining guide lines from the initial circle. Tip: Don't over-clutter the drawing; leave some open space for the blue ocean to shine.
Step 9: Adding Color
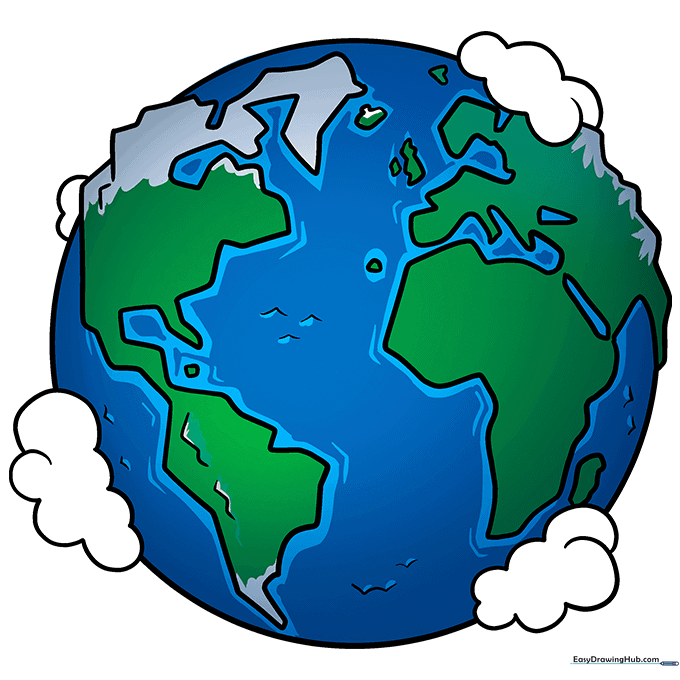
Bring your Earth to life! Use bright blues for the oceans, earthy greens and browns for the continents, and keep the clouds white. Tip: Use a light blue for the water and a darker blue for the ocean depths to add dimension.
More Tutorials


