How to Draw a Cartoon Dog: Easy 10-Step Guide for Kids
Looking for a fun, screen-free activity? This step-by-step tutorial is perfect for children ages 5 and up to practice their drawing skills. All you need is a pencil, an eraser, and a piece of paper to bring this friendly pup to life.
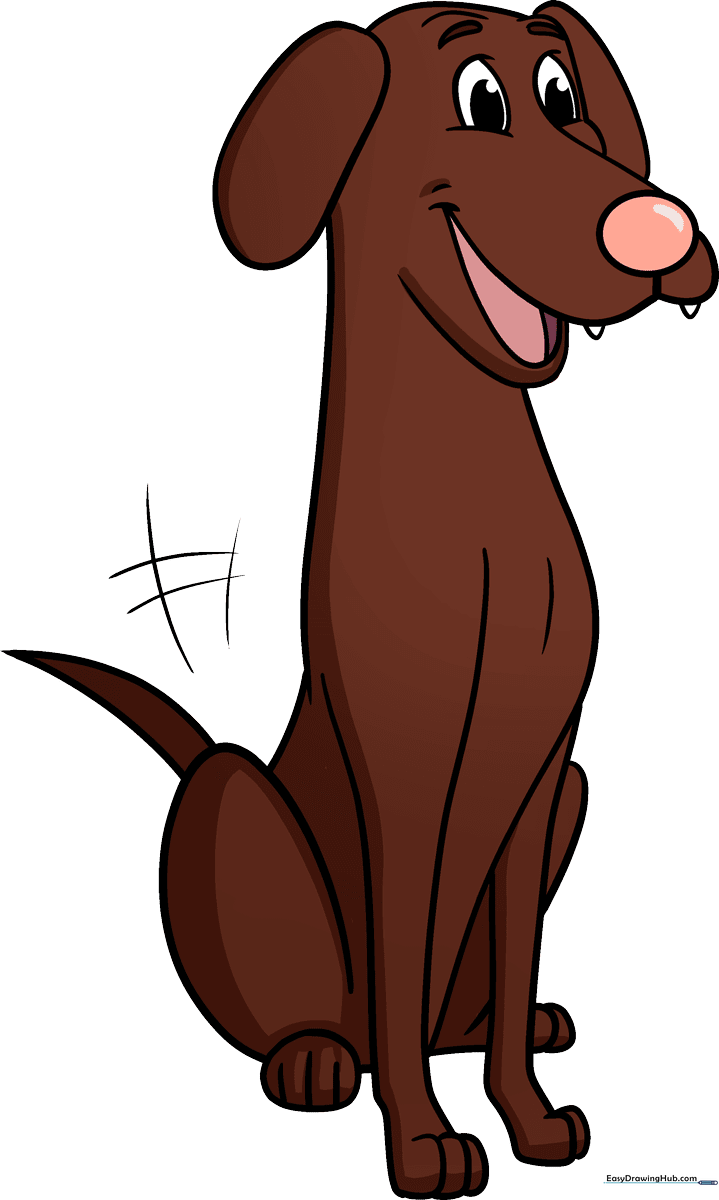
🎯 Final Result
Step-by-Step Instructions
Step 1: Sketching the Eyes and Muzzle
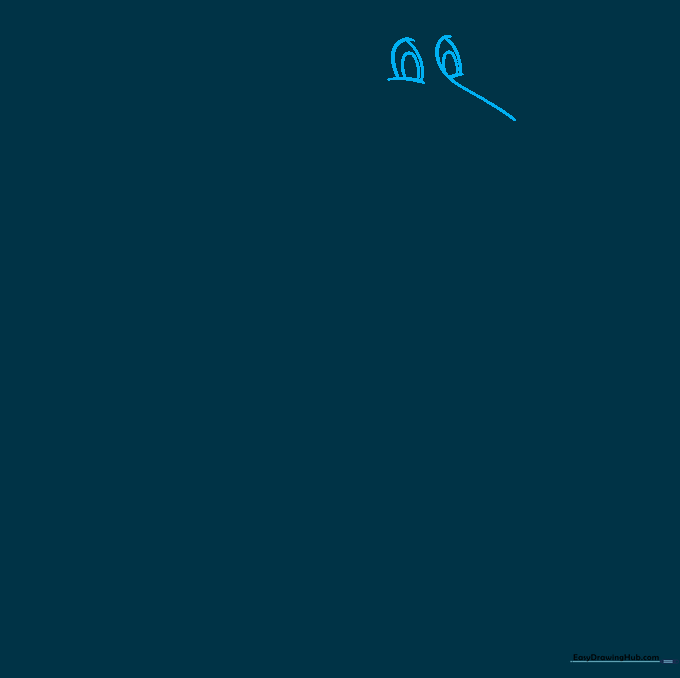
Start by drawing two curved lines for the eyes. Extend the side of one eye to form the top of the long snout. Teacher's Tip: Keep your pencil pressure light here so you can easily adjust the shape of the snout later.
Step 2: Defining the Nose and Forehead
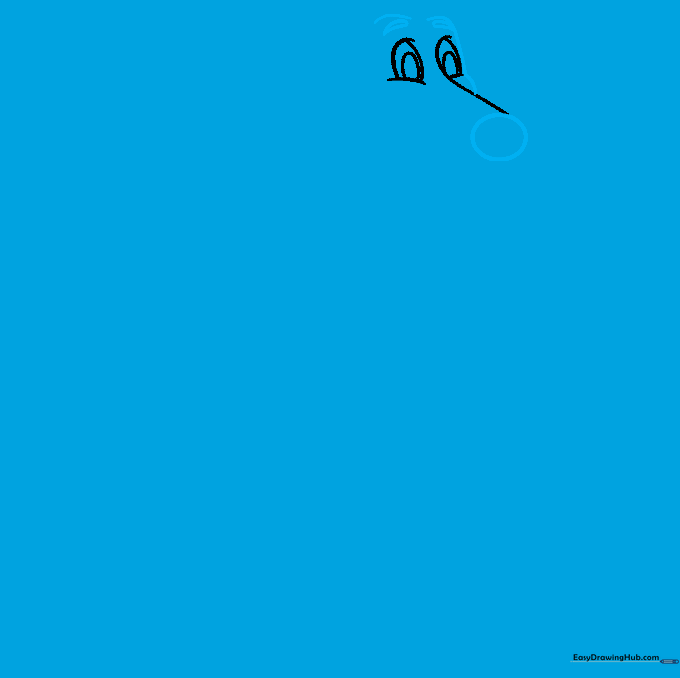
Draw a small circle at the end of the snout for the nose. Use curved lines to trace the forehead and add pointed eyebrows above the eyes. Teacher's Tip: Adding eyebrows gives your dog a curious, happy expression!
Step 3: Drawing the Smiling Mouth
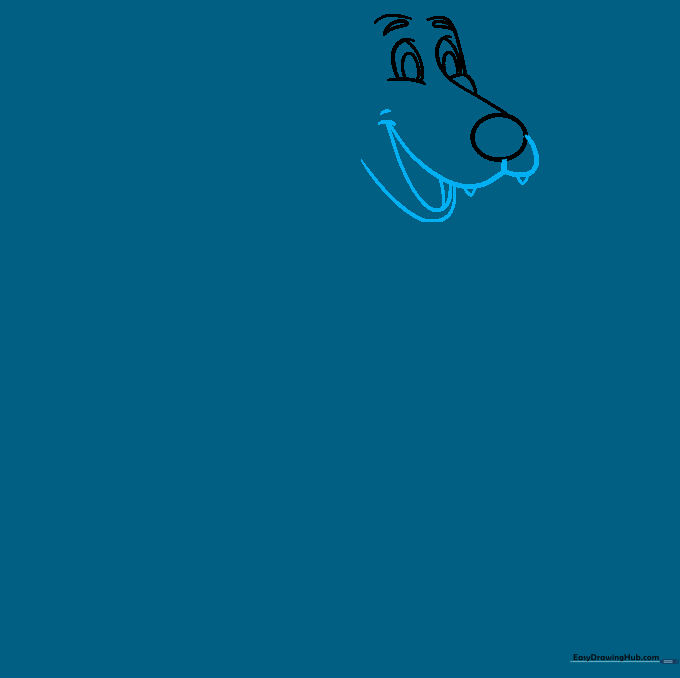
Create a wide 'W' shape below the nose for the mouth, then add the lower jaw, tongue, and two small triangular teeth. Teacher's Tip: Drawing the tongue hanging out makes the dog look extra playful and friendly.
Step 4: Adding Ears and Body Outline
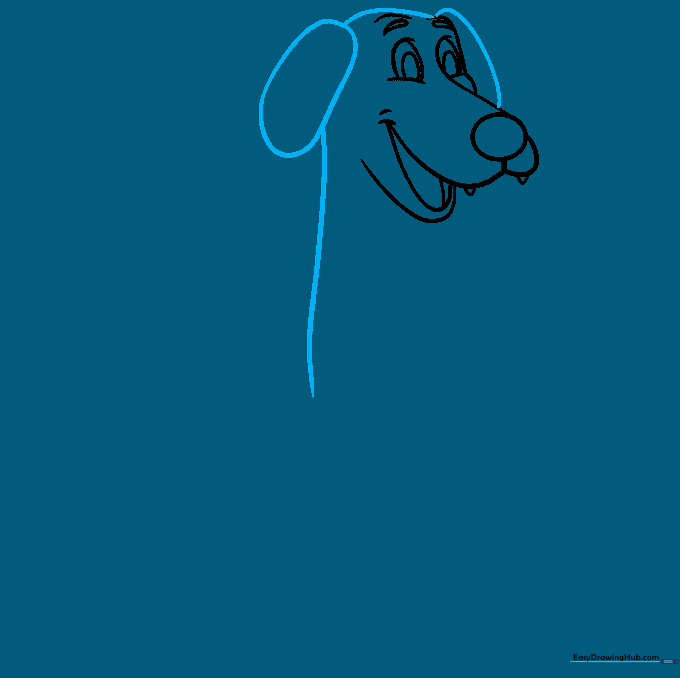
Enclose the rounded ears and draw long, flowing lines for the top of the head, neck, and back. Teacher's Tip: Use smooth, continuous strokes to make the dog look soft and cuddly.
Step 5: Sketching the First Front Leg
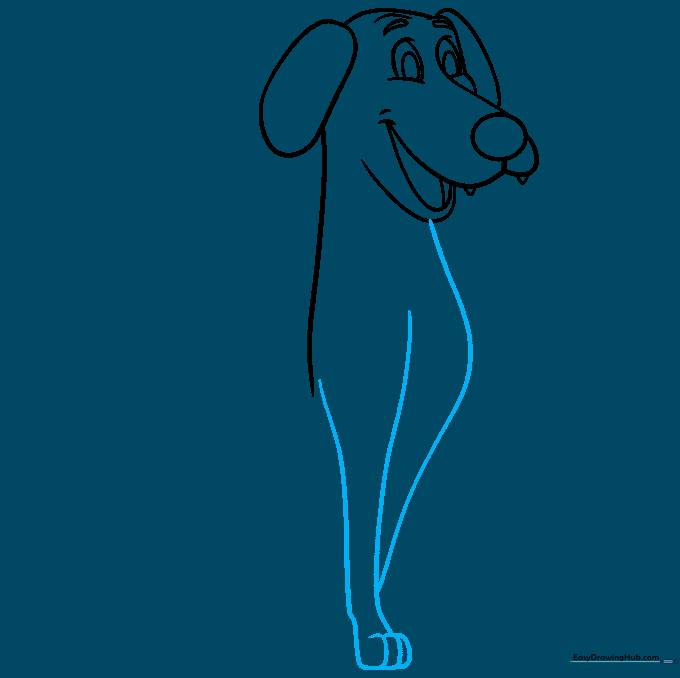
Extend a curved line from the jaw to form the chest, then draw the front leg and paw with overlapping lines for the toes. Teacher's Tip: Overlapping lines help create the illusion of depth in the paw.
Step 6: Drawing the Second Front Leg

Add the second front leg using similar curved lines to show the dog is standing or sitting. Teacher's Tip: Ensure the paws are roughly the same size to keep the drawing balanced.
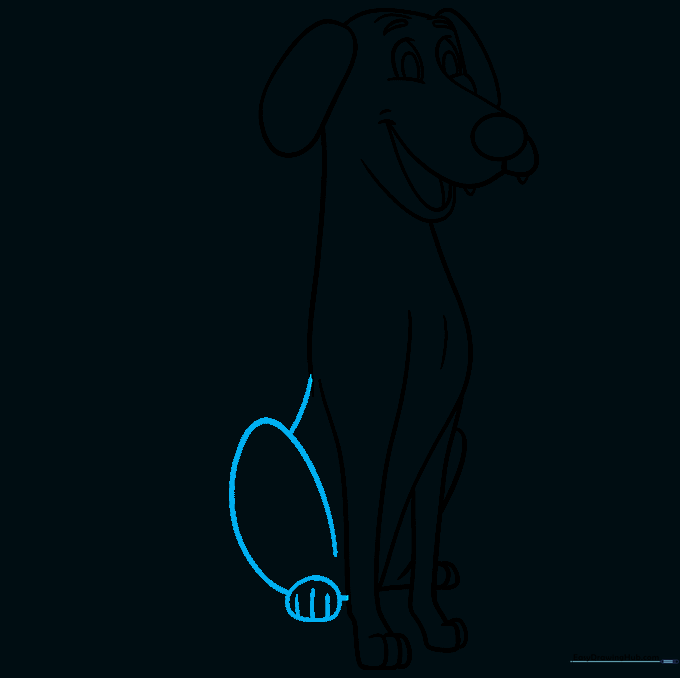
Step 7: Adding the Rear Leg
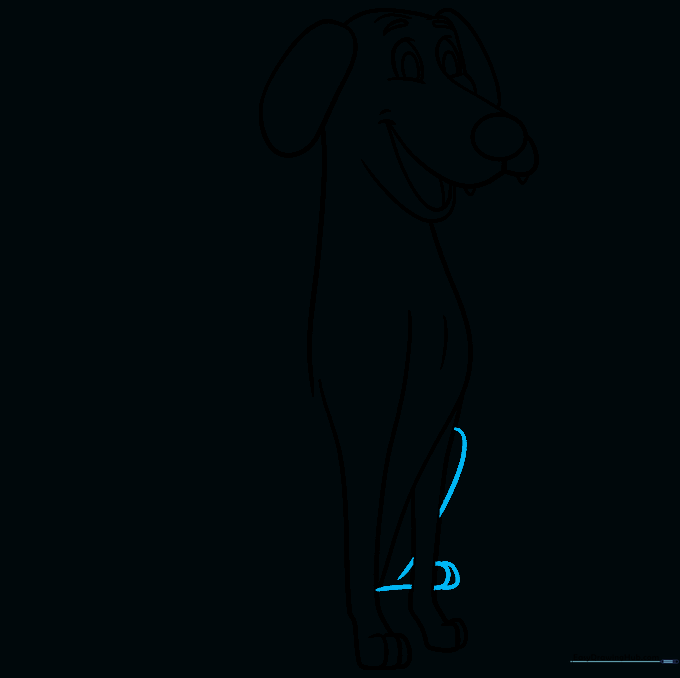
Draw the rear leg bent in a sitting position. Use curved lines for the thigh and paw. Teacher's Tip: A bent leg adds a sense of action and posture to your character.
Step 8: Completing the Legs
Draw the final leg and add small lines to the paws to represent toes. Teacher's Tip: These small details make your cartoon dog look much more realistic.
Step 9: Adding the Wagging Tail
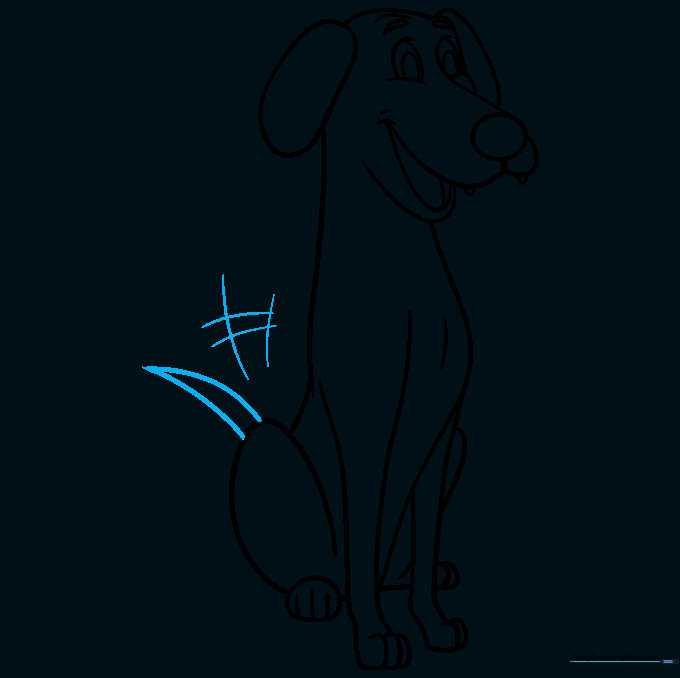
Draw a pointy tail and add small hatch marks nearby to show it's wagging. Teacher's Tip: Motion lines are a classic cartoon trick to show energy and happiness!
Step 10: Bringing Your Dog to Life with Color

Time to color! Use your favorite shades to fill in your dog. We chose a warm brown, but feel free to make your dog spotted or golden. Teacher's Tip: Use light pressure for a soft look or heavy pressure for vibrant colors.
More Tutorials


