How to Draw a Cartoon Devil: Easy 9-Step Guide for Kids
Ready to create a fun, mischievous character? This tutorial is perfect for young artists ages 7+ looking to practice character design. All you need is a pencil, an eraser, and a sheet of paper to bring this little devil to life.
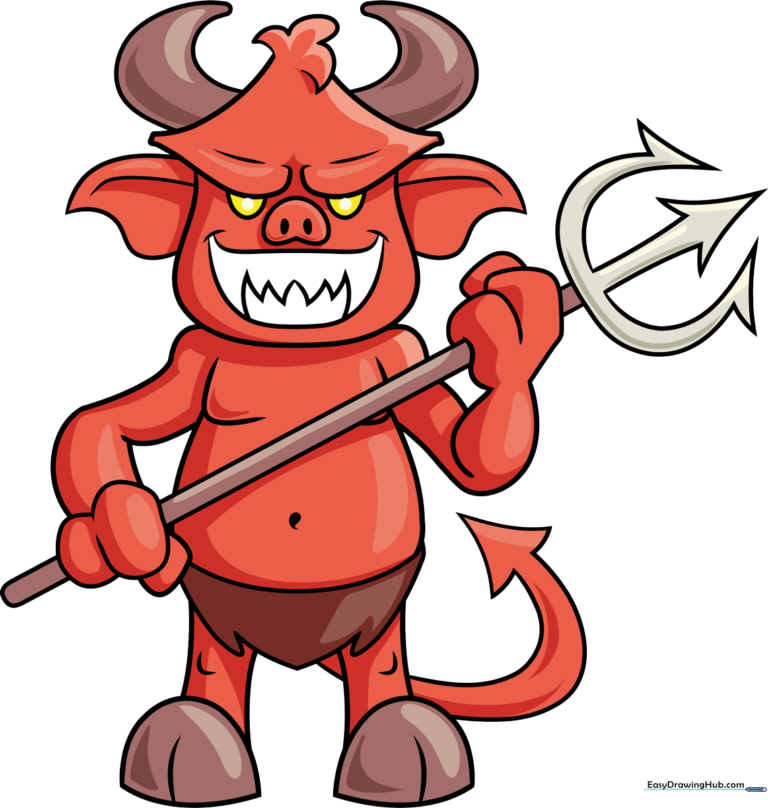
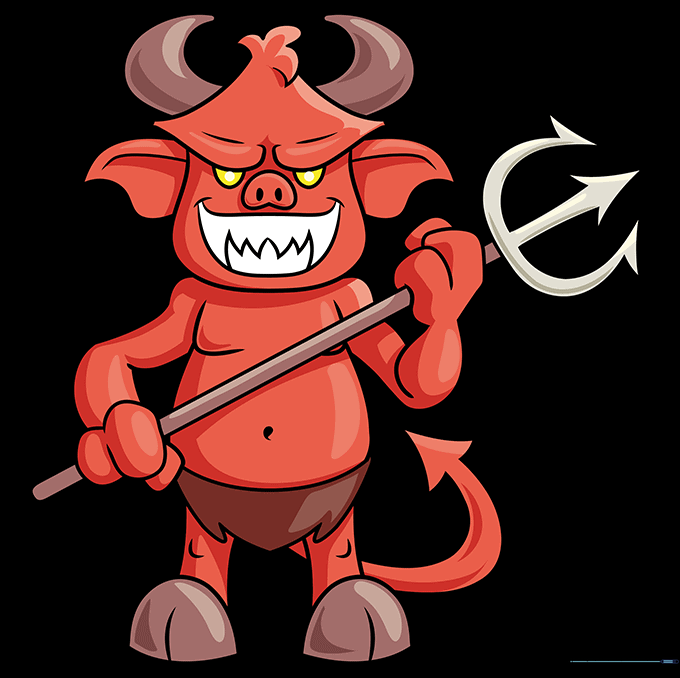
🎯 Final Result
Step-by-Step Instructions
Step 1: Sketching the Horns

Draw two diagonal lines that curve away from each other to form the base of the horns. Tip: Keep your pencil pressure light here so you can easily adjust the shape if the horns look a bit uneven.
Step 2: Defining the Head and Ears
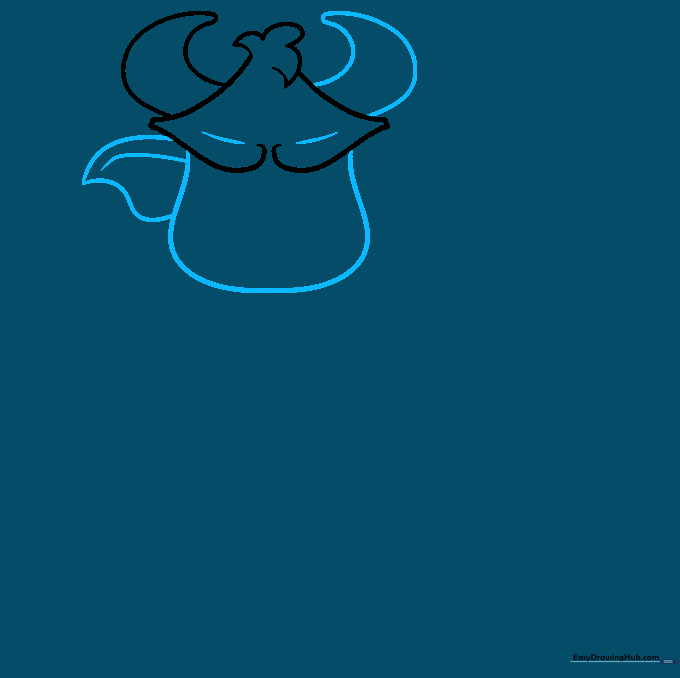
Draw a large, rounded shape beneath the horns to create the head, then add small curves on the sides for the ears. Tip: Think of the head shape like an upside-down pear to give your character a friendly, expressive look.
Step 3: Adding Facial Features
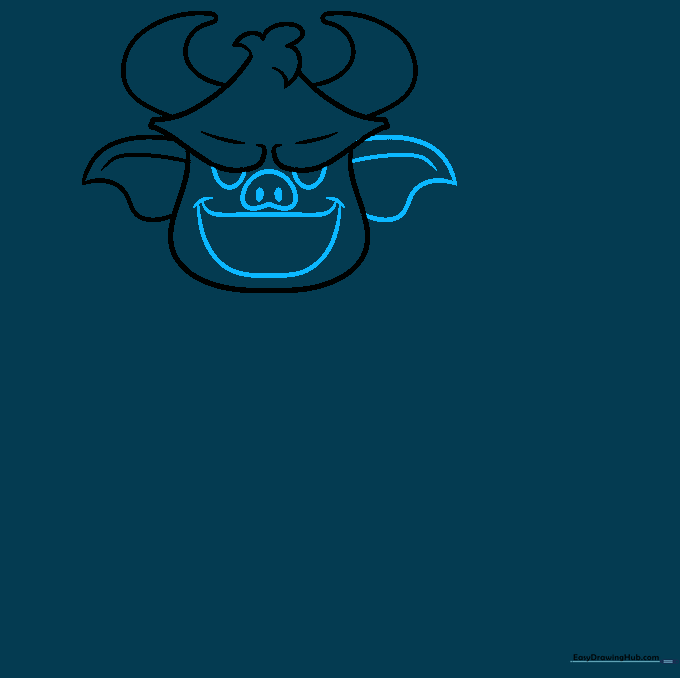
Draw two half-moon shapes for the eyes, a small snout for the nose, and a wide, happy smile. Tip: Placing the eyes closer together makes the character look more youthful and cute.
Step 4: Drawing the Teeth and Arm
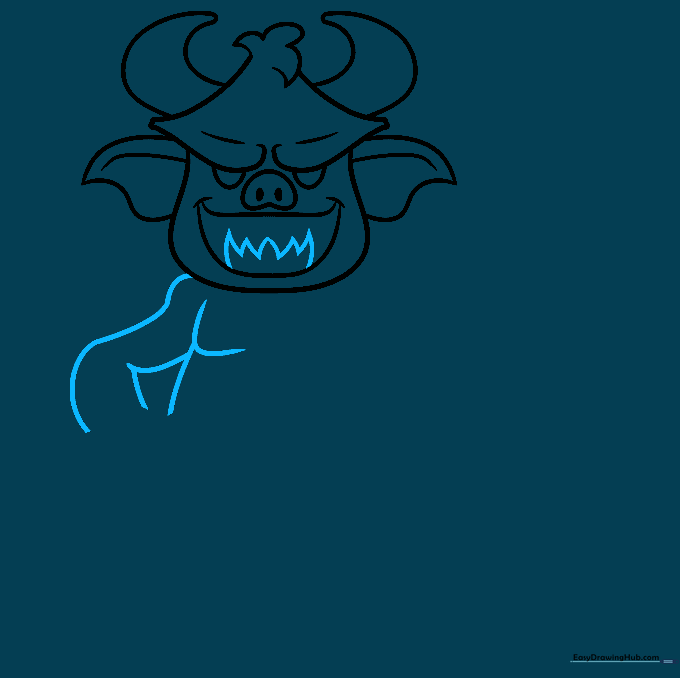
Add jagged lines inside the mouth for teeth, then sketch the start of the left arm using wavy lines. Tip: Keep the teeth small and triangular to maintain a 'cartoon' rather than 'scary' aesthetic.
Step 5: Sketching the Hand and Staff
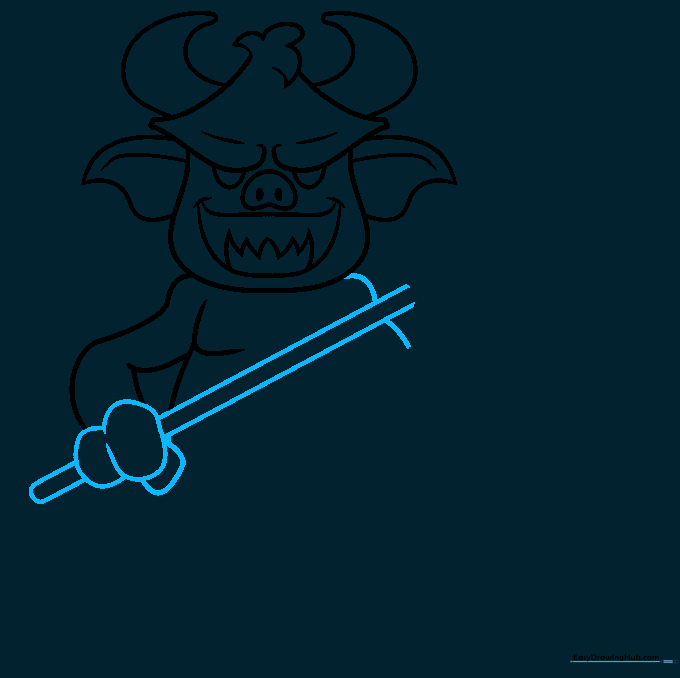
Draw two bean-shaped forms for the hand and a straight line for the pitchfork staff. Tip: Use your own hand as a reference for where the thumb should connect to the palm.
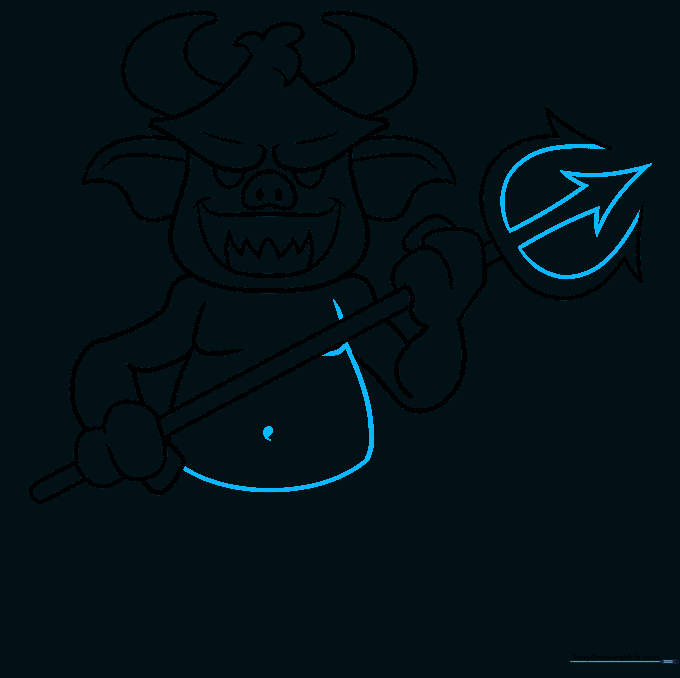
Step 6: Completing the Pitchfork
Add the second hand and finish the pitchfork head with two sweeping triangle shapes. Tip: Ensure the pitchfork prongs are symmetrical to keep the drawing balanced.
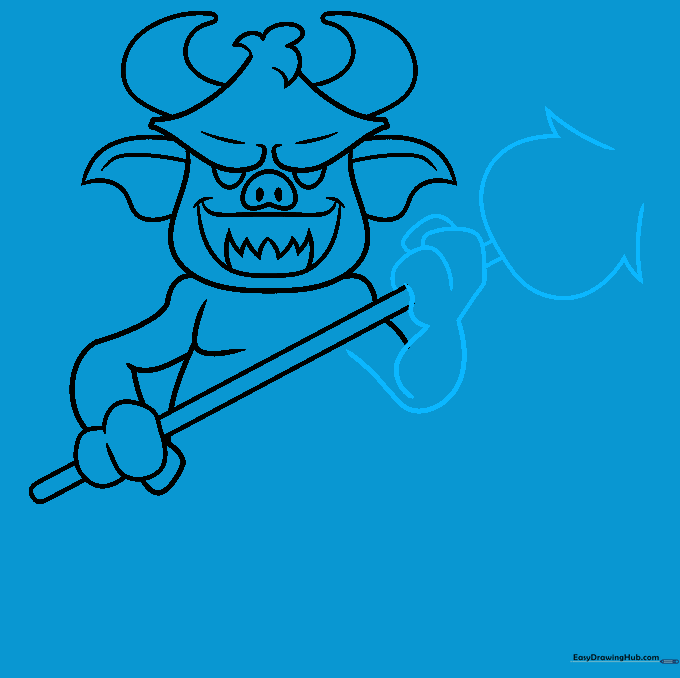
Step 7: Shaping the Body
Draw the torso using two large, curved lines that taper inward. Tip: A slightly rounded belly makes the character look more friendly and approachable.
Step 8: Adding the Loincloth and Hoof
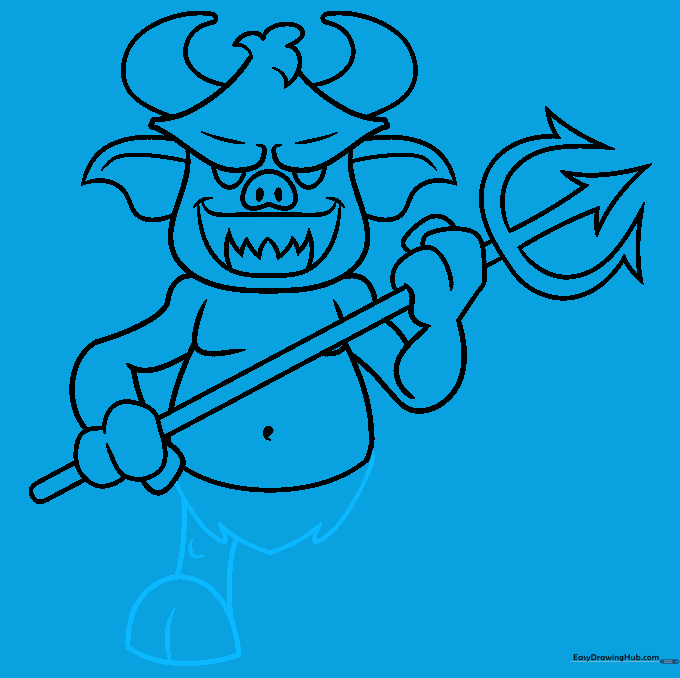
Sketch a triangle for the loincloth and a half-circle for the hoof. Tip: Add a small vertical line in the center of the hoof to show the 'cleft' detail.
Step 9: Final Details and Tail
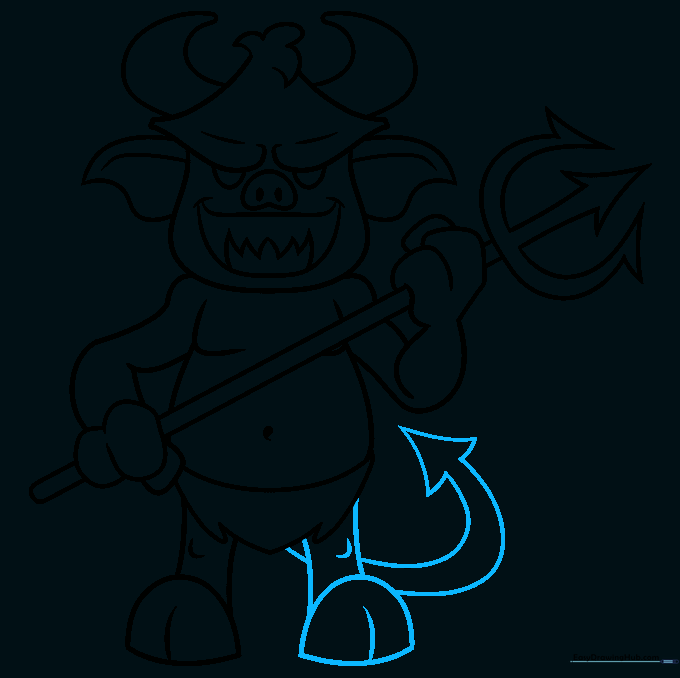
Draw the second leg and a long, pointy tail. Once finished, erase your guide lines and go over your final sketch with a dark pen. Tip: Use a steady hand when outlining to create clean, bold lines.
Step 10: Adding Color
Bring your devil to life with color! While red is traditional, try using orange or purple for a unique twist. Tip: Use light pressure with your colored pencils to create smooth, even shading.
More Tutorials


