How to Draw a Cartoon Death: Easy Step-by-Step Guide
Ready to create a spooky-cute character? This tutorial is perfect for young artists ages 7+ looking to master fantasy character design. All you need is a pencil, an eraser, and a piece of paper to bring this whimsical figure to life.
🎯 Final Result

Step-by-Step Instructions
Step 1: Sketching the Face Structure

Draw a row of gentle hills near the center of your page to form the brow. Add a small hook on either side, then sketch an upside-down heart for the nose. Teacher's Tip: Use light, feathery pencil strokes so you can easily adjust the symmetry of the eyes later.
Step 2: Defining the Skull Shape
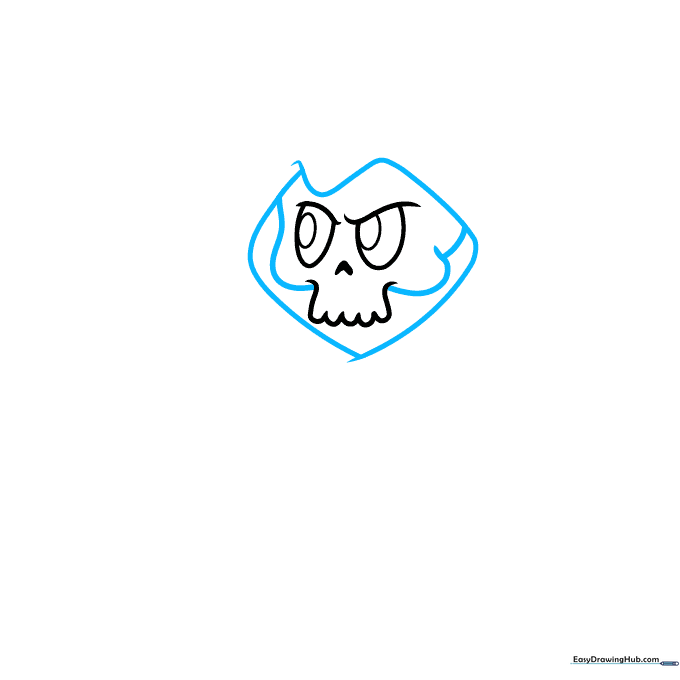
Outline the head using a loose, uneven heart shape. Add curves on both sides of the face to define the jawline. Teacher's Tip: Don't worry about making it perfectly round; a slightly wobbly line gives your character more personality!
Step 3: Drafting the Hood
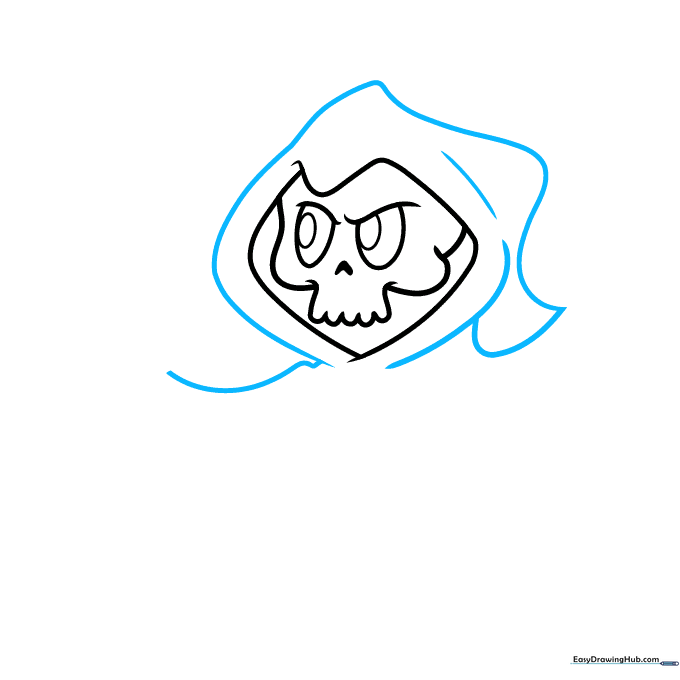
Sketch wide, sweeping curves around the head, topping it with an uneven triangle. Bring the line down into a backward S-shape to create the hood's fold. Teacher's Tip: Keep your lines fluid to make the fabric look like it's draping naturally.
Step 4: Drawing the Skeletal Hand
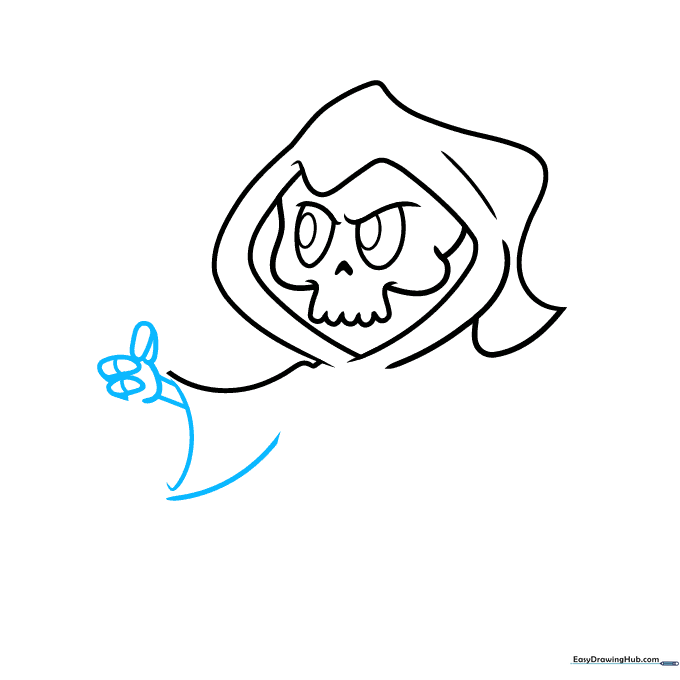
Draw three ovals for the fingers and a curve for the palm. Add small lines inside the ovals to suggest knuckles. Teacher's Tip: Think of these as 'bone segments'—keeping them slightly separated makes them look more skeletal.
Step 5: Building the Sleeve
Add a fourth finger, then draw a long tube shape for the arm. Place two small hills on top of the sleeve to create a ruffled fabric effect. Teacher's Tip: Use a darker line for the sleeve edge to help it stand out from the arm.
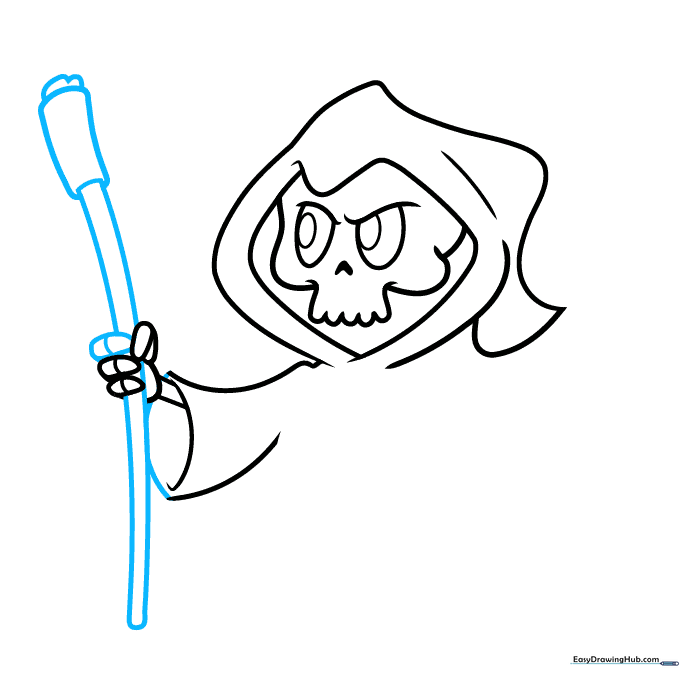
Step 6: Sketching the Scythe
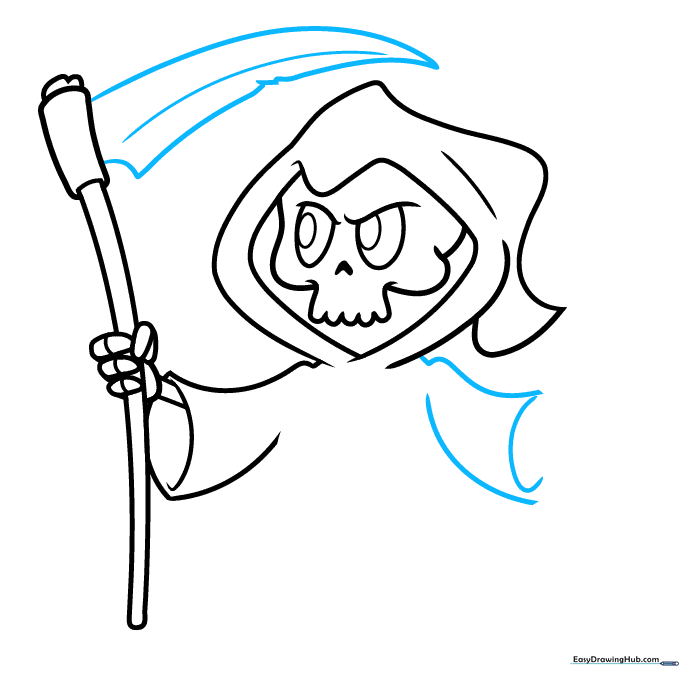
Outline the blade as a long, narrow triangle with a semi-circle cutout at the base. Add a center line for the blade's edge. Teacher's Tip: Use a ruler if you want the blade to look extra sharp, or keep it freehand for a 'cartoon' look.
Step 7: Adding the Second Hand
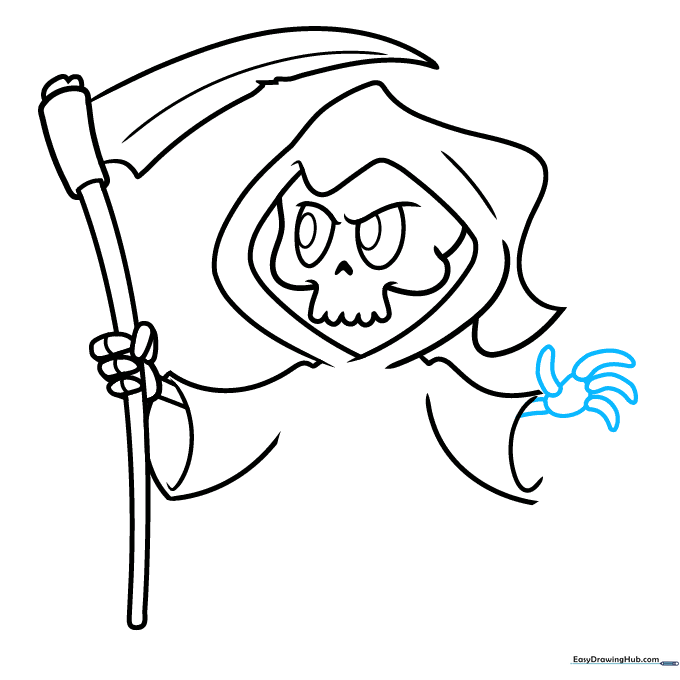
Sketch banana-shaped fingers and an oblong palm for the second hand. Connect it to the body with two straight lines for the arm. Teacher's Tip: Ensure the hand is positioned so it looks like it's gripping the scythe handle.
Step 8: Detailing the Cloak
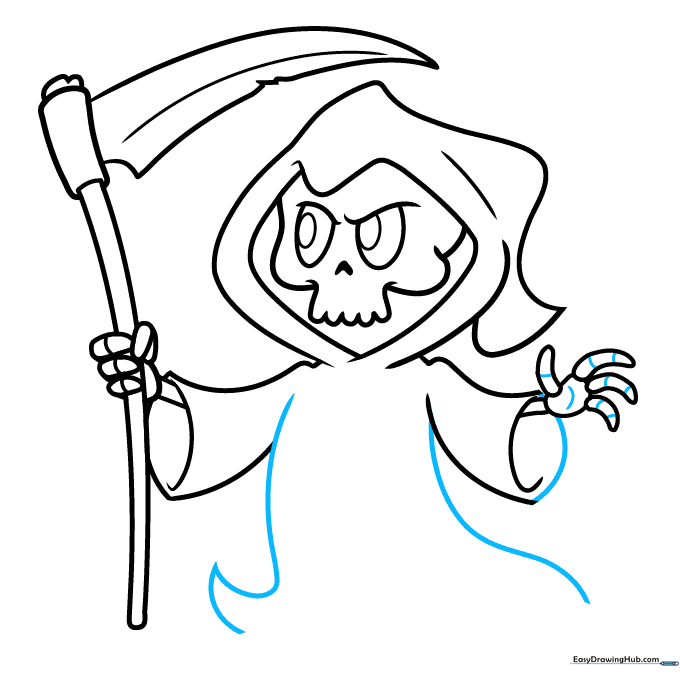
Draw a tall hook for the left side of the cloak and a wavy line on the right. Add internal lines to the fingers for texture. Teacher's Tip: Wavy lines are great for showing fabric movement—the more 'swoops' you add, the more dynamic the cloak looks.
Step 9: Finalizing the Outline
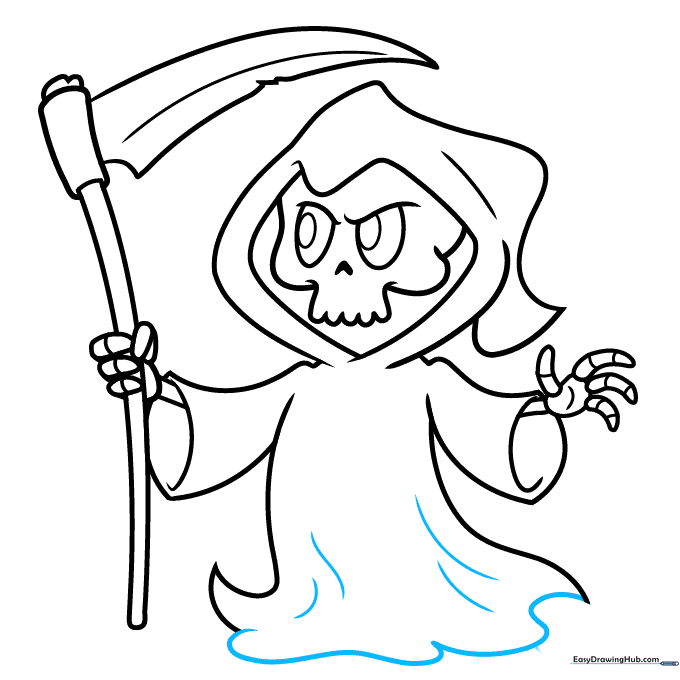
Complete the bottom of the cloak with a wavy, puddle-like line. Add a few extra wavy lines inside the fabric to represent folds. Teacher's Tip: Use a darker marker to go over your final lines, then erase any stray pencil marks for a clean, professional finish.
Step 10: Adding Color

Fill in the nose and eye sockets with black. Color the cloak dark gray, the bones a soft light gray, and the scythe with metallic browns and grays. Teacher's Tip: Use a yellow pencil for the eyes to give your character a glowing, spooky effect!
More Tutorials


