How to Draw a Cartoon Cowboy Hat: Easy 9-Step Guide
Ready to add some Western flair to your sketches? This tutorial is perfect for artists ages 5 and up looking to master the iconic shape of a cowboy hat. Grab a pencil and paper, and follow along as we break down this classic accessory into simple, manageable curves.
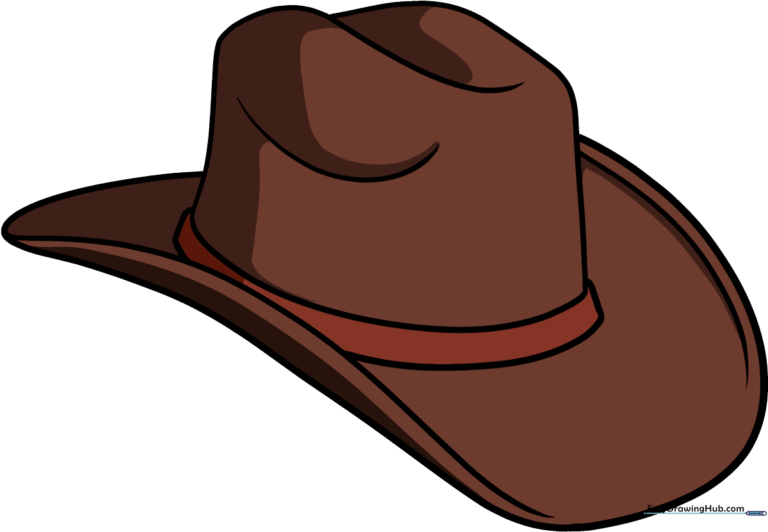
🎯 Final Result
Step-by-Step Instructions
Step 1: Sketching the Crown's Peak
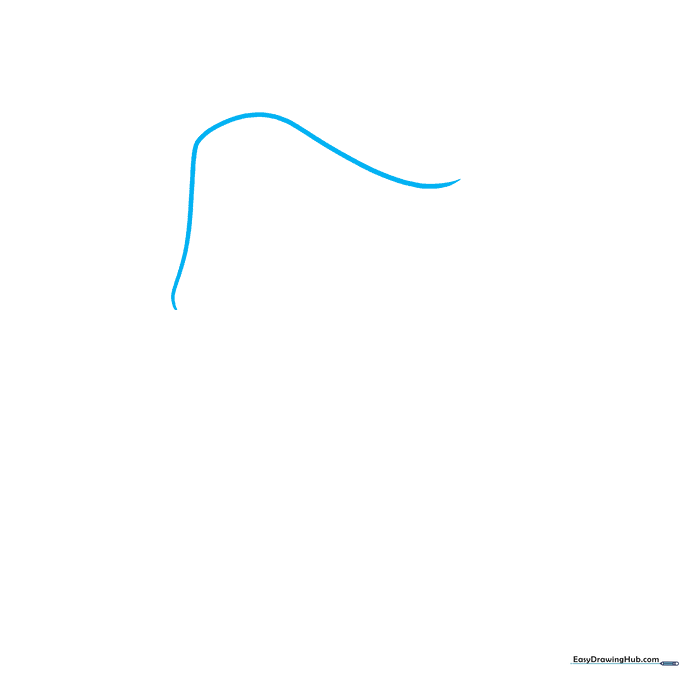
Start by drawing a long, gentle curved line. Teacher's Tip: Keep your pencil pressure light so you can easily adjust the shape if it looks a bit lopsided.
Step 2: Defining the Crown's Dip
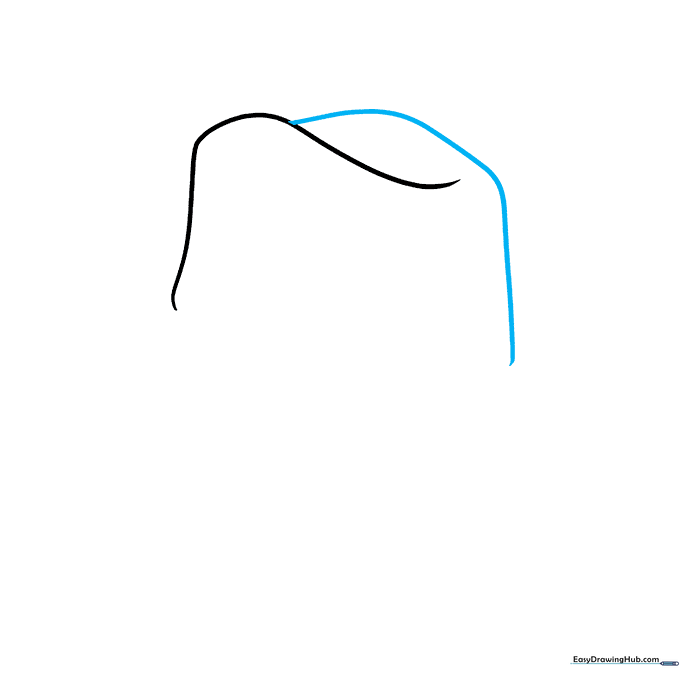
Extend a second curved line from near the peak of the first. Where they intersect creates that signature 'dented' look of a well-worn hat. Tip: Think of this as a soft 'M' shape.
Step 3: Closing the Crown
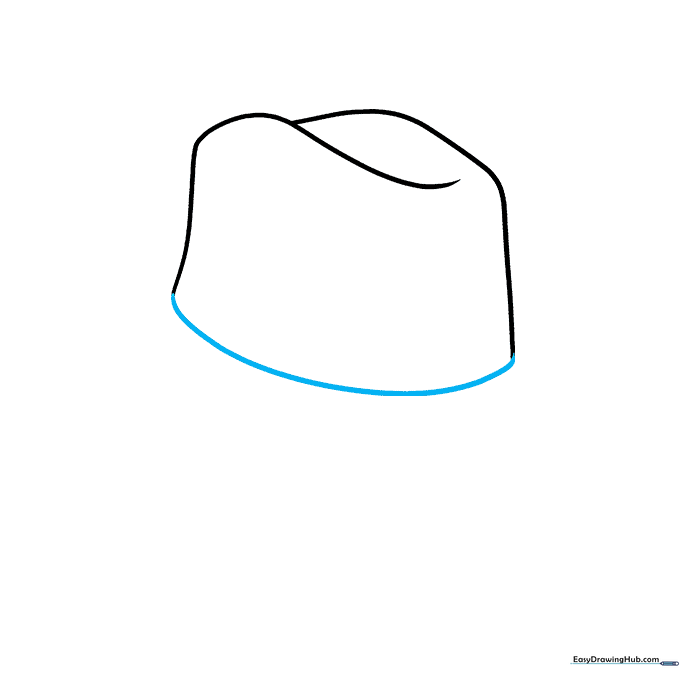
Connect the lower ends of your lines with a smooth, curved base. This seals the crown. Tip: Ensure the bottom curve is rounded to give the hat a sense of volume.
Step 4: Adding Side Contours
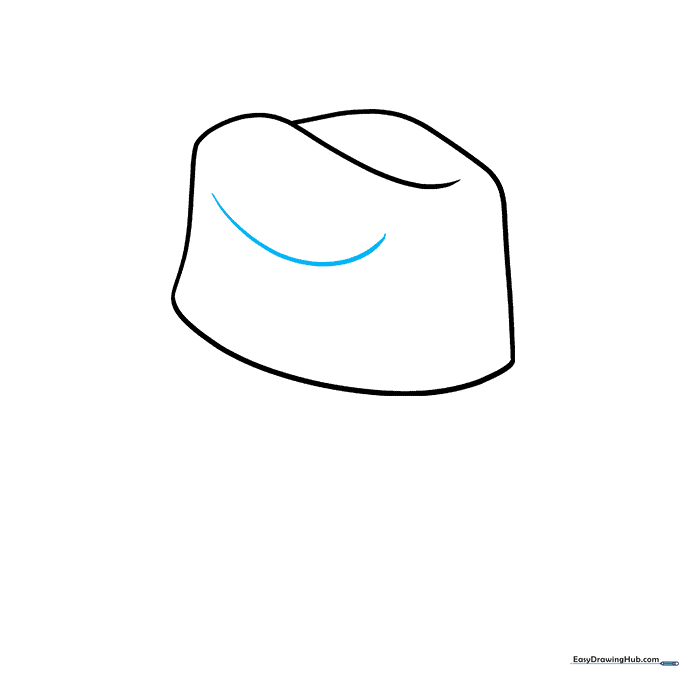
Add a small curved line on the side of the crown to show its depth. Tip: A small curve here makes the hat look three-dimensional rather than flat.
Step 5: Drawing the Hat Band
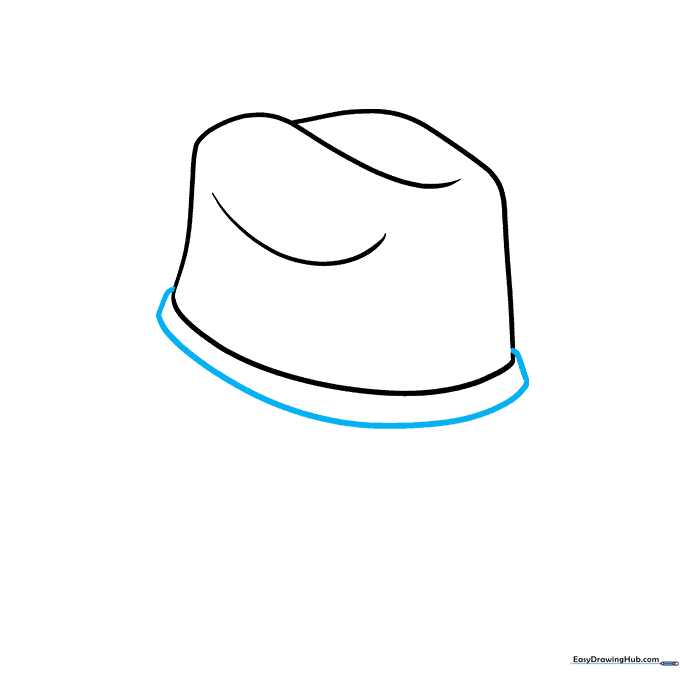
Draw two short vertical lines at the base of the crown and connect them with a long, sweeping curve. This is your hat band. Tip: Keep this line parallel to the base of the crown for a professional look.
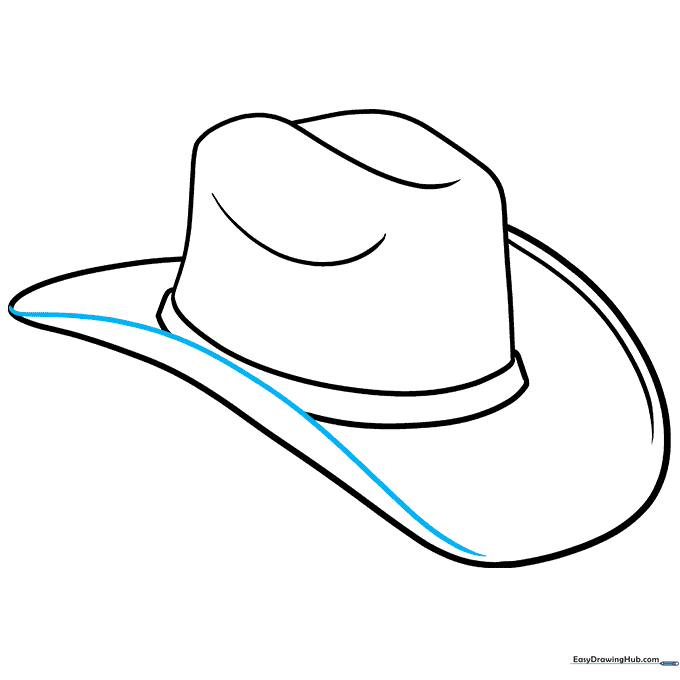
Step 6: Starting the Brim
Extend a long, wide curved line from the side of the crown. This begins the brim. Tip: Imagine the brim is like a wide, flat oval surrounding the base.
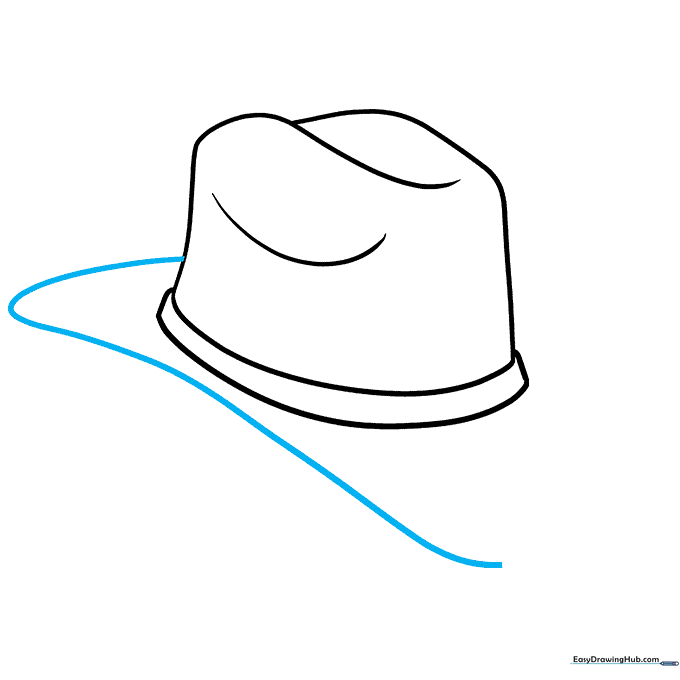
Step 7: Completing the Brim
Connect the brim line back to the other side of the crown. Notice how the width varies—that's what gives it that jaunty, realistic cowboy feel!
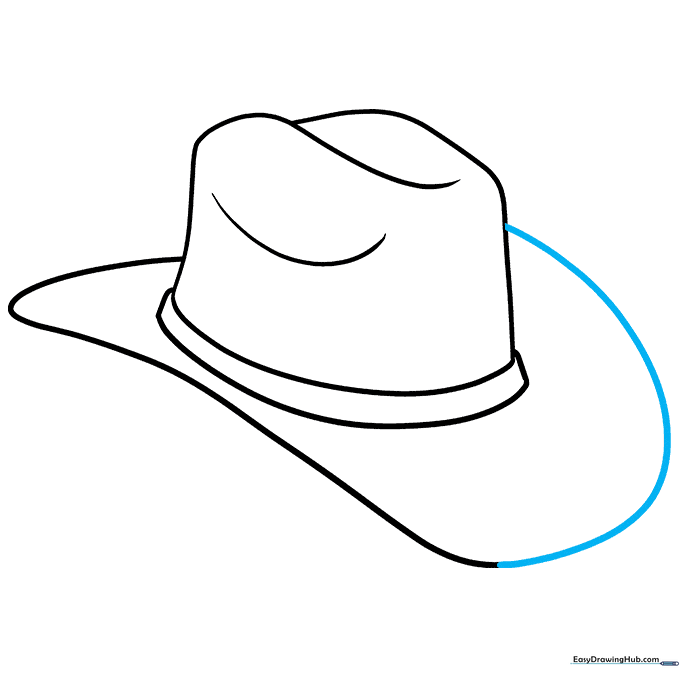
Step 8: Contouring the Upturned Brim
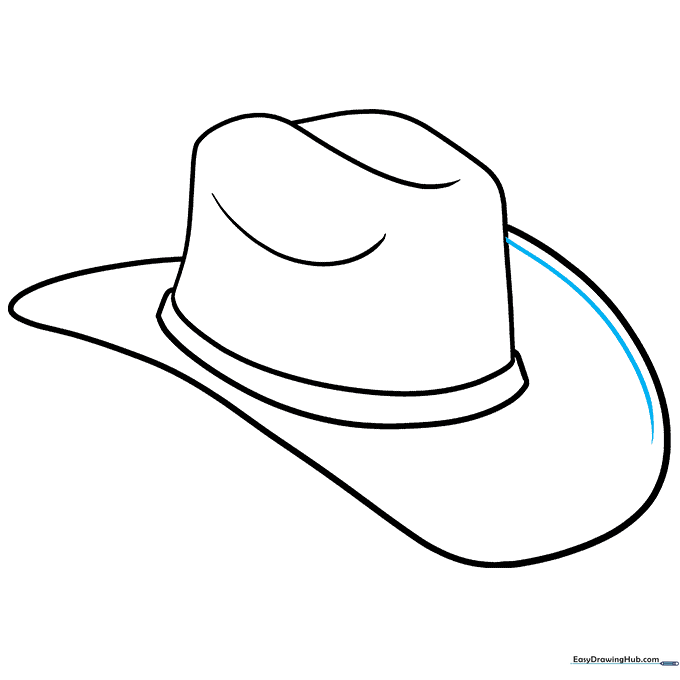
Draw a line parallel to the edge of the brim. This creates the 'upturn' effect. Tip: Keep this line smooth to match the flow of the brim.
Step 9: Final Touches
Add a final curved line from the front of the brim to the back, overlapping the hatband. Erase any extra lines inside the band. You've done it!
Color Your Cowboy Hat
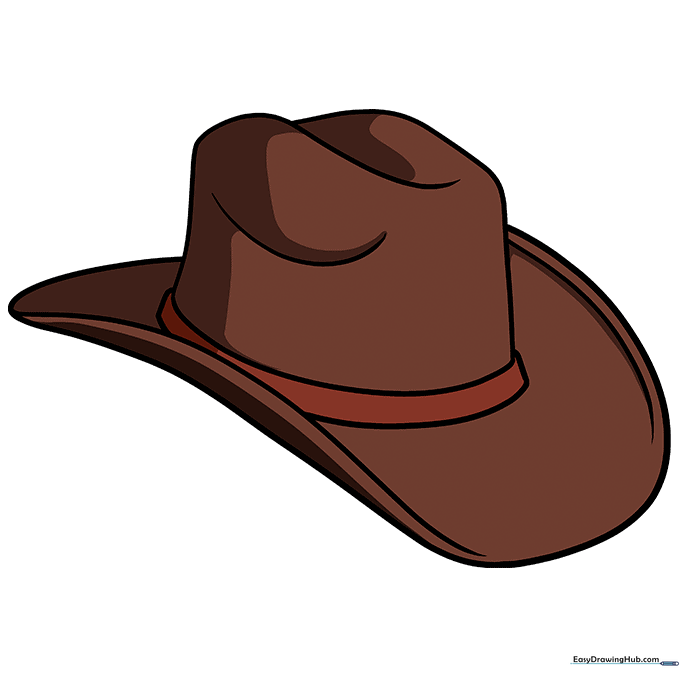
Time to bring your hat to life! Try classic browns, tans, or even a bold black. Tip: Use a darker shade on the underside of the brim to create a realistic shadow effect.
More Tutorials


