How to Draw a Cartoon Couple: Easy 10-Step Guide
Looking for a fun, creative project? This tutorial is perfect for artists ages 5 and up. All you need is a pencil, an eraser, and a piece of paper to bring this sweet pair to life. Follow along to master basic character proportions and expressive line work.
🎯 Final Result

Step-by-Step Instructions
Step 1: Sketching the Girl's Face
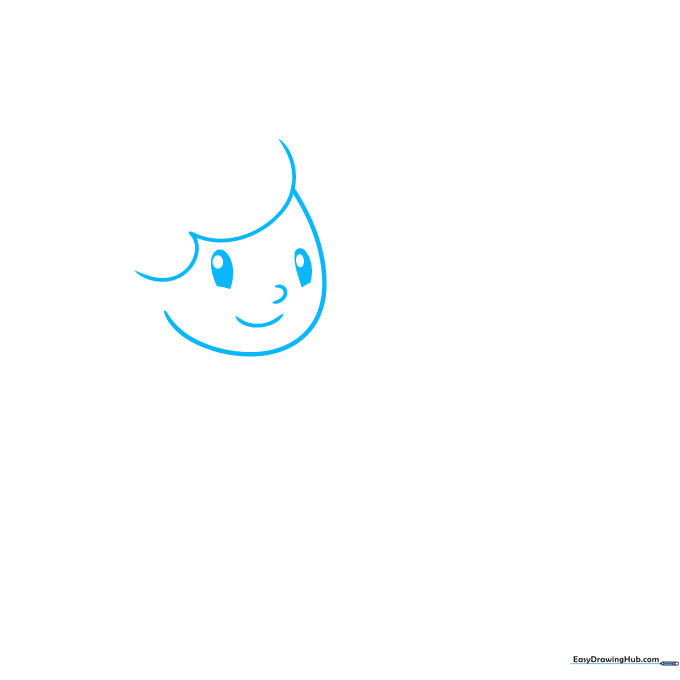
Draw a wide 'U' shape for the girl's face, then add a soft curve on top for her hair. Add two partial ovals for eyes with smaller circles inside. Teacher's Tip: Keep your pencil pressure light so you can easily erase any stray marks later.
Step 2: Adding Hair and Shoulders
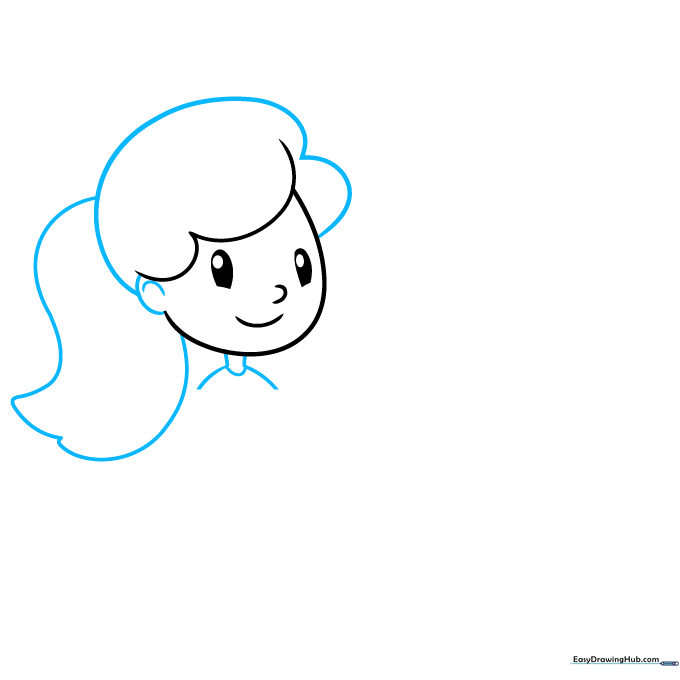
Add a small ear and neck, then sketch the hair flowing into a ponytail. Use smooth, long curves for the shoulders. Teacher's Tip: Think of the hair as a single shape first, then add the ponytail as a separate 'blob' to keep it simple.
Step 3: Drawing the Dress and Arms
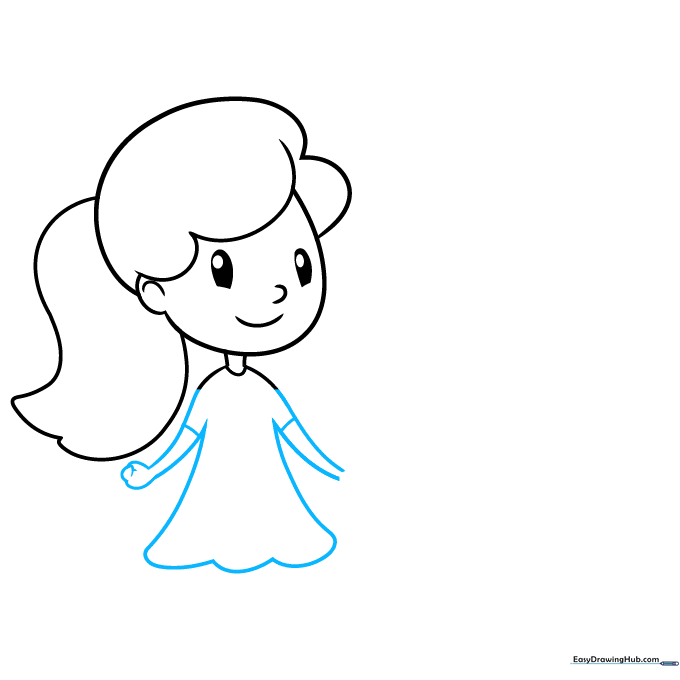
Use pairs of curved lines for the arms and the flared skirt of the dress. Add small bands on the arms for sleeves. Teacher's Tip: Use short, overlapping strokes for the hands to make them look like soft mittens.
Step 4: Adding the Flower and Legs
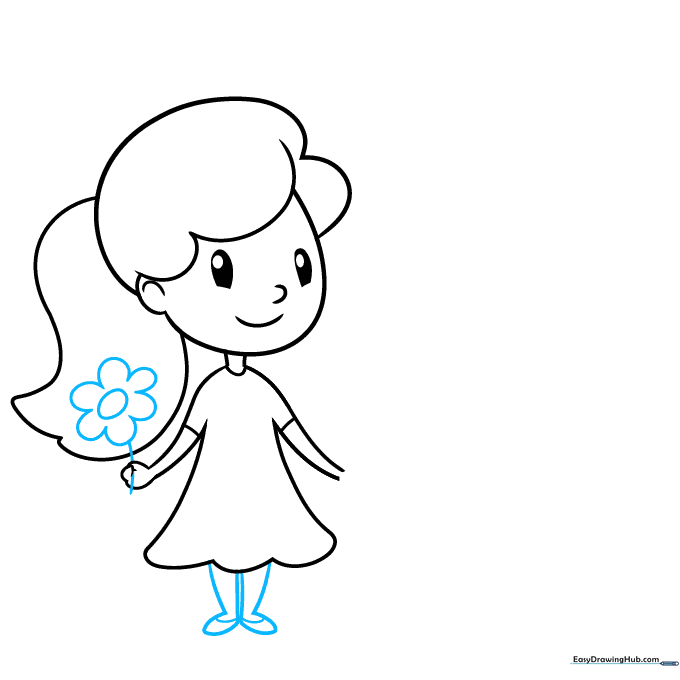
Draw a small daisy in her hand, then sketch two legs ending in 'U' shaped feet. Teacher's Tip: Keep the flower center small so the petals stand out clearly.
Step 5: Starting the Boy's Face
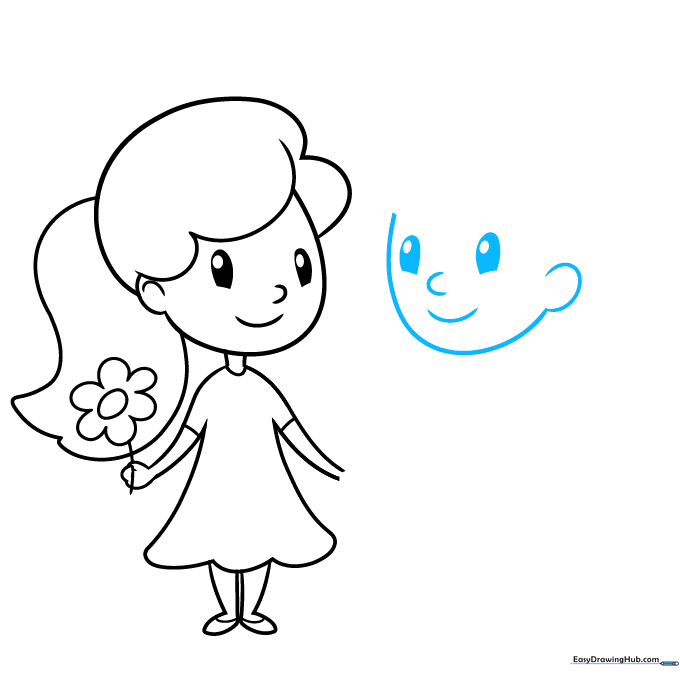
Sketch the boy's face next to the girl using a long curved line. Add his ear, nose, and mouth. Teacher's Tip: Make his eyes slightly flatter on the bottom to give him a different expression than the girl.
Step 6: Adding Hair and Shoulders
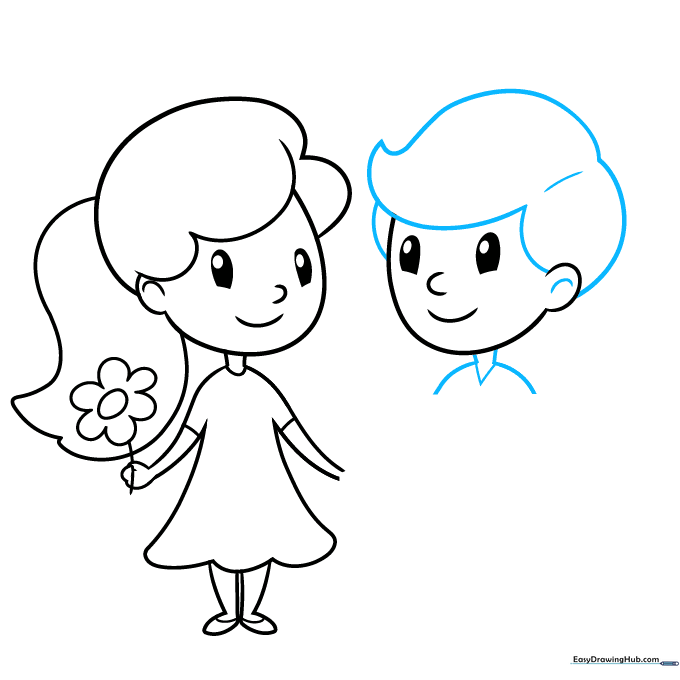
Outline his hair with long, flowing lines and add a 'V' shape for his shirt collar. Teacher's Tip: Use short, jagged lines at the ends of the hair to give it a more natural, textured look.
Step 7: Drawing the Arms and Holding Hands
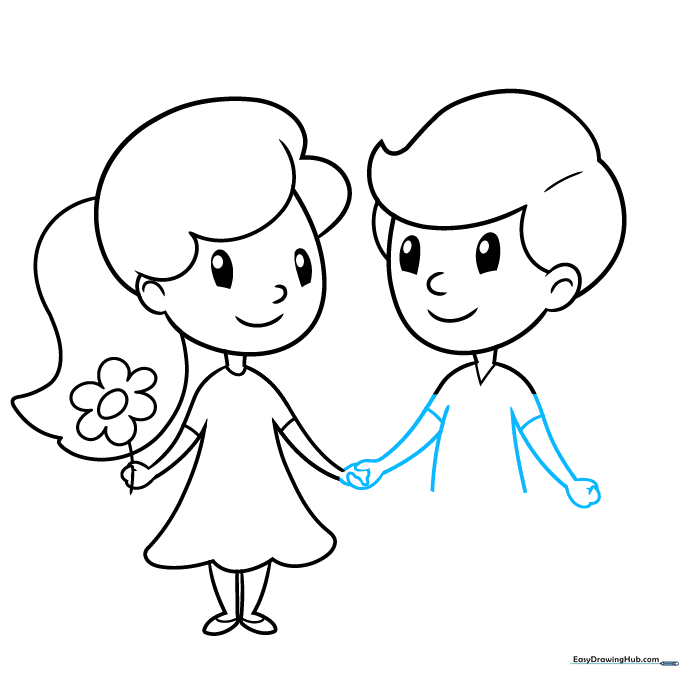
Sketch the boy's arms and torso. Connect his hand to the girl's hand using overlapping lines. Teacher's Tip: This is the trickiest part! Focus on the 'overlap'—where one hand meets the other, it creates a sense of connection.
Step 8: Finishing the Outfit
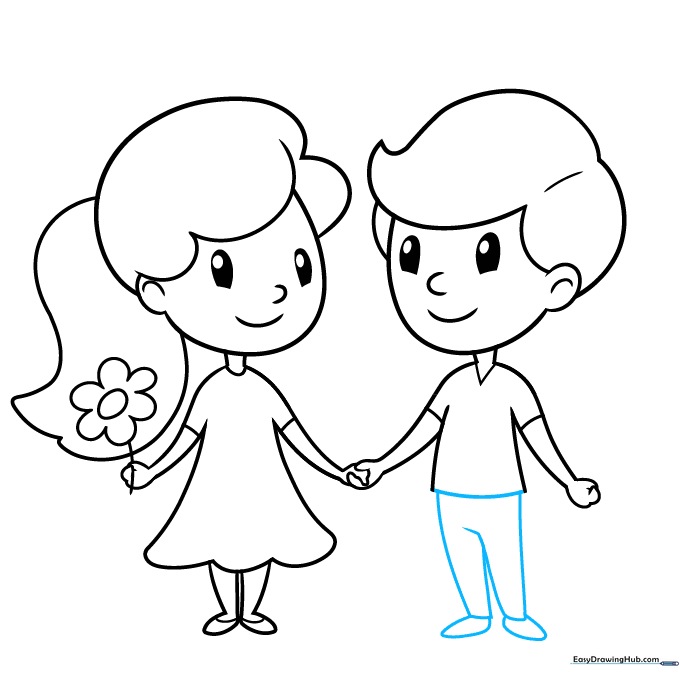
Add the bottom of his shirt, his pants, and his shoes using simple curved lines. Teacher's Tip: Keep the pants slightly wider than the legs to make them look like real fabric.
Step 9: Adding Heart Balloons
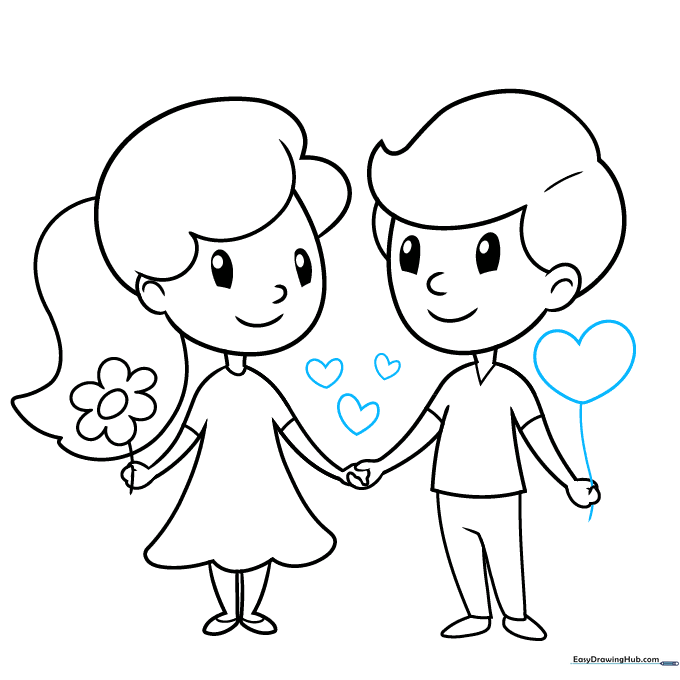
Draw small hearts between the couple and a large heart-shaped balloon above the boy's hand. Teacher's Tip: Use a ruler or a steady hand to draw the string connecting the balloon to his hand.
Step 10: Color Your Masterpiece
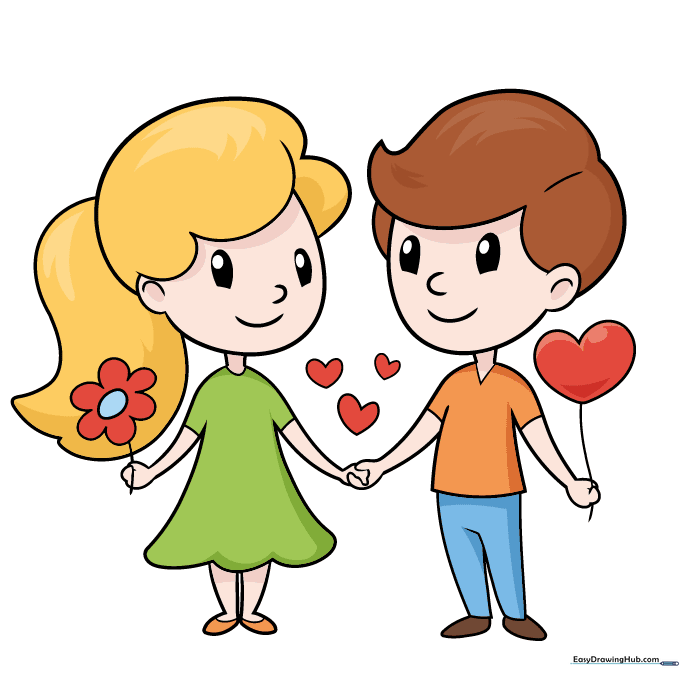
Your outline is finished! Now, grab your markers or colored pencils. Teacher's Tip: Try coloring the clothes to match your own favorite outfits to make the drawing feel personal.
More Tutorials


