How to Draw a Cartoon Cookie: Easy 10-Step Guide
Ready to draw something sweet? This tutorial is perfect for young artists ages 5 and up. All you need is a pencil, an eraser, and your favorite coloring supplies to bring this tasty treat to life.
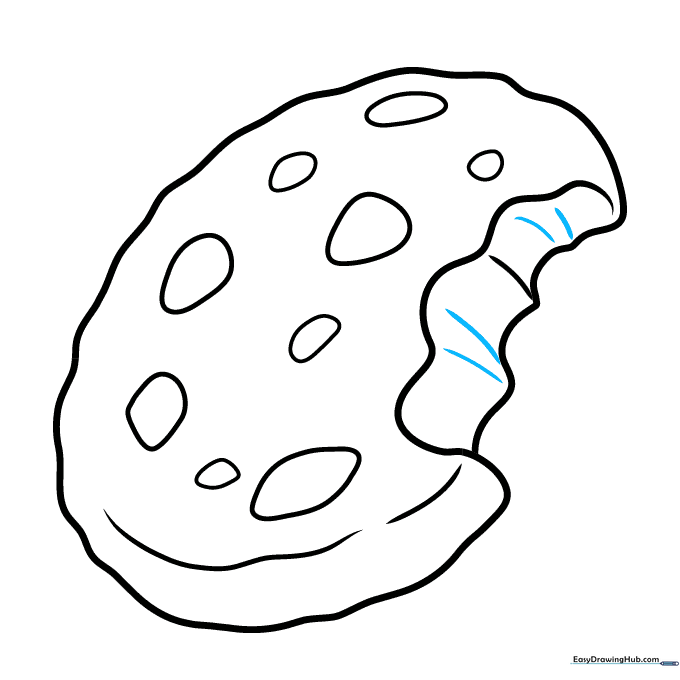
🎯 Final Result

Step-by-Step Instructions
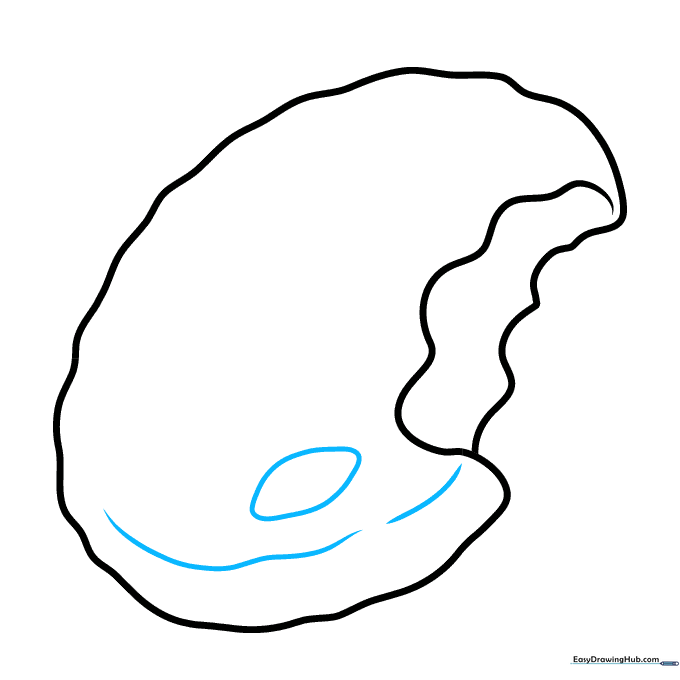
Step 1: Sketching the Initial Curve
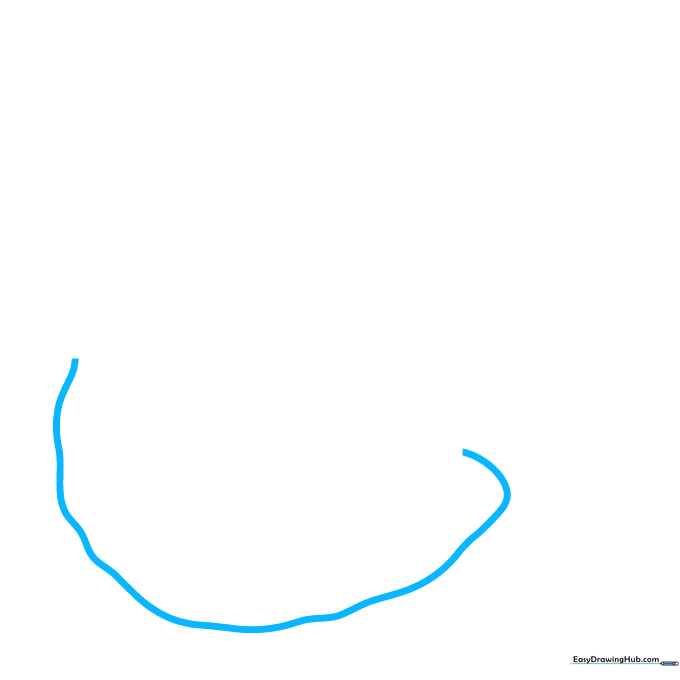
Start by drawing a long, wavy line to form the top edge of your cookie. Teacher's Tip: Keep your pencil pressure light so you can easily adjust the shape if it doesn't look quite right on the first try.
Step 2: Forming the Cookie Base
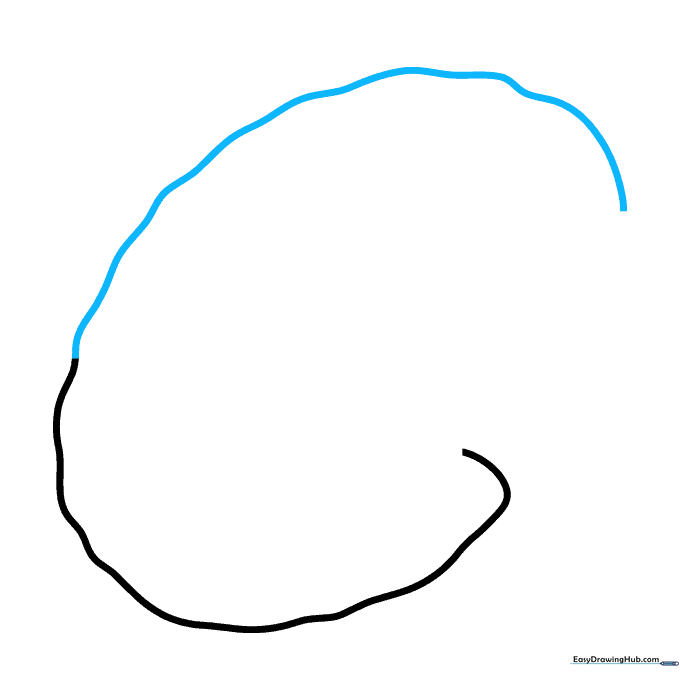
Continue the wavy line downward to create an oval-like shape. It should look a bit like a large, rounded letter 'G'. Tip: Don't worry about making it perfectly symmetrical; real cookies are wonderfully lumpy!
Step 3: Adding the Bite Mark
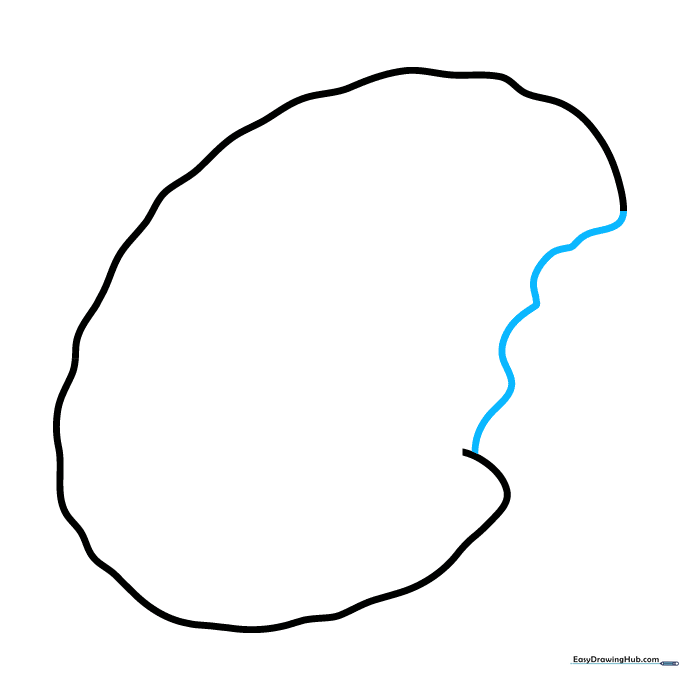
Connect the ends of your line to close the shape, leaving a small gap for the 'bite' taken out of the cookie. Tip: Use a series of smaller, overlapping curves to make the bite look realistic.
Step 4: Creating Depth
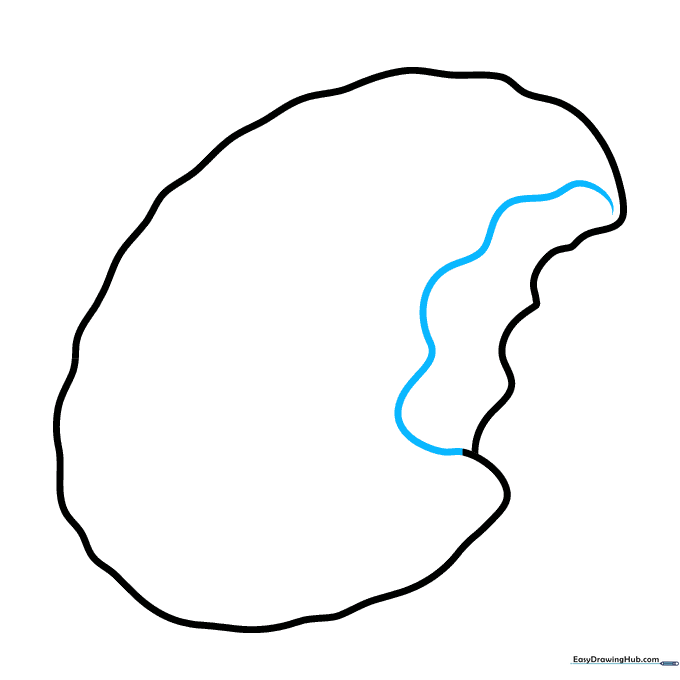
Draw a secondary wavy line inside the bite mark area. This creates the illusion of thickness, making your cookie look 3D. Tip: Imagine the cookie has a 'crust' and draw this line parallel to the edge.
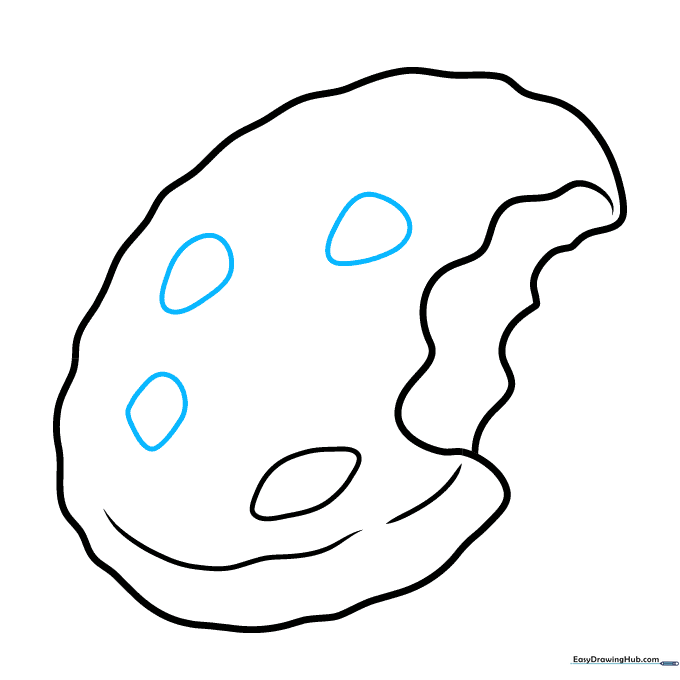
Step 5: Placing the First Chip
Add a few disconnected wavy lines on the surface for texture, then draw a rounded diamond shape. This is your first chocolate chip! Tip: Vary the size of your chips to make the cookie look more natural.
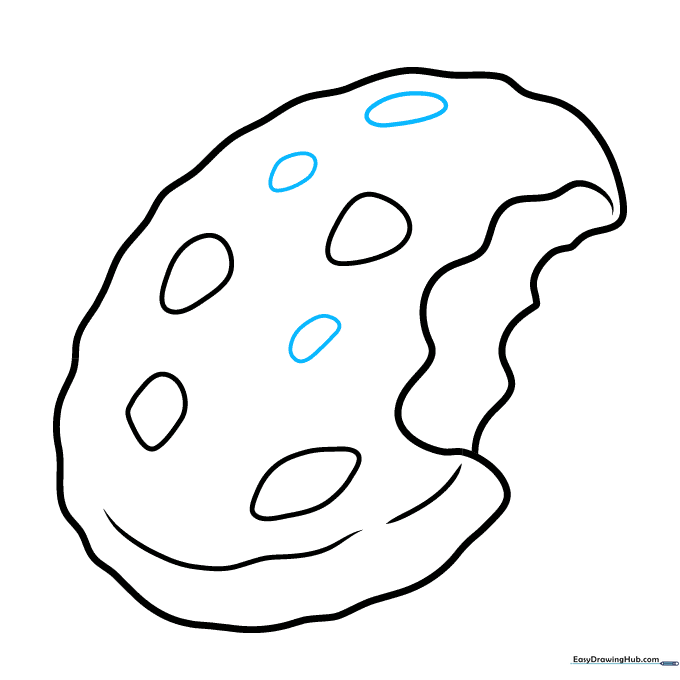
Step 6: Adding More Chips
Scatter more irregular, rounded shapes across the top of the cookie. Tip: Don't place them in a straight line; cookies have chips that are scattered randomly during baking.
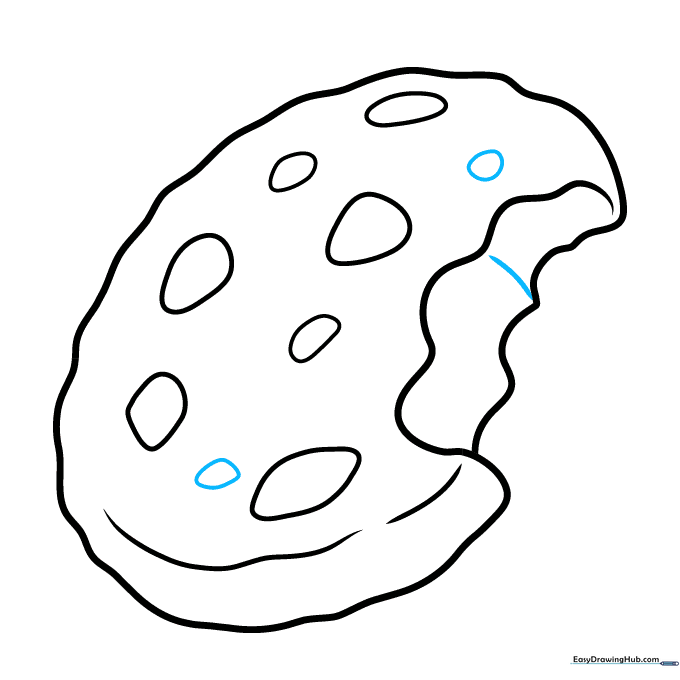
Step 7: Filling the Surface
Continue adding a few more chips. If you want a 'loaded' cookie, feel free to add as many as you like! Tip: Keep the shapes slightly different from one another to avoid a repetitive pattern.
Step 8: Refining the Texture
Add a few final small shapes and a line across the bite mark. This helps define the inner texture of the cookie. Tip: Use short, quick strokes to suggest the crumbly nature of a baked cookie.
Step 9: Finalizing the Outline
Go over your lines with a darker pencil or pen to solidify the drawing. Erase any stray guidelines. Tip: A clean outline makes your coloring step much easier later on!
Step 10: Adding Color
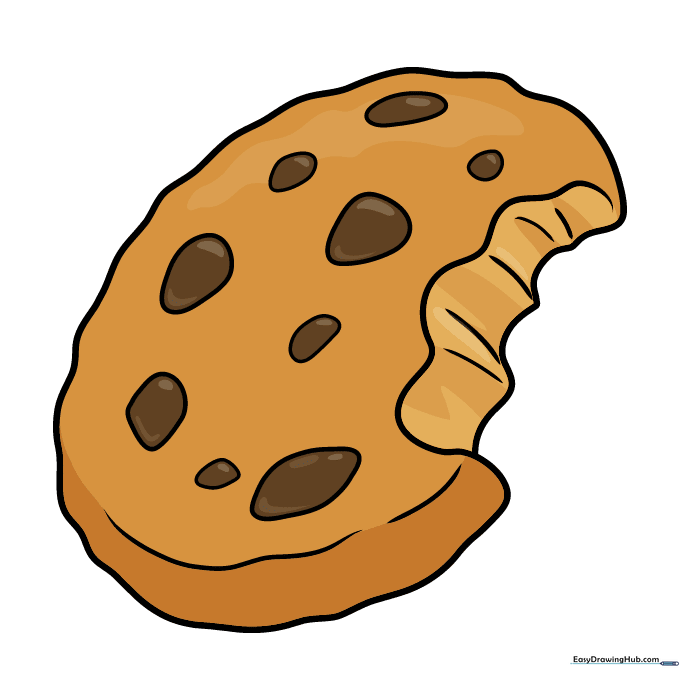
Time to decorate! Use golden brown for the dough and dark brown for the chips. Want a twist? Try purple for raisins or white for macadamia nuts. Tip: Use a lighter shade of brown for the base and a darker shade for the shadows to give it a professional look.
More Tutorials


