How to Draw a Cartoon Clock: Easy 10-Step Guide
Bring a cheerful character to life with this fun, screen-free drawing activity perfect for ages 5 and up. You will only need a pencil, an eraser, and your favorite markers to create this expressive alarm clock. Follow along to master basic shapes and build your fine motor skills while creating a piece of art you can be proud of.
🎯 Final Result

Step-by-Step Instructions
Step 1: Sketching the Face and Nose
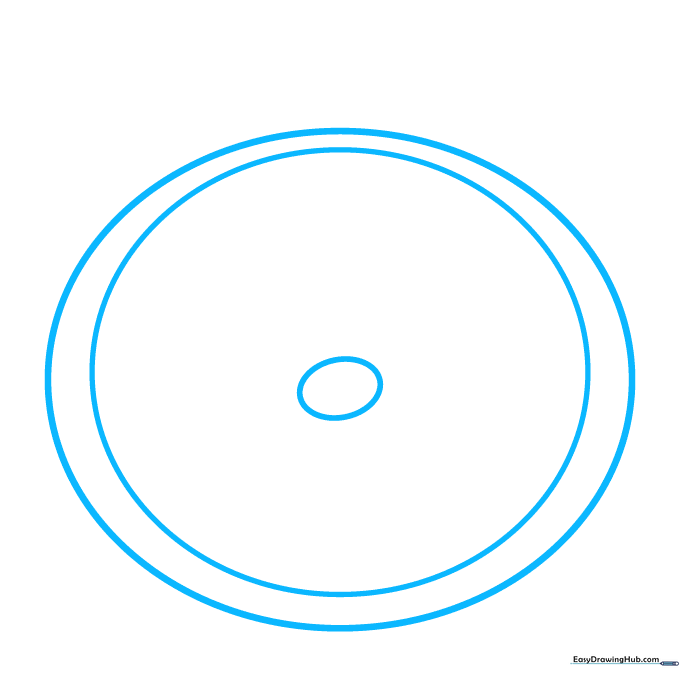
Draw a large circle for the clock face and a smaller circle inside it. Add a tiny oval in the center to act as the nose. Teacher's Tip: Keep your pencil lines light and loose so they are easy to erase if you need to adjust your spacing later.
Step 2: Adding Cheeks and Eyes

Extend curved lines from the nose to create chubby cheeks. Draw two partial ovals above the cheeks for the eyes, then add smaller ovals inside for pupils. Tip: Shade the inner pupils darkly to give your clock a bright, alert expression.
Step 3: Eyebrows and Mouth

Draw two teardrop shapes above the eyes for expressive eyebrows. Below the nose, sketch a wide, smiling mouth. Tip: Use short, quick strokes at the corners of the mouth to make the smile look natural and friendly.
Step 4: Adding Teeth and Tongue

Draw a 'U' shape under the smile to open the mouth. Add a curved line inside for the tongue and small squares for teeth. Tip: Keep the teeth shapes simple and uniform to maintain the cartoon style.
Step 5: Drawing the Clock Hands

Draw two teardrop-shaped hands extending from the nose. Position the short hour hand near 8 o'clock and the longer minute hand near 4 o'clock. Tip: Ensure the hands are distinct in length so the clock remains easy to read.
Step 6: Creating the Alarm Bells

Draw two partial ovals on top of the clock for the alarm bells. Add a 'C' shaped line inside each to give them depth. Tip: Try to make these symmetrical to keep the clock looking balanced.
Step 7: Detailing the Bells
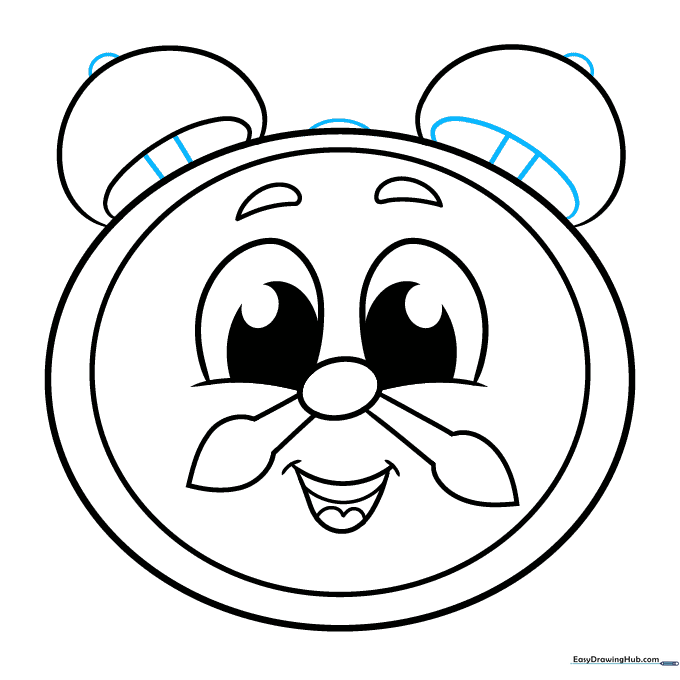
Add straight lines inside the bells and a small half-circle on top of each. Place a partial circle between the bells to connect them. Tip: These small details make the clock look like a real vintage alarm clock.
Step 8: Adding the Clapper and Feet
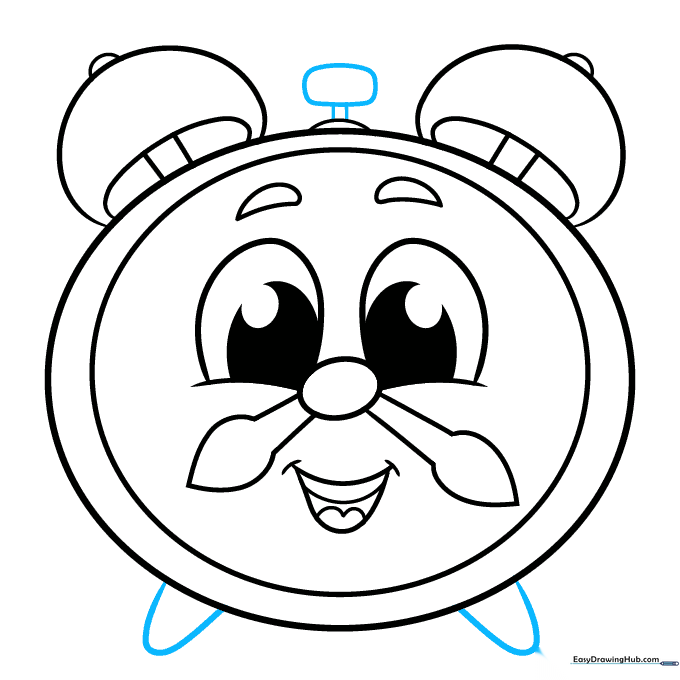
Draw a rounded rectangle between the bells for the clapper. At the bottom of the clock, add two rounded triangles for the feet. Tip: The feet should be wide enough to make the clock look like it can stand up on its own.
Step 9: Marking the Hours
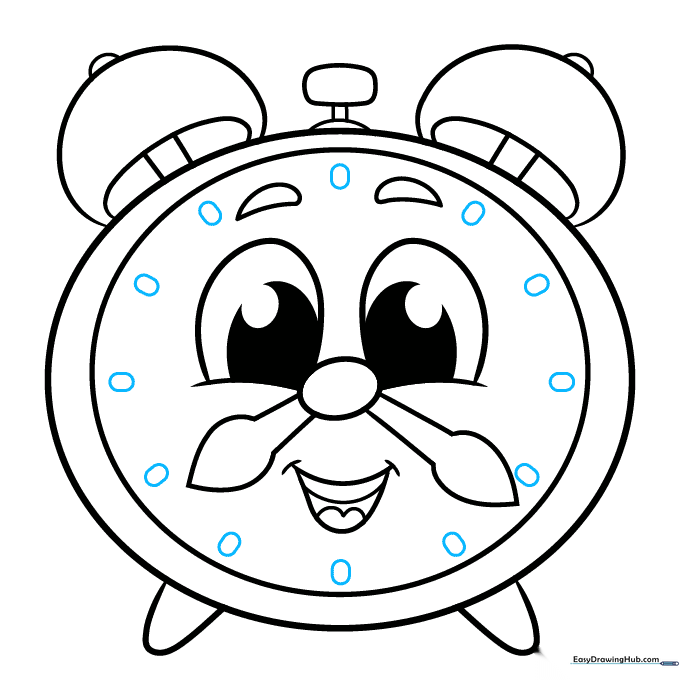
Draw twelve small ovals around the edge of the clock face to represent the hour markers. Tip: Start by drawing the 12, 3, 6, and 9 positions first to ensure your spacing is even all the way around.
Step 10: Coloring Your Masterpiece

Your outline is complete! Use bright, cheerful colors to fill in your clock. Tip: Try using a metallic silver for the bells and a bold color for the face to make your drawing pop.
More Tutorials


