How to Draw a Cartoon Christmas Tree: Easy 5-Step Guide
Bring holiday cheer to your sketchbook with this fun, beginner-friendly Christmas tree tutorial. Designed for ages 5 and up, this activity requires only a pencil, paper, and your favorite markers to build confidence in basic shape-building. Follow along to create a festive masterpiece that’s perfect for handmade cards or seasonal decorations.
🎯 Final Result

Step-by-Step Instructions
Step 1: Sketching the Star Topper
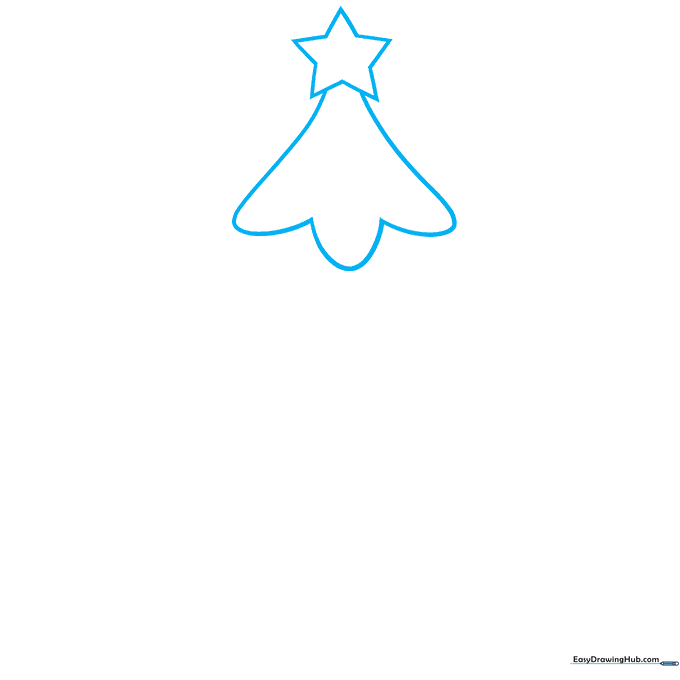
Start by drawing a five-pointed star at the top of your page. From the two bottom points of the star, extend curved lines downward, connecting them with a series of 'U' shapes to form the first bough. Teacher's Tip: Keep your star small so you have plenty of room for the rest of the tree below!
Step 2: Adding the Middle Bough
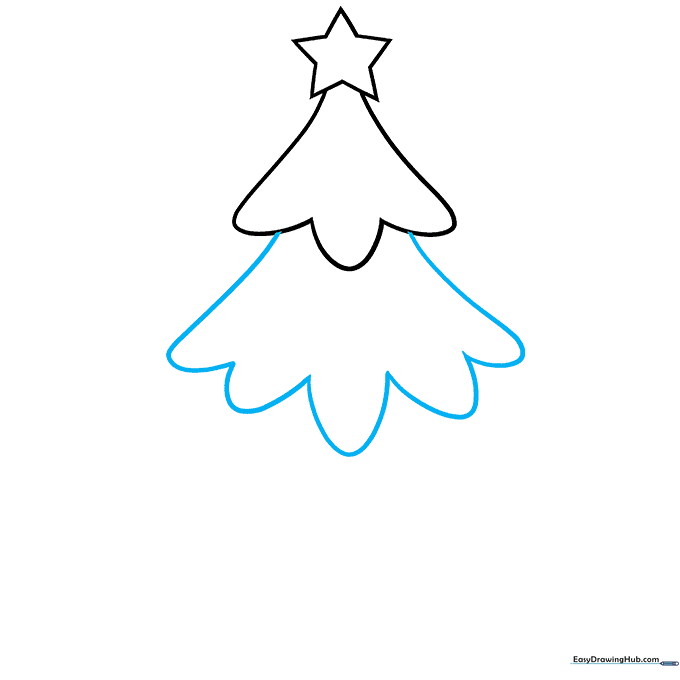
Extend two more curved lines from the first section, connecting them at the bottom with wider 'U' shaped lines. Teacher's Tip: Make these 'U' shapes slightly larger than the ones in step one to give the tree a natural, triangular taper.
Step 3: Creating the Lower Segment

Continue the pattern by drawing the lower segment of the tree using another set of connected 'U' shaped lines. Teacher's Tip: Ensure your lines overlap slightly with the previous section to make the tree look like one solid piece.
Step 4: Finishing the Base
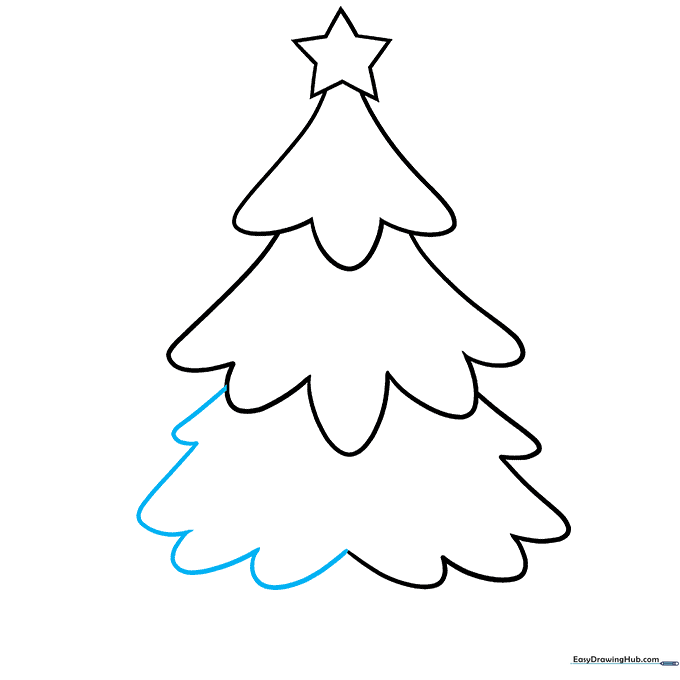
Complete the bottom of the tree with a final, wide row of 'U' shapes. Teacher's Tip: If your tree looks a bit lopsided, don't worry! Nature isn't perfect, and a slightly uneven tree adds character.
Step 5: Adding the Trunk and Ribbons
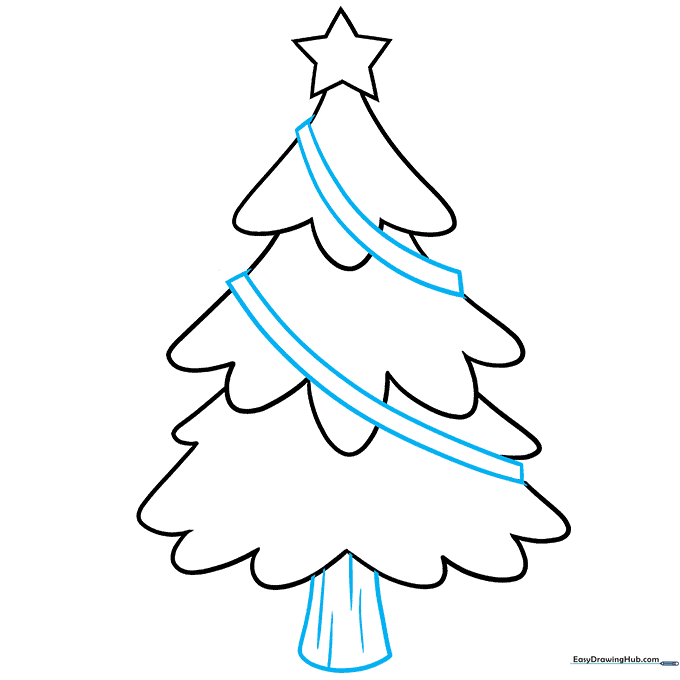
Draw a rounded rectangle for the trunk and add vertical lines for bark texture. Then, draw ribbons wrapping around the tree using parallel curved lines. Teacher's Tip: Erase the lines inside the ribbons to make them look like they are truly wrapping around the branches.
Step 6: Stringing the Lights
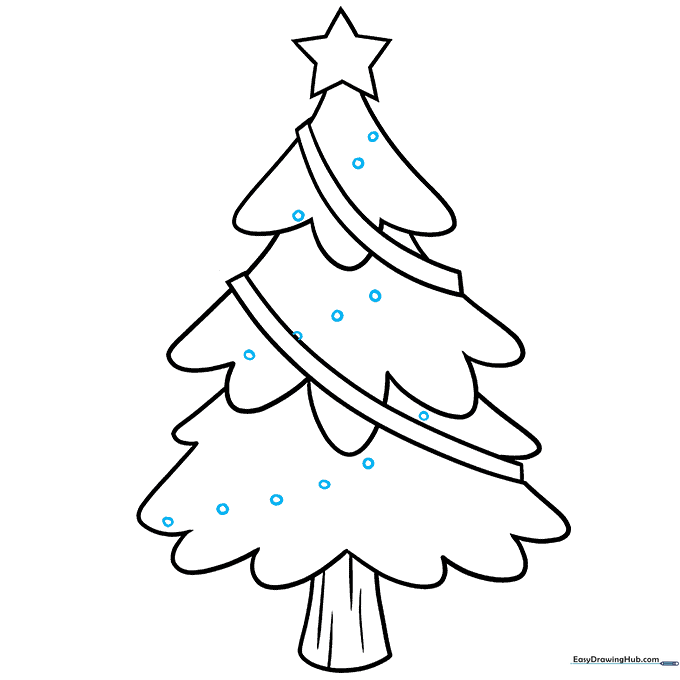
Draw small circles in diagonal lines across the tree to represent string lights. Teacher's Tip: Space them out evenly so the tree doesn't look too crowded.
Step 7: Adding Ornaments

Fill in empty spaces with circles to create ornaments. Teacher's Tip: Try drawing some circles partially hidden behind the ribbons to create a sense of depth.
Step 8: Adding Candy Canes
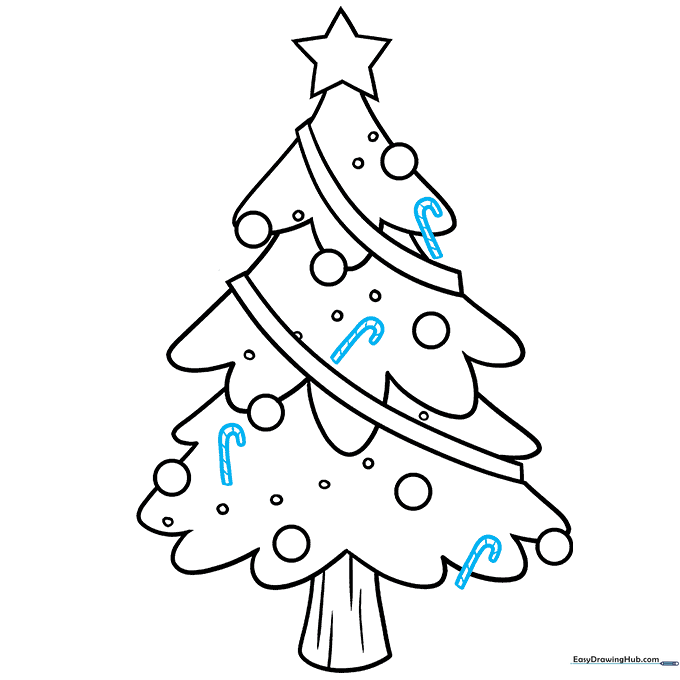
Draw 'J' shapes for candy canes and add diagonal stripes. Teacher's Tip: Use a fine-liner pen for these small details to keep them crisp and clean.
Step 9: Adding Festive Bells
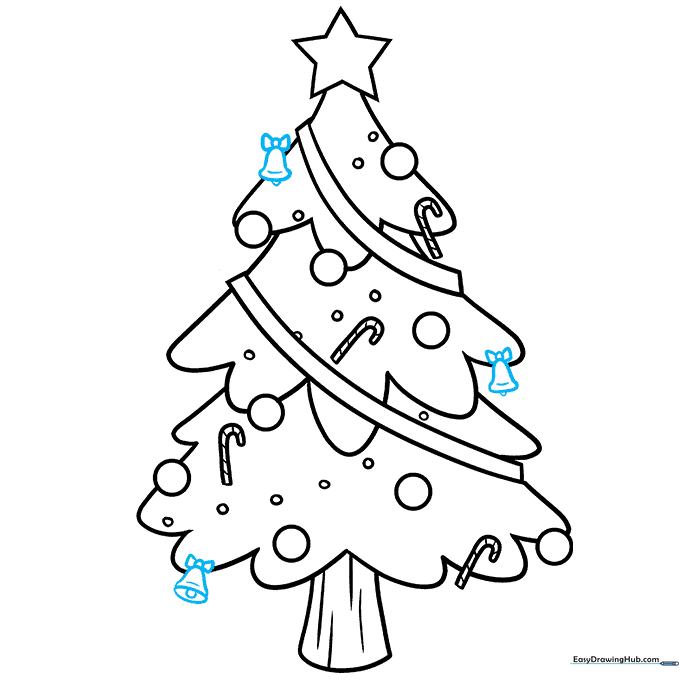
Draw small bells with bows on the boughs. Teacher's Tip: A bell is just a semi-circle with a small circle inside for the clapper—keep it simple!
Step 10: Bring It to Life with Color
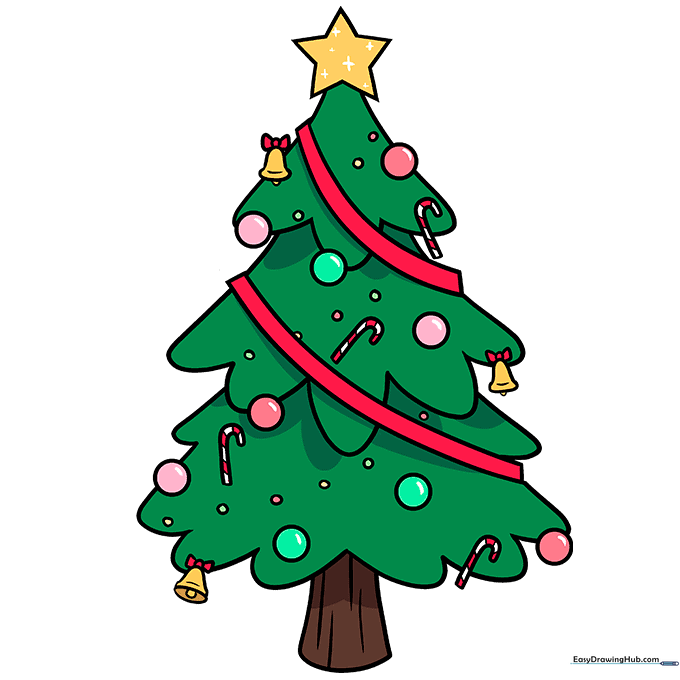
Now for the fun part! Use vibrant greens for the needles and bright reds or golds for the ornaments. Teacher's Tip: Use a darker shade of green on the underside of the boughs to create a shadow effect, making your tree look 3D.
More Tutorials


