How to Draw Chewbacca: Easy 10-Step Cartoon Guide
Bring the galaxy's favorite Wookiee to life! This tutorial is designed for young Star Wars fans and budding artists looking to practice character proportions. You will need a pencil, an eraser, and a black fine-liner to capture Chewie’s iconic, shaggy look.
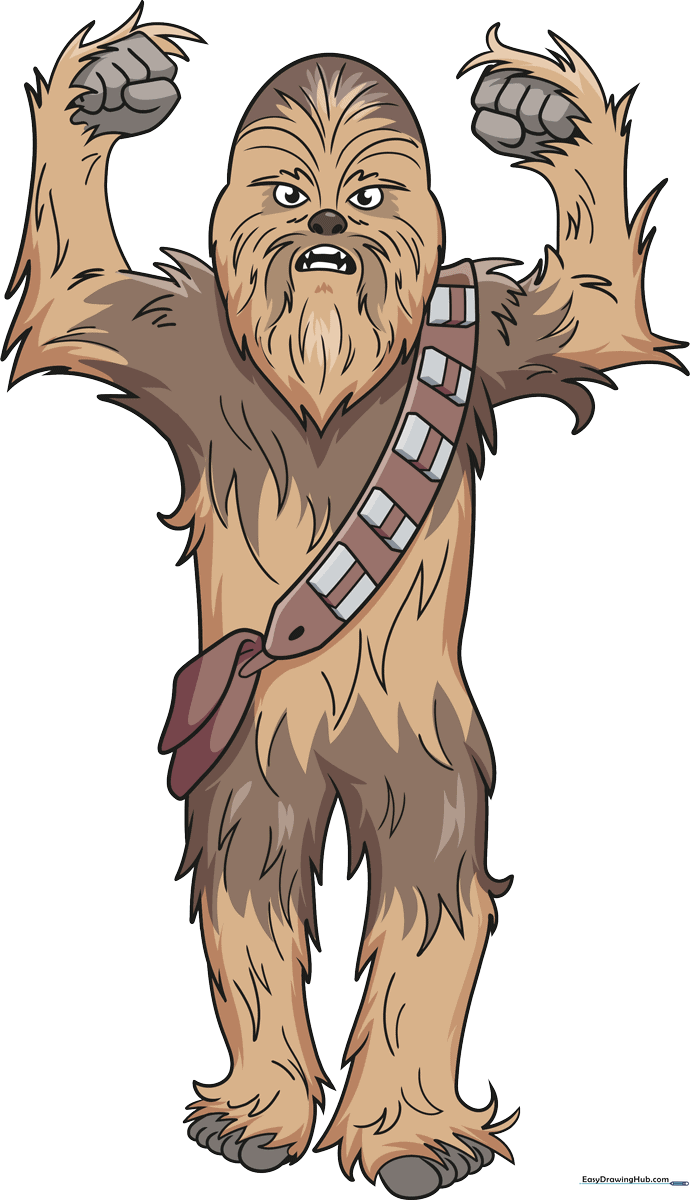
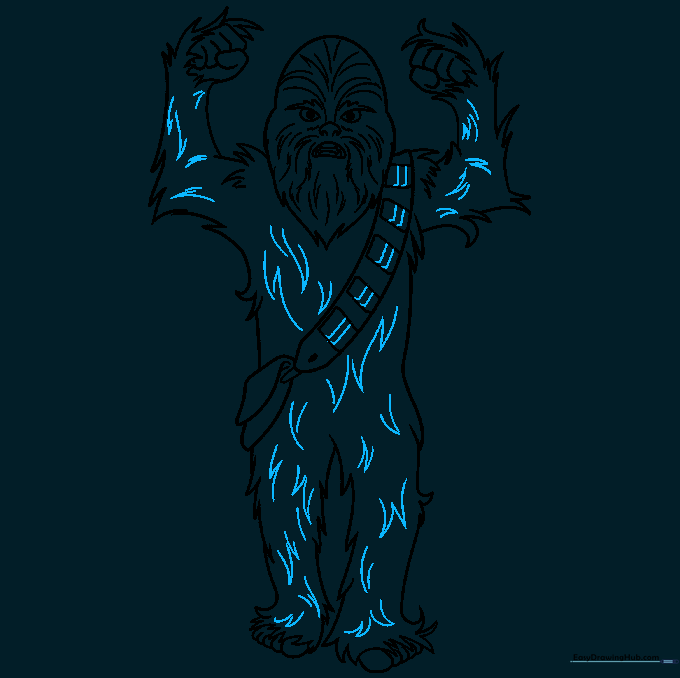
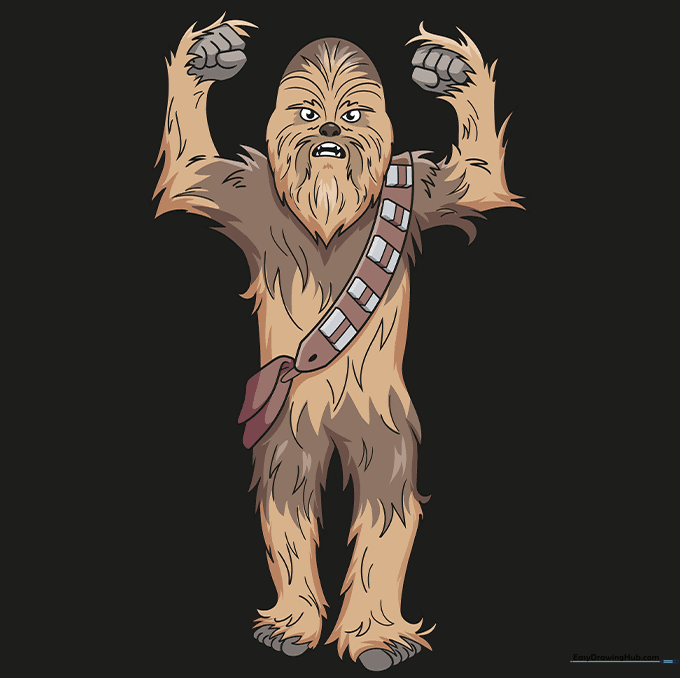
🎯 Final Result
Step-by-Step Instructions
Step 1: Sketching the Head and Face

Start with a soft half-circle for the top of the head, then add jagged, downward-pointing lines for the chin. Tip: Keep your pencil pressure light here so you can easily refine the fur shape later.
Step 2: Defining the Mouth and Fur
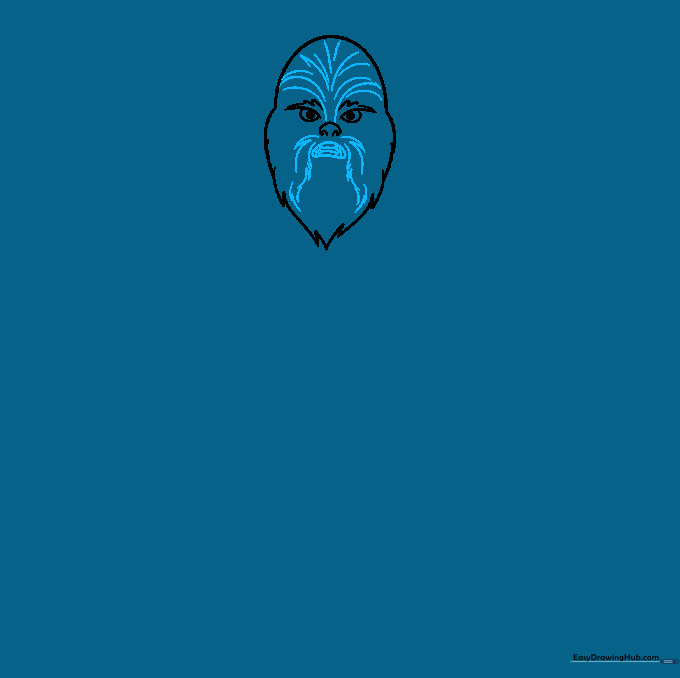
Draw a lopsided oval for the mouth and add small rectangles for teeth. Tip: Chewie’s expression is friendly, so keep the mouth slightly curved upward at the corners.
Step 3: Adding Facial Texture
Layer in more sweeping, tufted lines around the face. Tip: Think of these as 'grass' tufts—the more variety in the length of your lines, the more realistic the fur will look.
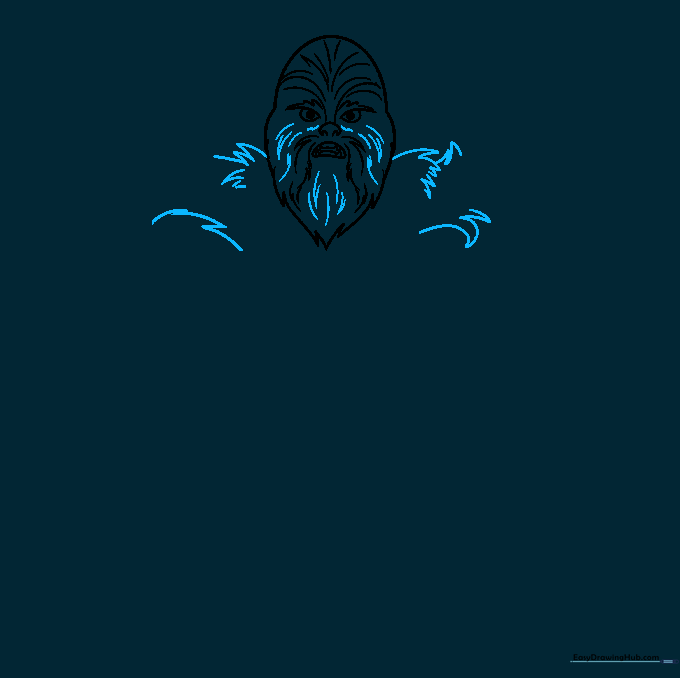
Step 4: Sketching the Arms
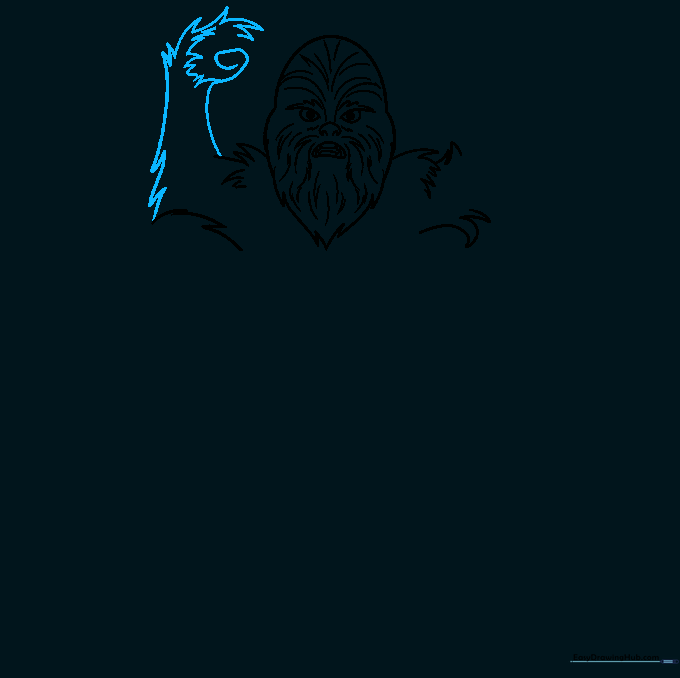
Draw a curved line for the left arm and a spiral for the thumb. Tip: Use loose, sketchy lines to suggest the bulk of his hairy arms.
Step 5: Forming the Hands
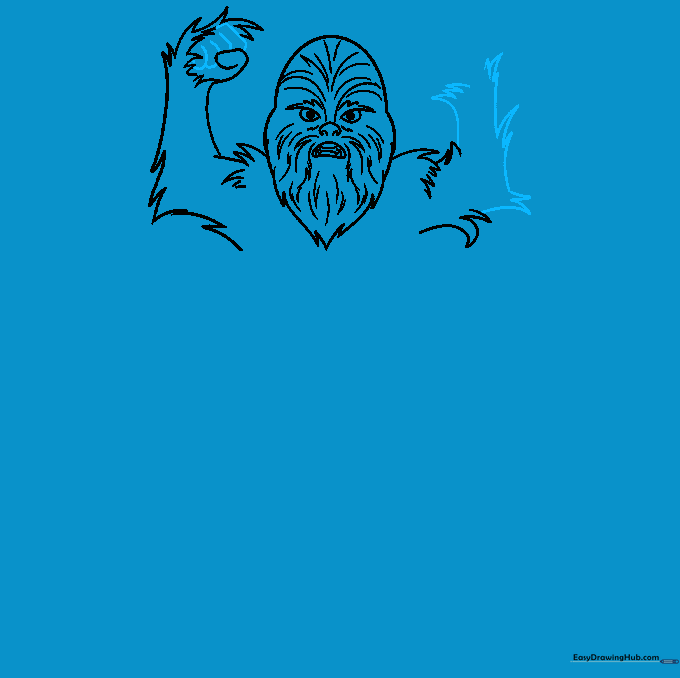
Use simple 'hot dog' shapes for the fingers. Tip: Don't worry about perfect anatomy; keep the shapes rounded to maintain the cartoon style.
Step 6: Refining the Body
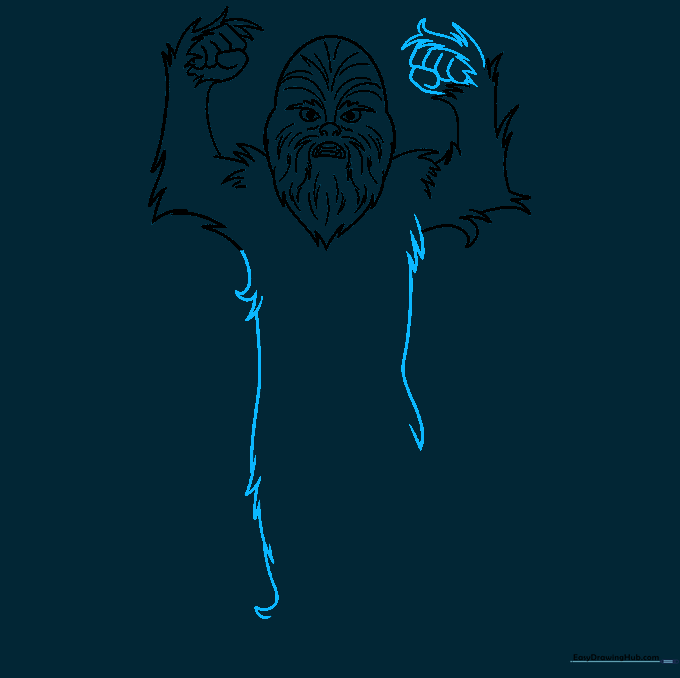
Continue the fur texture down the body using overlapping, jagged strokes. Tip: Vary the direction of your lines to make the fur look thick and natural.
Step 7: Drawing the Legs
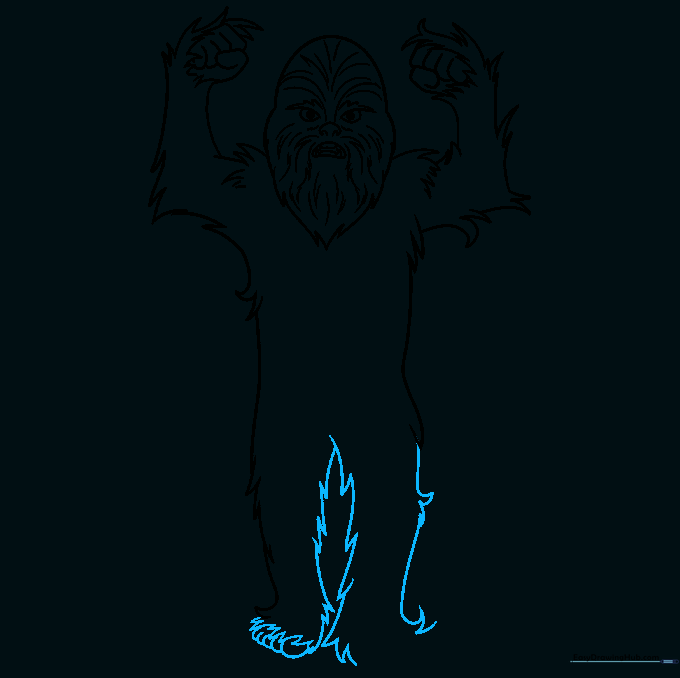
Use long, sweeping lines to form the legs, finishing with simple ovals for the feet. Tip: Keep the legs slightly wider at the bottom to give Chewie a sturdy stance.
Step 8: Adding the Bandolier
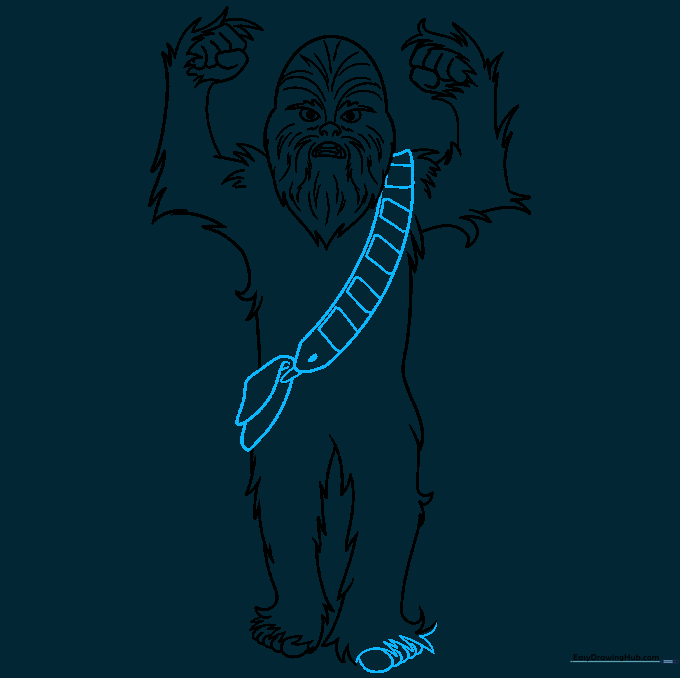
Draw the iconic sash across the chest using parallel lines and a pouch. Tip: The pouch adds great character—keep the lines for it clean and geometric.
Step 9: Final Fur Details
Add final tufts of fur across the body and sash. Tip: This is your chance to clean up any areas that look too bare.
Step 10: Inking and Coloring
Trace your lines with a black pen, erase the pencil marks, and color! Tip: Use a mix of dark and light browns for the fur to create depth.
More Tutorials


