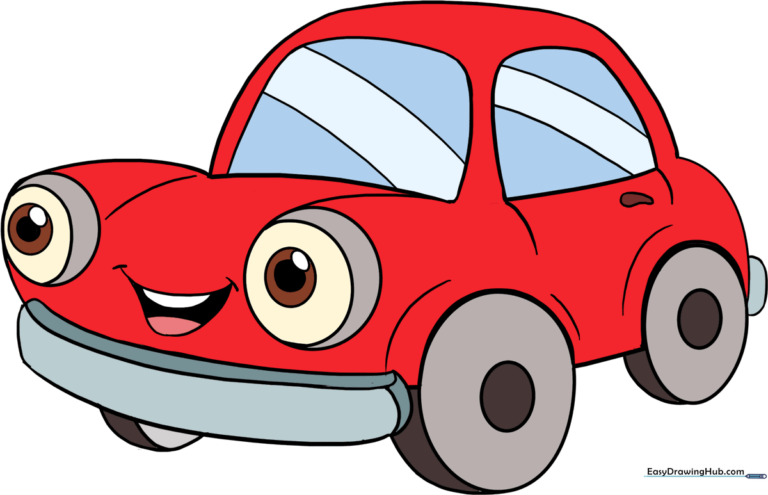
How to Draw a Cartoon Car: Easy 20-Step Guide for Kids
Ready to hit the road? This tutorial is perfect for young artists ages 5 and up who want to bring a friendly cartoon car to life. You only need a pencil, an eraser, and some paper to get started. Follow these simple steps to build confidence and develop your drawing skills one line at a time.
🎯 Final Result
Step-by-Step Instructions
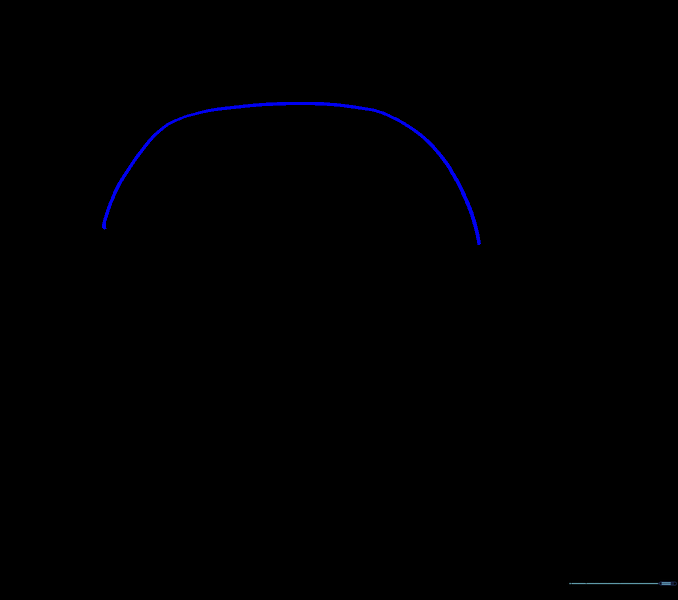
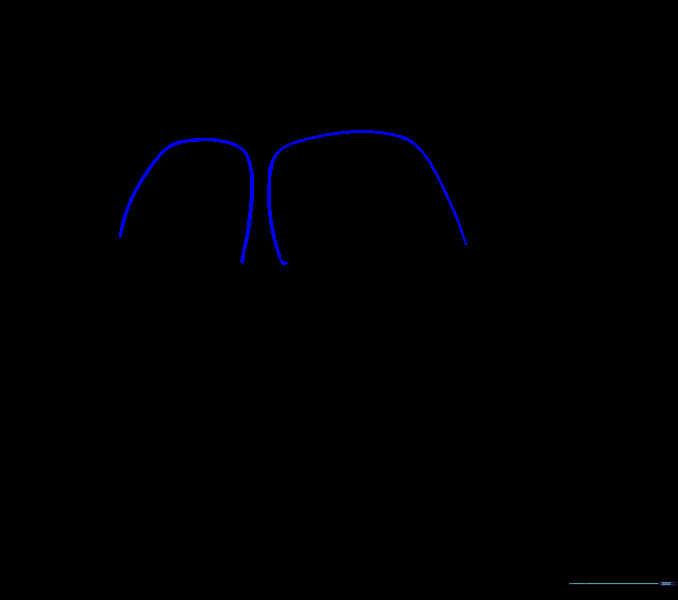
Step 1: Sketching the Roofline

Begin by drawing a gentle, horizontal curved line. Tip: Keep this line near the top of your page to leave room for the car's body below.
Step 2: Closing the Roof
Draw a second curved line on top of the first to create an enclosed roof shape. Tip: Think of this as drawing a slightly flattened rainbow.
Step 3: Defining the Pillars
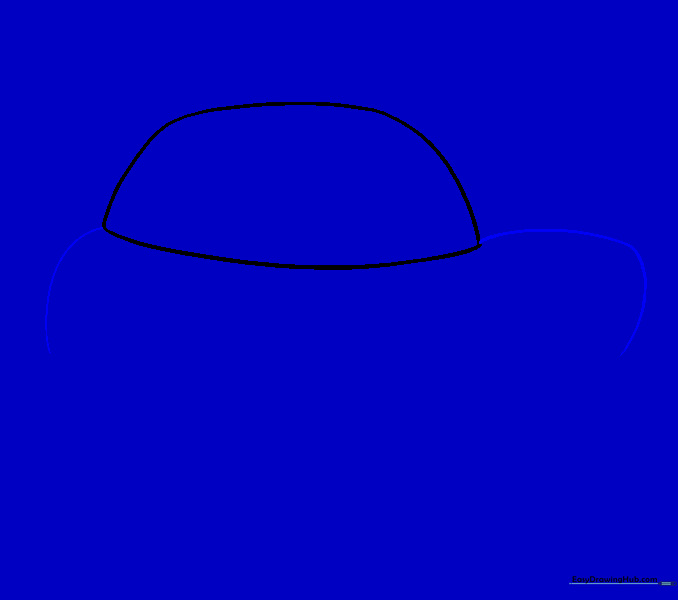
Draw a short curved line downwards from the front of the roof and a longer, rounded line from the back. Tip: These lines define the car's cabin height.
Step 4: Forming the Body
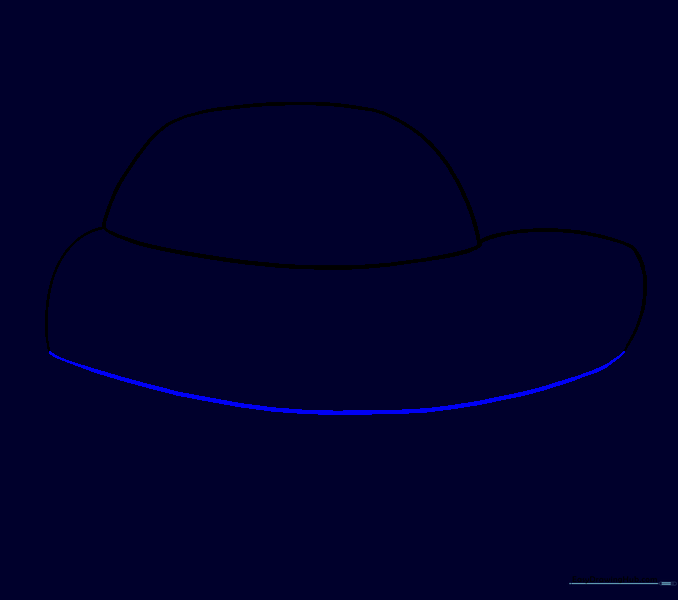
Connect the bottom of your pillar lines with a long, sweeping curved line to create the car's chassis. Tip: Keep your wrist loose to get a smooth, continuous curve.
Step 5: Connecting the Sections

Draw a short, horizontal curved line where the top cabin meets the lower body. Tip: This small detail helps the car look more realistic.
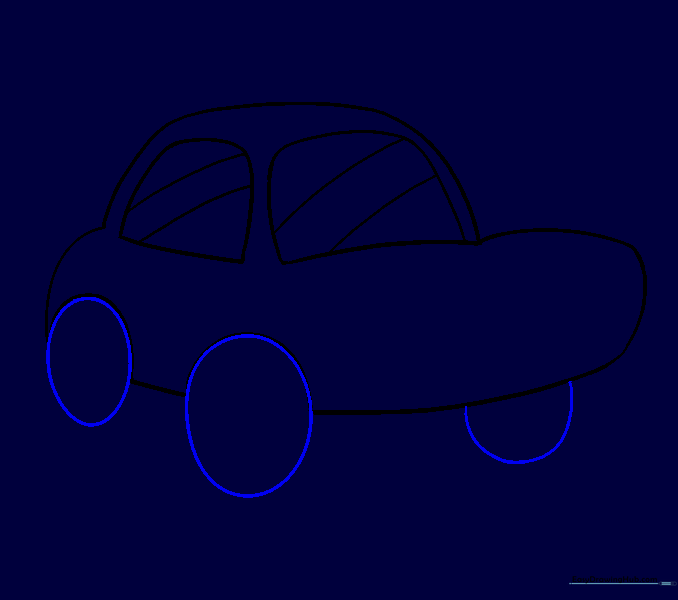
Step 6: Outlining the Wheel Wells

Draw two half-circles on the lower body to mark where the wheels will go. Tip: Make sure they are evenly spaced for a balanced look.
Step 7: Cleaning Up

Gently erase the overlapping guide lines inside the wheel wells and where the roof meets the body. Tip: Use a soft eraser to avoid tearing the paper.
Step 8: Drawing the Windows
Draw two rounded rectangular shapes inside the roof area. Tip: Keep the corners soft to match the cartoon style.
Step 9: Adding Window Reflections
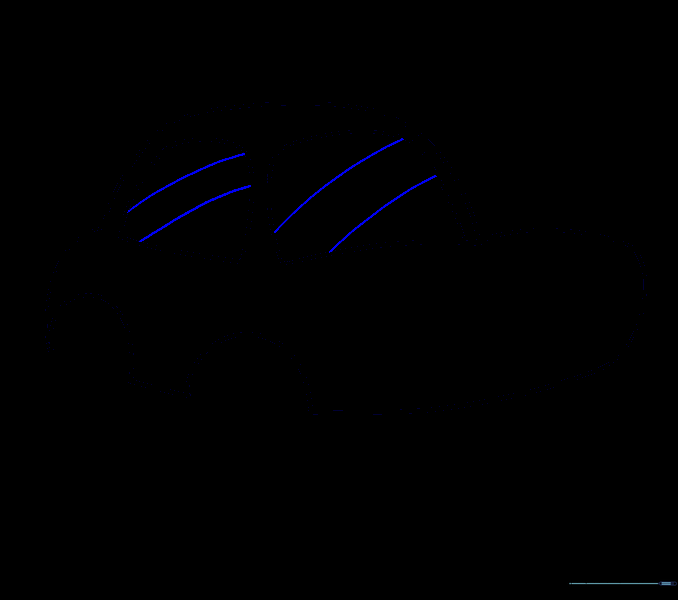
Add two parallel curved lines inside each window. Tip: These lines represent light reflecting off the glass, making your drawing look more professional.
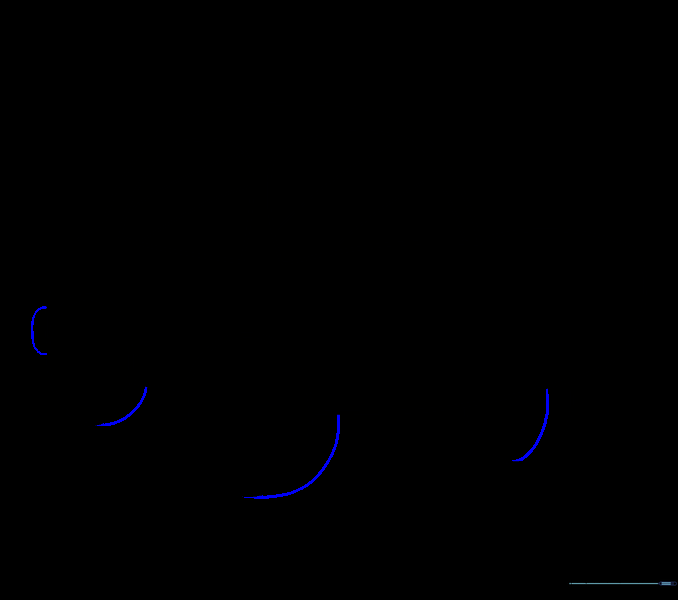
Step 10: Drawing the Wheels
Draw two full circles for the wheels on the side. Add a half-circle for the wheel tucked behind the front bumper. Tip: Use a circular object like a coin if you need help getting a perfect circle.
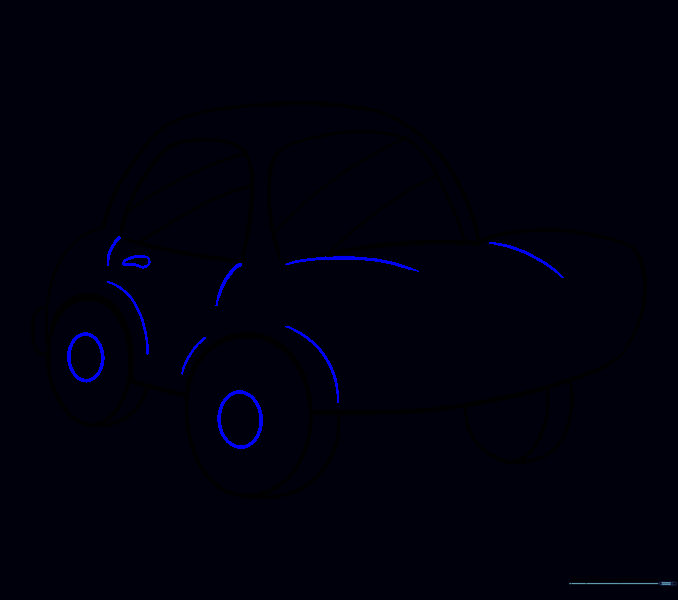
Step 11: Adding Tire Depth
Add a curved line to the right of each tire to create a 3D effect. Draw a small curved line for the rear bumper. Tip: This simple shading trick adds volume to your drawing.
Step 12: Designing the Hubcaps
Draw a smaller circle inside each wheel to create the hubcaps. Tip: Keep them centered for a clean, tidy look.
Step 13: Adding Body Details
Draw lines for the hood, door, and door handle. Add curves around the wheel wells. Tip: A simple teardrop shape works great for the handle.
Step 14: The Front Bumper
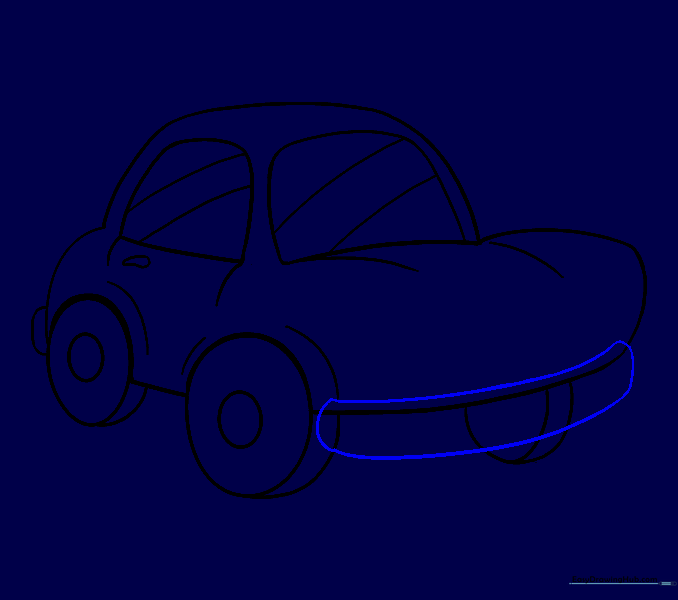
Draw a rounded rectangular shape at the front of the car for the bumper. Tip: Keep it slightly curved to match the shape of the car.
Step 15: Final Cleanup

Erase any extra lines inside the bumper area. Tip: A clean drawing makes coloring much easier later.
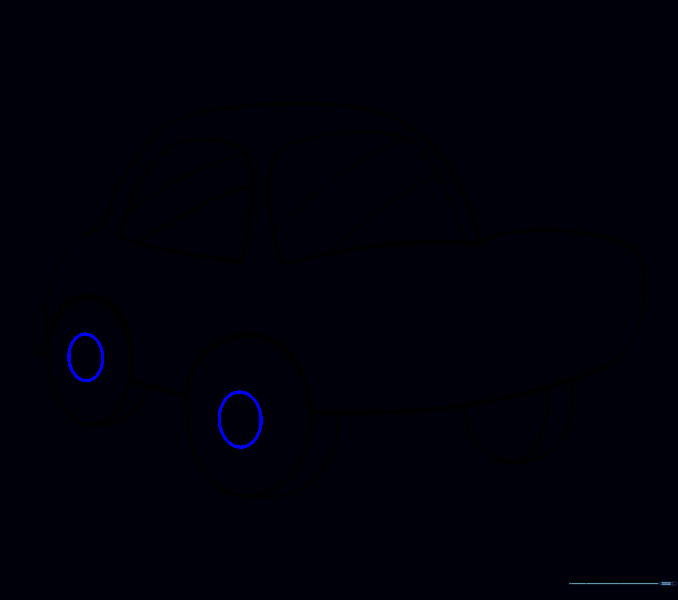
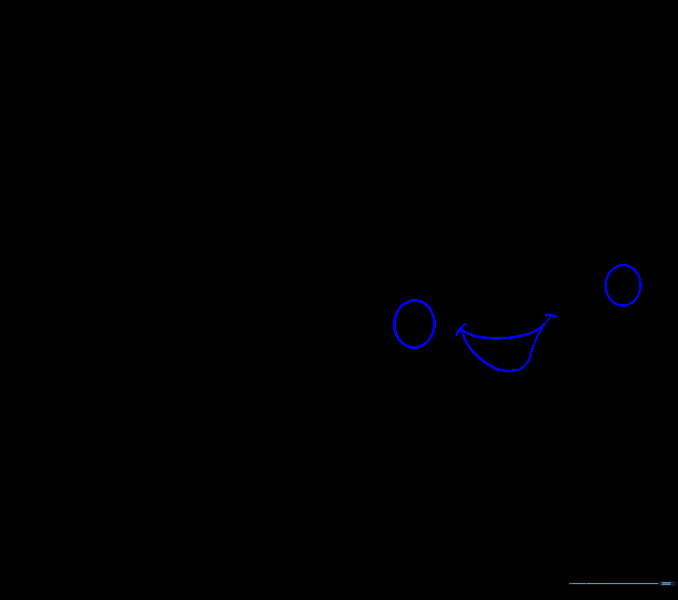
Step 16: Adding Headlights
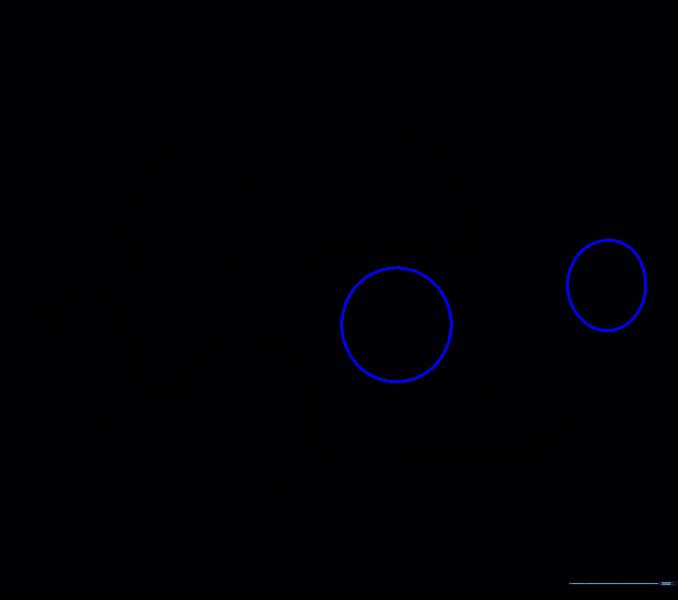
Place two circles above the bumper for the headlights. Tip: Make them large to give your car a friendly, expressive face.
Step 17: Headlight Detail
Draw a smaller circle inside each headlight and add depth lines to the bumper. Tip: These details make the car look like it's popping off the page.
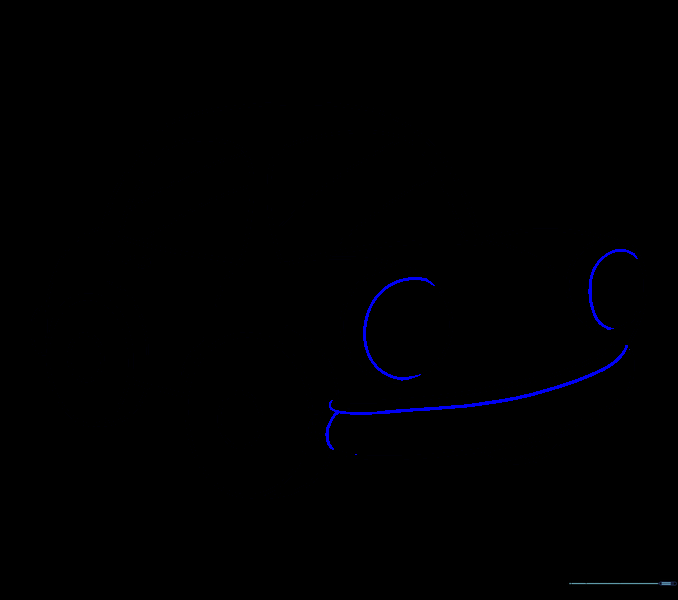
Step 18: Giving the Car a Face
Add pupils to the headlights and draw a 'U' shaped mouth between them. Tip: The mouth placement gives the car a happy, smiling expression.
Step 19: Final Expressions
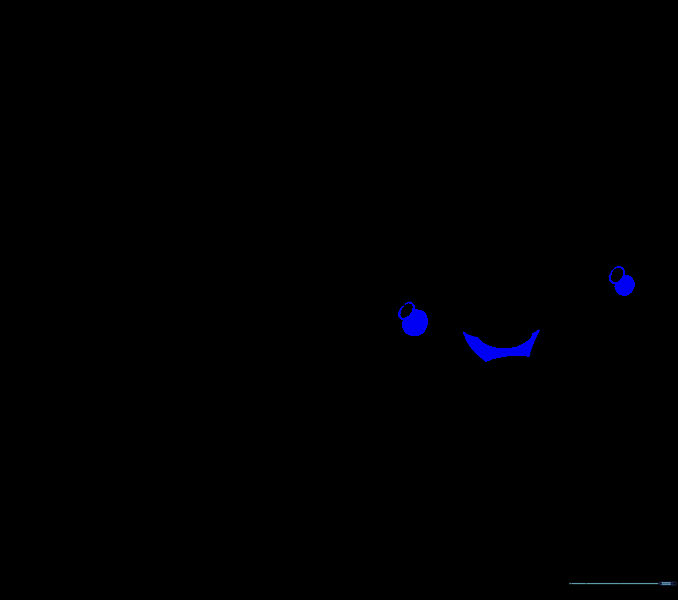
Shade the pupils and the inside of the mouth. Tip: Use a darker pencil stroke for the mouth to make it stand out.
Step 20: Time to Color!
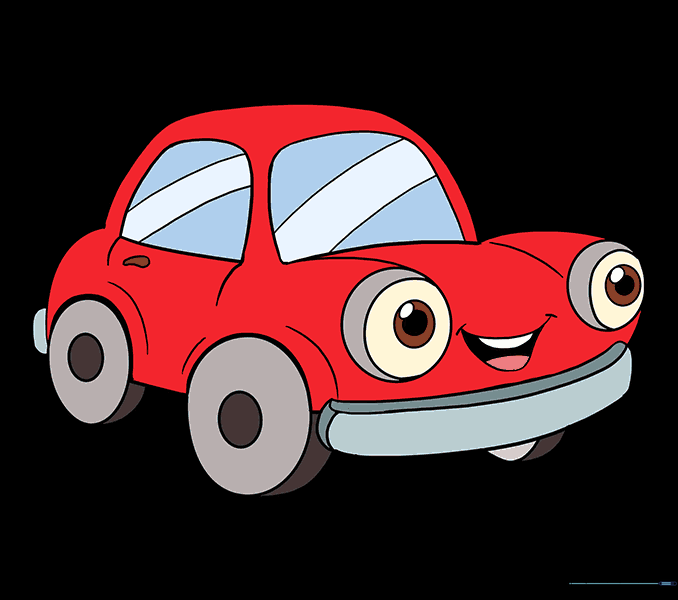
Bring your car to life with your favorite colors! Tip: Try using bright reds or blues to make your cartoon car look fast and fun.
More Tutorials


