How to Draw a Cartoon Camel: Easy 10-Step Guide
Ready to bring a desert friend to life? This tutorial is perfect for young artists ages 5 and up. All you need is a pencil, an eraser, and some paper to practice building shapes and textures. Follow along to create your own whimsical camel character in just a few minutes.
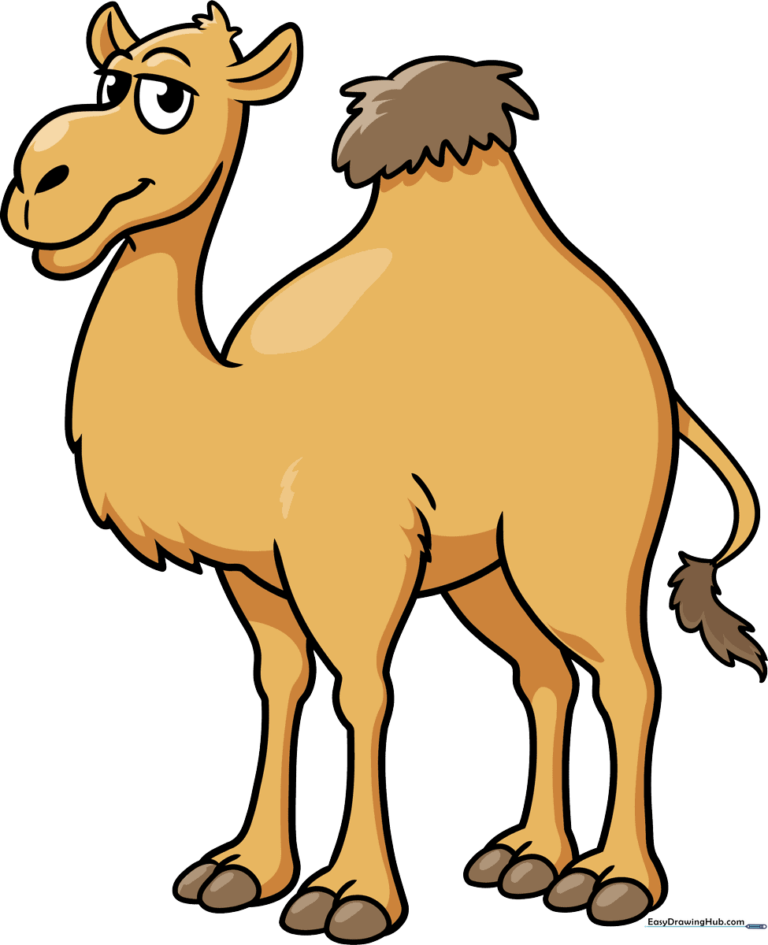
🎯 Final Result
Step-by-Step Instructions
Step 1: Sketching the Face
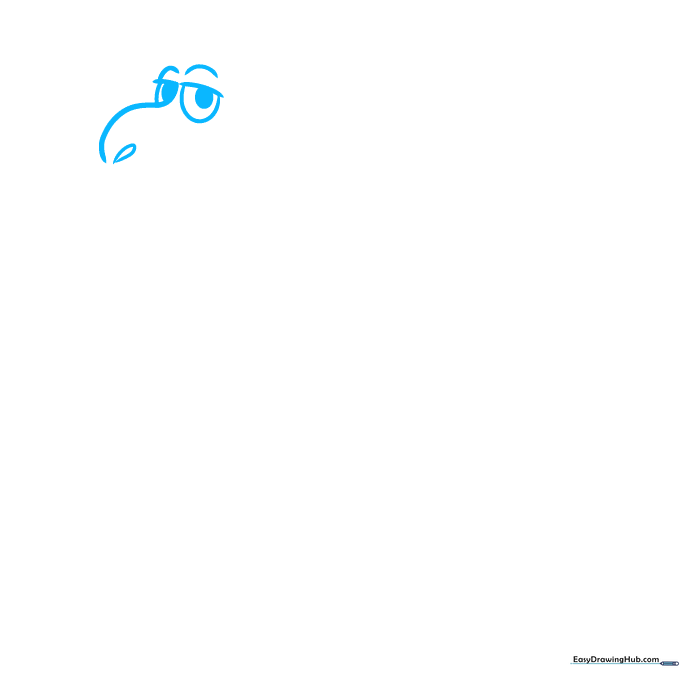
Start by drawing the camel's face using soft, curved lines for the nose and eyebrows. Add two half-circles for the eyes. Teacher's Tip: Keep the eyes close together to give your camel a cute, friendly expression.
Step 2: Adding the Mouth and Ears
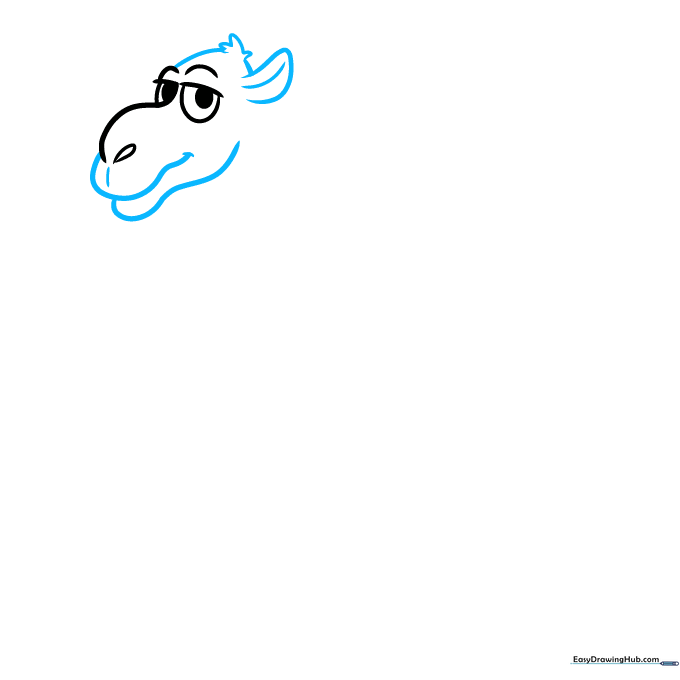
Draw the upper and lower lips using overlapping curved lines. Add a small tuft of fur on top of the head and a rounded ear. Teacher's Tip: Use short, quick strokes for the fur to make it look soft and shaggy.
Step 3: Shaping the Neck
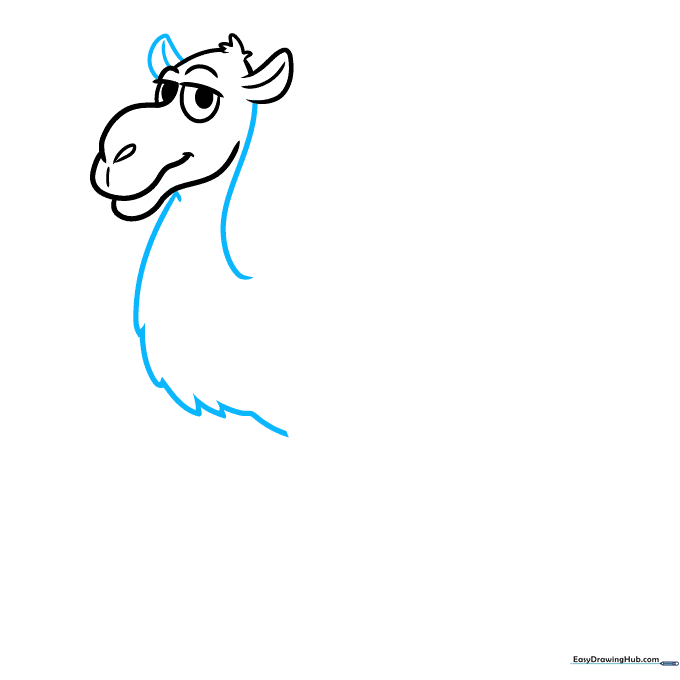
Add the second ear and draw a long, graceful neck. Use jagged, connected lines at the chest to show off that iconic shaggy camel fur. Teacher's Tip: A longer neck helps the camel look more realistic, even in a cartoon style.
Step 4: Starting the Hump and Leg
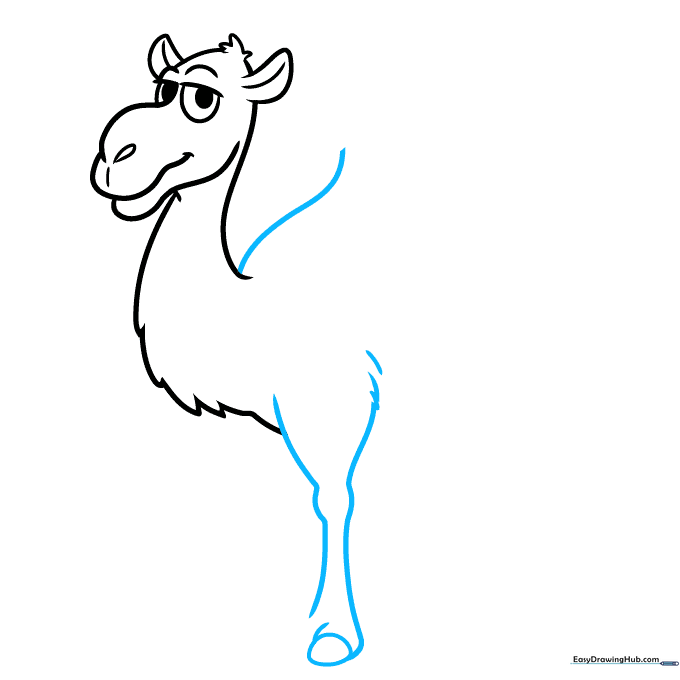
Extend a line from the neck to form the hump. Draw the first front leg with a rounded knee and a simple toe at the bottom. Teacher's Tip: Keep the leg slightly curved to give your camel a relaxed, walking posture.
Step 5: Completing the Front Legs
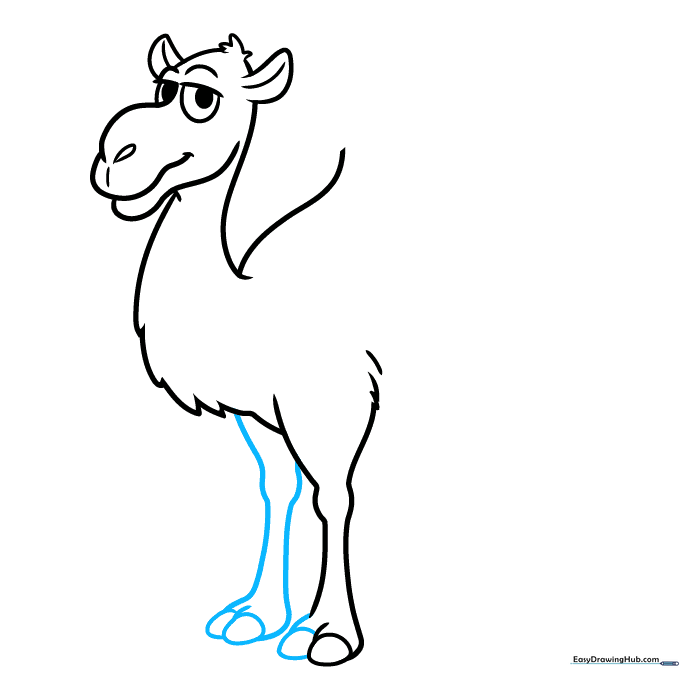
Finish the first foot by adding a second toe. Then, draw the second front leg behind the first one. Teacher's Tip: Drawing the second leg slightly higher makes it look like the camel is walking forward.
Step 6: Adding the Rear Leg
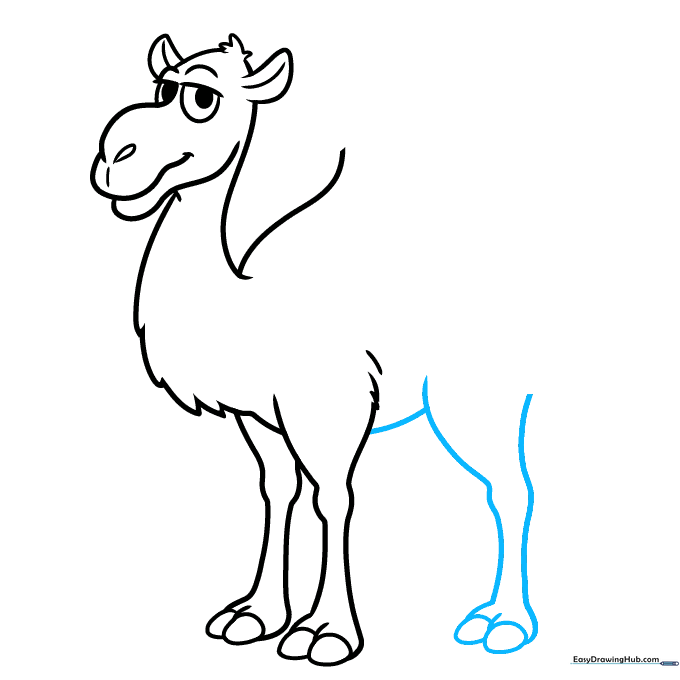
Draw the rear leg with two toes and connect it to the front legs with a curved line to create the belly. Teacher's Tip: Ensure the belly line is smooth to keep the camel looking balanced.
Step 7: The Final Leg
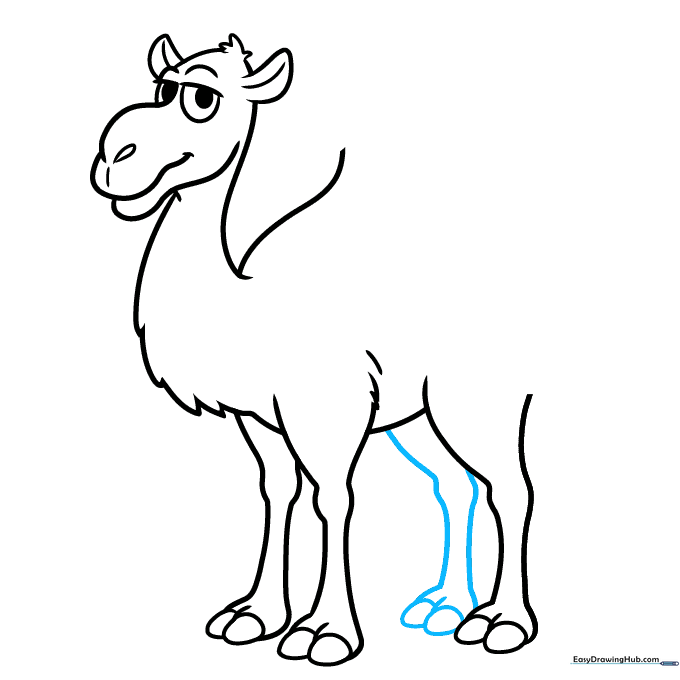
Draw the remaining rear leg to complete the camel's stance. Teacher's Tip: Make sure the feet are roughly at the same level so your camel doesn't look like it's tipping over!
Step 8: Detailing the Hump

Add a starburst-shaped tuft of fur on top of the hump. Connect the hump to the back leg with a smooth, long curve. Teacher's Tip: This fur detail makes the camel look extra cozy.
Step 9: Adding the Tail
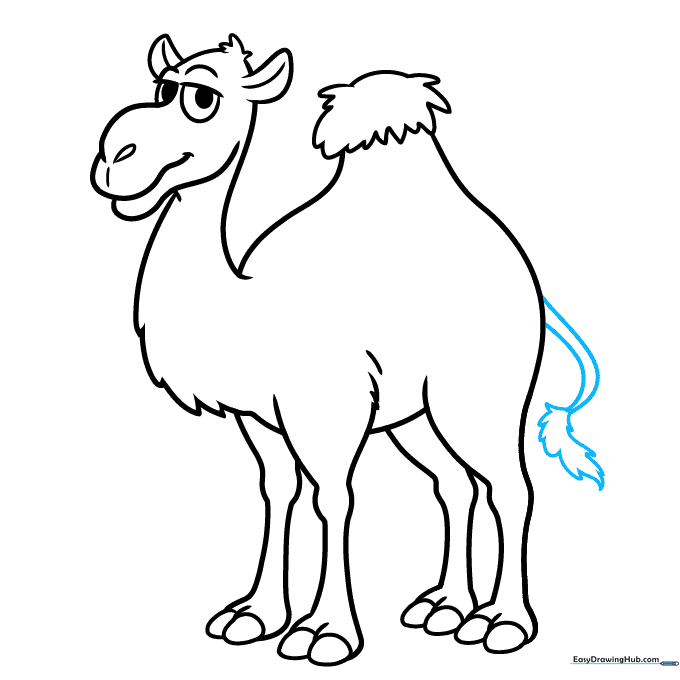
Draw a simple tail with a shaggy tuft of fur at the end. Teacher's Tip: A slightly curved tail adds a sense of movement to your drawing.
Step 10: Coloring Your Camel
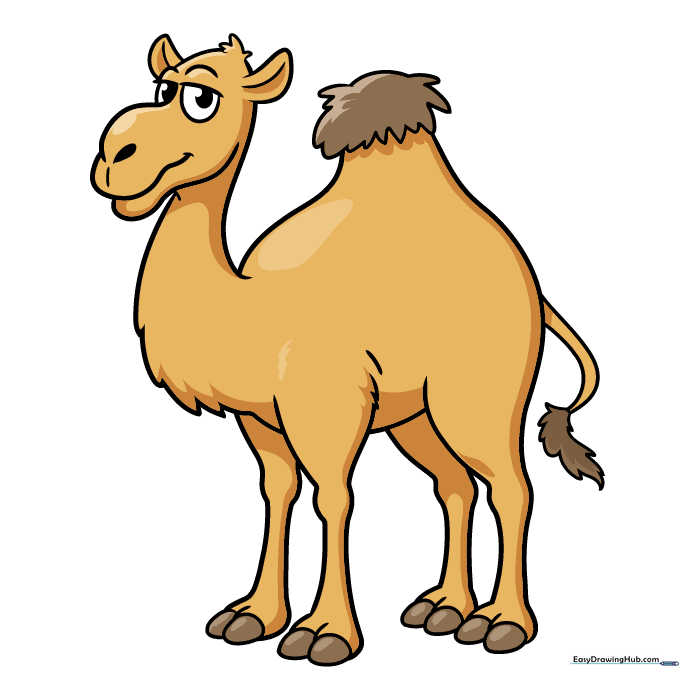
Your outline is finished! Use shades of tan or brown to color your camel. Teacher's Tip: Use a darker brown for the shaded areas under the neck and belly to give your drawing more depth.
More Tutorials


