How to Draw a Cartoon Bunny: Easy 10-Step Guide
Looking for a fun, screen-free activity? This step-by-step guide is perfect for children ages 5+ to learn how to draw an adorable cartoon bunny. All you need is a pencil, an eraser, and a piece of paper to start building your drawing confidence today.
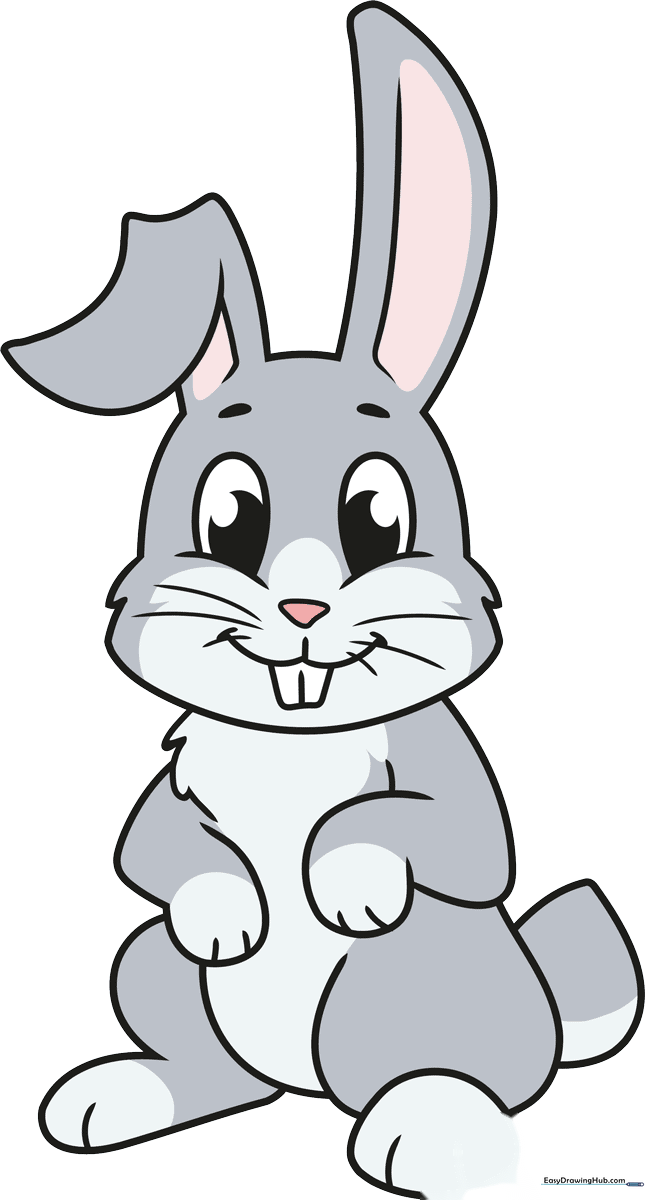
🎯 Final Result
Step-by-Step Instructions
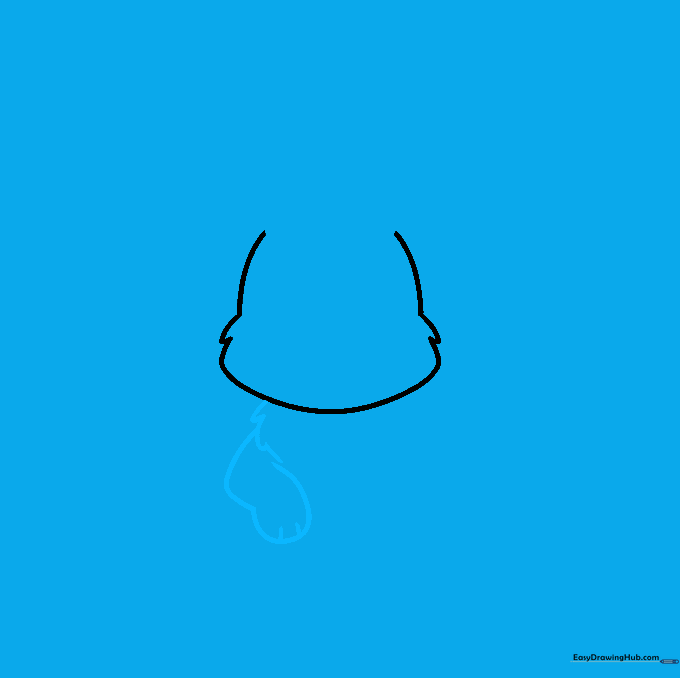
Step 1: Sketching the Bunny's Face

Use light, curved lines to sketch the head, including the tufts of fur and chubby cheeks. Teacher's Tip: Keep your pencil strokes soft and loose; we want the head to look round and friendly, not perfectly geometric.
Step 2: Adding the Chest and First Arm
Draw a small ruff of fur on the chest using short, zigzagging curved lines. Then, extend a long curved line to form the arm and paw. Tip: Make sure the paw looks soft by using small, rounded strokes at the end.
Step 3: Drawing the Second Arm
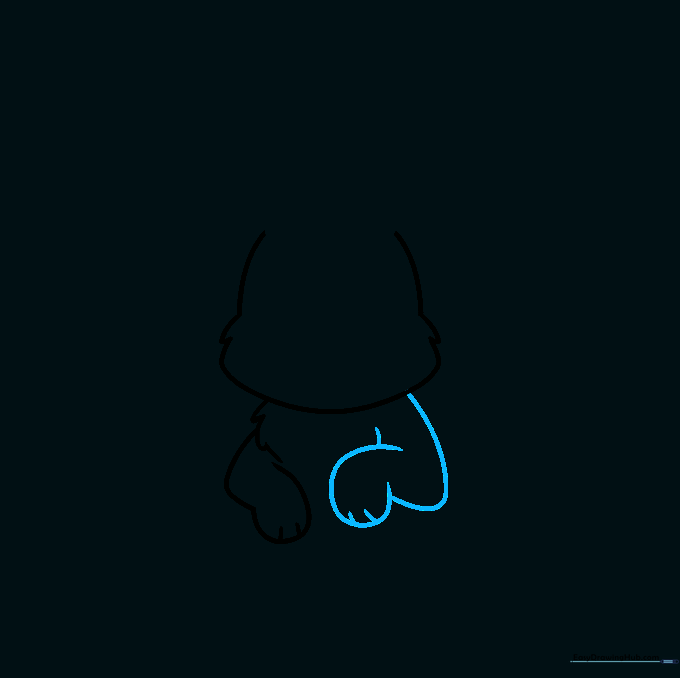
Sketch the second arm bent at the elbow to give your bunny a relaxed pose. Use overlapping curved lines to show the bend. Tip: If the arm looks too stiff, try curving the elbow slightly more to add character.
Step 4: Sketching the Belly and Thigh

Use overlapping curves to create the round belly and the sturdy thigh. Tip: Think of the thigh as a large, soft oval shape attached to the side of the body.
Step 5: Completing the Body and Tail
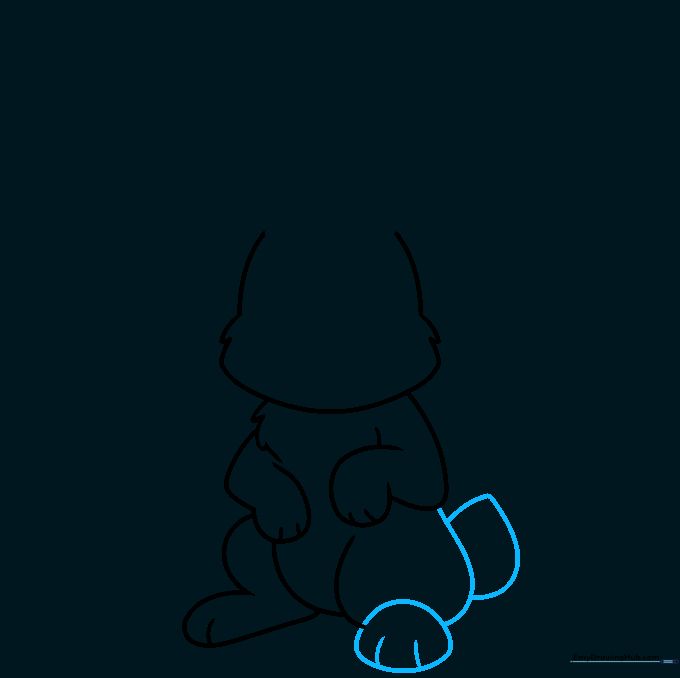
Add the foot and a small, fluffy teardrop shape for the tail. Tip: A bunny's tail is just a little puff, so don't make it too large or it will look like a different animal!
Step 6: Drawing the Eyes and Brows
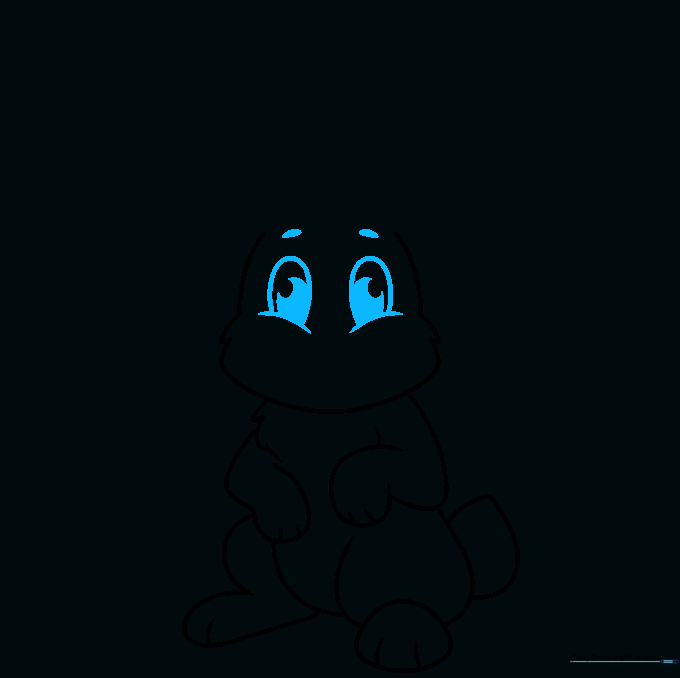
Draw two large ovals for the eyes, adding smaller circles inside for pupils. Shade the pupils dark to give the bunny a lively look. Tip: Adding a tiny white dot inside the pupil makes the eyes look shiny and bright.
Step 7: The Bunny's Nose

Draw a small, inverted triangle with rounded corners for the nose. Tip: Position the nose right in the center of the face to keep the bunny's features balanced.
Step 8: Mouth, Teeth, and Whiskers
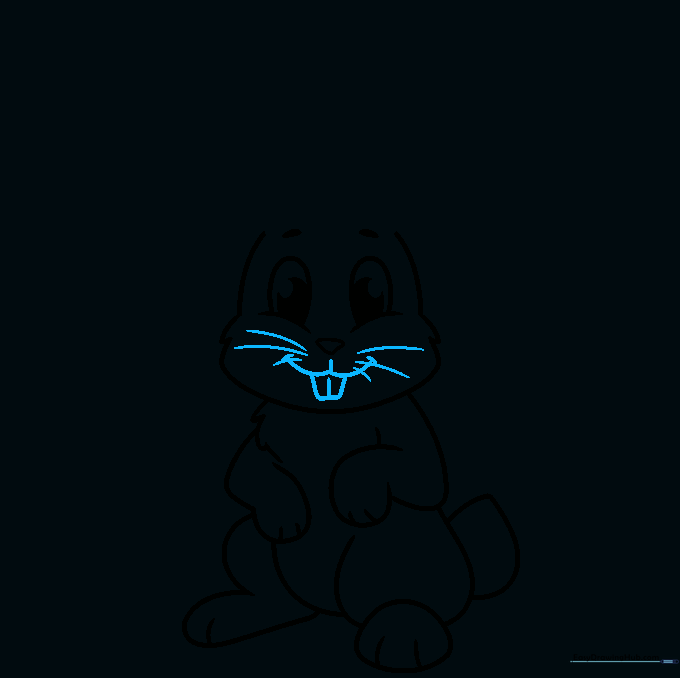
Add a 'W' shaped mouth, two front teeth, and long, sweeping whiskers. Tip: Use quick, flicking motions with your pencil to make the whiskers look thin and natural.
Step 9: Drawing the Ears
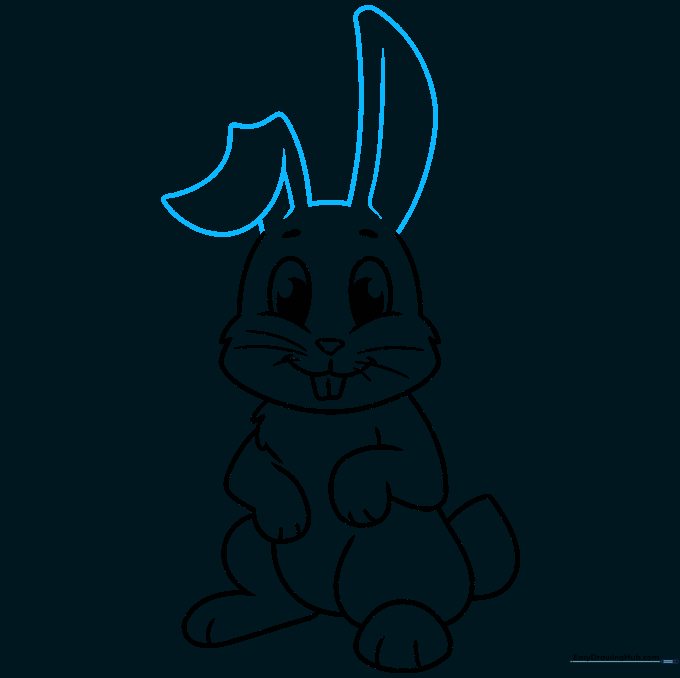
Finish the head by drawing two long ears. Make one ear stand up and the other flop over for a playful look. Tip: Use 'L' shaped lines inside the ears to show the inner ear structure.
Step 10: Bring Your Bunny to Life with Color
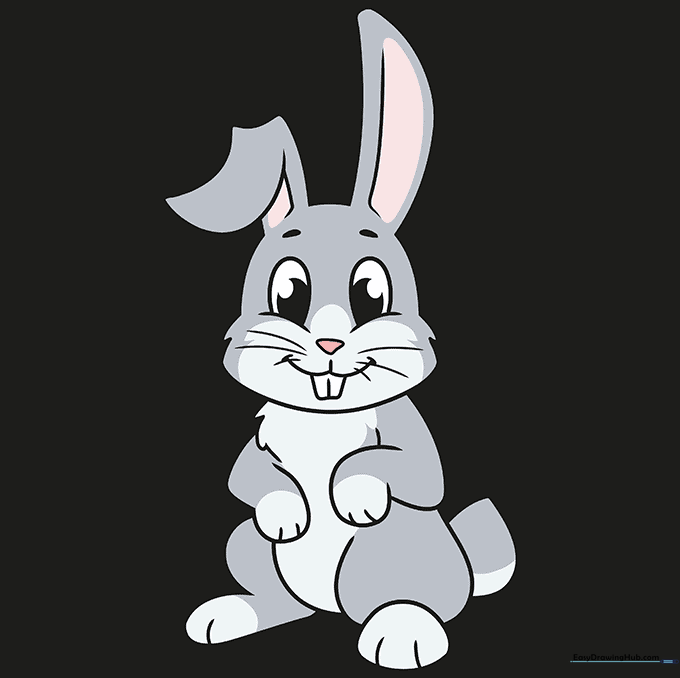
Time to color! Whether you choose classic brown, soft grey, or a creative spotted pattern, use light pressure for a smooth finish. Tip: Use a slightly darker shade of your main color to add a little shadow under the chin for depth.
More Tutorials


