How to Draw a Cartoon Boy: Easy 9-Step Guide for Kids
Ready to bring a character to life? This tutorial is perfect for young artists ages 6+ looking to master cartoon proportions. Grab a pencil, an eraser, and a piece of paper to follow along as we build our character from the head down to his sneakers.
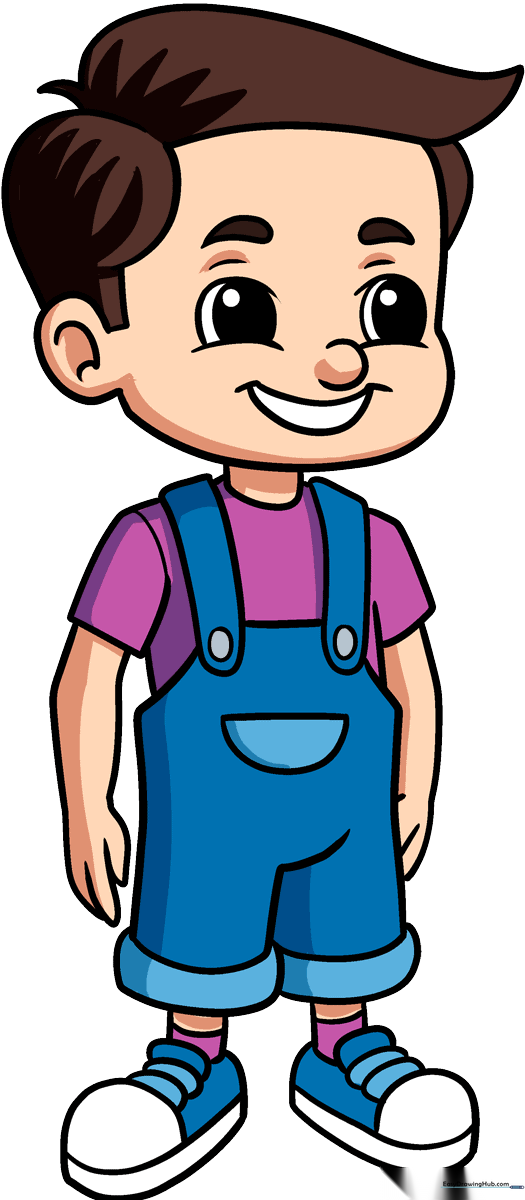
🎯 Final Result
Step-by-Step Instructions
Step 1: Sketching the Facial Features
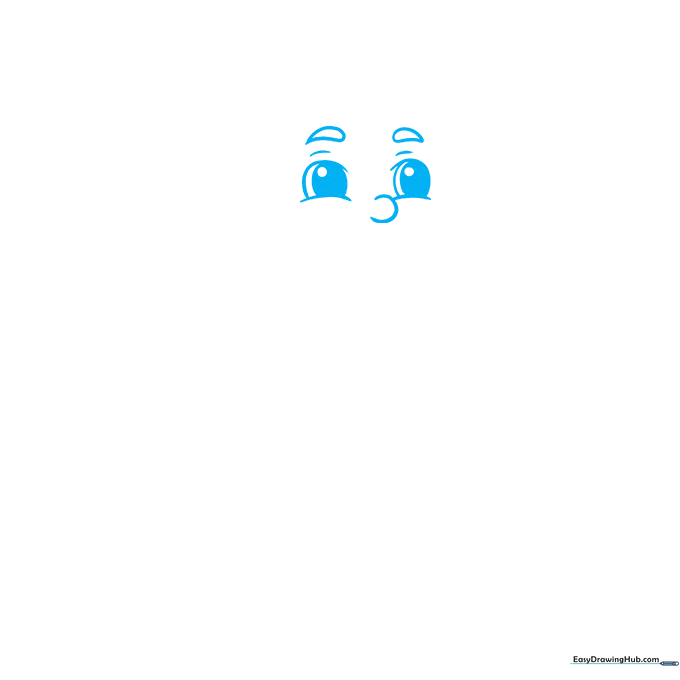
Start by drawing a 'C' shaped line for the nose and soft curves for the cheeks. Add two oval shapes above the cheeks for the eyes. Teacher's Tip: Keep your pencil pressure light here so you can easily erase and adjust the eye placement if they look a bit lopsided.
Step 2: Defining the Head Shape
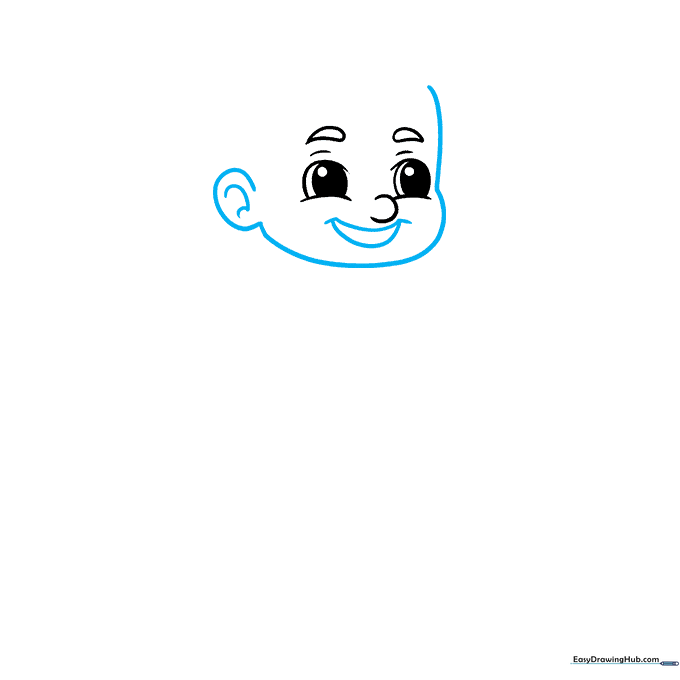
Trace the jawline, chin, and ears using smooth, continuous curves. Add a crescent shape for the mouth. Teacher's Tip: When drawing the ears, imagine they are sitting right between the eye line and the nose line for perfect proportions.
Step 3: Adding the Hair

Use overlapping curved lines to create a messy, fun hairstyle. Don't forget the little tuft at the back! Teacher's Tip: Vary the size of your hair clumps to make the hair look more natural and less like a solid helmet.
Step 4: Drawing the Overalls

Sketch the neck and add two rectangular straps with buttons. Teacher's Tip: Make sure the straps are parallel to each other so the overalls look balanced on his shoulders.
Step 5: Sketching the First Arm
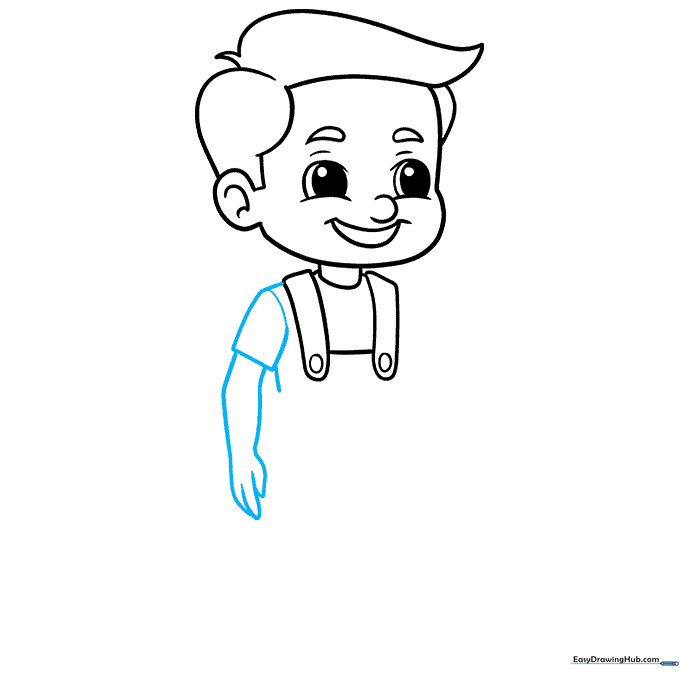
Draw the sleeve and the arm reaching down, finishing with simple fingers. Teacher's Tip: If fingers are tricky, draw a mitten shape first, then add small lines to separate the digits.
Step 6: Completing the Torso
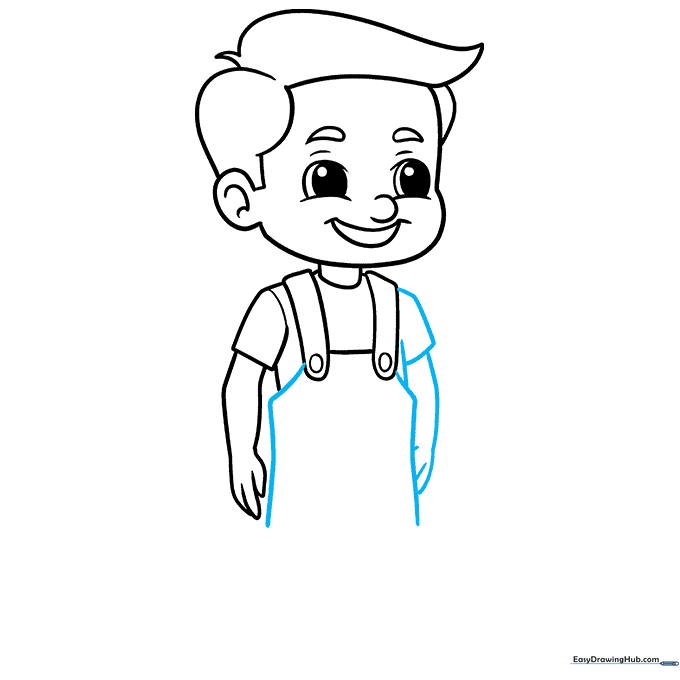
Add the second arm and draw long vertical lines to form the legs of the overalls. Teacher's Tip: Keep your vertical lines straight to give the overalls a nice, structured look.
Step 7: Adding Pockets and Cuffs
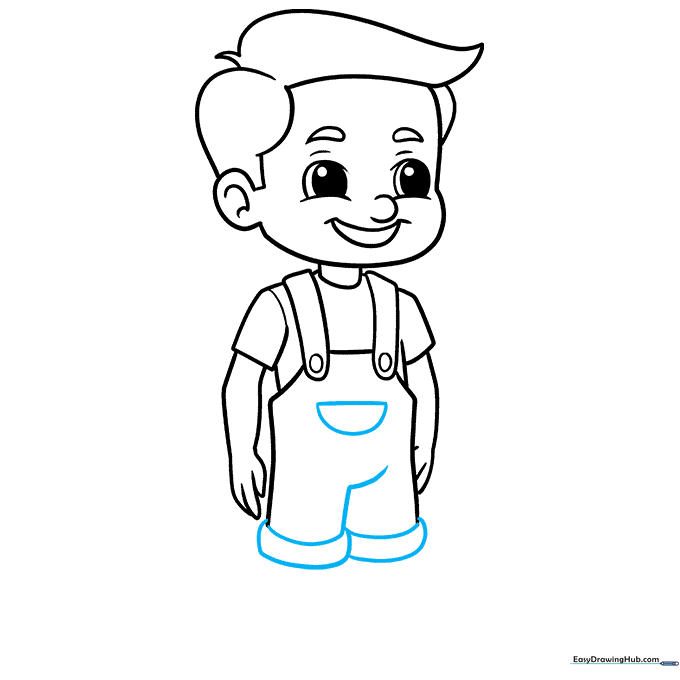
Draw a pocket on the chest and define the pant cuffs at the bottom. Teacher's Tip: A small pocket adds character—try drawing a tiny pencil or toy peeking out of it!
Step 8: Drawing the First Shoe
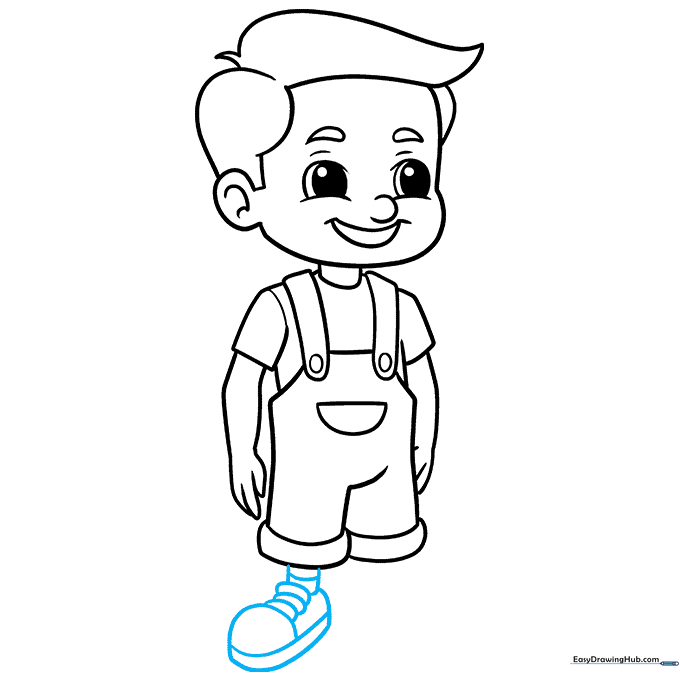
Draw the leg and a sneaker with laces. Teacher's Tip: Focus on the 'L' shape of the heel to make the shoe look like it's resting flat on the ground.
Step 9: Finalizing the Drawing
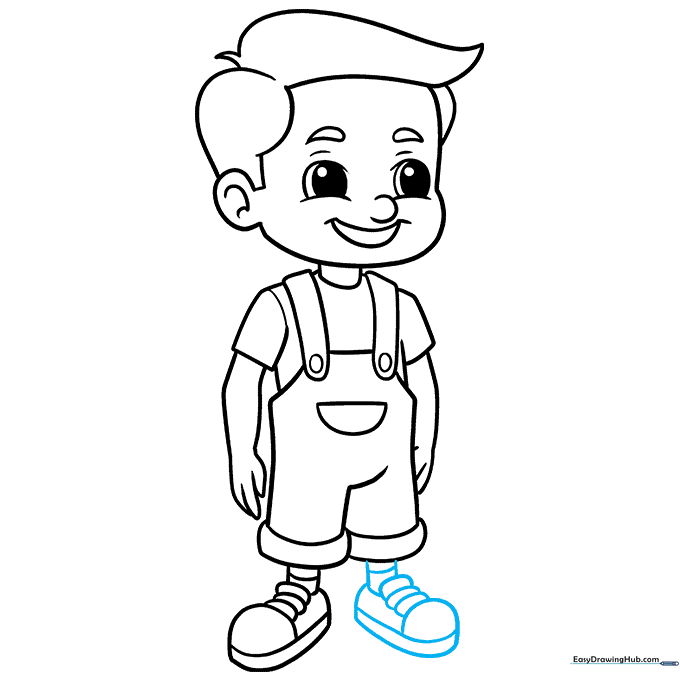
Draw the second leg and shoe to complete the figure. Teacher's Tip: Once you're happy with your lines, go over them with a darker pencil or a fine-liner pen to make your character pop.
Step 10: Adding Color
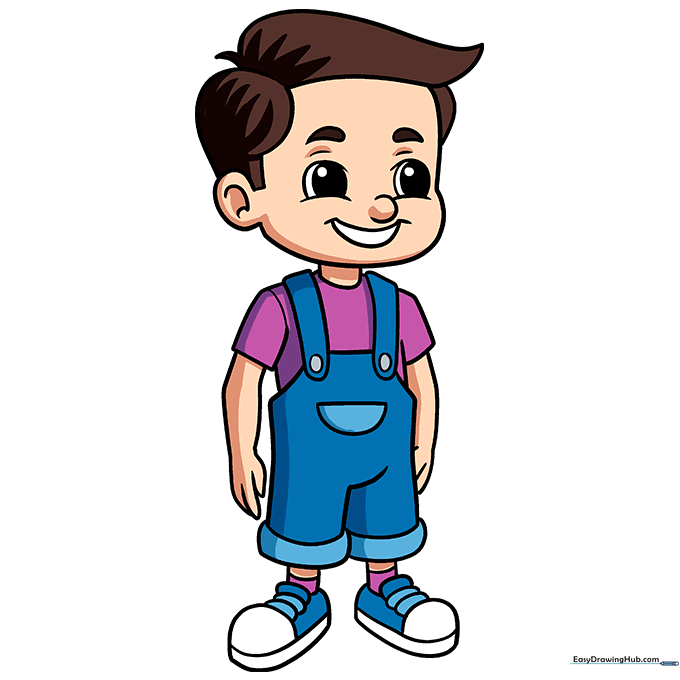
Bring your boy to life with your favorite colors! Teacher's Tip: Use light pressure for skin tones and build up color slowly to create a smooth, professional look.
More Tutorials


