How to Draw a Cartoon Bird: Easy 10-Step Guide
Bring a cheerful character to life with this simple bird drawing tutorial, perfect for young artists ages 5 and up. You only need a pencil, an eraser, and a piece of paper to get started. By following these steps, you will master basic shapes and build the confidence to create your own feathered friends.
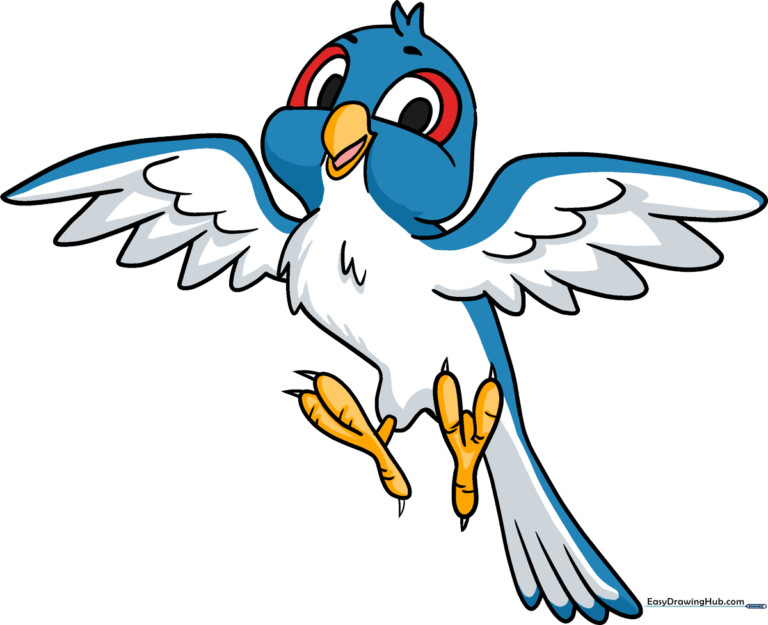
🎯 Final Result
Step-by-Step Instructions
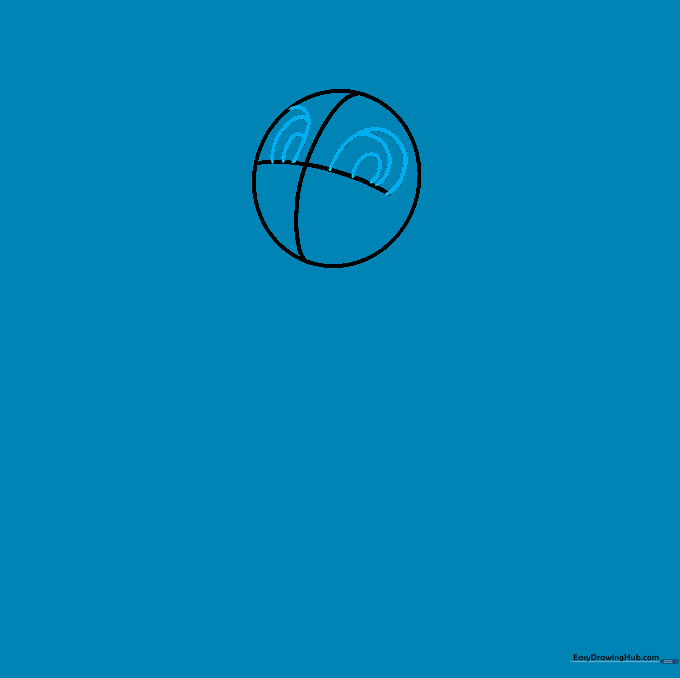
Step 1: Sketching the Head Guide

Draw a light circle for the head and add two intersecting curved lines to create a cross-guide. Teacher's Tip: Keep your pencil strokes very light so these guidelines are easy to erase once we add the facial features.
Step 2: Adding the Eyes
Using the horizontal guide line, draw two rounded eye shapes. Tip: Make the eyes slightly different sizes or angles to give your bird a curious, expressive personality.
Step 3: Drawing the Beak and Cheeks

Draw an inverted egg shape at the center intersection for the beak, and add two ovals on the sides for the cheeks. Tip: Keep the beak shape soft and rounded to maintain that cute, cartoon aesthetic.
Step 4: Refining the Face
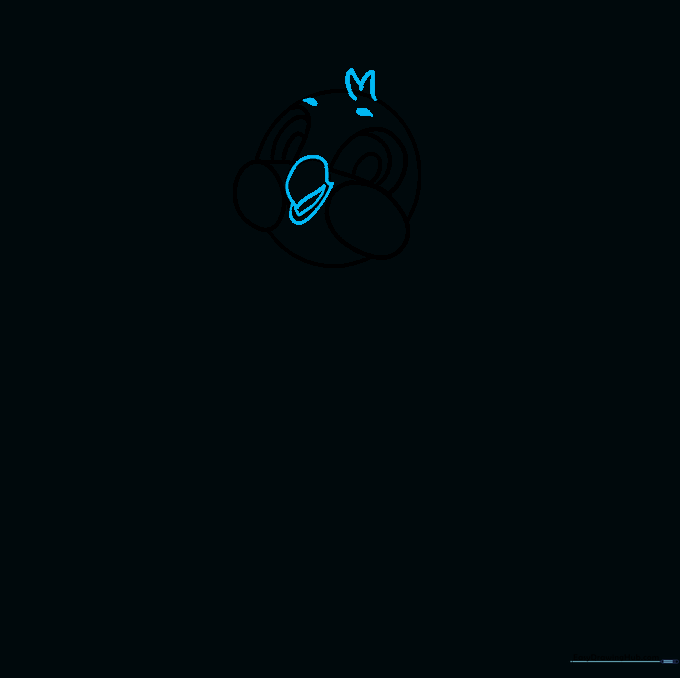
Erase the vertical guideline. Add a tuft of feathers on the head using short, pointed lines, and shade in two small curved eyebrows. Tip: Use quick, flicking motions with your pencil to make the feathers look soft and natural.
Step 5: Sketching the Body
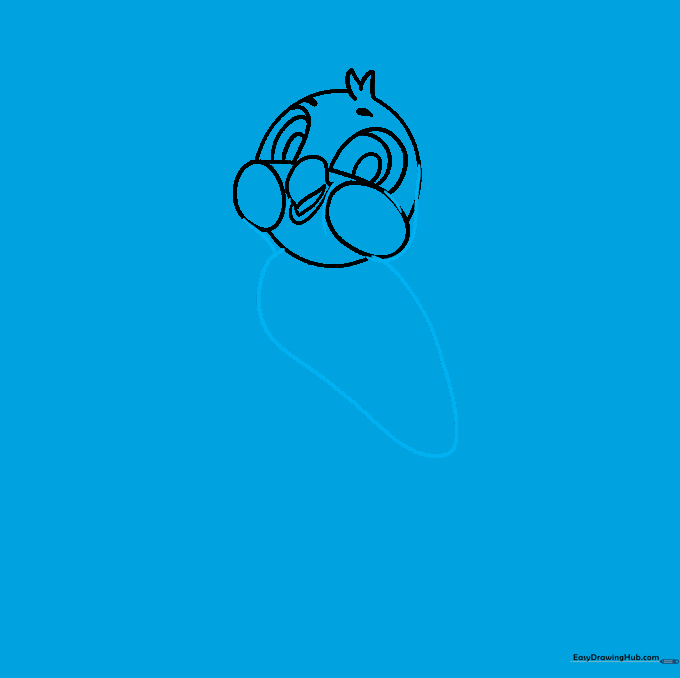
Draw a long, curved line extending from the head to form the body. Tip: Imagine the bird is sitting on a branch; keep the body shape plump and round to make it look friendly.
Step 6: Adding the First Wing
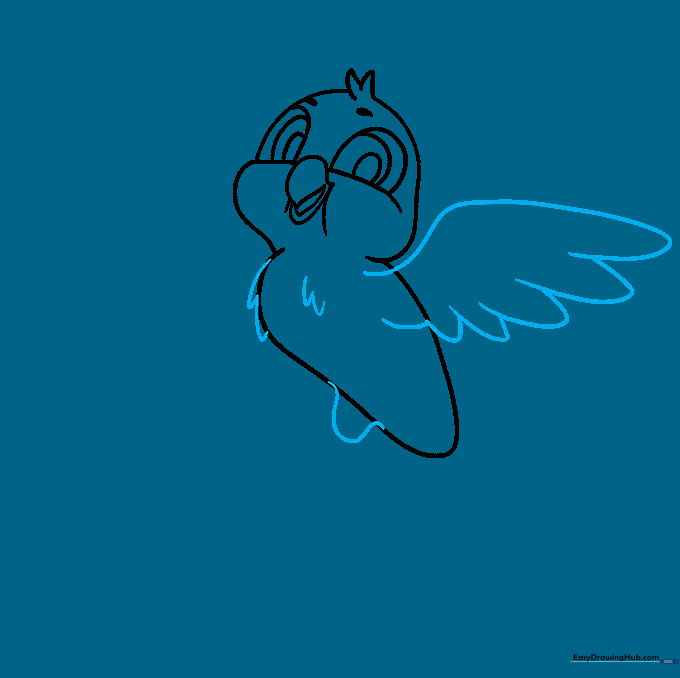
Draw a long curved line for the wing edge and add 'U' shaped lines to create the flight feathers. Tip: Vary the size of your 'U' shapes to make the wing look more realistic and layered.
Step 7: Drawing the Second Wing
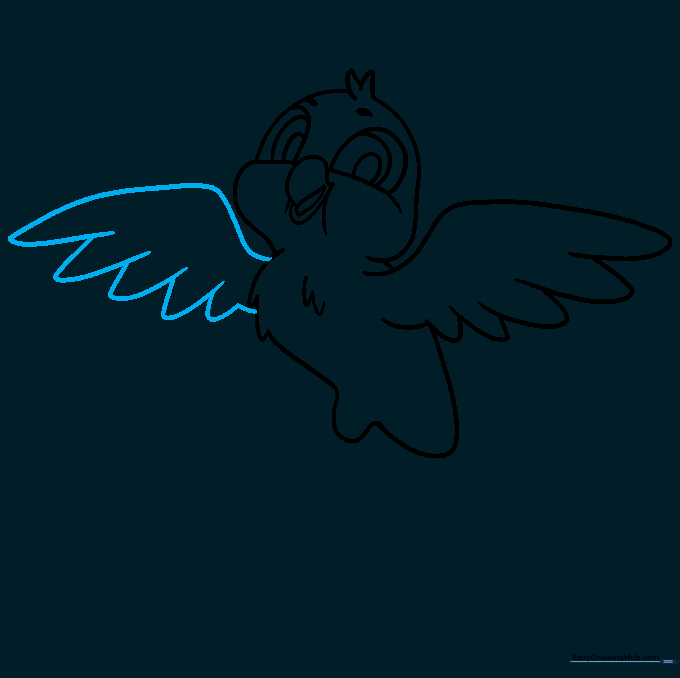
Draw the top of the second wing peeking out from behind the body using overlapping 'U' shapes. Tip: Erase any overlapping lines from the body to make the wing look like it is resting on top.
Step 8: Drawing the Feet
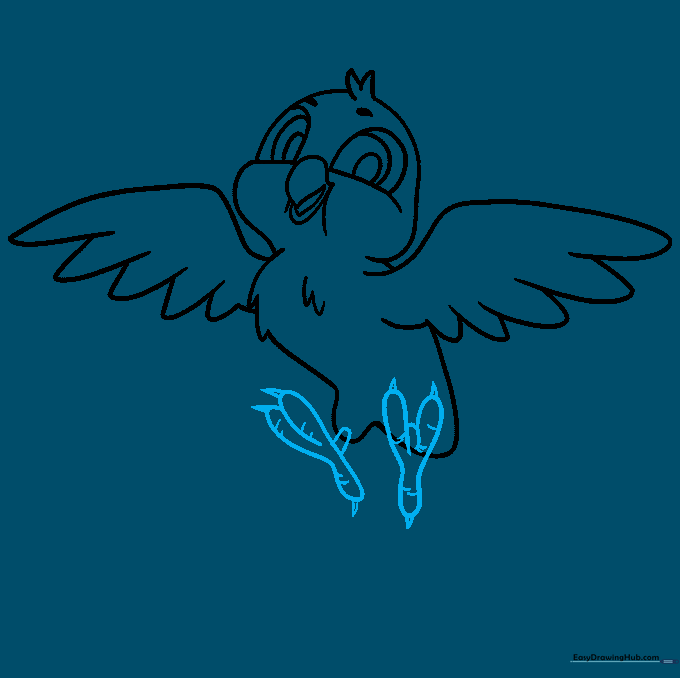
Outline the feet using 'Y' shapes and add small triangles at the tips for claws. Tip: Keep the legs short and sturdy to support the bird's round body.
Step 9: Adding Final Details
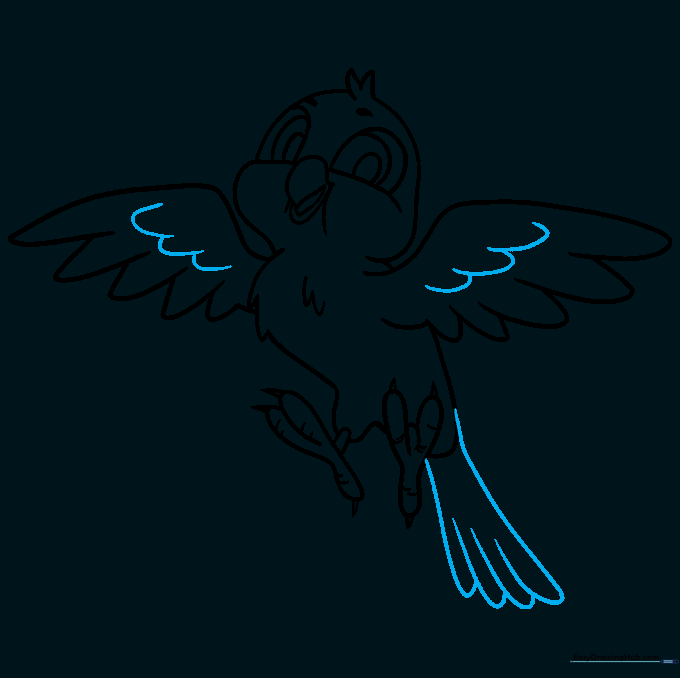
Add more 'U' shaped feathers to the wings and draw a tail using long, overlapping curved lines. Tip: Ensure the tail feathers follow the curve of the body to keep the flow of the drawing consistent.
Step 10: Bringing Your Bird to Life with Color
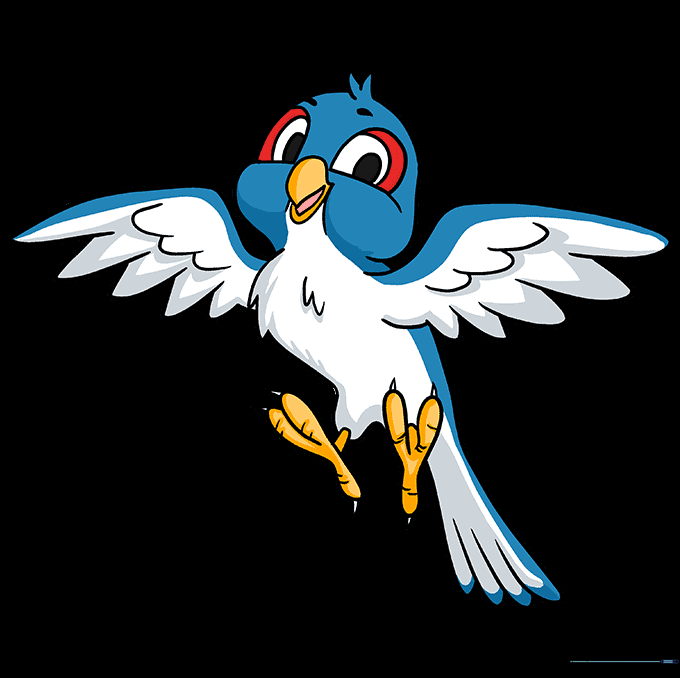
Color your bird! Try using bright blues for the feathers and a soft cream or white for the belly. Tip: Use colored pencils to add a little shading under the wing to give your drawing depth.
More Tutorials


