How to Draw a Bee: Simple 9-Step Guide for Kids
This bee drawing tutorial is designed for young artists ages 5 and up. You will only need a pencil, an eraser, and your favorite markers or crayons to bring this buzzing friend to life. Follow along to practice basic shapes while creating a cheerful insect character.
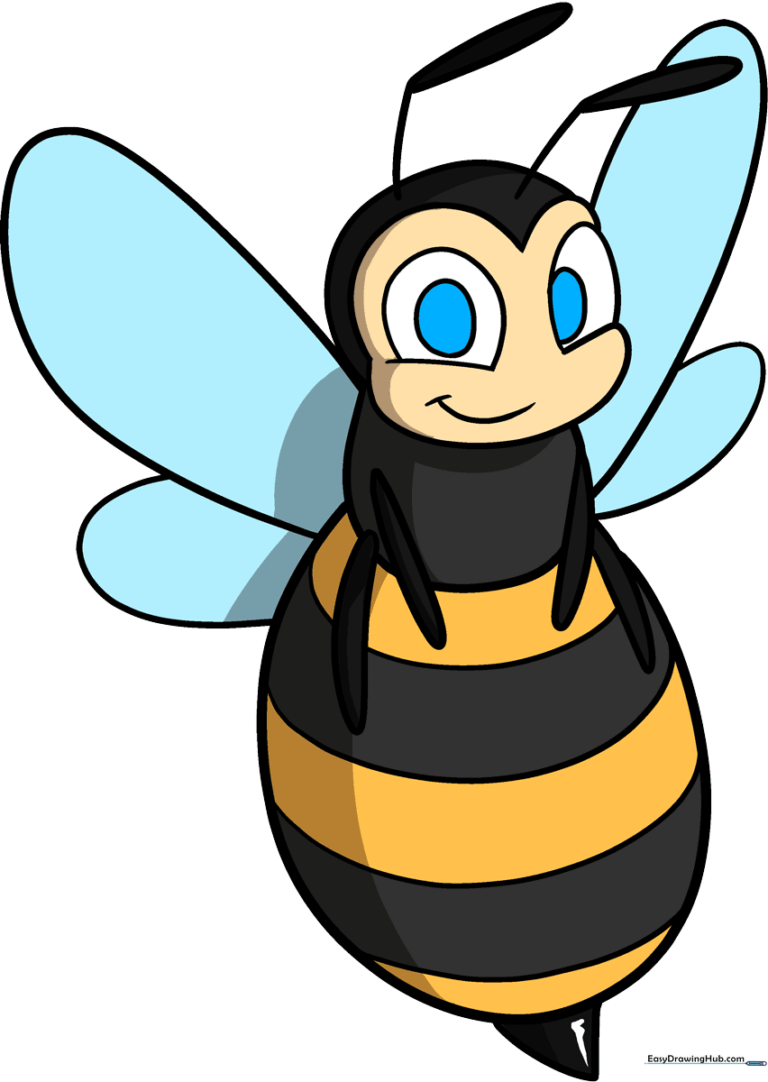
🎯 Final Result
Step-by-Step Instructions
Step 1: Sketching the Face
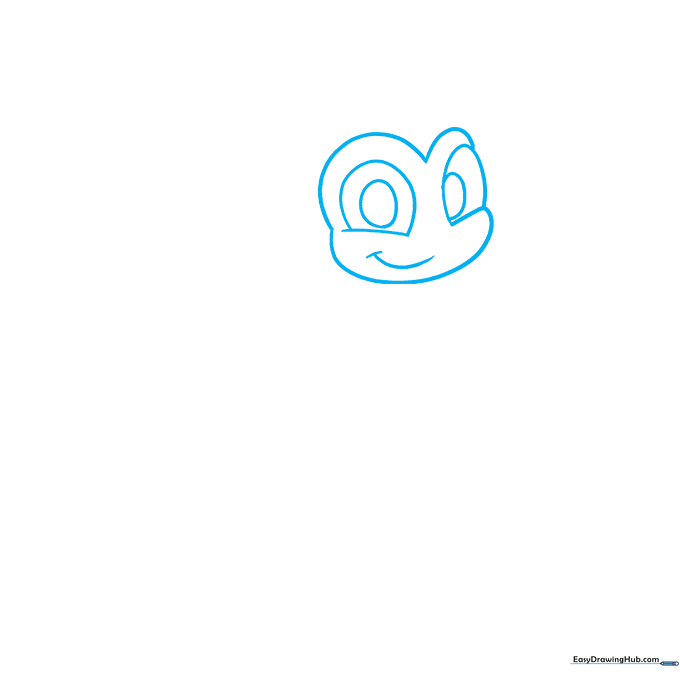
Draw two flattened ovals for the eyes, then add a smaller circle inside each for the pupils. Use an 'M' shape to connect the eyes and create the forehead, finishing with a curved line for a happy, dimpled smile. Teacher's Tip: Keep the eyes symmetrical to give your bee a friendly, balanced look.
Step 2: Adding Antennae
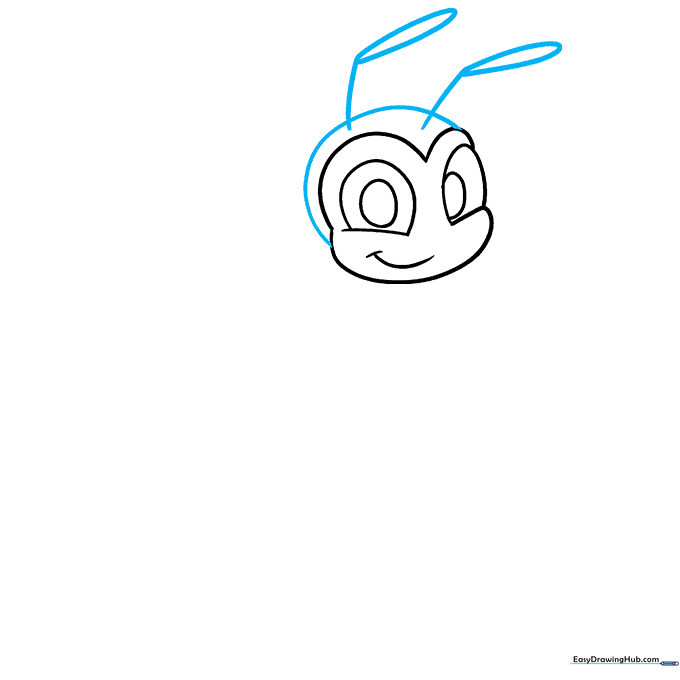
Draw a long, smooth curve behind the head to complete the skull shape. Add two lines extending upward, topped with small teardrop shapes for the antennae. Tip: Make the antennae slightly wobbly to give the bee a cute, expressive feel.
Step 3: The Thorax and First Legs
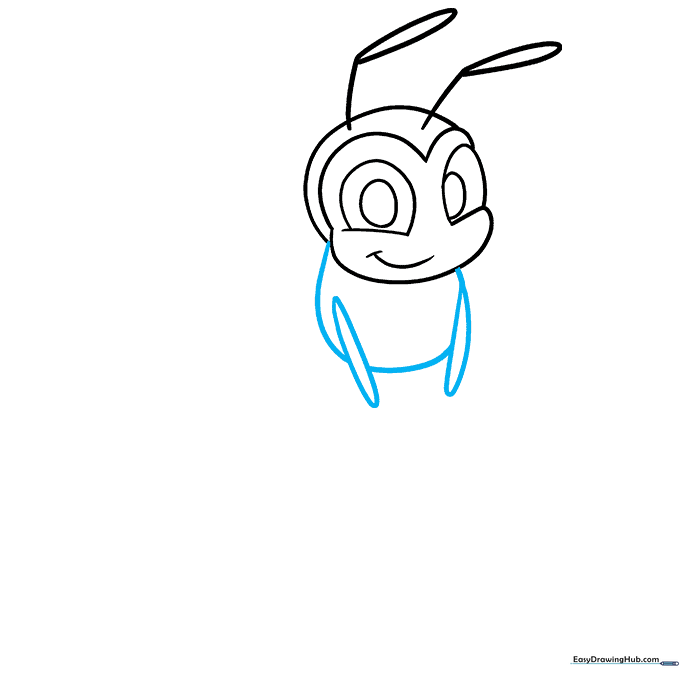
Draw a round shape beneath the head for the thorax. Add two narrow, overlapping curved shapes on the side to represent the front legs. Tip: Keep these leg shapes thin so they don't look too heavy compared to the body.
Step 4: The Abdomen

Sketch a large, rounded oval below the thorax to form the abdomen. Add two more curved leg shapes extending from the thorax. Tip: Ensure the abdomen is the largest part of the body to keep the bee's proportions looking 'cartoonish' and cute.
Step 5: Adding Stripes
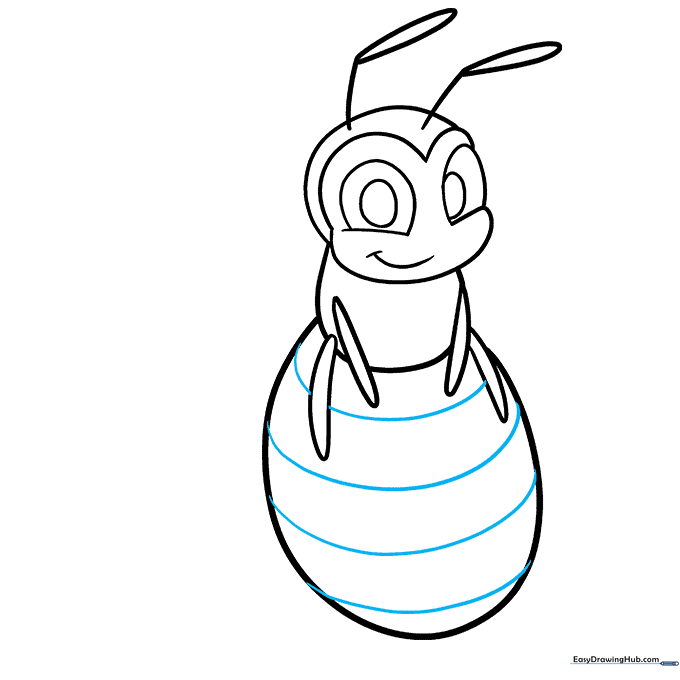
Draw several curved lines across the abdomen to create the iconic bee stripes. Tip: Space them out evenly to make the coloring process easier later on.
Step 6: The Stinger
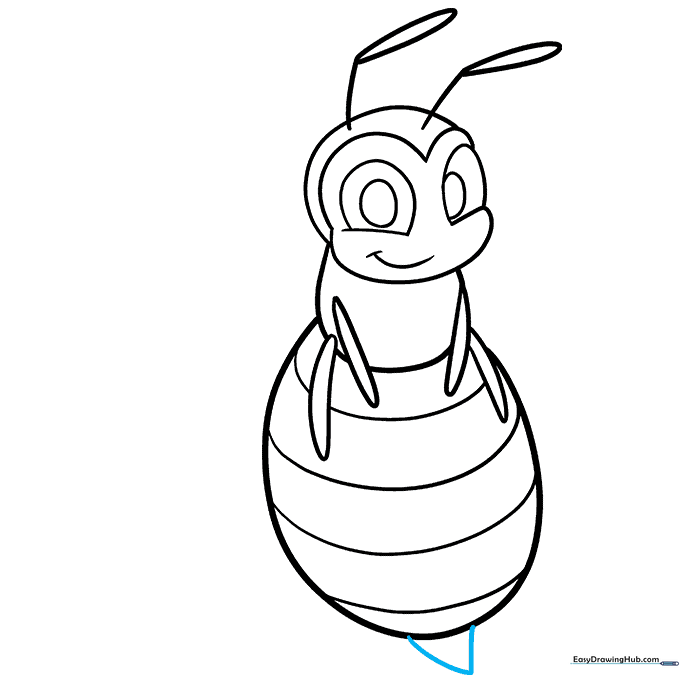
Add a small triangle at the very bottom of the abdomen. Tip: Keep the triangle sharp and pointed to clearly define the stinger.
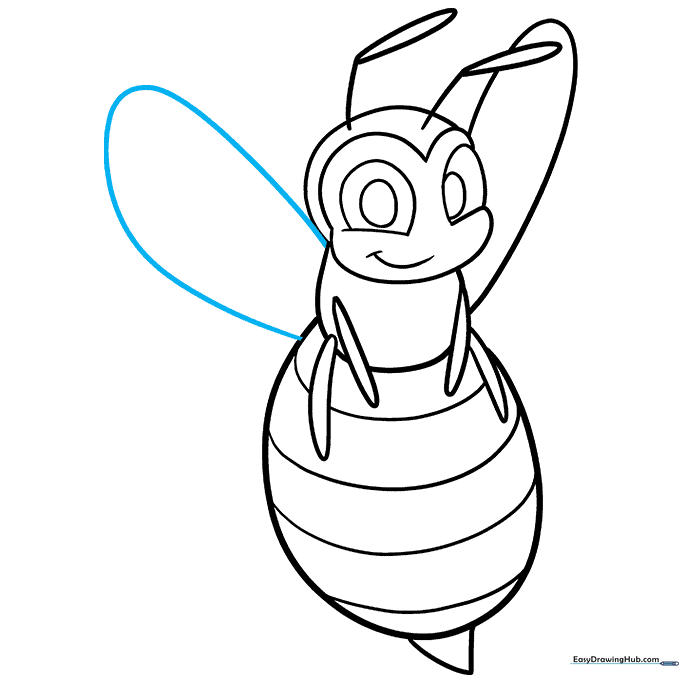
Step 7: First Wing

Draw a long, curved line starting from the head, looping out, and returning to the thorax to form the first wing. Tip: Make the wing look light and airy by using a single, fluid motion.
Step 8: Second Wing
Repeat the process on the opposite side to draw the second wing. Tip: Try to match the size of the first wing so your bee looks symmetrical.
Step 9: Final Details
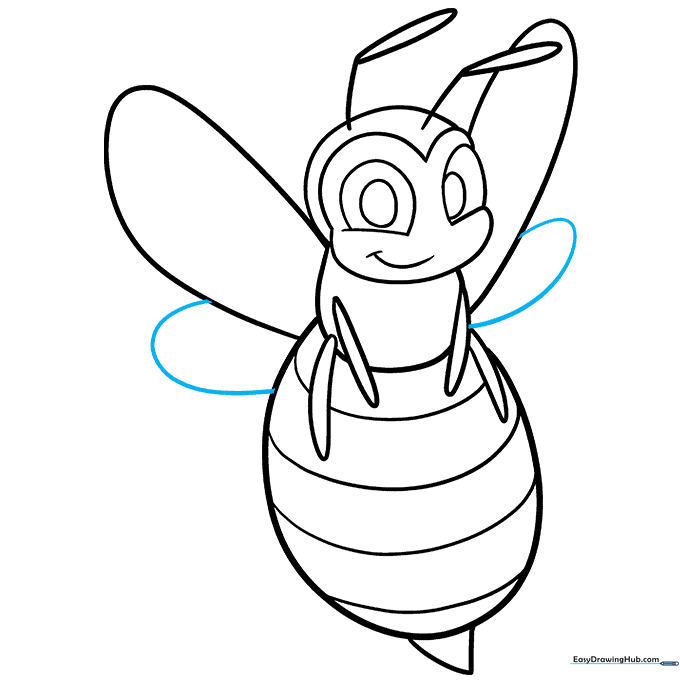
Add two smaller, overlapping wings beneath the first set to give your bee a sense of motion. Tip: These smaller wings add depth to your drawing.
Step 10: Color Your Bee
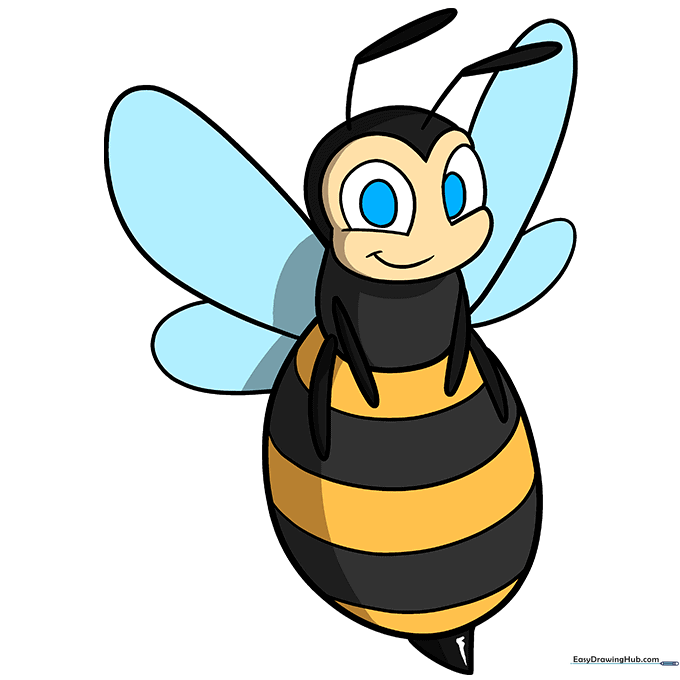
Time to color! Use bright yellow for the body and black for the stripes. You can also use a light blue for the wings to make them look transparent. Tip: Use a fine-tip black marker to outline your pencil lines before coloring for a professional look.
More Tutorials


