How to Draw a Cartoon Astronaut: Easy 10-Step Guide
Blast off into creativity with this fun, screen-free drawing activity perfect for young space explorers ages 5 and up. You will only need a pencil, an eraser, and some paper to bring your own astronaut to life. Follow these simple steps to master character proportions and build your confidence as an artist.
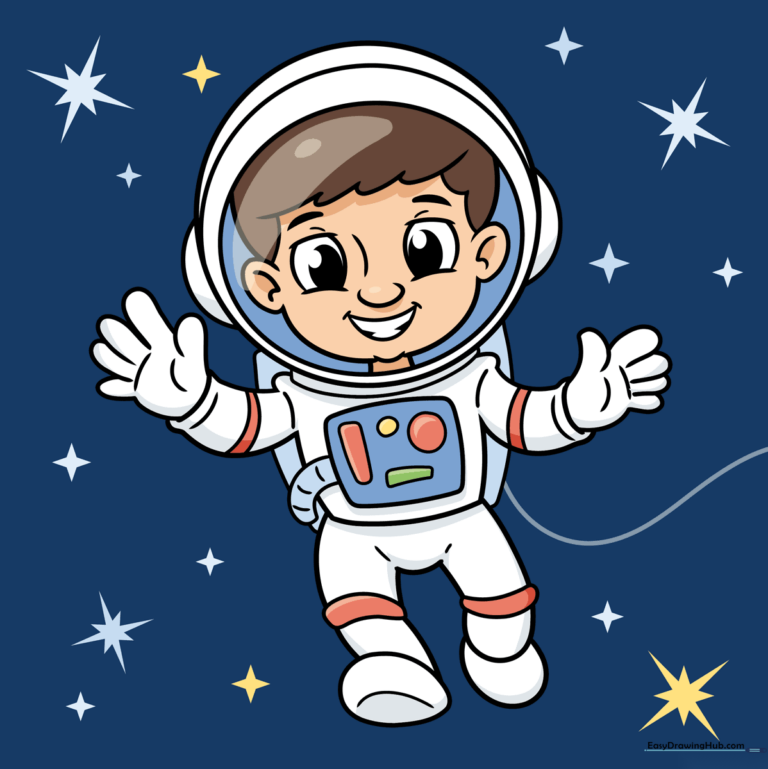
🎯 Final Result
Step-by-Step Instructions
Step 1: Sketching the Facial Features
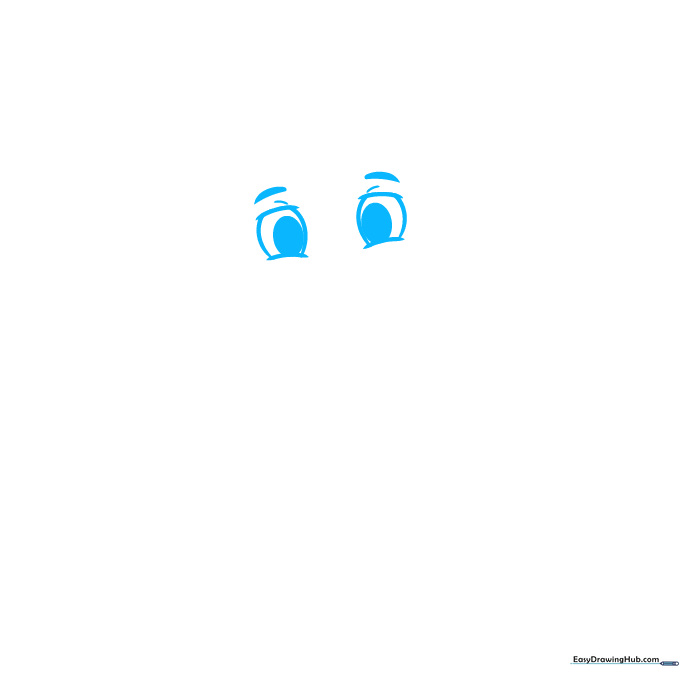
Start by drawing two ovals for the eyes with small horizontal dashes for the lids. Add smaller ovals inside for pupils and a dash above each for eyebrows. Teacher's Tip: Keep your pencil pressure light so you can easily adjust the expression later.
Step 2: Defining the Face and Mouth
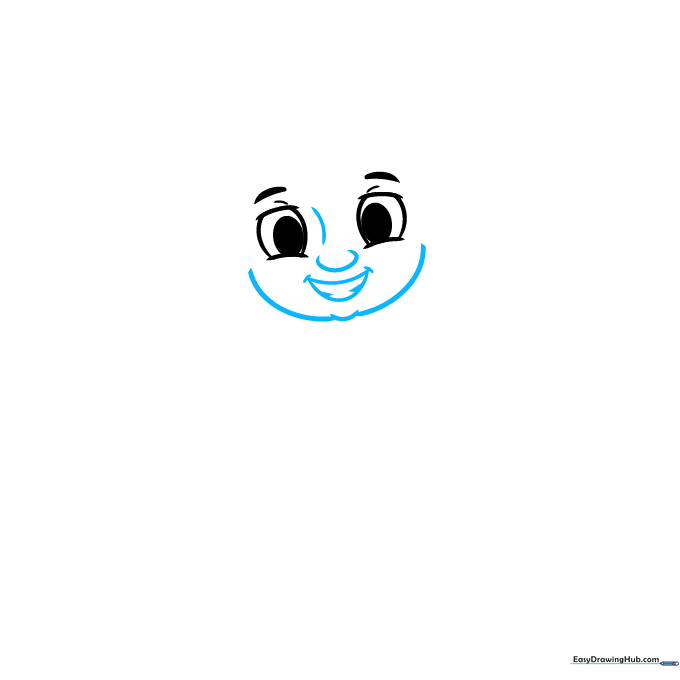
Sketch a semi-oval for the nose and a curved mouth with triangle shapes on the sides to suggest teeth. Add a soft curve for the chin. Teacher's Tip: Use short, quick strokes to keep the cartoon style looking friendly and energetic.
Step 3: Adding Ears and Hair
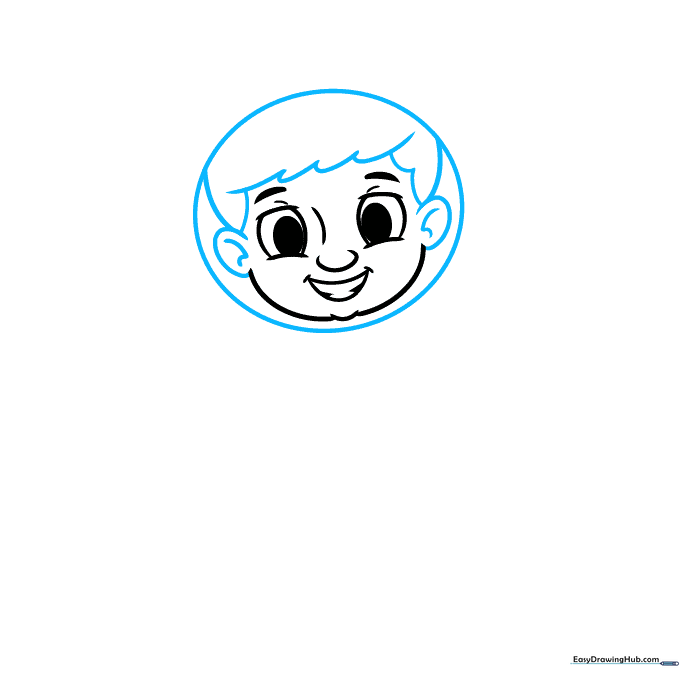
Draw two ovals for ears with L-shaped lines inside. Frame the head with a larger oval and add sketchy, rounded loops for hair. Teacher's Tip: Don't worry about perfect symmetry; hair is naturally messy and fun to draw!
Step 4: Constructing the Helmet
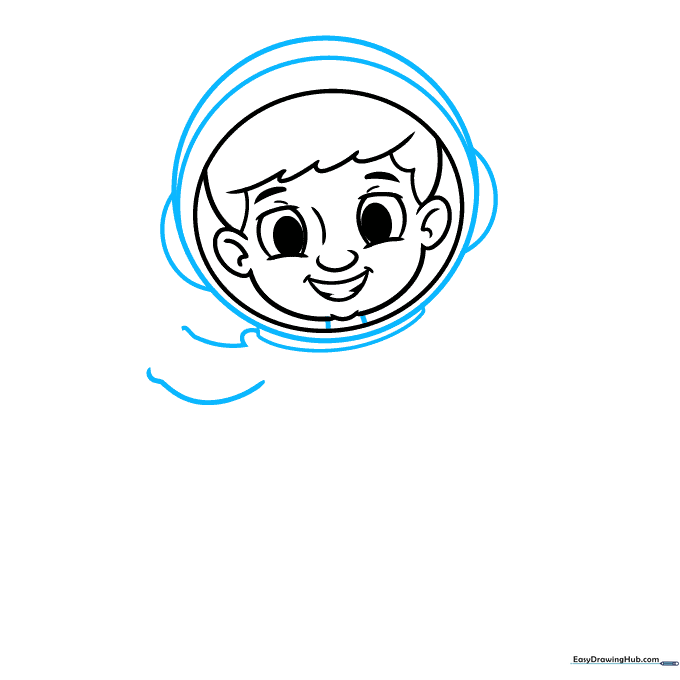
Draw overlapping ovals around the head to form the helmet visor, then add the neck and a tube-like structure at the base. Teacher's Tip: Think of the helmet as a large bubble—keep your lines smooth and continuous.
Step 5: Sketching the Arms
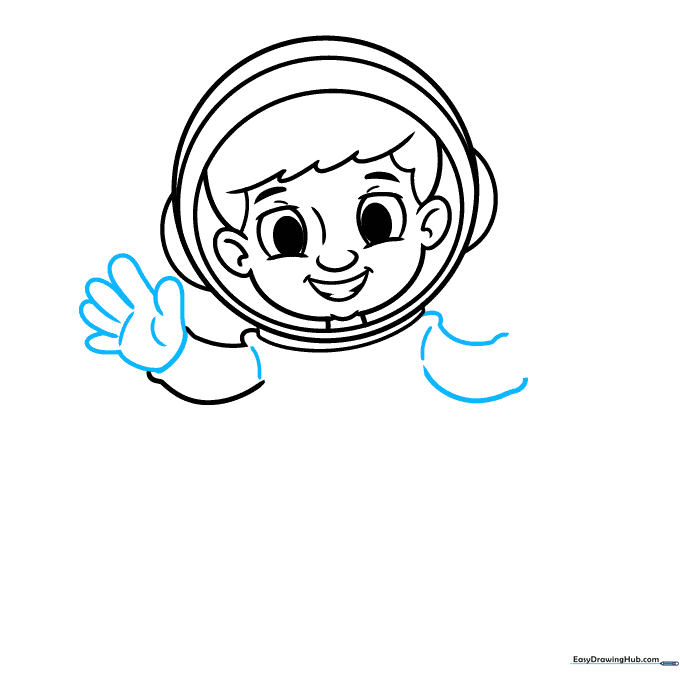
Draw the arms using rounded, sausage-like shapes. Add curves for the shoulders and wrists. Teacher's Tip: Use your own arm as a reference to see where the elbow bends!
Step 6: Adding Hands and Body Details
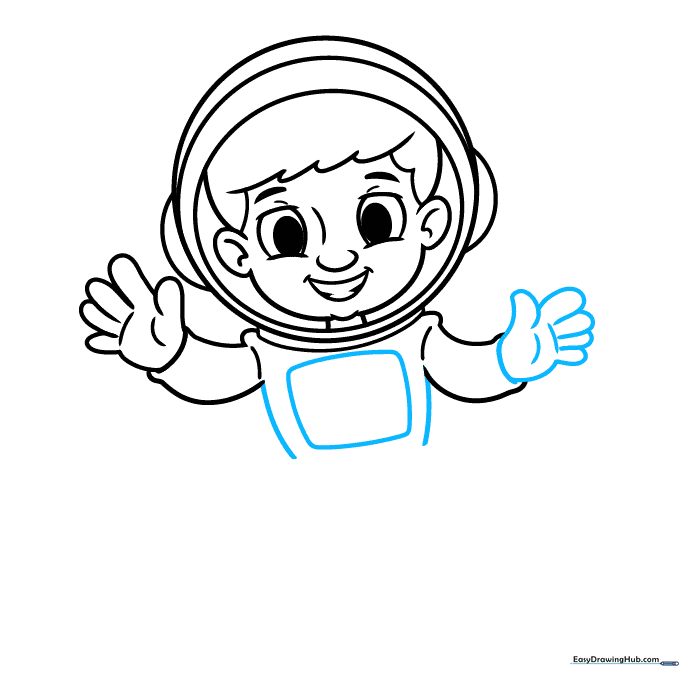
Sketch the hands with rounded fingers and add a rectangular panel on the chest. Teacher's Tip: Keep the fingers thick and simple to match the cartoon aesthetic.
Step 7: Designing the Legs
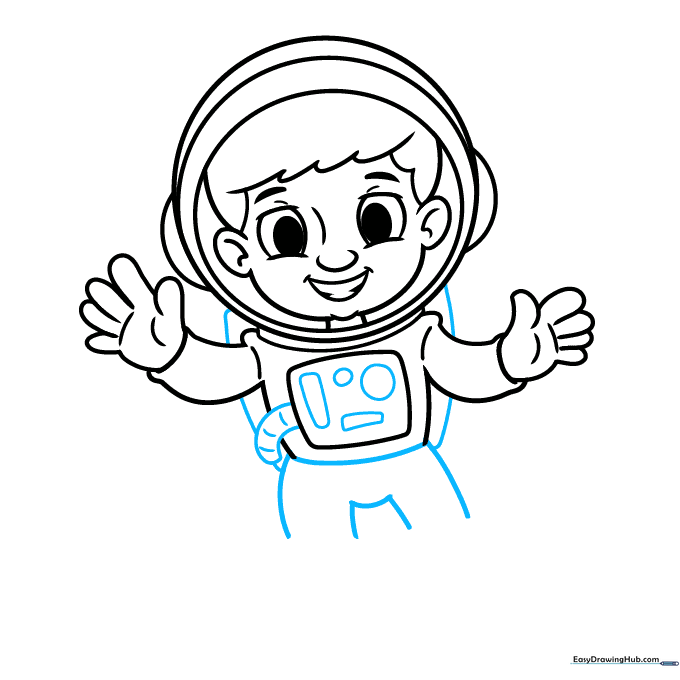
Draw the legs using vertical lines and connect them with curves to show the suit's bulk. Add a small tube on the left side. Teacher's Tip: Imagine the suit is puffy, like a winter coat, to help you draw the rounded edges.
Step 8: Final Suit Details
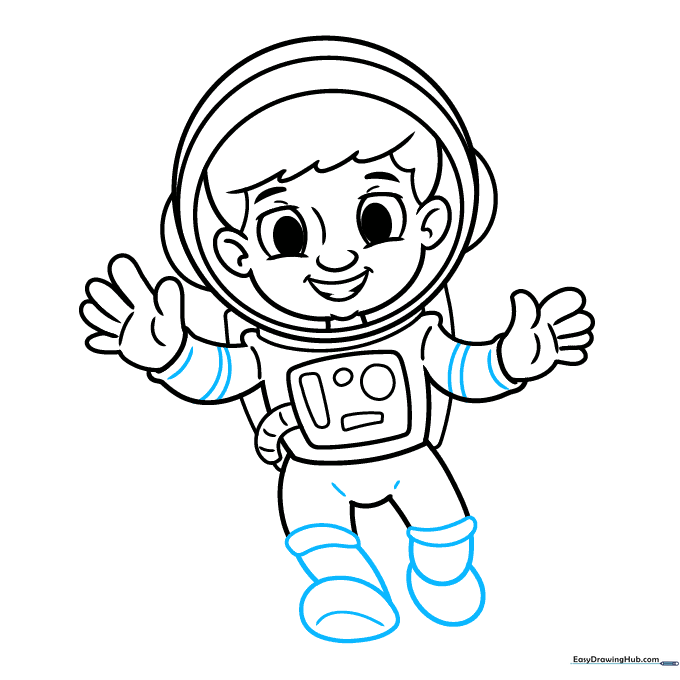
Add dashes for knee joints and draw the boots. Decorate the sleeves with three lines each. Teacher's Tip: Adding these small lines makes the suit look more realistic and technical.
Step 9: Creating the Background
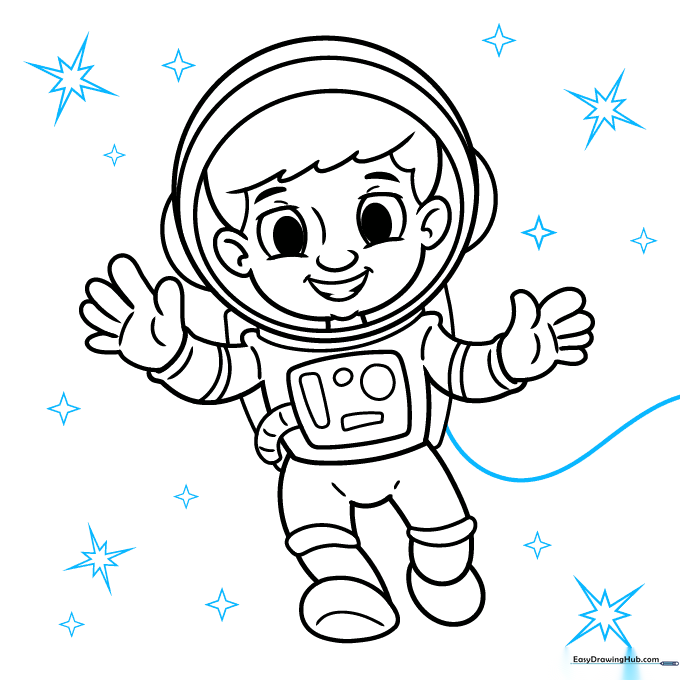
Draw sharp triangles to represent stars in the background. Use a ruler if you want them perfectly straight! Teacher's Tip: Vary the sizes of your stars to create a sense of depth in space.
Step 10: Bringing it to Life with Color
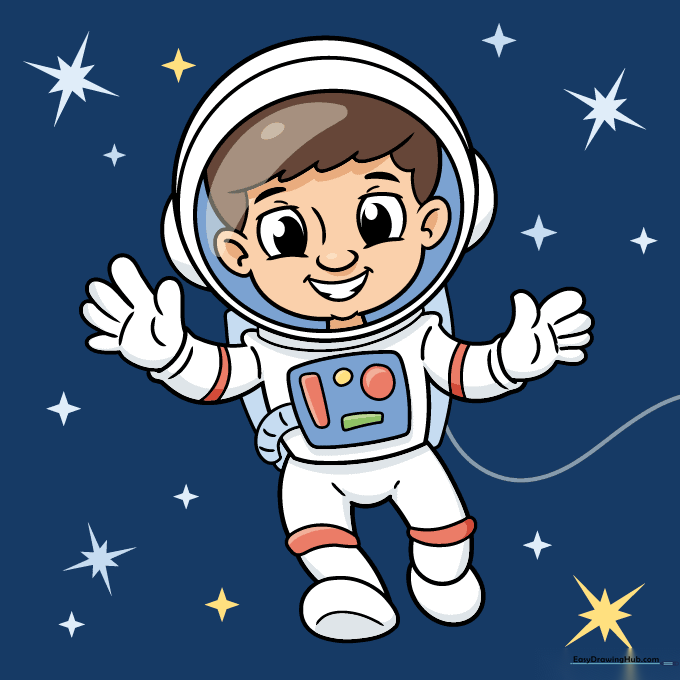
Color your suit white with bright red, blue, and yellow accents. Use a darker blue for the helmet glass and add a small white highlight to make it look shiny. Teacher's Tip: A white gel pen is great for adding those final 'pop' highlights!
More Tutorials


