How to Draw an Angry Cartoon Face: Easy Step-by-Step Guide
Capturing strong emotions is a key skill for any budding character designer. This tutorial is perfect for artists ages 7 and up looking to master expressive facial features. All you need is a pencil, an eraser, and a piece of paper to bring this grumpy character to life.
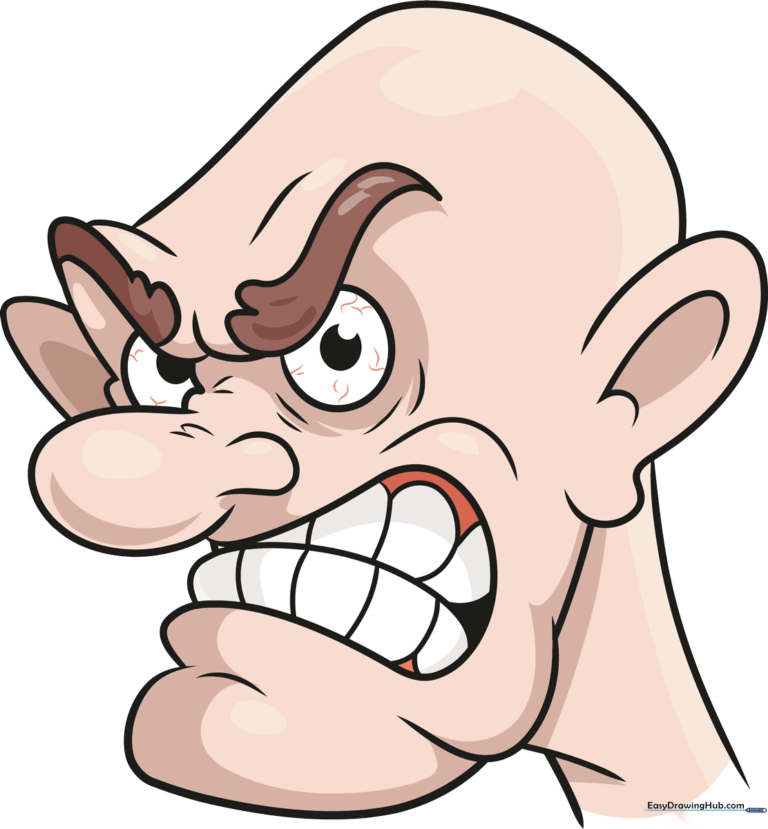
🎯 Final Result
Step-by-Step Instructions
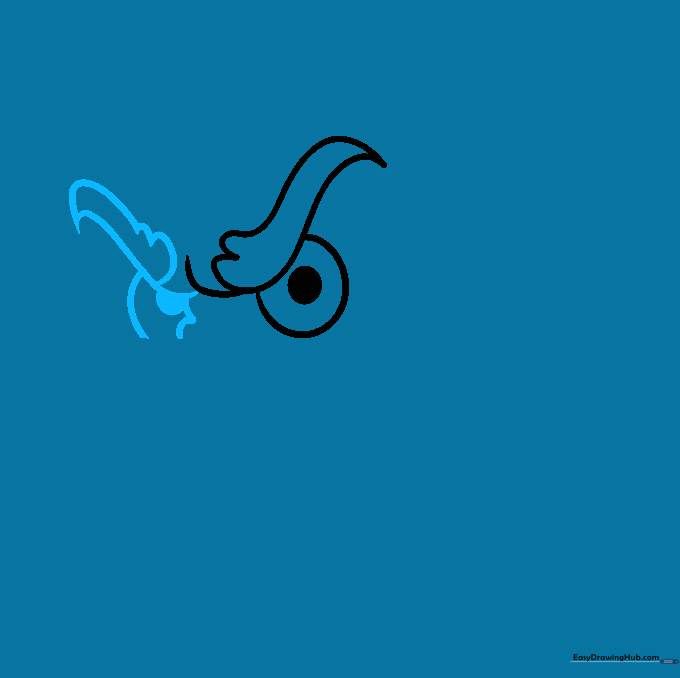
Step 1: Sketching the First Eyebrow and Eye

Start by drawing the angry eyebrow using a long, heart-like shape that tapers to a point. Add a small curved line at the end to suggest a deep wrinkle. Below it, draw a partial circle for the eye and shade in a small pupil. Teacher's Tip: Keep your pencil lines light so you can easily adjust the expression later.
Step 2: Adding the Second Eye
Repeat the process for the second eye and eyebrow, keeping them close to the first to emphasize the scowl. Add a few small curved lines between the brows to show tension. Teacher's Tip: Symmetry is great, but don't worry if they aren't perfect—a slightly uneven face can actually make the character look more realistic!
Step 3: Drawing the Nose
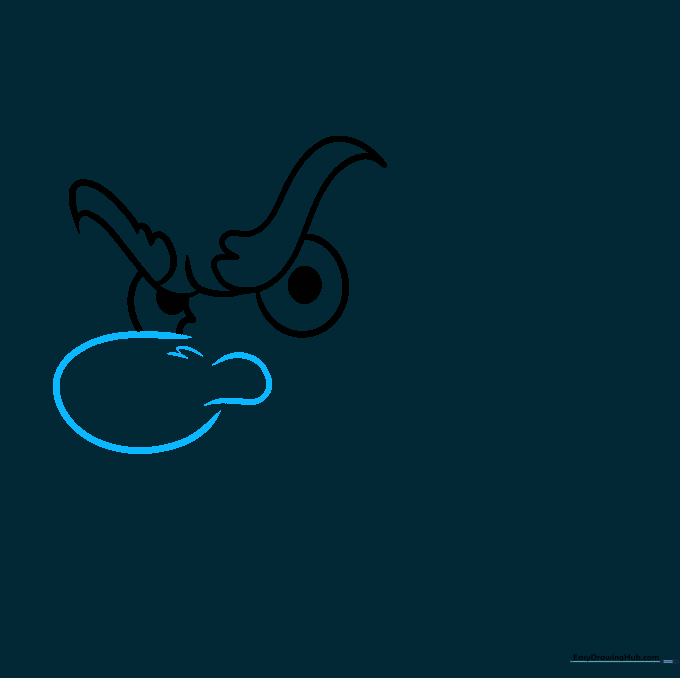
Draw a 'U' shaped line for the bridge of the nose and a smaller one for the nostril. Add short, overlapping curved lines at the top to show the bridge of the nose crinkling. Teacher's Tip: Use short, quick strokes to create a 'bumpy' texture that makes the nose look more defined.
Step 4: Outlining the Head and Ear
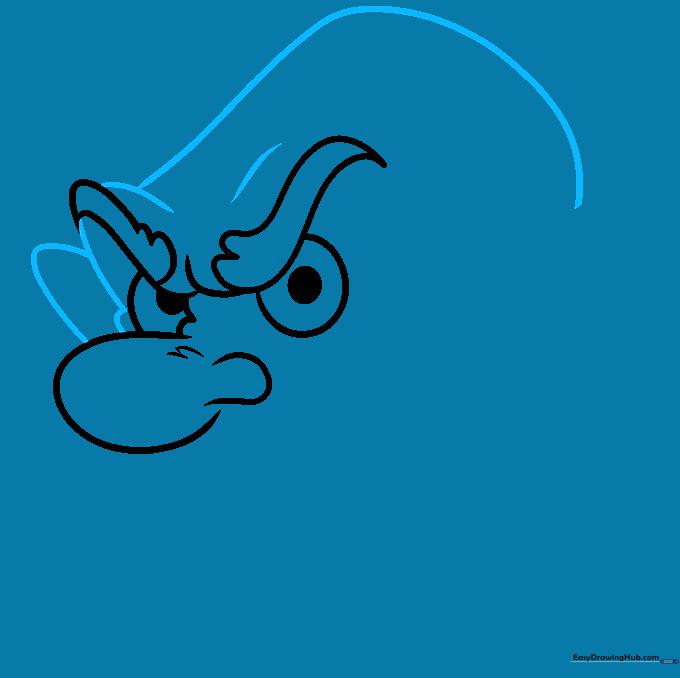
Draw a long, smooth curve to outline the side of the face and the ear. Add small curves above the brows to show the forehead muscles. Teacher's Tip: Imagine the head shape as a large oval; keep your lines fluid to make the character look more professional.
Step 5: Sketching the Open Mouth
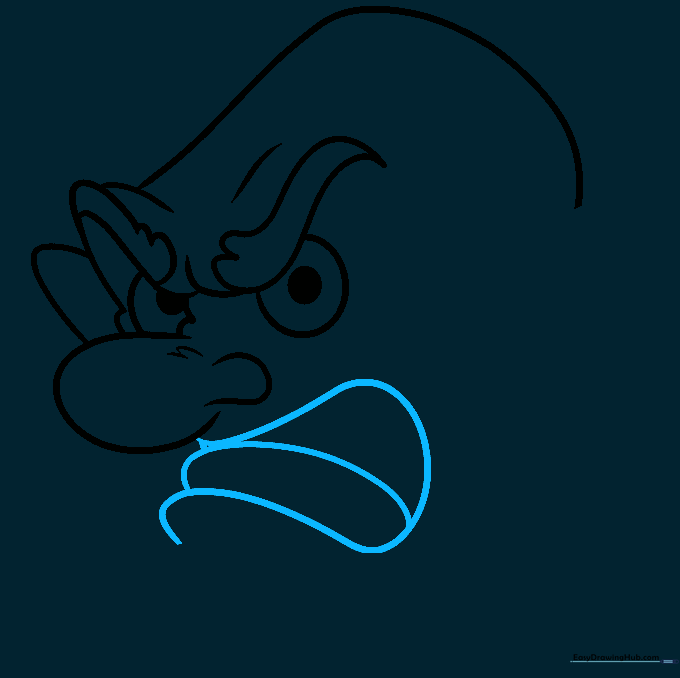
Draw a large 'U' shape for the open mouth, showing the character yelling. Add a curved line inside for the lower lip and teeth. Teacher's Tip: Make the mouth wide to really sell the 'angry' emotion!
Step 6: Adding Teeth and Gums
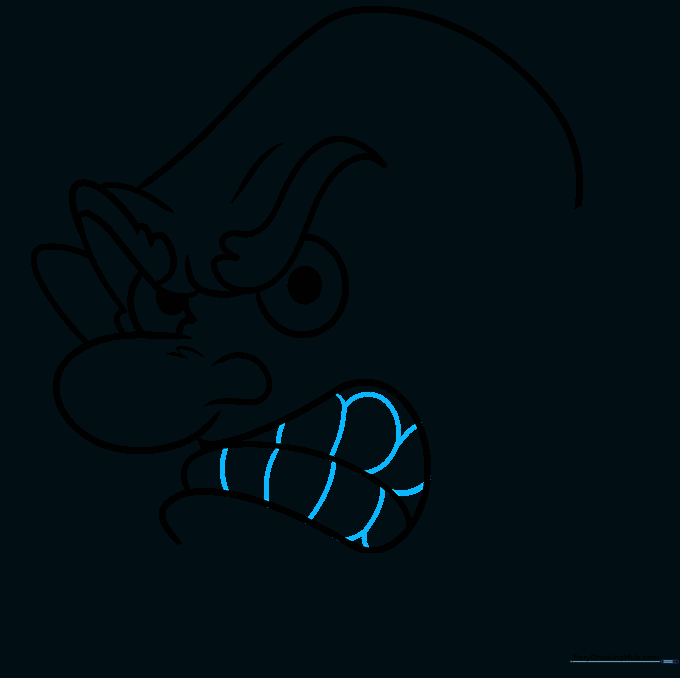
Detail the teeth and gums using small, curved lines along the upper and lower jaws. Teacher's Tip: Keep these lines simple; you don't need to draw every individual tooth to make it look effective.
Step 7: Defining the Chin
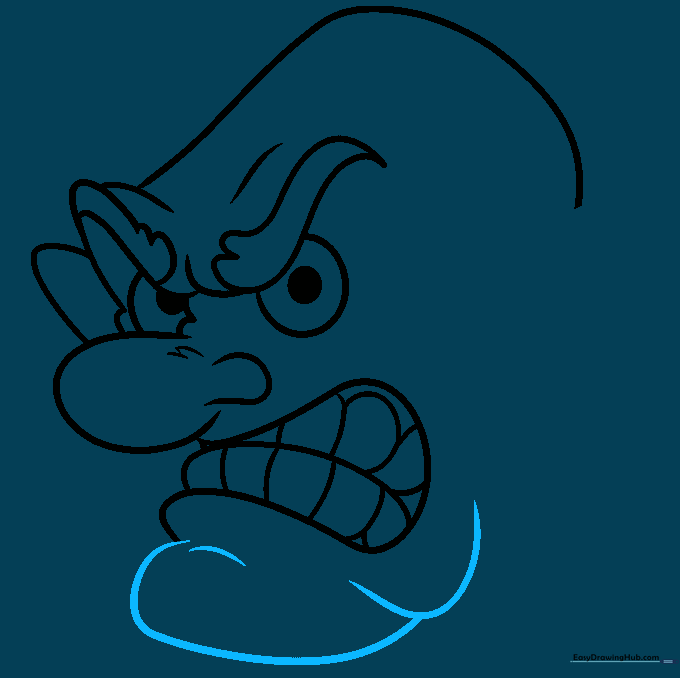
Use overlapping curved lines to shape the chin and the corner of the mouth. This adds depth to the face. Teacher's Tip: A strong, square-like chin often makes a character look more aggressive.
Step 8: Adding Ear Details
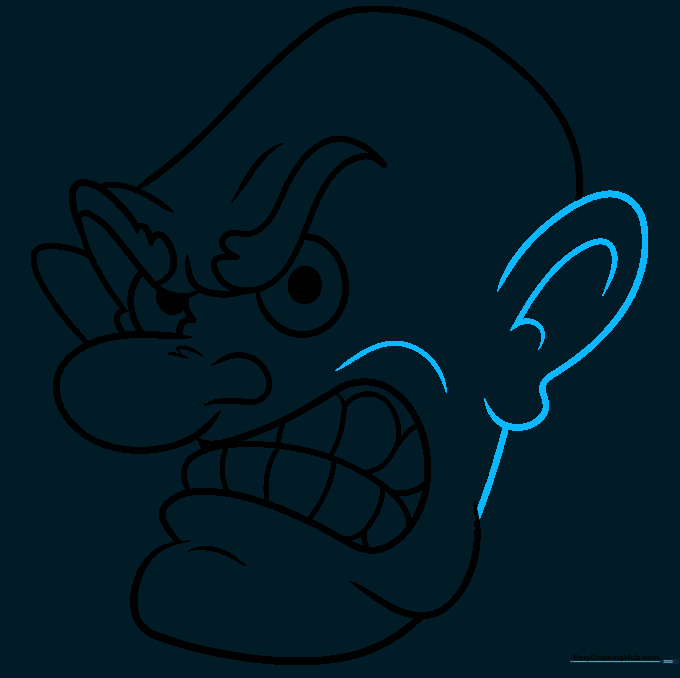
Contour the cheek and add detail to the inner ear, including the earlobe. Connect the ear to the jawline with a smooth curve. Teacher's Tip: Focus on the 'bulge' of the earlobe to make it look three-dimensional.
Step 9: Finishing the Neck and Wrinkles
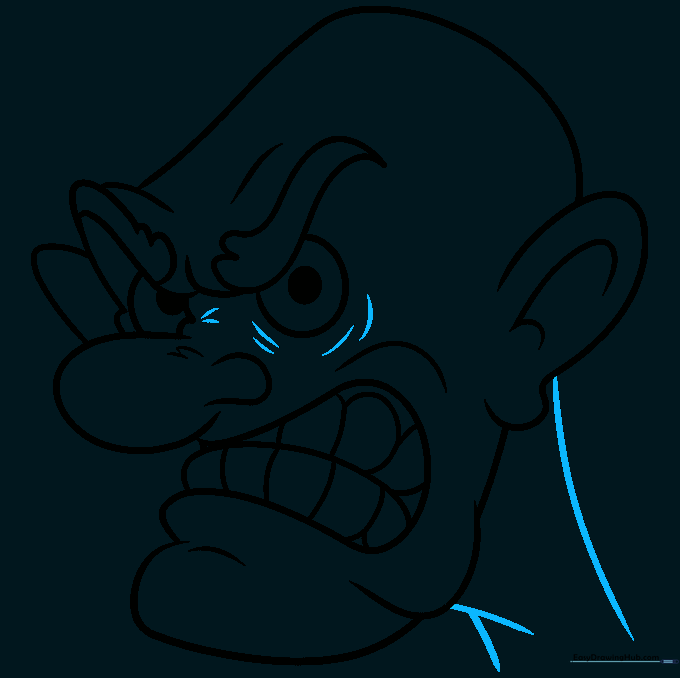
Draw the neck using two curved lines. Add small, paired lines around the eyes and nose to emphasize the angry expression. Teacher's Tip: These 'wrinkle lines' are the most important part of showing emotion—don't skip them!
Step 10: Color Your Masterpiece
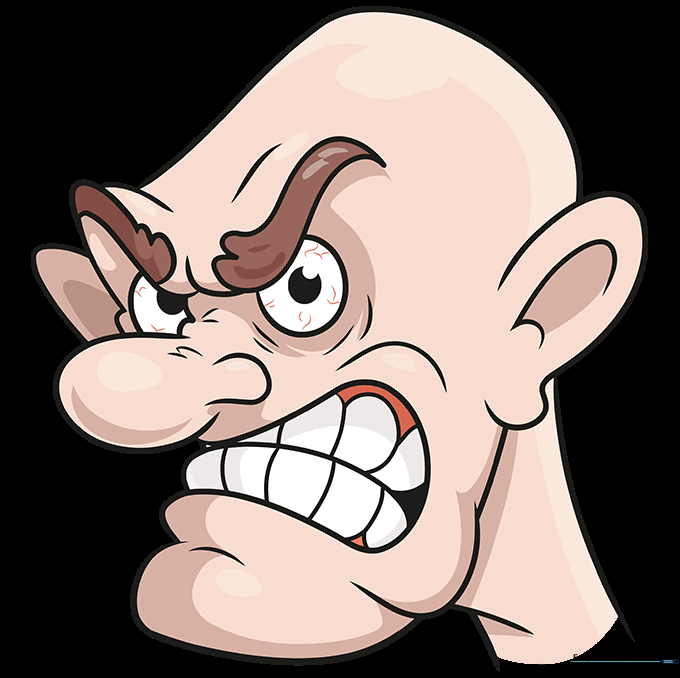
Time to color! Use shades of red or orange to represent the heat of anger. Teacher's Tip: Try using a darker red for the shadows under the eyes to make the expression look even more intense.
More Tutorials


