How to Draw a Cartoon Angel: Easy 9-Step Guide for Kids
This step-by-step guide is perfect for budding artists ages 5 and up. You will only need a pencil, an eraser, and a piece of paper to bring this friendly character to life. Follow along to practice basic shapes and build confidence in your drawing skills.
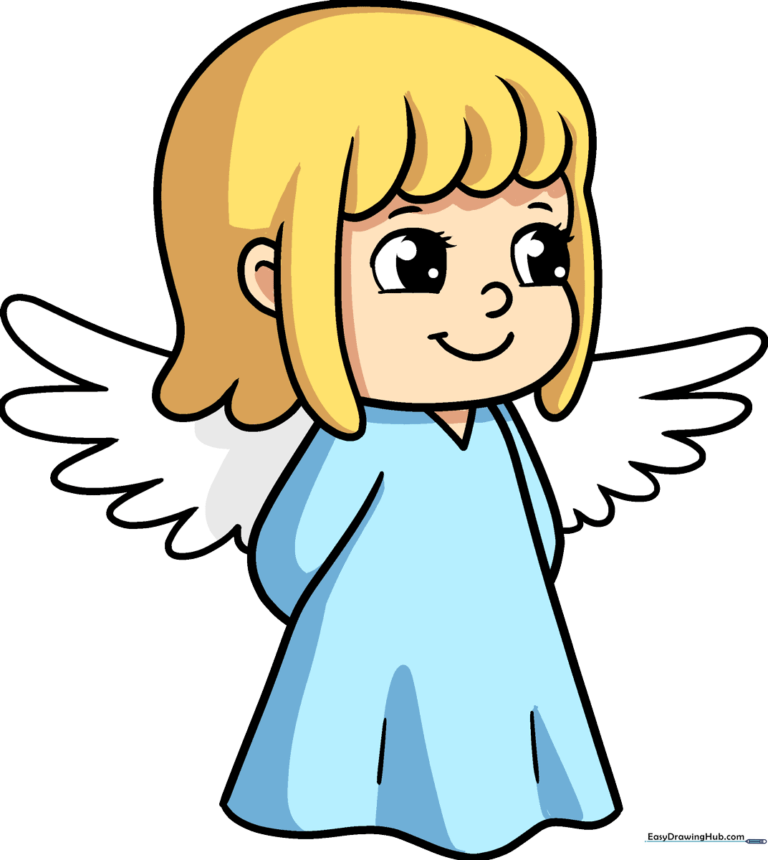
🎯 Final Result
Step-by-Step Instructions
Step 1: Sketching the Expressive Eyes
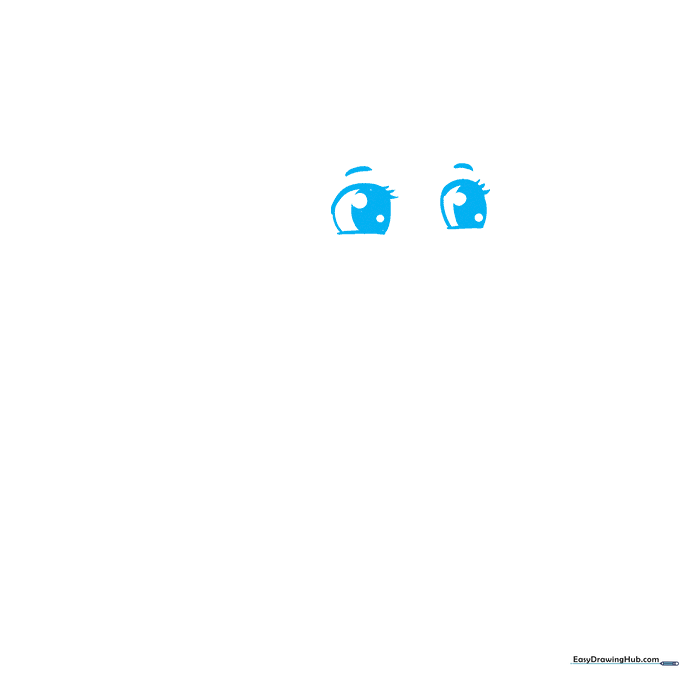
Draw two curved lines to create the shape of the eyes. Add three circles inside each, shading the largest one to create a pupil. Tip: Keep the eyes symmetrical to give your angel a friendly, balanced look.
Step 2: Adding Facial Features and Hairline

Draw a small 'C' shape for the nose and a gentle curve for the smile. Use a 'U' shape to start the hair framing the forehead. Tip: A tiny line at the corner of the mouth adds a sweet, happy expression.
Step 3: Defining the Face and Ear
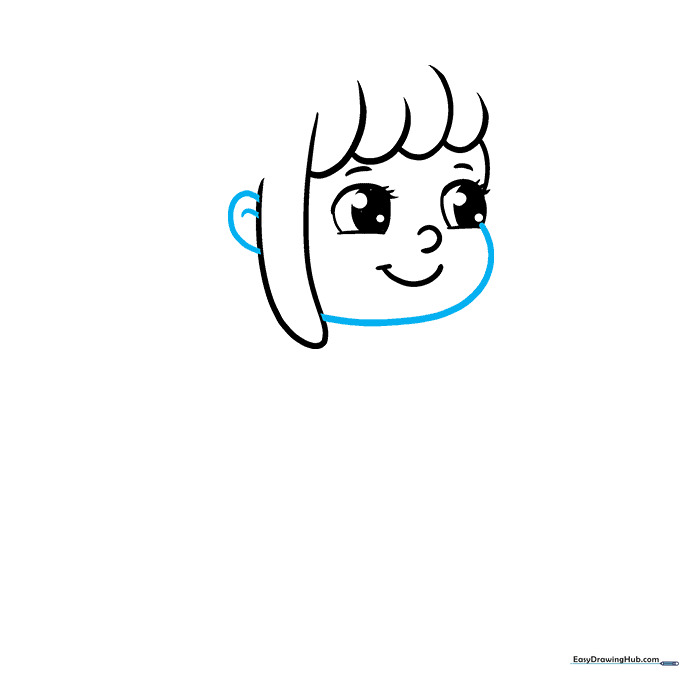
Enclose the face with a long, smooth curved line. Add a 'C' shape on the side for the ear. Tip: Keep the chin rounded to maintain that cute, cartoonish style.
Step 4: Finishing the Hair
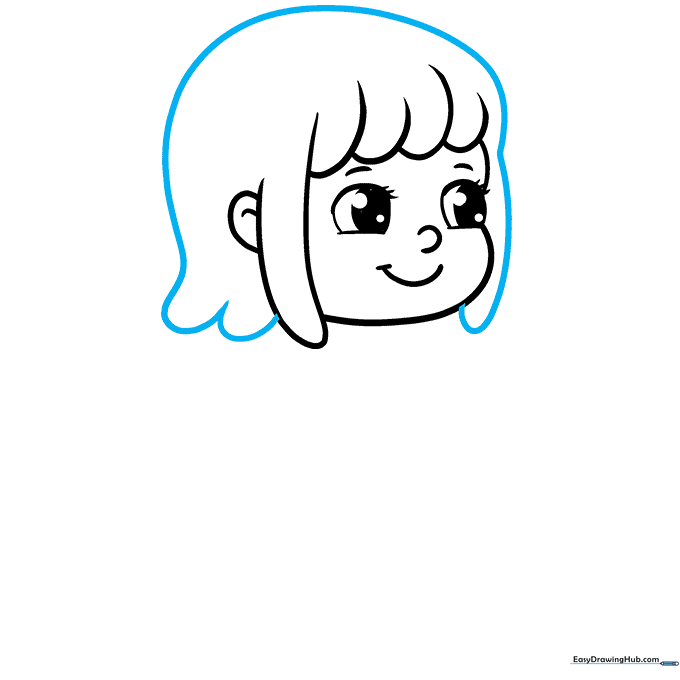
Use a series of overlapping curved lines to finish the hair. Tip: Vary the length of your strokes to make the hair look natural and flowy.
Step 5: Starting the Gown
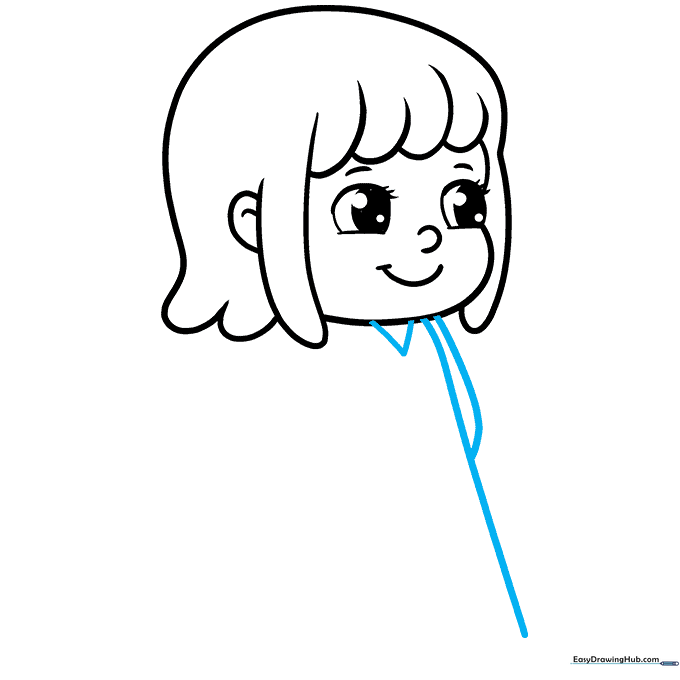
Draw a long line down from the head for the gown and a 'V' shape for the neck. Add a small curve for the arm. Tip: Keep the arm tucked in to make the drawing simpler for beginners.
Step 6: Completing the Gown Outline
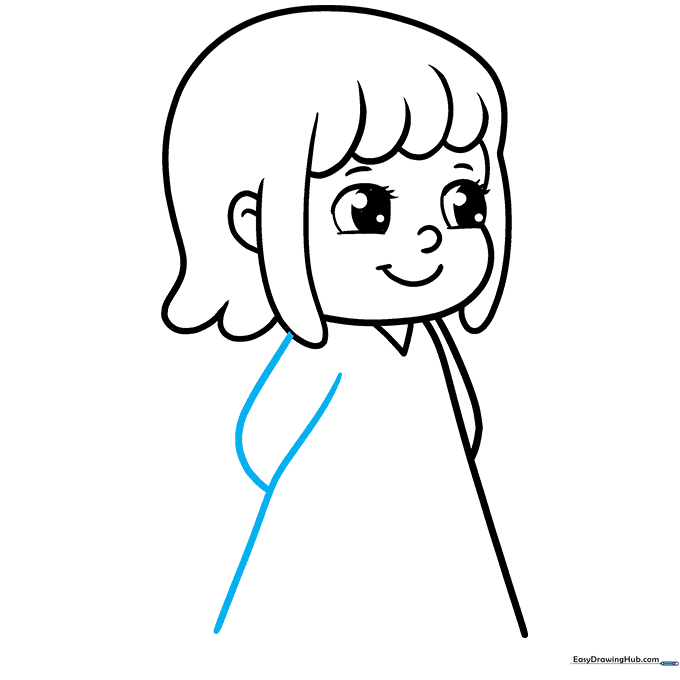
Use overlapping curves to draw the second arm and the other side of the gown. Tip: Think of the gown as a bell shape to get the proportions right.
Step 7: Adding Fabric Details
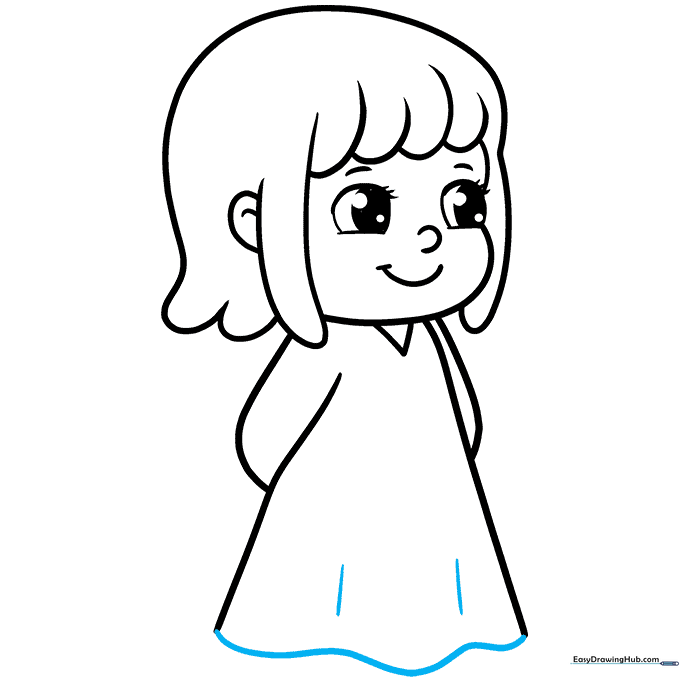
Connect the bottom of the gown with a long, wavy line. Add short vertical lines to show folds in the fabric. Tip: Folds make your drawing look 3D and professional!
Step 8: Drawing the First Wing
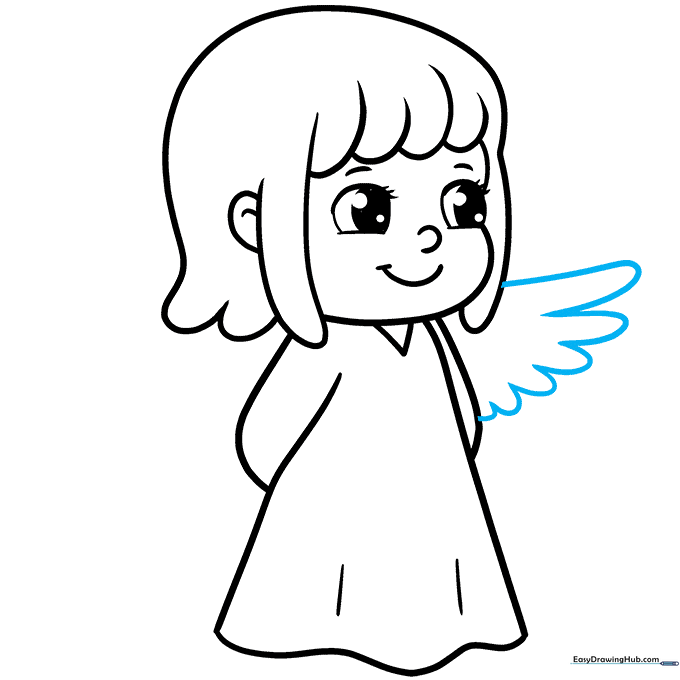
Draw the wing using a series of connected 'U' shapes. Use larger ones at the top and smaller ones at the bottom. Tip: If you want bigger wings, just add more 'U' shapes!
Step 9: Finalizing the Wings
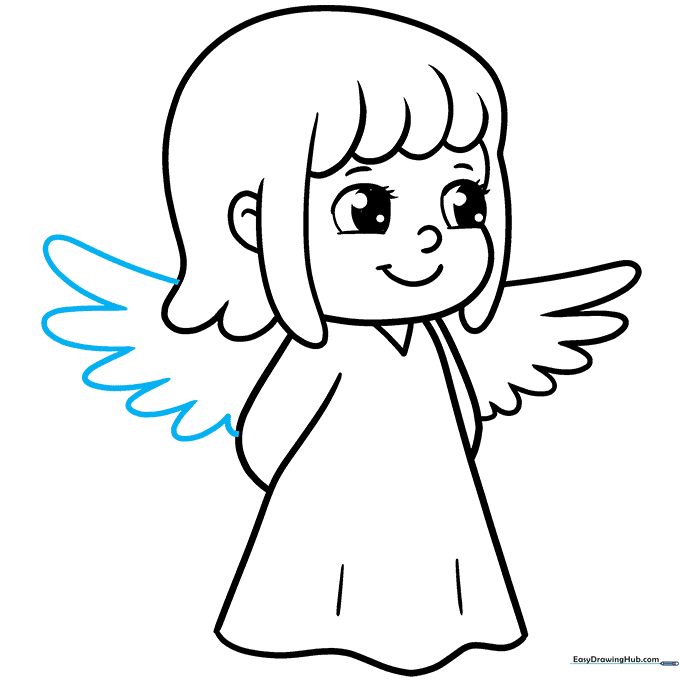
Repeat the process on the other side to draw the second wing. Ensure the shapes are similar in size to keep the angel balanced.
Step 10: Adding Color
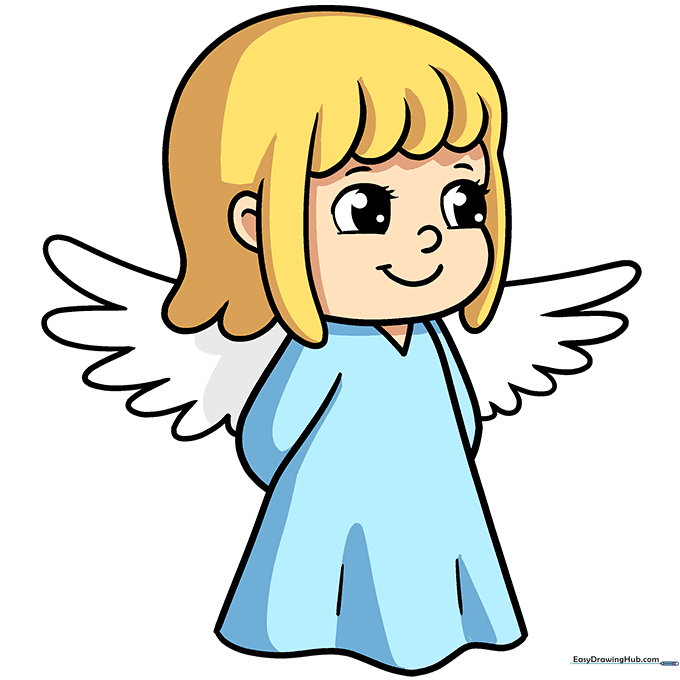
Your outline is complete! Now, use your favorite colors to fill in the angel. Tip: Use a light blue for the wings to give them a soft, airy feel.
More Tutorials


