How to Draw a Cartoon Airplane: Easy 9-Step Guide
Ready to take flight? This tutorial is perfect for young artists ages 5 and up who want to draw their own friendly cartoon airplane. You only need a pencil, an eraser, and a piece of paper to get started. Follow these simple steps to build confidence and develop your artistic skills one line at a time.
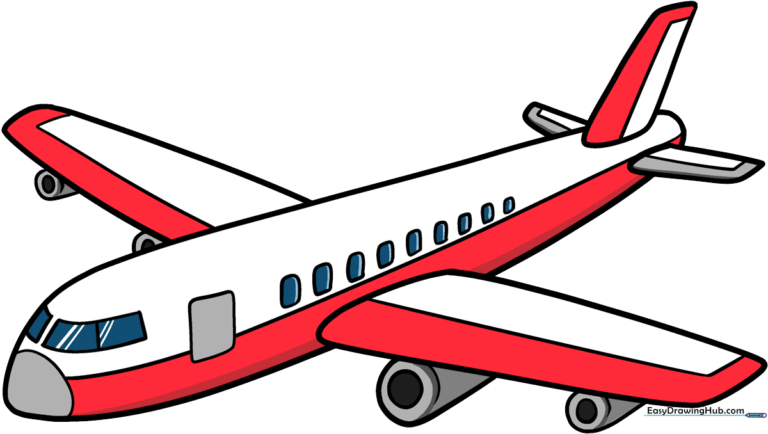
🎯 Final Result
Step-by-Step Instructions
Step 1: Sketching the Base
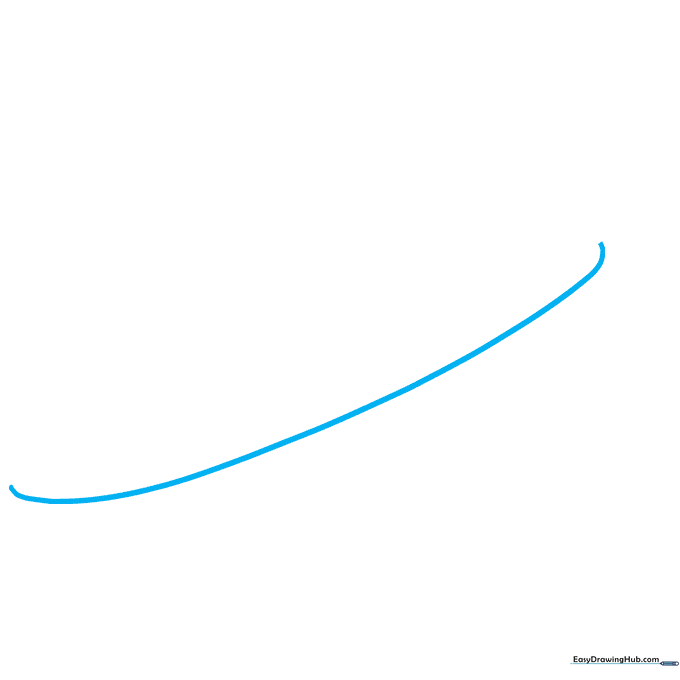
Start by drawing a long, gentle curve to form the bottom of the airplane's body. Tip: Keep your pencil grip loose to ensure the line stays smooth and fluid.
Step 2: Closing the Fuselage
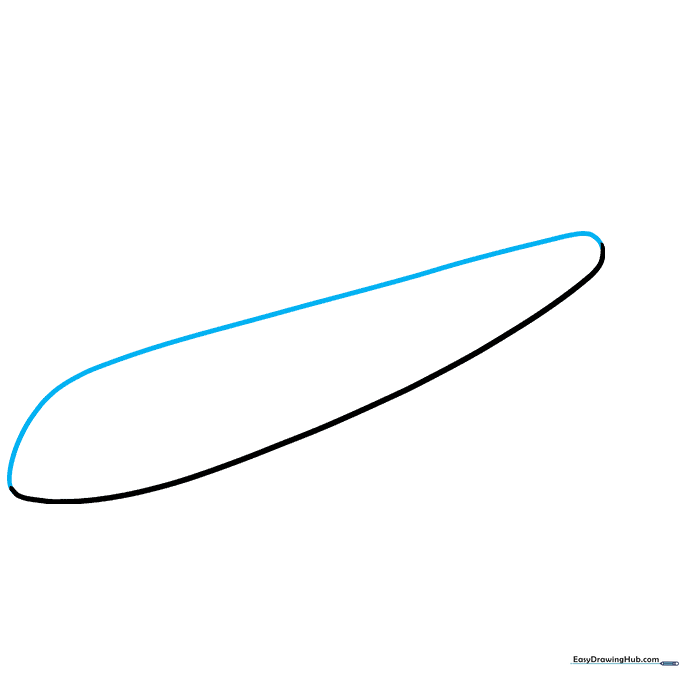
Draw a second curved line above the first to enclose the body shape. Tip: Imagine you are drawing a large, rounded bean shape.
Step 3: Drawing the First Wing
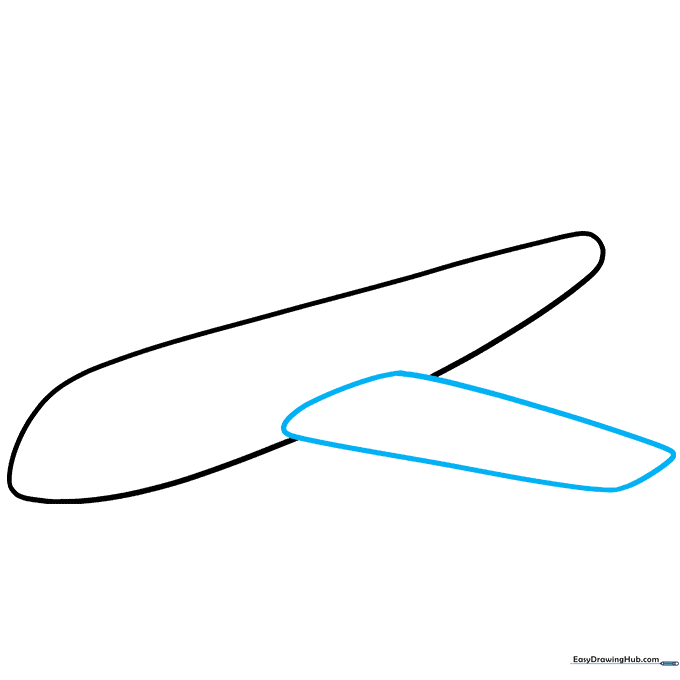
Sketch a rounded rectangle shape extending from the side of the body. Tip: Make sure the wing looks sturdy and connects firmly to the fuselage.
Step 4: Adding the Second Wing
Draw the opposite wing using the same rounded rectangle technique. Tip: Try to match the size of the first wing so your plane looks balanced.
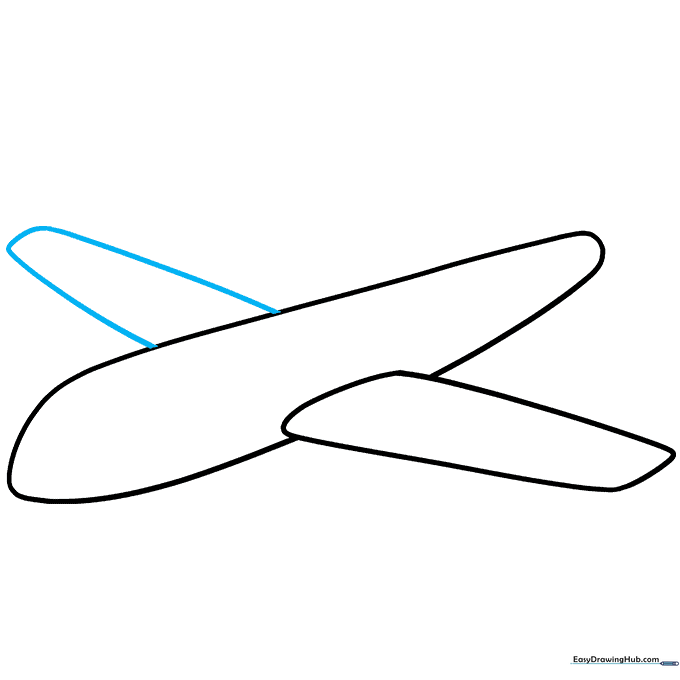
Step 5: Tail Winglets

Add the rudder and stabilizers at the back using small, rounded shapes. Tip: The rudder stands tall like a shark fin, while the stabilizers lay flat.
Step 6: Defining the Nose
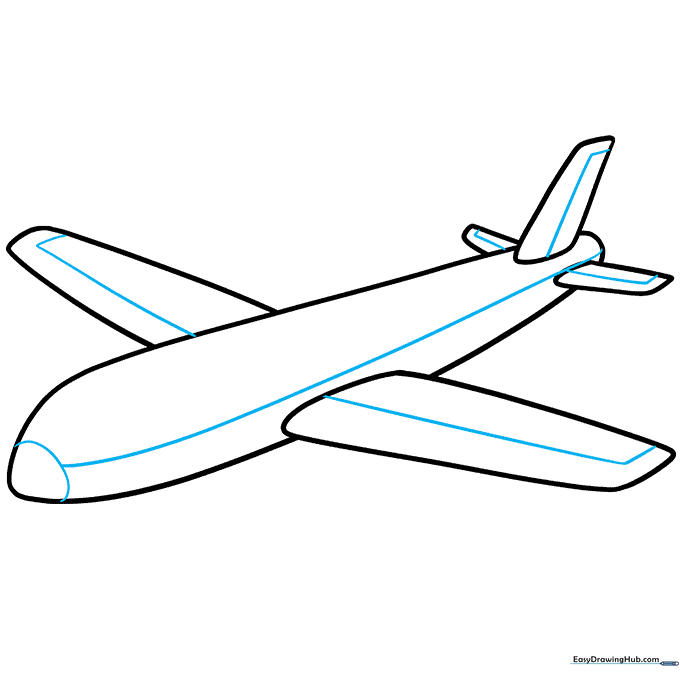
Draw a partial circle at the front for the nose and add 'L' shaped lines for detail. Tip: Keep these lines simple to maintain the cartoon style.
Step 7: Jet Engines
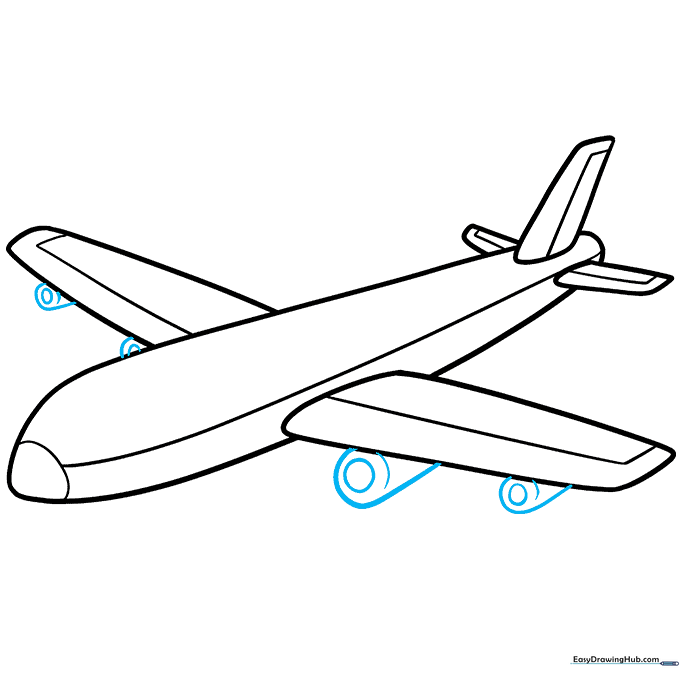
Draw circles under the wings, then add curved lines to create a cylinder effect. Tip: These engines give your plane power, so make them look sturdy!
Step 8: Cockpit and Door
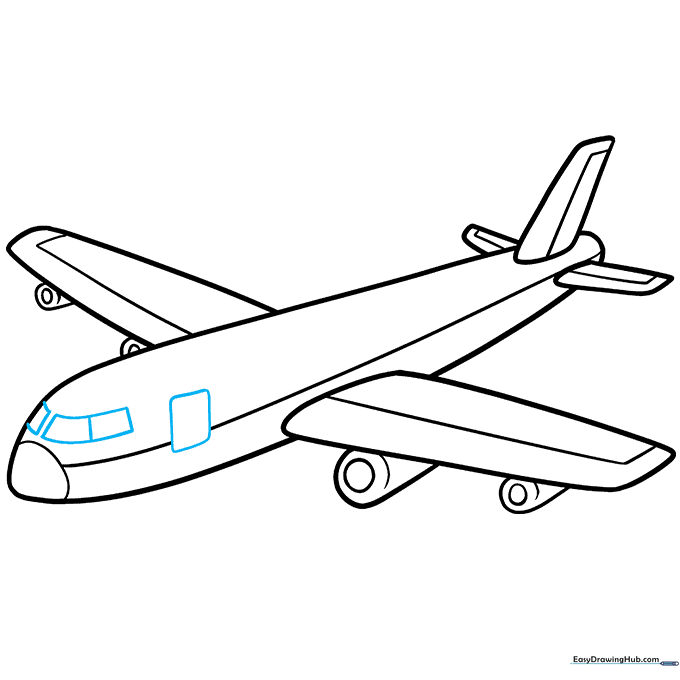
Sketch the cockpit windows and a door using rounded rectangles. Tip: Use your eraser to clean up any overlapping lines inside the shapes.
Step 9: Passenger Windows

Add a row of small, rounded squares for the passenger windows. Tip: Imagine who is sitting inside your plane as you draw them!
Step 10: Color Your Creation
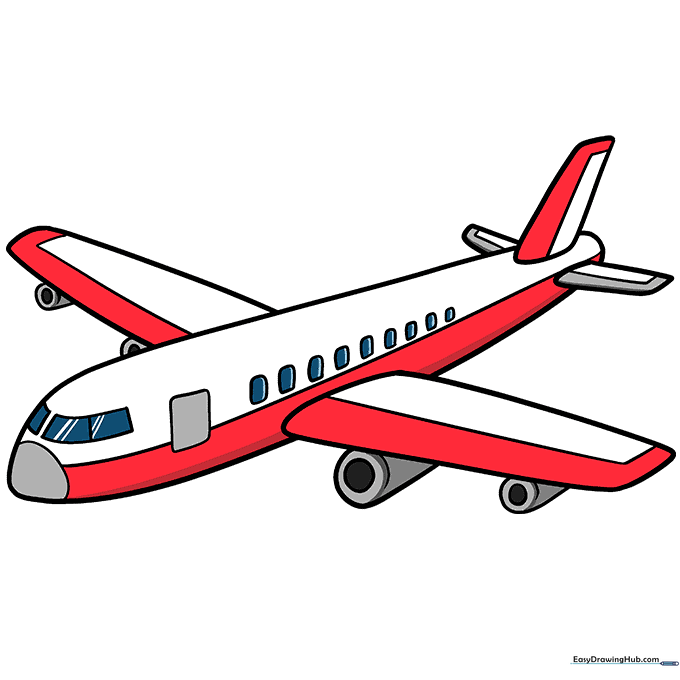
Bring your airplane to life with color! Use bright reds, blues, or your favorite airline colors. Tip: Use light pressure with your crayons for a smooth, even finish.
More Tutorials


