How to Draw a Care Bear: Easy 9-Step Guide for Kids
Perfect for young artists ages 5 and up, this tutorial breaks down the iconic Care Bear into simple, manageable shapes. All you need is a pencil, an eraser, and your favorite coloring markers to bring this character to life. Follow along to build confidence in your drawing skills while creating a cheerful, fuzzy friend.
🎯 Final Result

Step-by-Step Instructions
Step 1: Sketching the Face

Start by drawing the bear’s nose and cheek area using soft "U" shaped lines. Above the cheek, draw a "U" shape for the eye, adding two partial ovals inside for the iris and pupil. Teacher's Tip: Keep your pencil pressure light so you can easily erase any stray lines later.
Step 2: Adding Facial Features
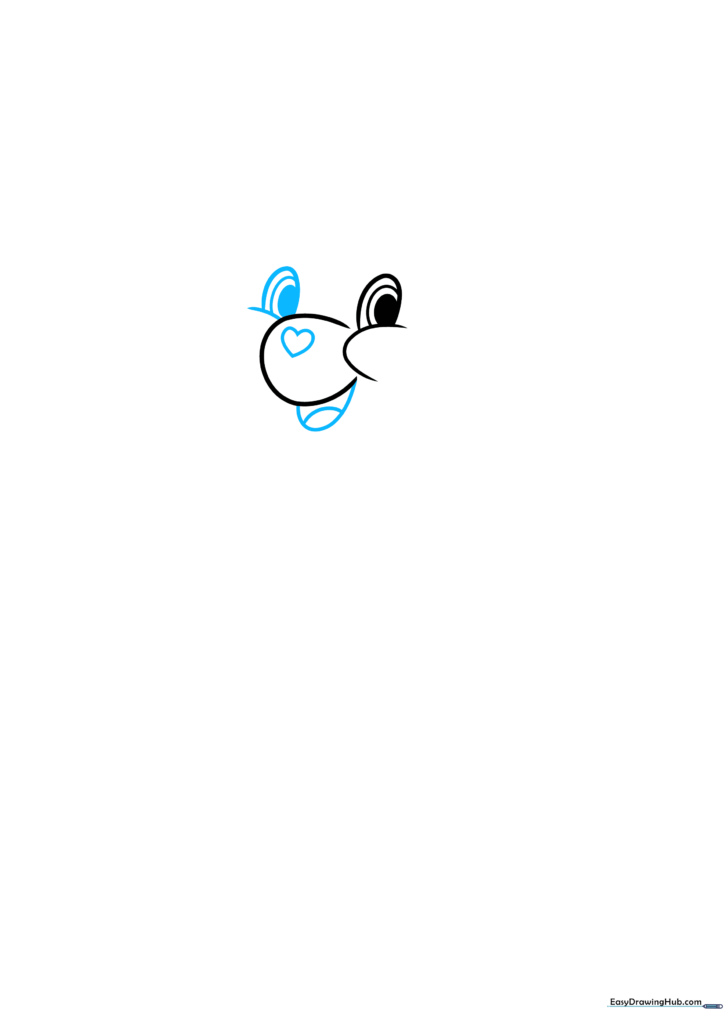
Draw a small heart on the nose and a curved line for the mouth. Add a tiny line inside the mouth to represent the tongue. Teacher's Tip: Use a steady hand for the heart—it’s the signature look of a Care Bear!
Step 3: Defining the Furry Face
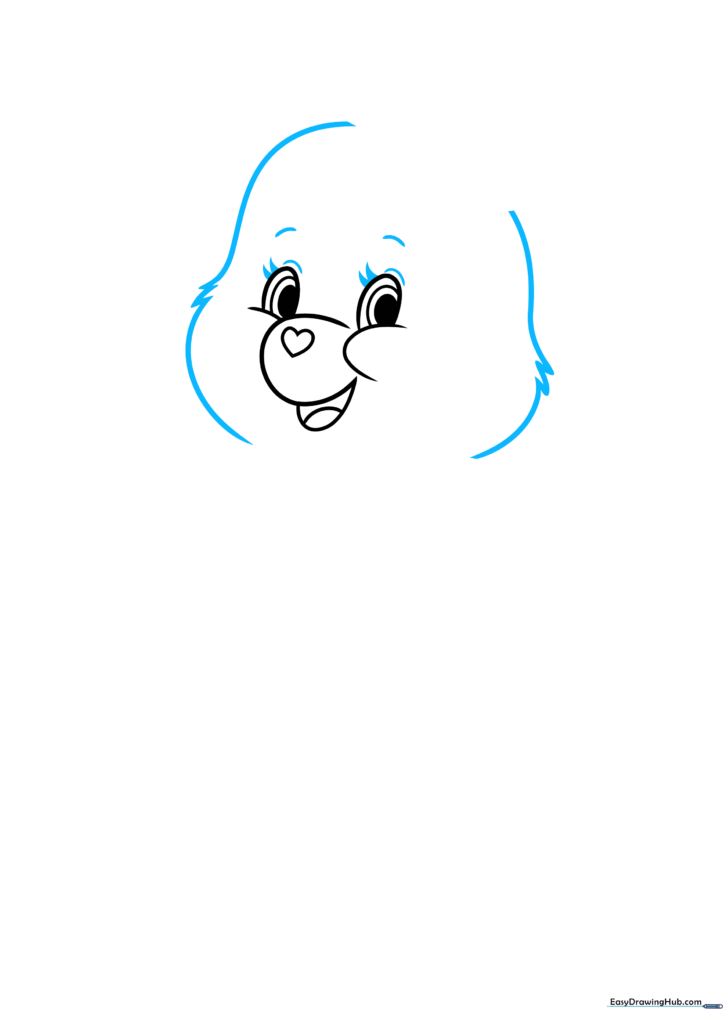
Add curved lines above the eyes for eyelids and small triangles for eyelashes. Use short, jagged strokes to outline the sides of the face to give it a soft, furry texture. Teacher's Tip: Don't worry about making the jagged lines perfect; fur is naturally uneven!
Step 4: Ears and Whiskers
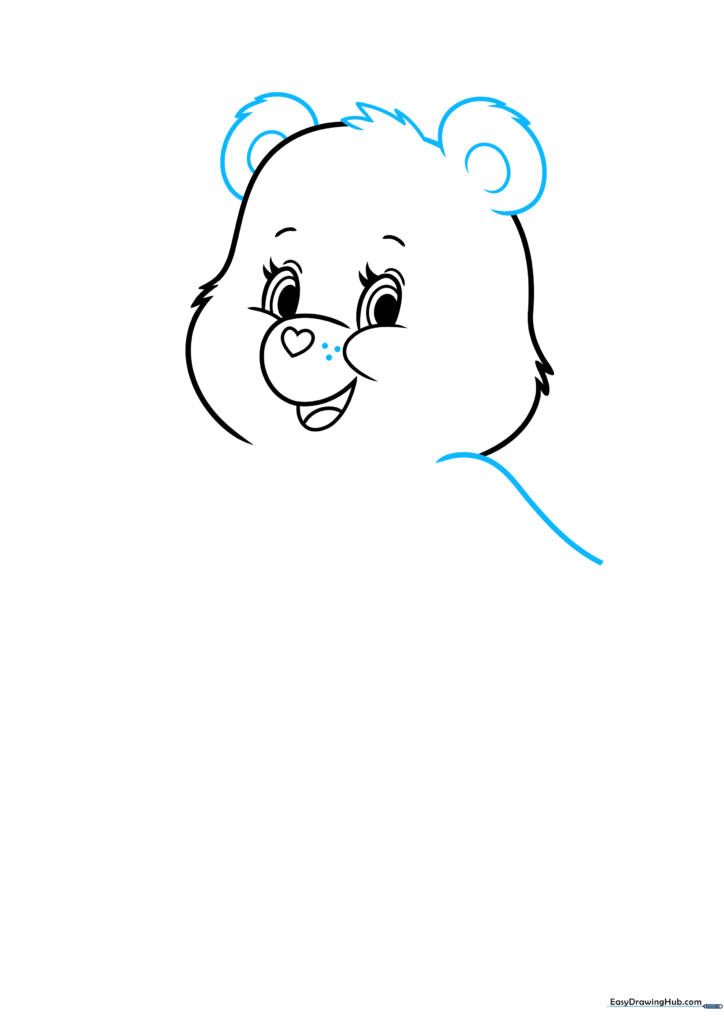
Draw "C" shapes for the inner ears and add a tuft of fur on top of the head. Add a few dots near the nose for whiskers and a curved line for the shoulder. Teacher's Tip: The tuft of fur makes the bear look extra cuddly.
Step 5: Sketching the Arms
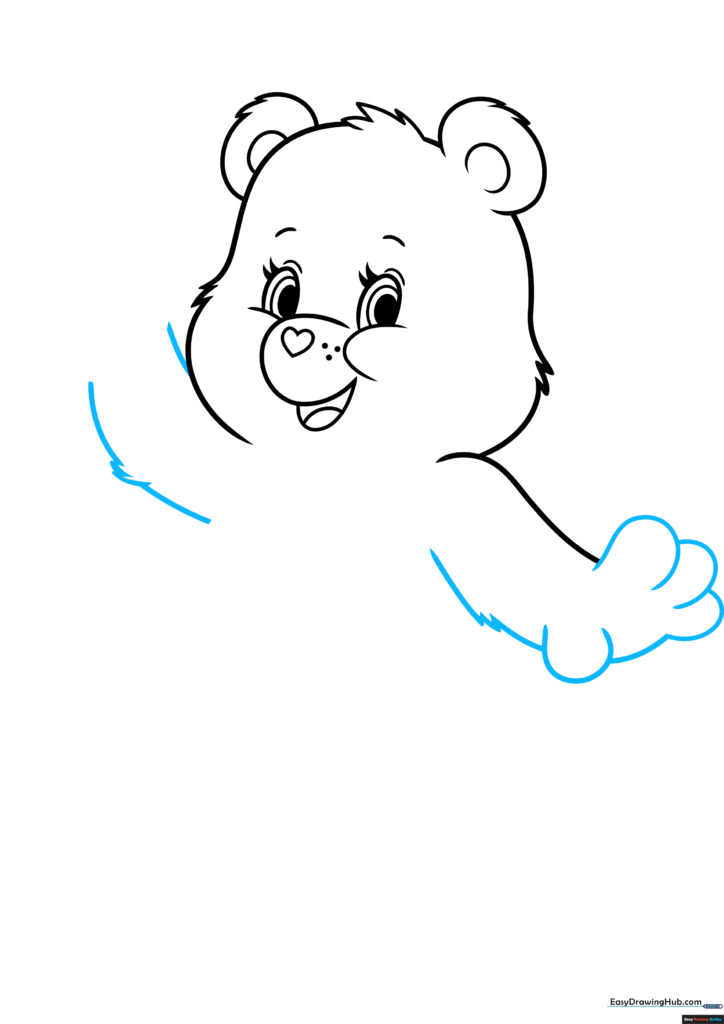
Use overlapping "U" shapes to create the fingers and hands. Connect them to the body with curved, jagged lines to maintain that furry look. Teacher's Tip: Focus on the rounded shapes of the fingers to keep the character looking friendly.
Step 6: The Tummy Outline
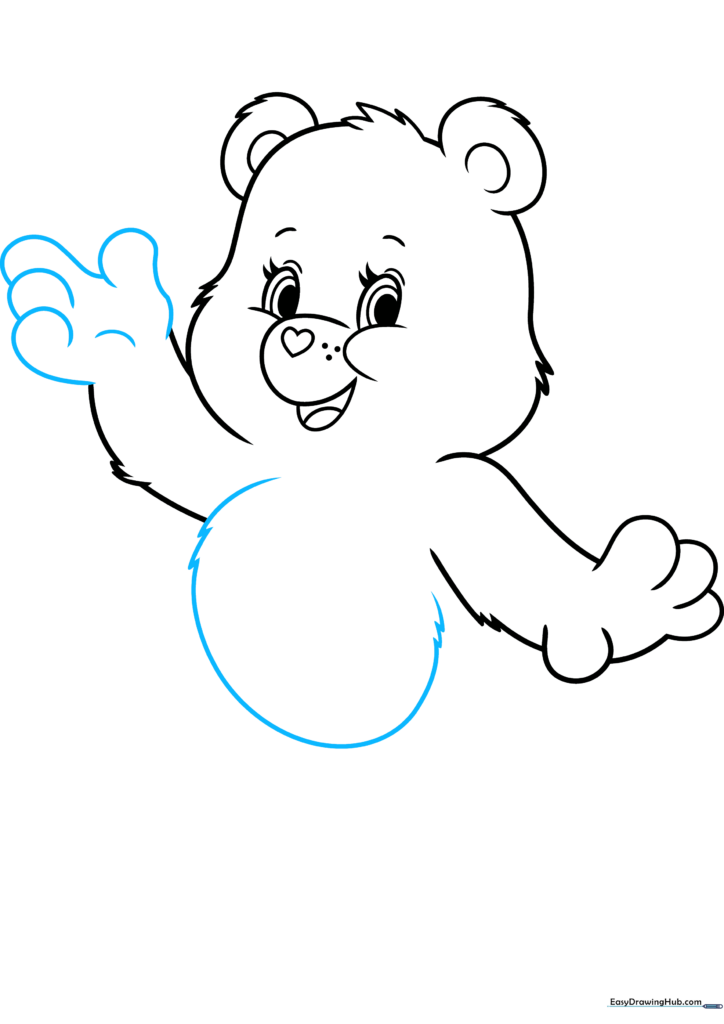
Complete the arms and begin the round shape of the tummy. Use a long curved line for the base and jagged lines for the top. Teacher's Tip: A nice, round tummy makes the bear look huggable!
Step 7: Legs and Feet
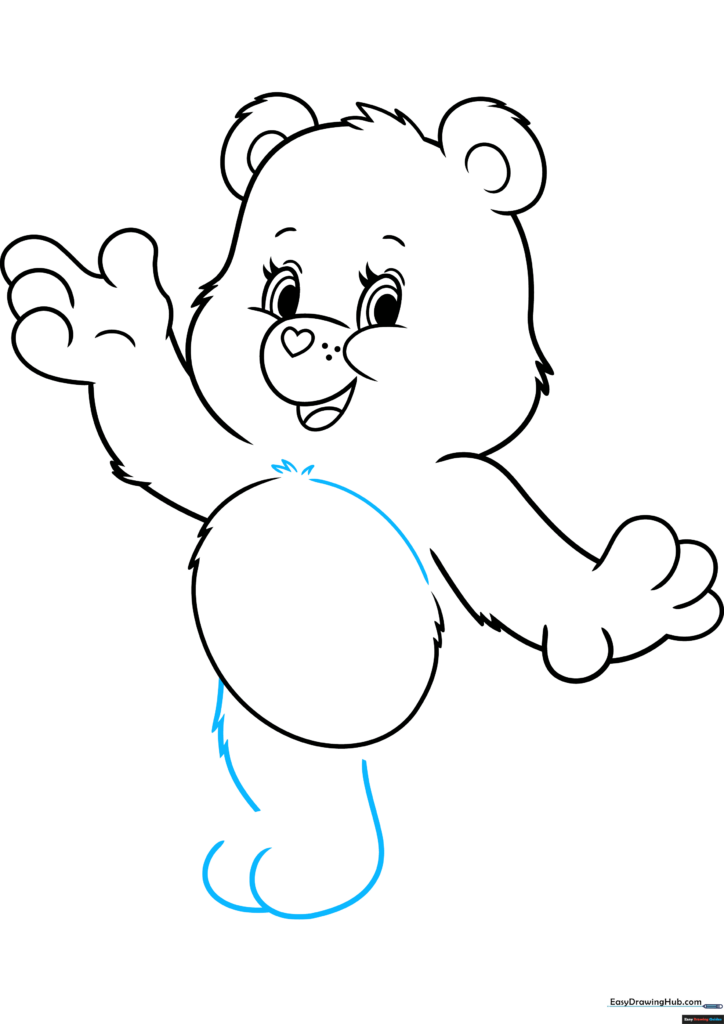
Finish the tummy shape and draw the first leg and foot using curved lines. Add a small tuft of fur where the leg meets the body. Teacher's Tip: Keep the feet slightly rounded to match the bear's soft aesthetic.
Step 8: Completing the Lower Body
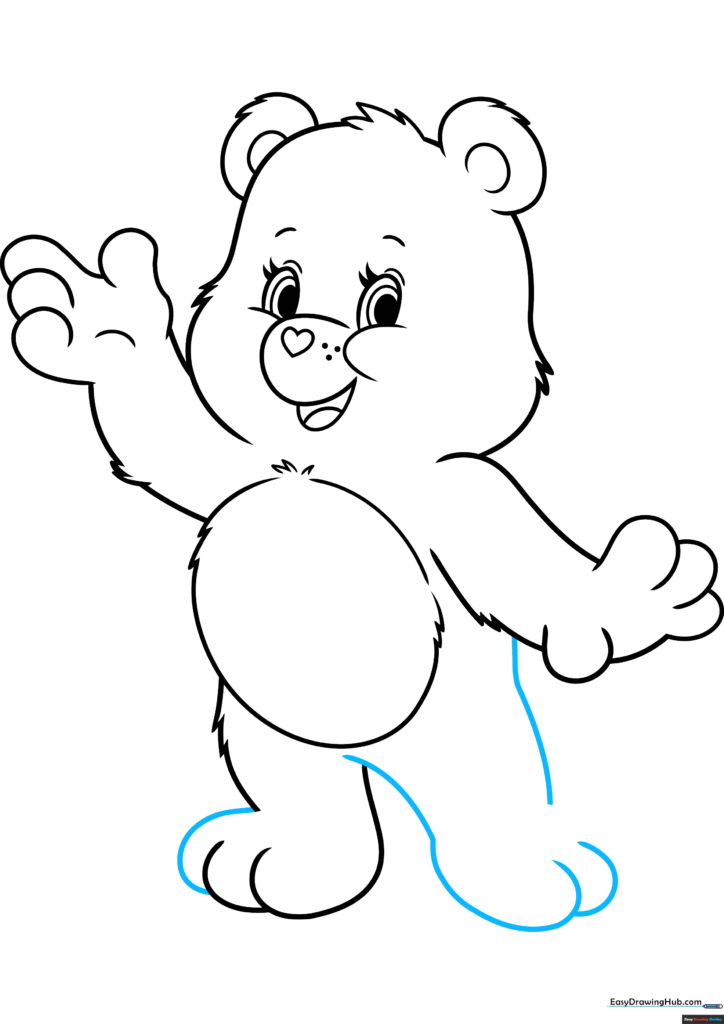
Finish the first foot and sketch the second leg and foot. Use overlapping lines to show depth. Teacher's Tip: Check that both feet are roughly the same size to keep your drawing balanced.
Step 9: Final Details
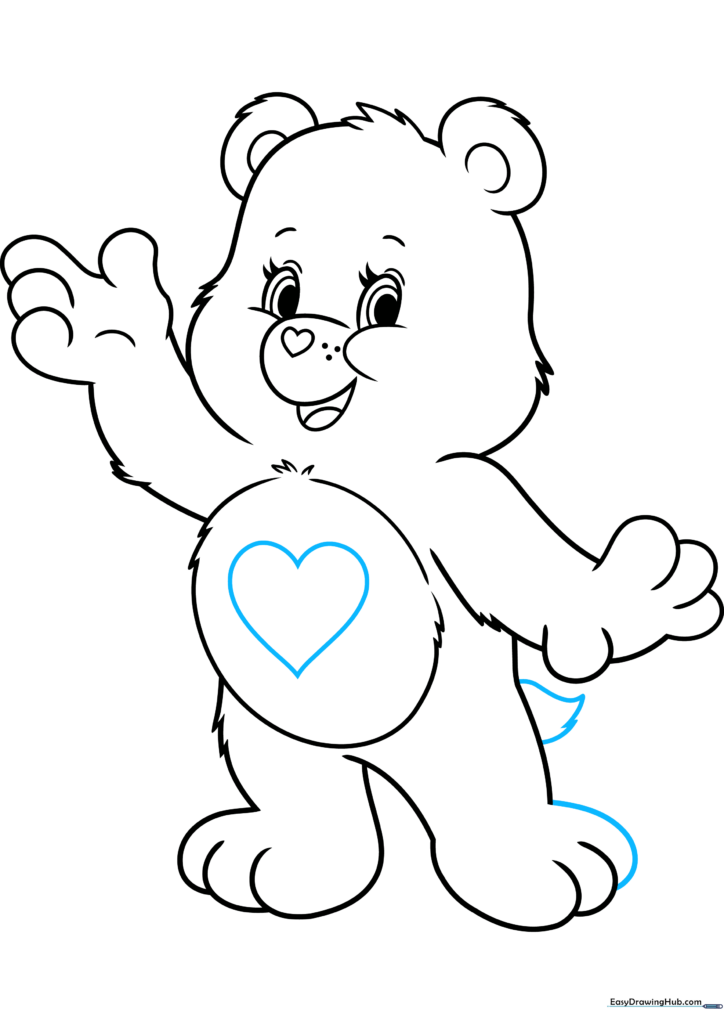
Add a small teardrop-shaped tail and draw a large heart in the center of the tummy. You've finished the outline! Teacher's Tip: Make sure your heart is centered so it looks perfect before you start coloring.
Step 10: Color Your Masterpiece
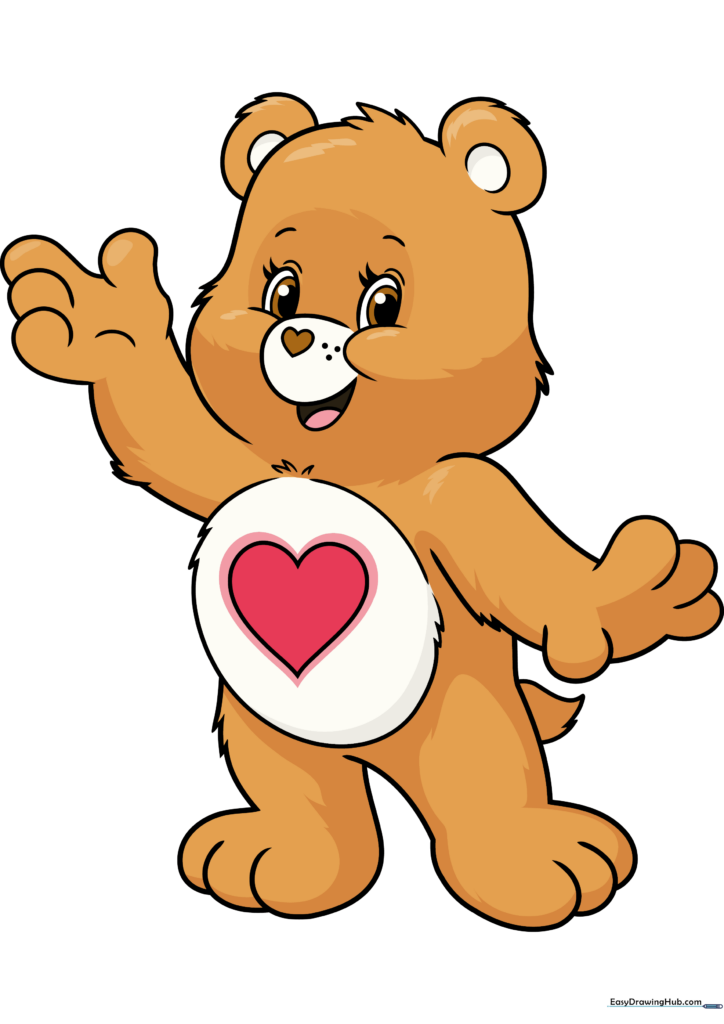
Time to bring your bear to life! Use brown for the fur, white for the tummy, and a bright red for the heart. Teacher's Tip: Use light, circular motions with your colored pencils to get a smooth, even coat of color.
More Tutorials


