How to Draw a Capybara: Easy 10-Step Guide for Beginners
Ready to draw the world's friendliest rodent? This tutorial is perfect for artists ages 5 and up. All you need is a pencil, an eraser, and a piece of paper to bring this calm capybara to life while practicing your basic shapes and line control.
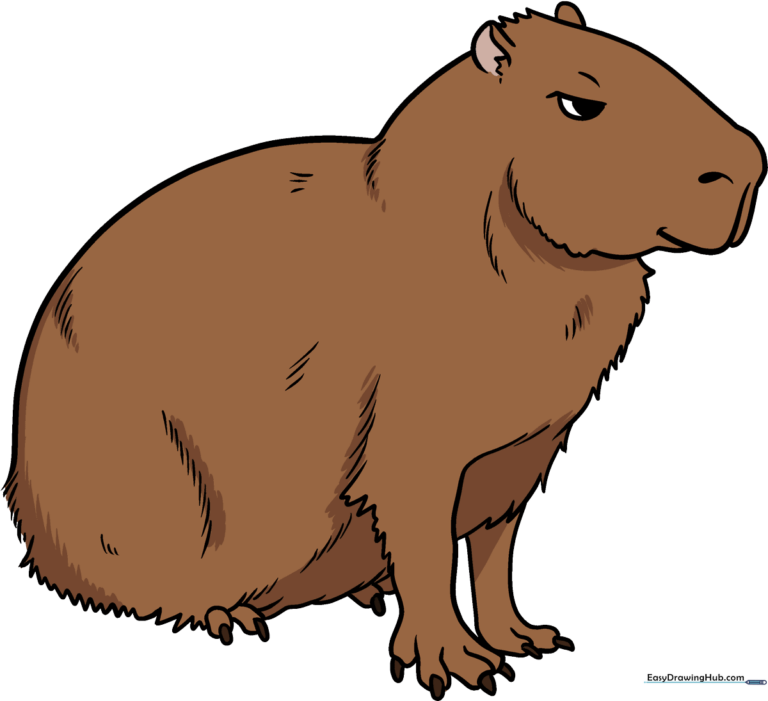
🎯 Final Result
Step-by-Step Instructions
Step 1: Sketching the Face and Snout

Draw a long, gentle curve for the top of the head and the snout. Add an 'L' shape for the nose area. Teacher's Tip: Keep your pencil pressure light here; we want a soft, rounded look for our capybara's face.
Step 2: Adding Ears and Fur Texture
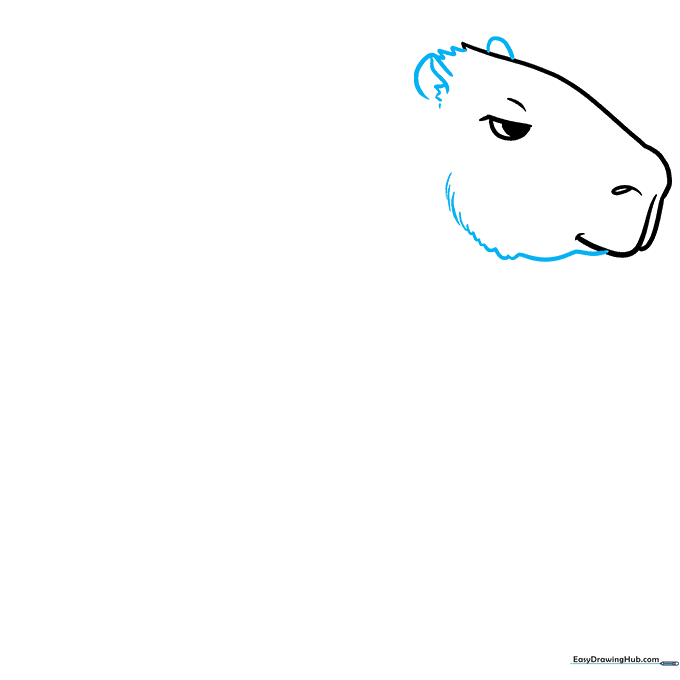
Add 'C' shaped ears and use short, jagged lines to create the appearance of fur on the head. Teacher's Tip: Use quick, flicking motions with your pencil to make the fur look natural and soft.
Step 3: Defining the Neck
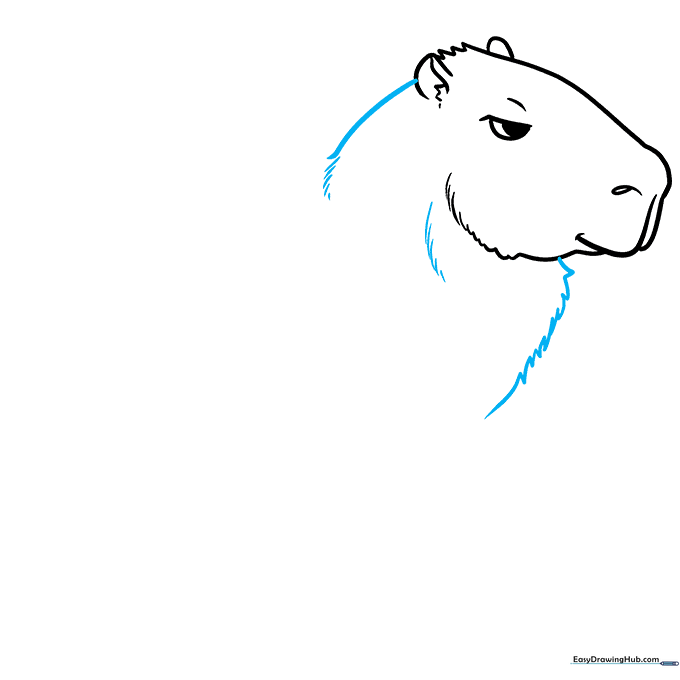
Use smooth, curved lines to connect the head to the chest. Teacher's Tip: Imagine the neck is thick and sturdy, as capybaras are strong swimmers!
Step 4: Drawing the Front Leg
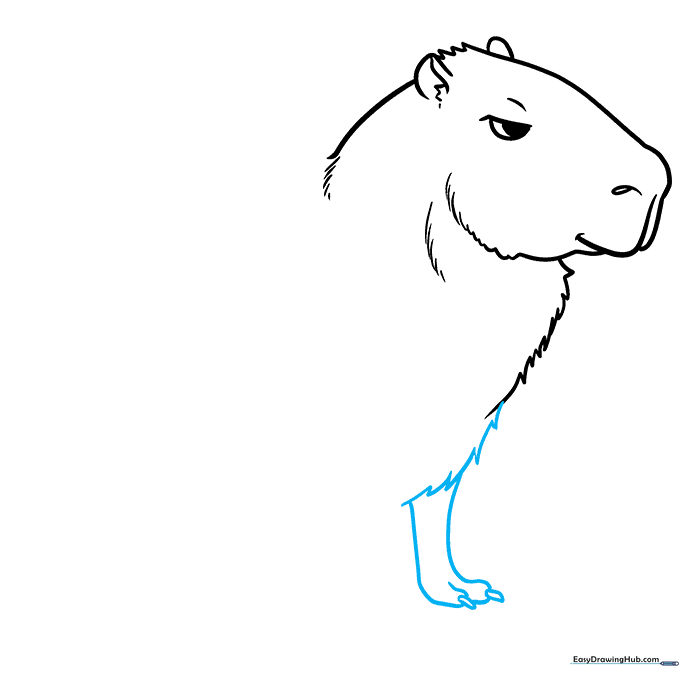
Draw the front leg using long, curved lines, ending with small, clawed toes. Teacher's Tip: Capybaras have webbed feet, so keep the toes close together.
Step 5: Adding the Second Foreleg
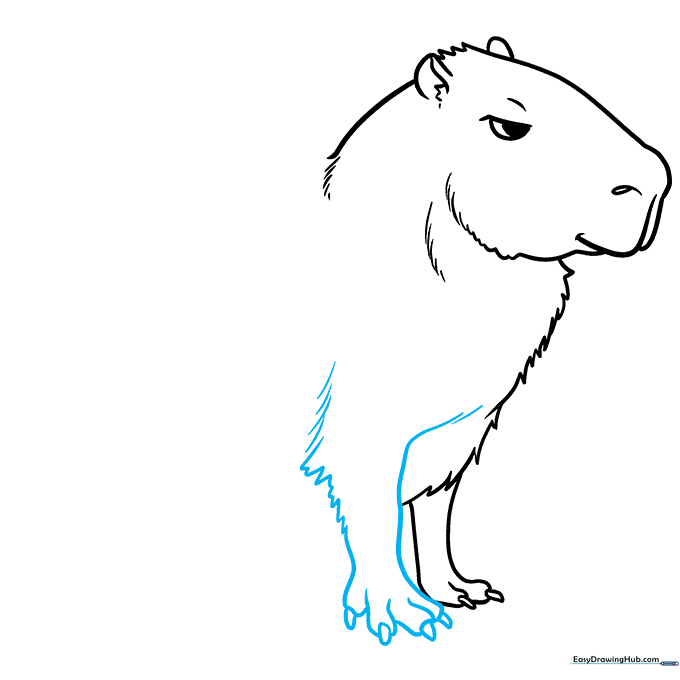
Draw the second foreleg slightly behind the first to show depth. Teacher's Tip: Overlapping lines help create a 3D effect, making your drawing look more professional.
Step 6: Outlining the Back
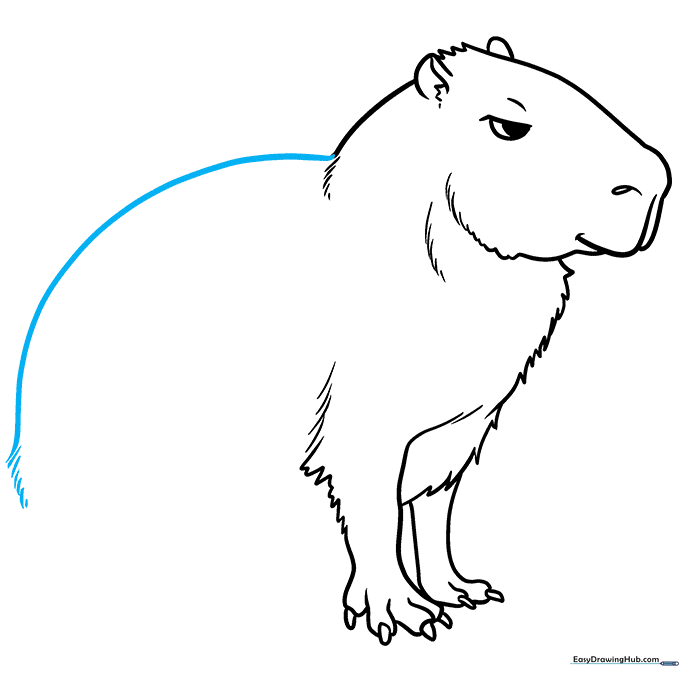
Extend a long, flowing line from the neck to create the back. Teacher's Tip: Keep this line smooth to emphasize the capybara's rounded body shape.
Step 7: Drawing the Hind Leg
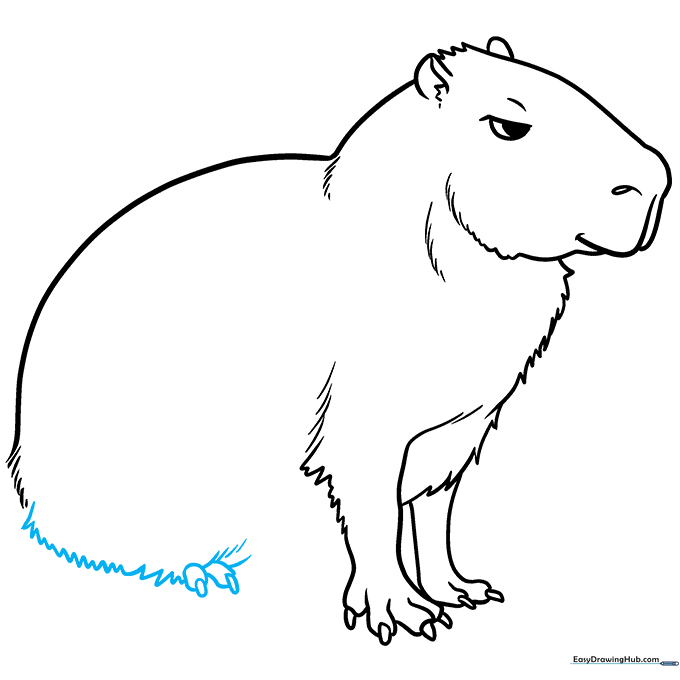
Draw the back leg with a zig-zag line for the fur and rounded toes at the bottom. Teacher's Tip: The back legs are usually larger and more muscular than the front ones.
Step 8: Completing the Belly
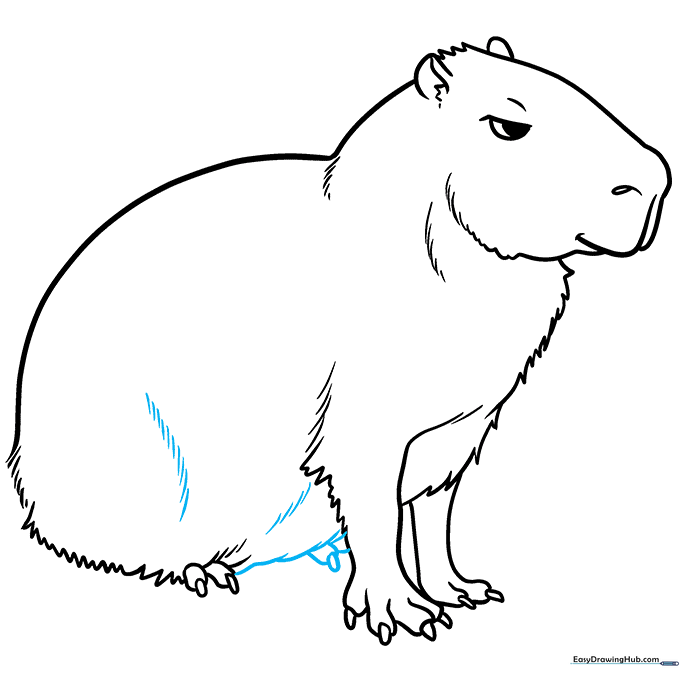
Connect the legs with a curved belly line. Teacher's Tip: Add a few small, short lines along the belly to suggest the texture of the fur.
Step 9: Adding Final Fur Details
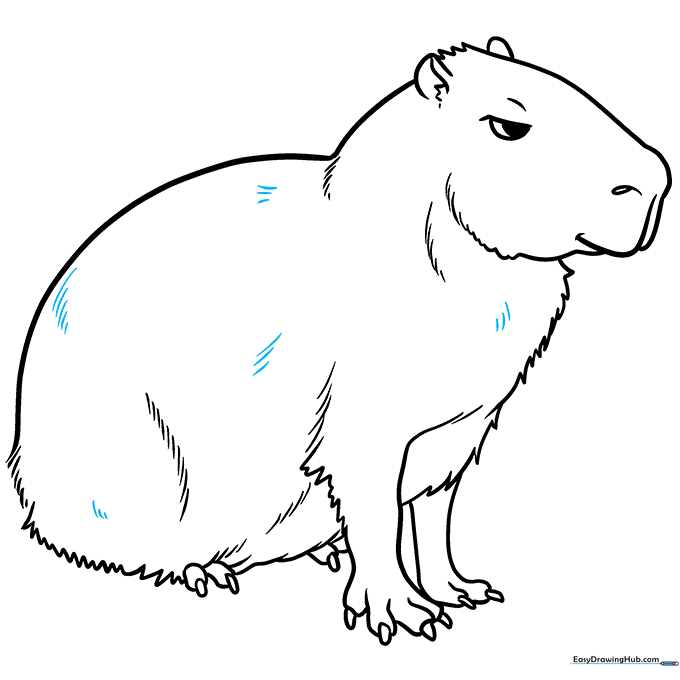
Add short, scattered lines across the back and chest to finish the furry look. Teacher's Tip: Don't overdo it! A few well-placed lines look better than too many.
Step 10: Bringing Your Capybara to Life with Color
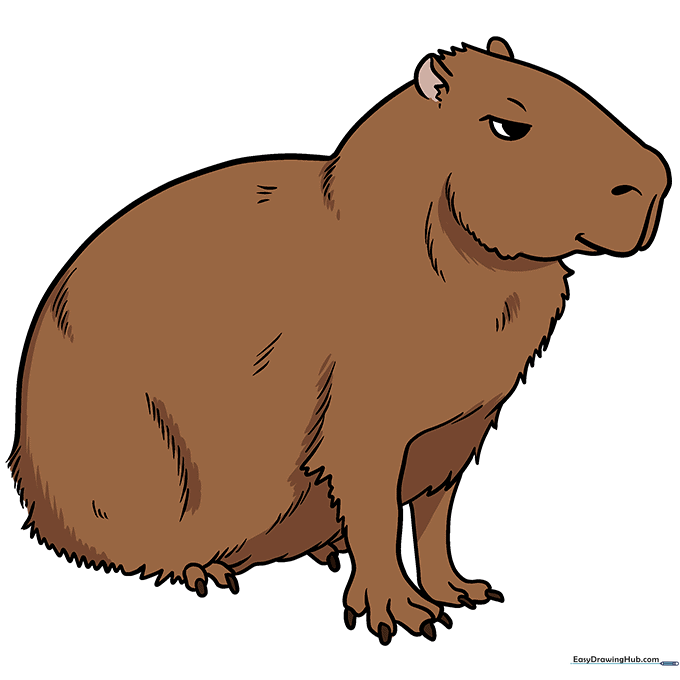
Your outline is finished! Now, use shades of brown and tan to color your capybara. Teacher's Tip: Use a darker brown for the shadows under the belly to make your drawing pop.
More Tutorials


