How to Draw a Cape: Easy 10-Step Superhero Guide
Ready to give your favorite hero their signature look? This tutorial is perfect for ages 5+ and requires only a pencil, paper, and an eraser. Follow these steps to master the art of drawing fabric folds and movement, bringing your character designs to life.
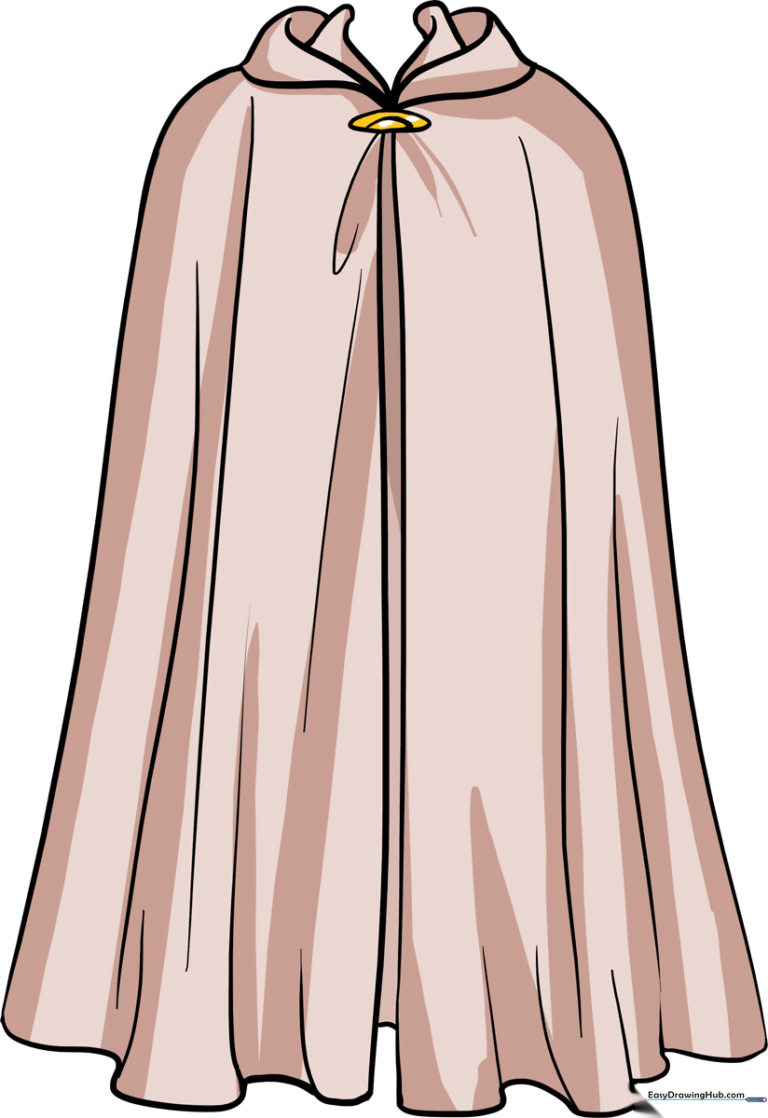
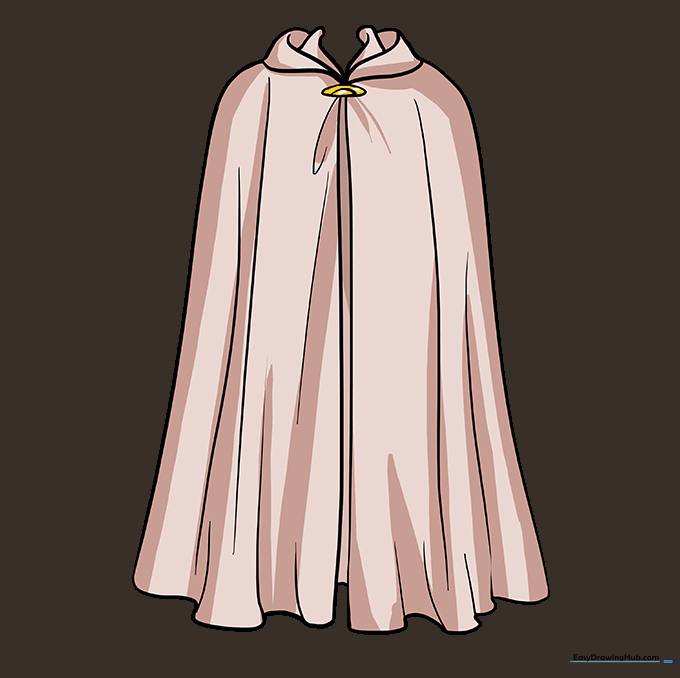
🎯 Final Result
Step-by-Step Instructions
Step 1: Sketching the Collar

Start by drawing the collar. Sketch a curved triangle, then add a second, slightly overlapping triangular shape beside it. Connect them at the top with a smooth, curved line. Teacher's Tip: Keep your pencil pressure light so you can easily adjust the shape if needed.
Step 2: Completing the Collar
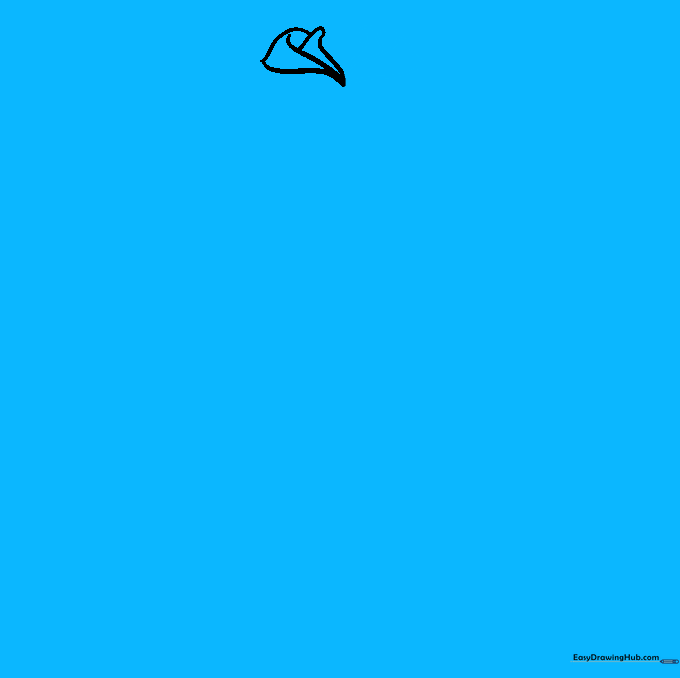
Draw another curved triangle for the opposite side of the collar. Let one line extend slightly and double back to create depth. Connect the shapes with a gentle curve. Teacher's Tip: Symmetry is key here, so take your time matching the size of the first side.
Step 3: Establishing the Center

Draw a long, vertical line descending from the center of the collar. This will serve as the guide for the cape's drape. Teacher's Tip: Use a ruler if you struggle with straight lines, but a freehand line adds a more natural, organic feel.
Step 4: Creating the Fabric Width

Draw a second vertical line roughly parallel to the first. This creates the central column of the cape. Teacher's Tip: Keep the space between the lines narrow to ensure the cape looks like it is hanging straight down.
Step 5: Adding Detail Lines

Draw three curved lines just below the collar, erasing any overlapping marks. Let them meet at a gentle point on each end to suggest fabric bunching. Teacher's Tip: Think of these as 'smile' shapes to show where the fabric gathers at the shoulders.
Step 6: Outlining the Side
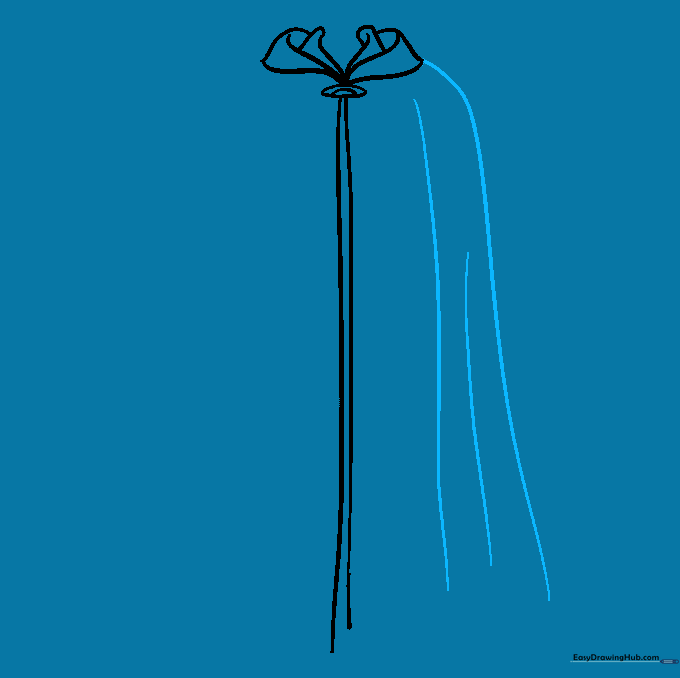
Draw a long, sweeping curved line descending from one side of the collar. Add smaller curved lines between the edge and the center to indicate folds. Teacher's Tip: The more curves you add, the more 'movement' your cape will have!
Step 7: Balancing the Cape
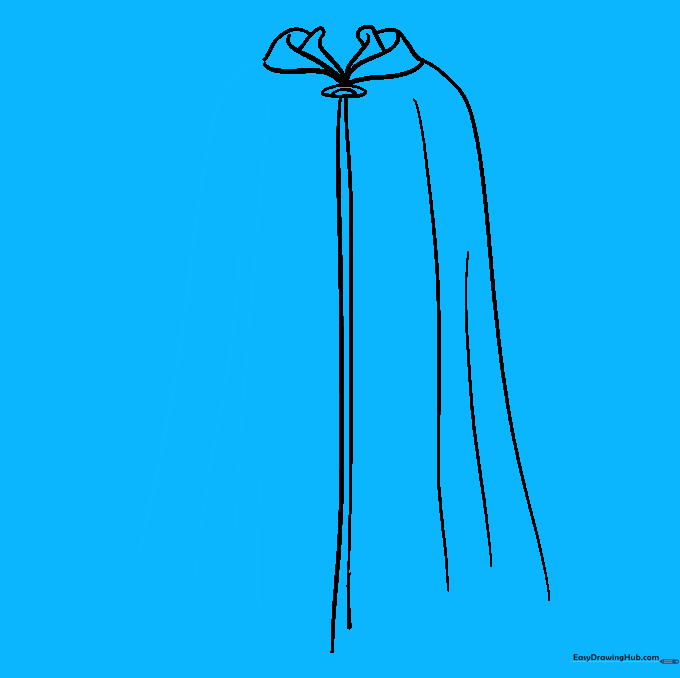
Repeat the process on the opposite side, drawing a long, curved line descending from the collar. Add matching fold lines to keep the cape looking balanced. Teacher's Tip: Don't worry if the folds aren't perfectly symmetrical; fabric naturally bunches in different ways.
Step 8: Defining the Hem
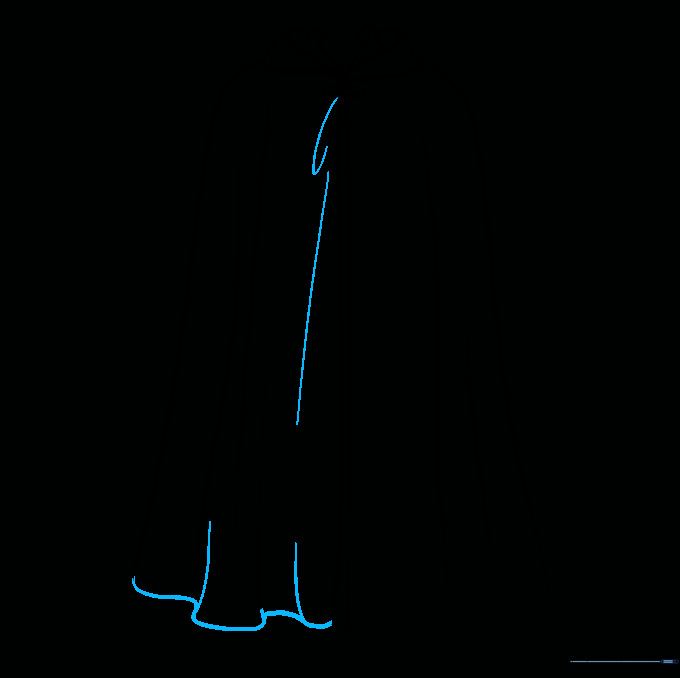
Draw a wavy line connecting the edge of the cape to the center lines. This creates the bottom hem. Add a few extra curved lines to show the fabric bunching at the bottom. Teacher's Tip: A wavy line is much better than a straight one for showing fabric texture.
Step 9: Finalizing the Outline

Connect the remaining side with a wavy line to fully enclose the cape. Add final fold lines and connect the central vertical lines with a short, straight line for the clasp. Teacher's Tip: Darken your final outline with a firmer pencil stroke to make the drawing pop.
Step 10: Color Your Cape
Time to bring your hero to life! Use bold colors like red or blue. Teacher's Tip: Use darker shades of your chosen color in the folds to create shadows, which adds a professional 3D effect to your drawing.
More Tutorials


