How to Draw a Canoe: Easy 10-Step Guide for Beginners
Ready to hit the water? This tutorial is perfect for young artists ages 5 and up who want to sketch their own adventure vessel. All you need is a pencil, an eraser, and a piece of paper to build your canoe from the hull up. Follow along to master basic shapes and perspective in just a few minutes.
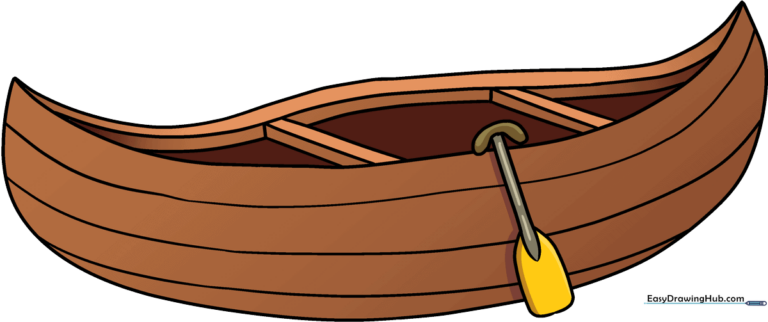
🎯 Final Result
Step-by-Step Instructions
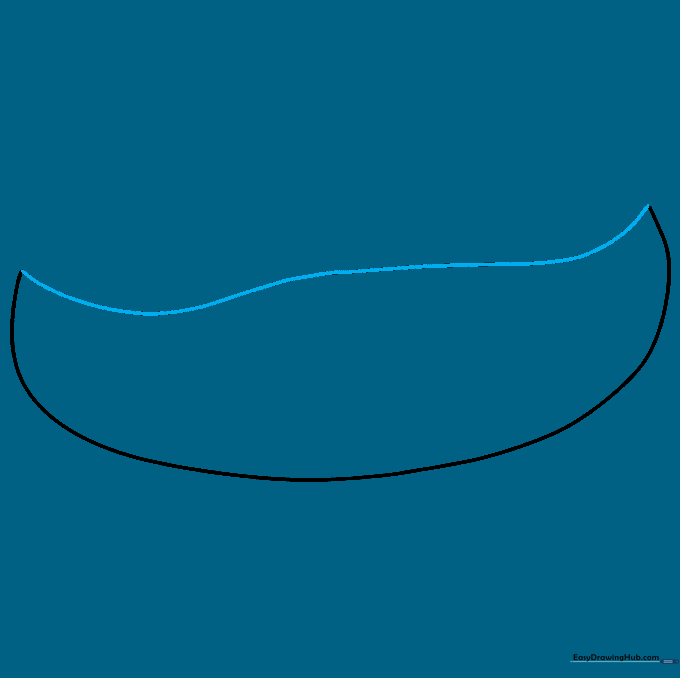
Step 1: Sketching the Base Hull

Draw a long, gentle curved line to form the bottom of the canoe. Teacher's Tip: Keep your wrist loose and make this line look like a shallow smile.
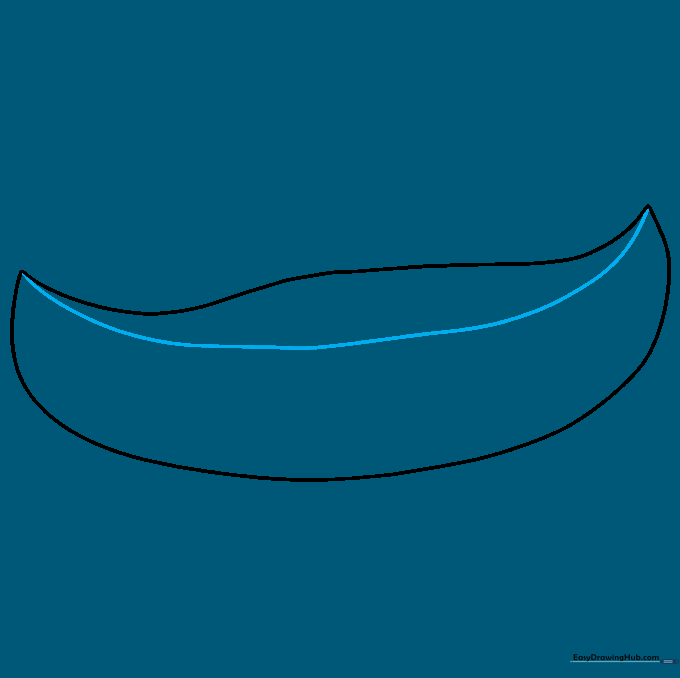
Step 2: Closing the Hull Shape
Draw a second curved line above the first, connecting at both ends to create a pointed oval shape. Tip: Ensure the ends are sharp to give the canoe a streamlined look.
Step 3: Defining the Gunwale
Add a curved line across the top to represent the gunwale, or the rim of the canoe. Tip: This creates the illusion that we are looking slightly down into the boat.
Step 4: Adding Depth
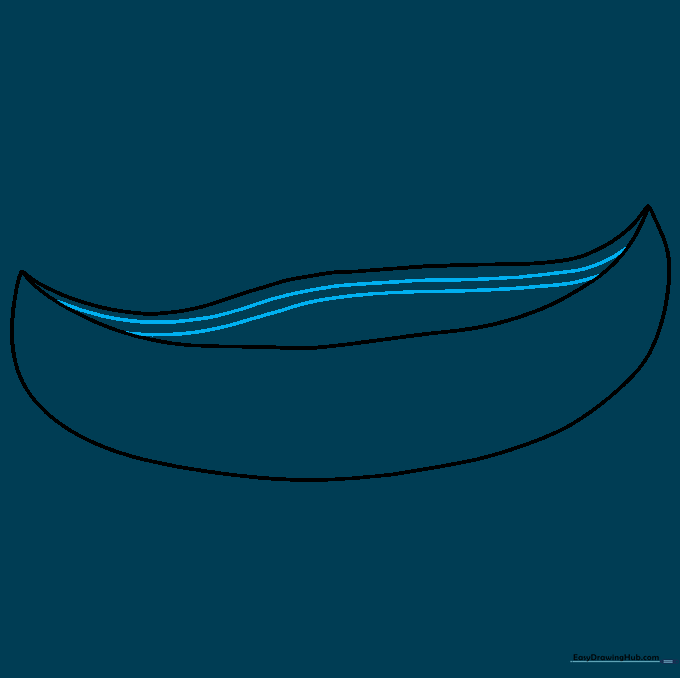
Draw small curved lines along the inner sides to show the thickness of the boat's walls. Tip: Keep these lines parallel to the rim for a clean, professional look.
Step 5: Installing the First Thwart
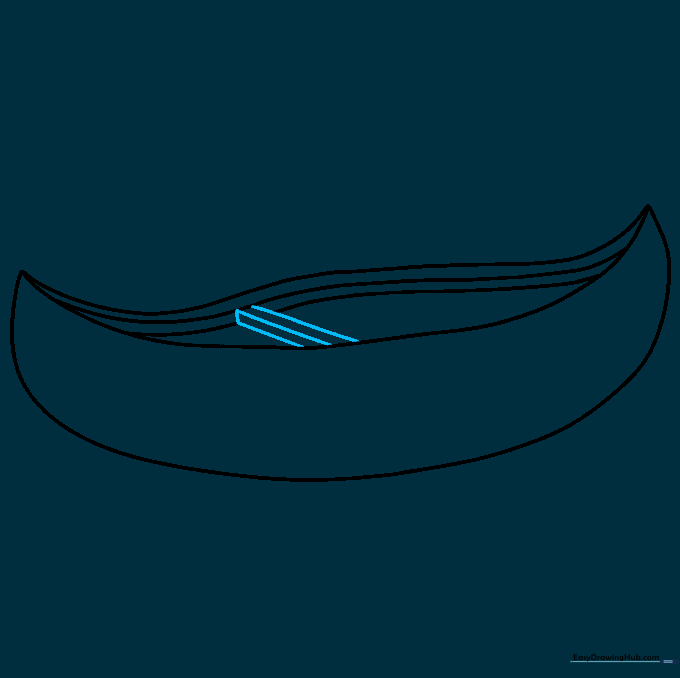
Draw three parallel lines connected at the ends to create a crossbeam (thwart). Tip: This is the seat or support that keeps the canoe from collapsing!
Step 6: Adding the Second Thwart
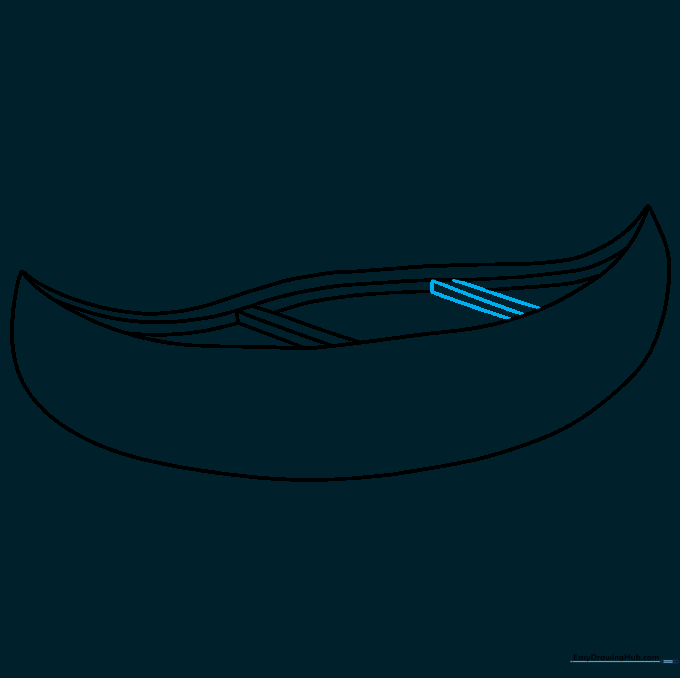
Repeat the process from Step 5 to add a second thwart further down the canoe. Tip: Make sure they are spaced evenly to keep the drawing balanced.
Step 7: Adding Wood Texture
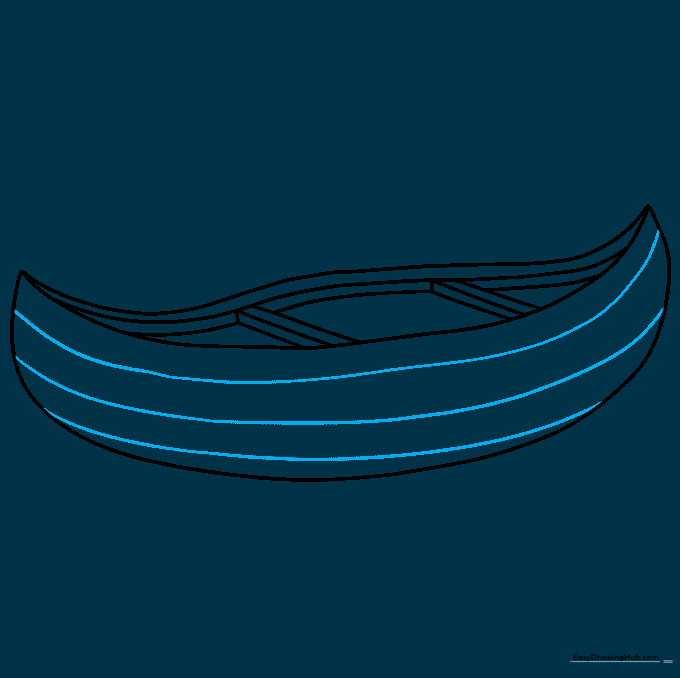
Draw subtle curved lines along the hull to mimic the look of wooden planks. Tip: Use a light touch; you don't want the lines to look too heavy or dark.
Step 8: Sketching the Paddle Shaft
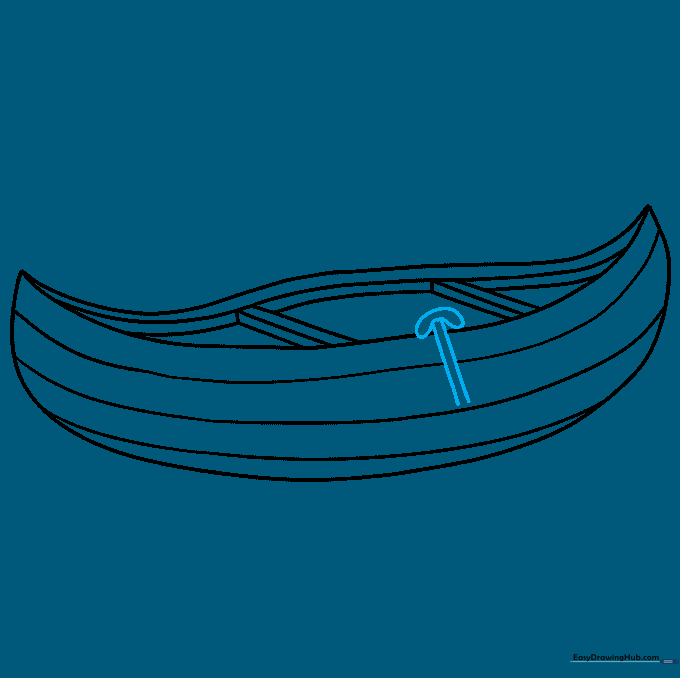
Draw the long handle of the paddle resting against the side of the canoe. Tip: Use a ruler if you struggle to keep the lines straight!
Step 9: Finishing the Paddle Blade
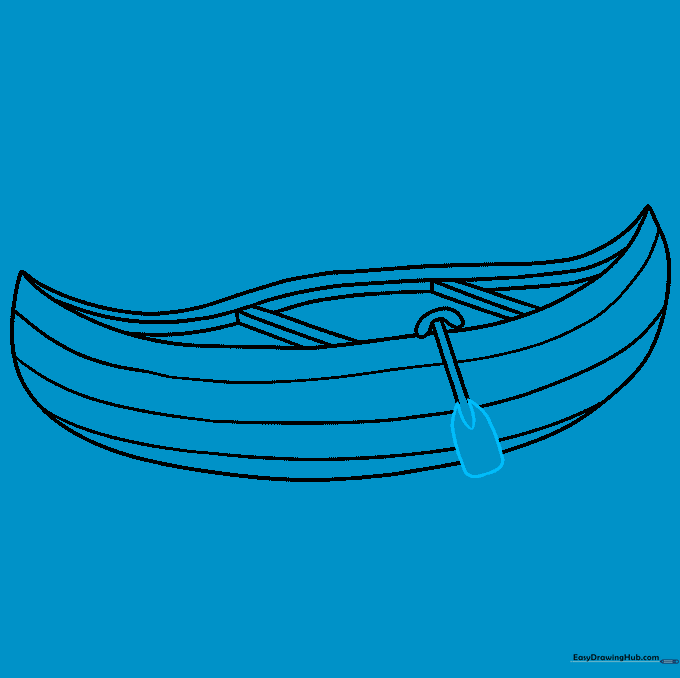
Draw the wide blade at the end of the paddle. Add a small 'V' shape at the top for detail. Tip: Erase any lines from the canoe that overlap the paddle to make it look like it's in front.
Step 10: Bring It to Life with Color
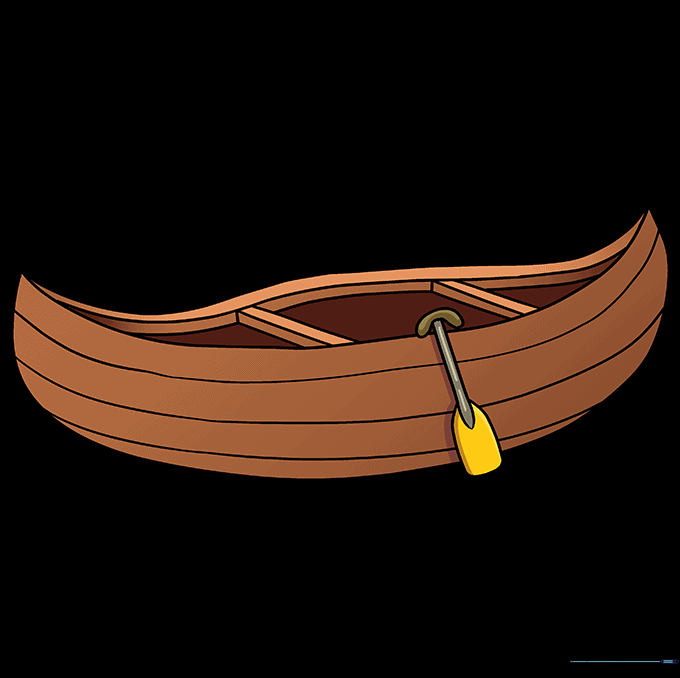
Time to color! Use warm browns for a classic wooden canoe, or bright reds and yellows for a modern fiberglass look. Tip: Use a darker shade of your main color along the bottom edges to create a simple shadow effect.
More Tutorials


