How to Draw a Candy Apple: Easy 10-Step Guide
Bring a sweet treat to life with this fun, screen-free art activity perfect for artists ages 5 and up. All you need is a pencil, an eraser, and your favorite coloring markers or crayons. Follow these simple steps to master basic shapes and create a mouth-watering candy apple illustration.
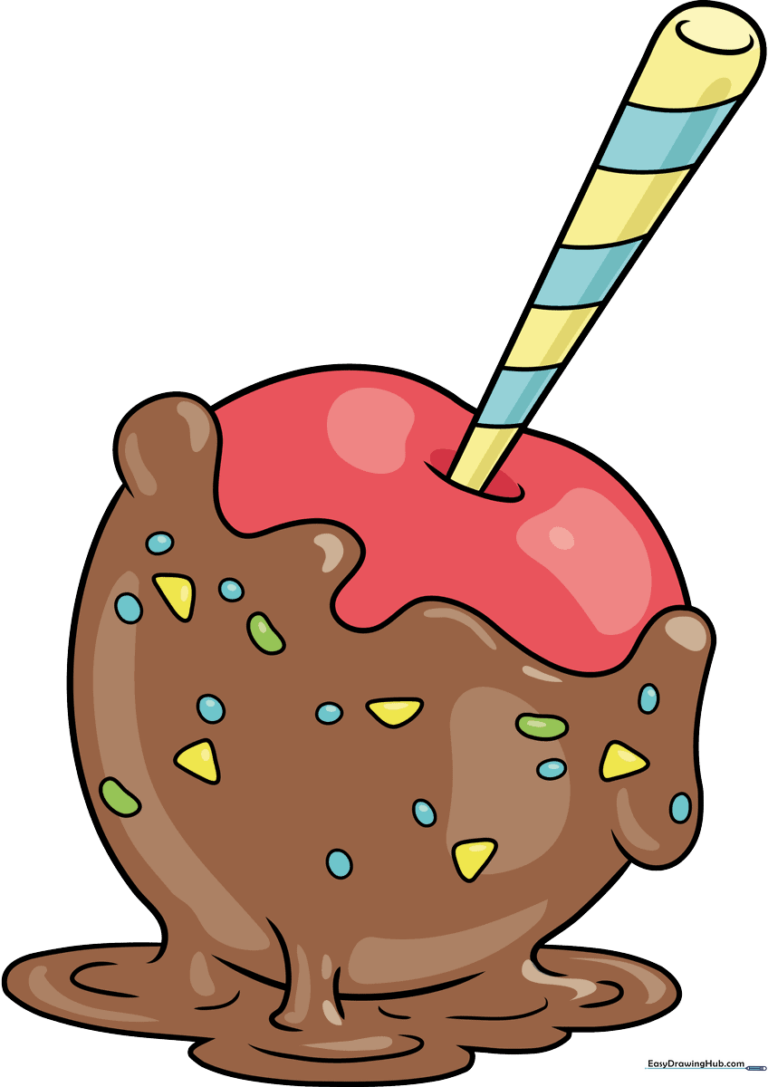
🎯 Final Result
Step-by-Step Instructions
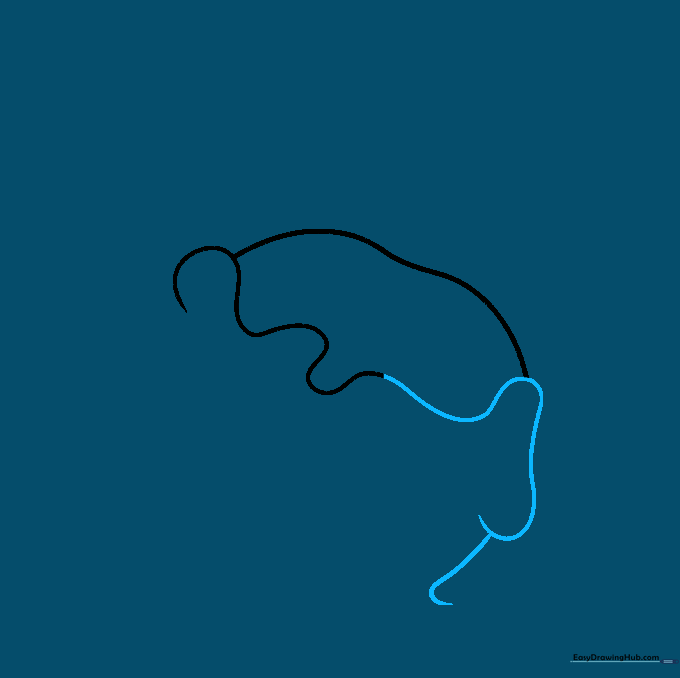
Step 1: Sketching the Base

Start by drawing a long, gentle curved line for the bottom of the apple. Add a second, wavy line that intersects it to represent the edge of the candy coating. Teacher's Tip: Keep your wrist loose to get a nice, smooth curve.
Step 2: Defining the Coating
Extend the wavy line to meet the other side of your base, then add another curved line extending outward. Teacher's Tip: Think of this as the 'drip' of the candy; don't worry if it looks a bit uneven, as candy is naturally organic!
Step 3: Adding Drips
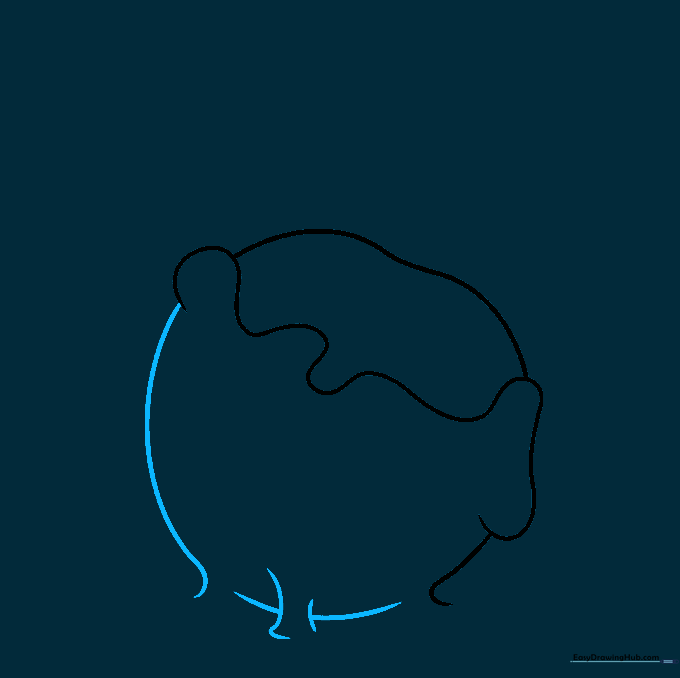
Draw a long curved line to form the candy edge on the opposite side. At the bottom, sketch parallel vertical lines to show where the candy is dripping down. Teacher's Tip: Use short, quick strokes to make the drips look fluid.
Step 4: Creating the Puddle

Use a series of connected curved lines to enclose a puddle of candy at the base. Teacher's Tip: Imagine the candy is thick and syrupy as you draw these rounded shapes.
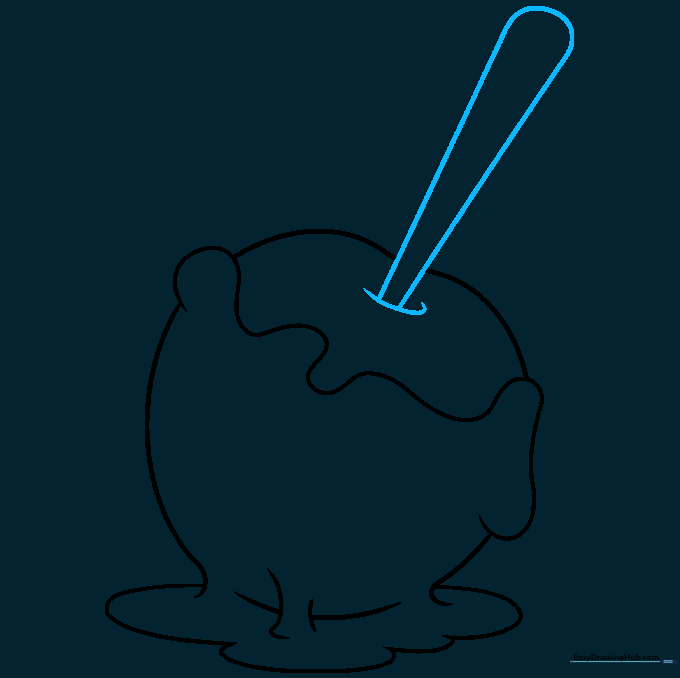
Step 5: Drawing the Stick

Draw a small curved line for the dimple at the base, then extend two parallel lines upward to create the stick. Erase any overlapping lines inside the stick. Teacher's Tip: Use a ruler if you struggle to keep the stick straight!
Step 6: Detailing the Stick

Add small curved bands across the stick to give it a realistic wooden texture. Teacher's Tip: Keep these lines light so they don't overpower the apple itself.
Step 7: Adding Texture
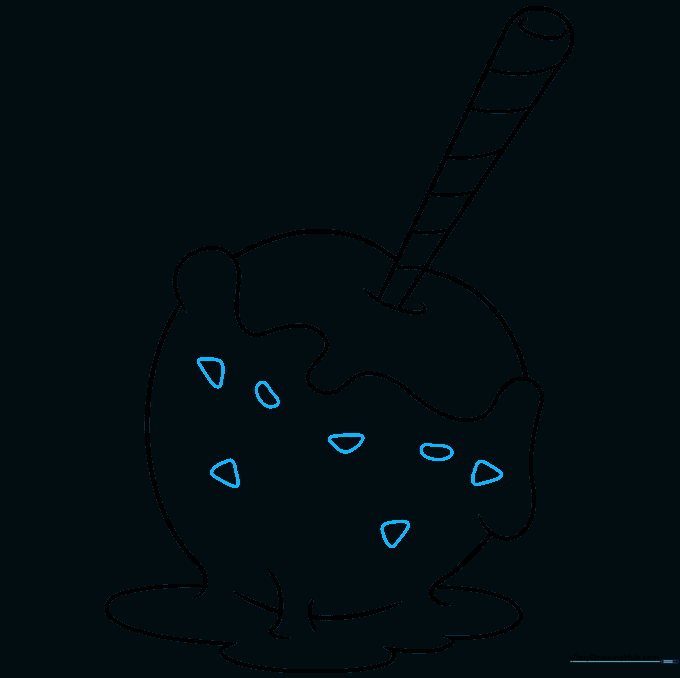
Draw small, irregular shapes on the surface of the candy to represent nuts or sprinkles. Teacher's Tip: Vary the sizes of these shapes to make the candy look more realistic.
Step 8: Final Touches
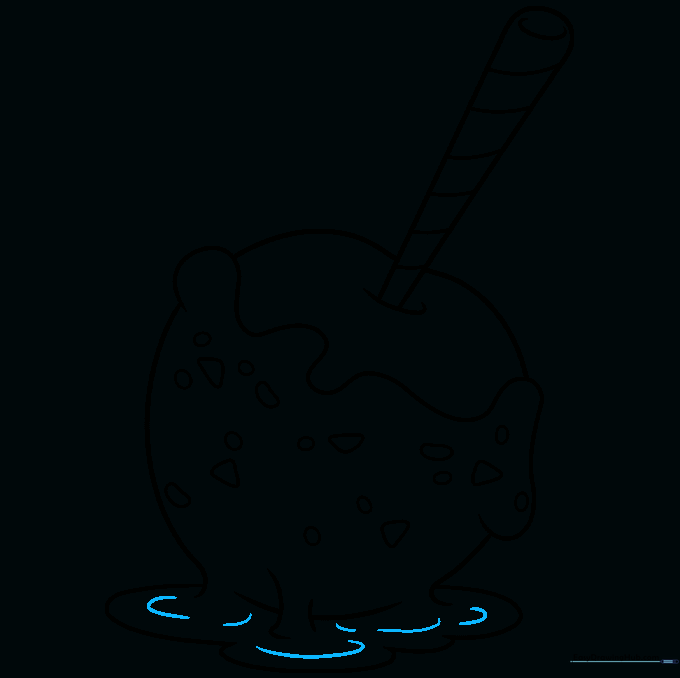
Add a few more sprinkles or nut bits around the apple to complete the look. Teacher's Tip: Don't over-clutter; leave some empty space for the 'shine' of the candy.
Step 9: Refining the Puddle
Add subtle curved lines to the puddle at the base to give it depth and movement. Teacher's Tip: These lines help define the 'liquid' nature of the candy.
Step 10: Coloring Your Masterpiece
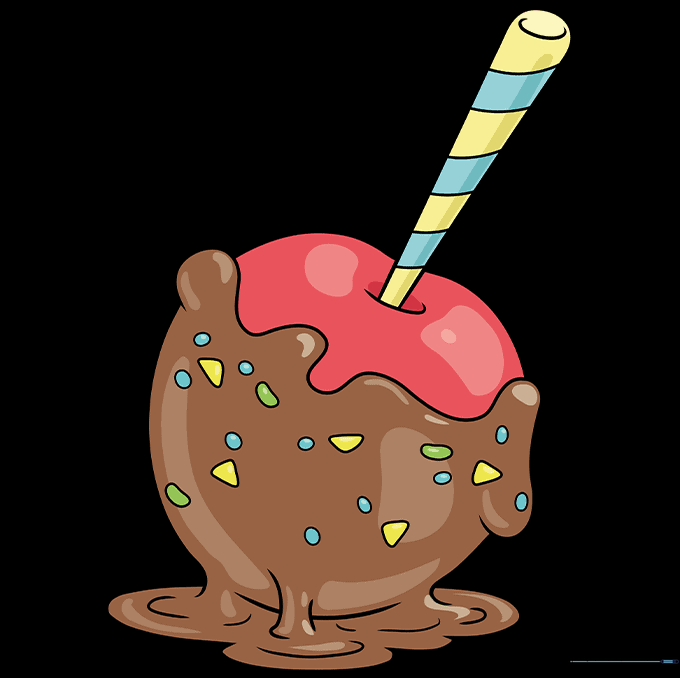
Bring your drawing to life with color! Use vibrant red for the apple and a warm brown for the candy coating. Teacher's Tip: Leave small white gaps on the apple to represent light reflection, making it look shiny and delicious!
More Tutorials


