How to Draw a Calla Lily: Easy 10-Step Guide for Kids
Bring the elegance of nature to your sketchbook with this simple calla lily tutorial, perfect for artists ages 5 and up. You will only need a pencil, an eraser, and your favorite coloring supplies to create this graceful bloom. Follow these steps to master the unique, trumpet-like shape of the calla lily while building your confidence in drawing organic forms.
🎯 Final Result

Step-by-Step Instructions
Step 1: Sketching the Flower Base

Start by drawing a soft 'U' shape to form the base of your first flower. Teacher's Tip: Keep your pencil pressure light so you can easily adjust the shape if it looks a bit lopsided.
Step 2: Shaping the Petal

Draw a long, elegant curve starting from the base, overlapping the 'U' and sweeping upward. Add a second, shorter line that meets the first in a sharp point at the bottom. Teacher's Tip: Calla lilies have a very distinct, folded petal look—don't worry if your lines aren't perfectly symmetrical!
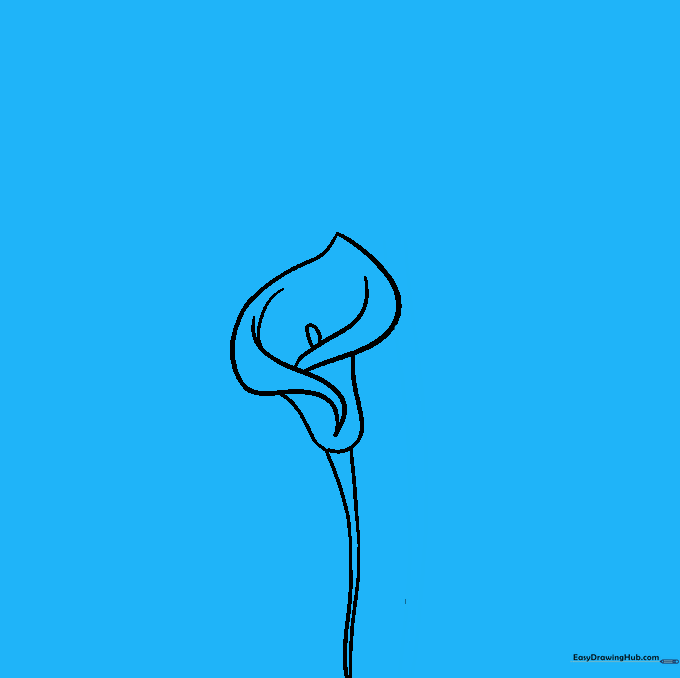
Step 3: Adding the Spadix and Stem
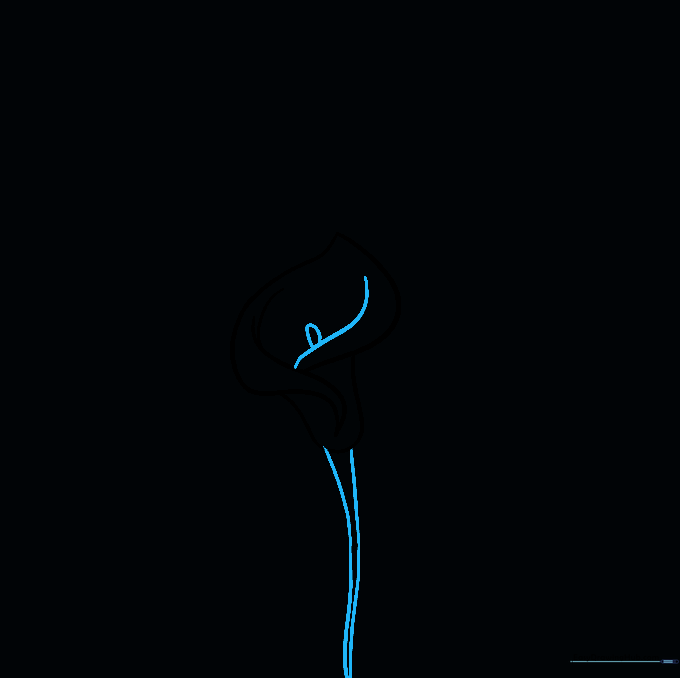
Draw a small oval in the center of the flower to represent the spadix. Below the flower, draw two lines that slowly move toward each other to create a sturdy stem. Teacher's Tip: Keep the stem lines straight to contrast with the curvy, organic shape of the flower head.
Step 4: Preparing the Second Flower
Draw two parallel lines next to your first flower to act as the stem for a second, smaller bloom. Teacher's Tip: Varying the heights of your flowers makes your drawing look more natural and professional.
Step 5: Base for the Second Flower

Draw another 'U' shape at the top of your new stem. This will be the foundation for your second calla lily. Teacher's Tip: Try to make this 'U' slightly different in size than the first one for visual interest.
Step 6: Completing the Second Bloom
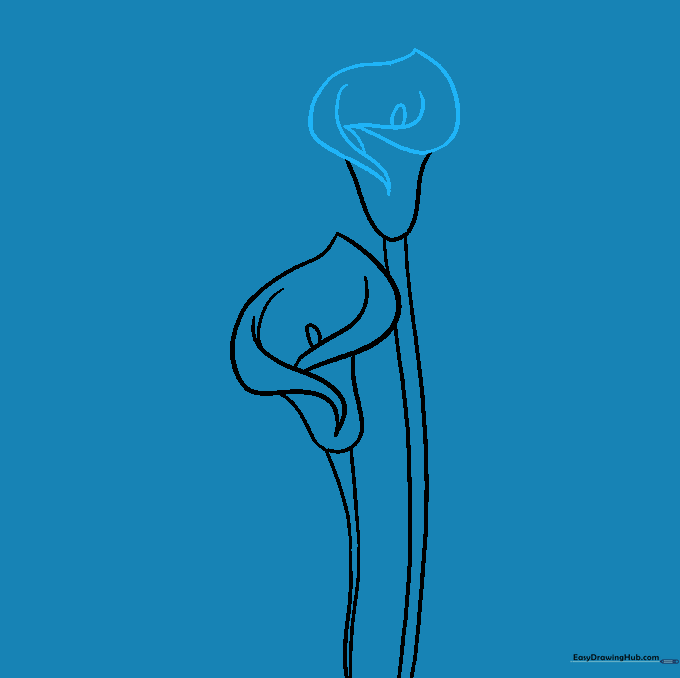
Repeat the process from Step 2 to finish the petal shape, and add a small oval in the center. Connect the points carefully to ensure the flower looks like it is curling outward. Teacher's Tip: Use short, quick strokes to connect the shapes for a smoother look.
Step 7: Drawing the First Leaf

Extend a large, wavy leaf from the stem. Draw a vein down the center to give it dimension. Teacher's Tip: Leaves in nature are rarely perfectly straight; make your lines wavy to show movement.
Step 8: Adding the Second Leaf

Add another leaf to the remaining stem using the same wavy technique. Teacher's Tip: Overlapping your leaves slightly behind the stems can add a sense of depth to your drawing.
Step 9: Adding Grass Details
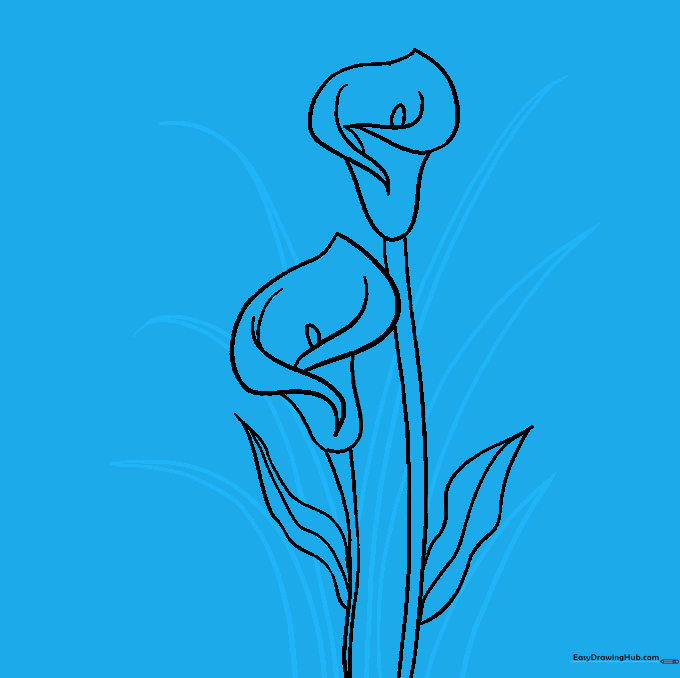
Fill in the background with blades of grass using long, curved lines that meet at a point. Vary the width and height of each blade. Teacher's Tip: Don't make them too uniform; nature is messy and beautiful!
Step 10: Bringing It to Life with Color

Time to color! Use creamy whites or soft yellows for the petals, and vibrant greens for the stems and leaves. Teacher's Tip: Try using a light green at the base of the petal to show where it meets the stem for a realistic touch.
More Tutorials


