How to Draw a California Poppy: Easy 10-Step Guide
Capture the beauty of California’s state flower with this beginner-friendly drawing guide. Designed for ages 5 and up, this activity requires only a pencil, eraser, and paper to create a stunning botanical sketch. Follow along to master organic shapes and delicate petal textures in just a few minutes.
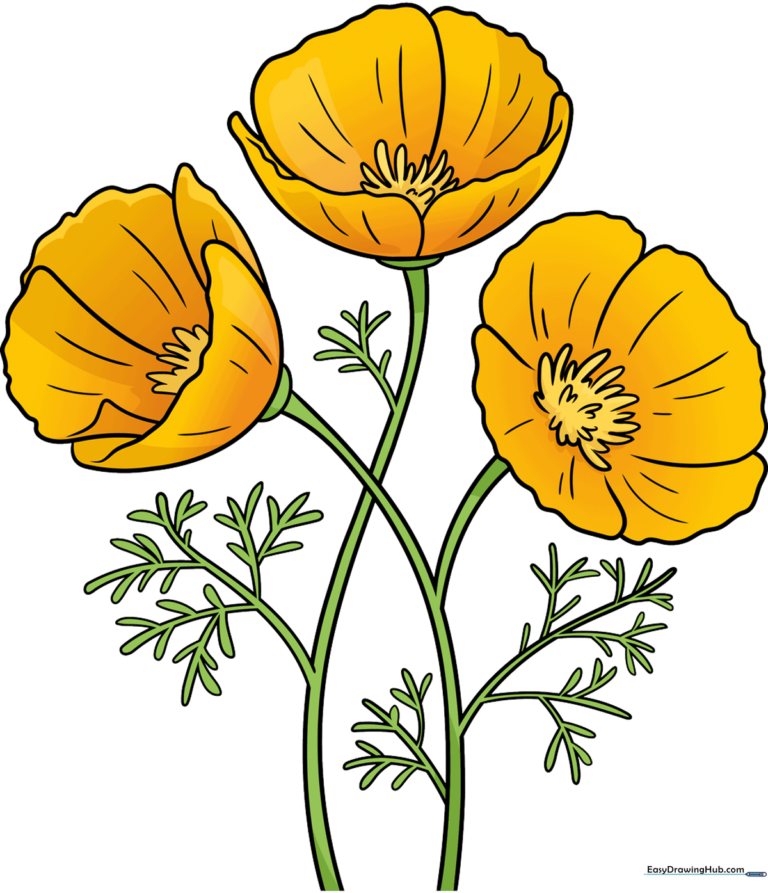
🎯 Final Result
Step-by-Step Instructions
Step 1: Sketching the Stem and First Petal
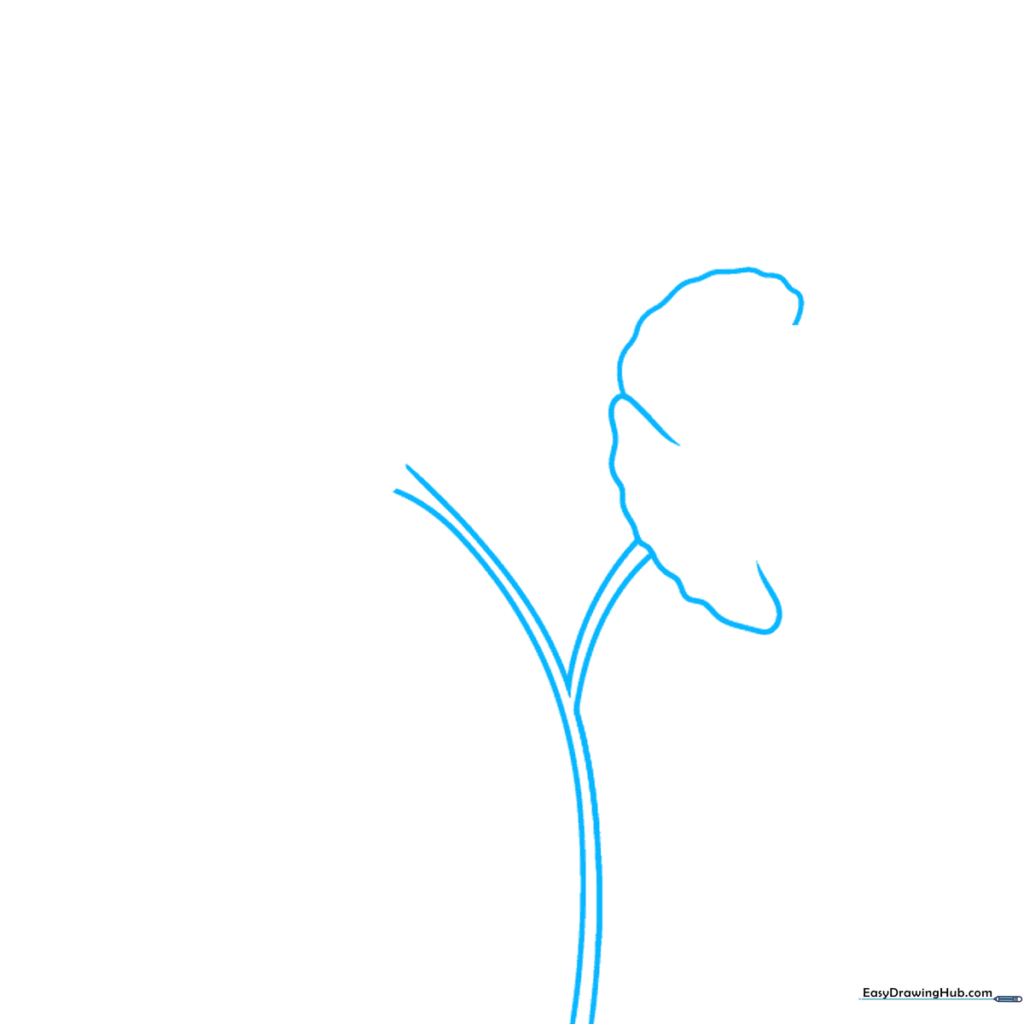
Start by drawing a 'Y' shape for the main stem using two long, slightly curved lines. At the top of one branch, sketch your first petal using a wavy, scalloped line. Tip: Keep your pencil pressure light so you can easily adjust the petal shape later.
Step 2: Adding Overlapping Petals

Continue adding overlapping petals with wavy lines to give the flower volume. In the center, draw a small starburst shape using connected 'U' lines. Tip: Vary the size of your 'U' shapes to make the center look more natural and organic.
Step 3: Defining the Flower Center
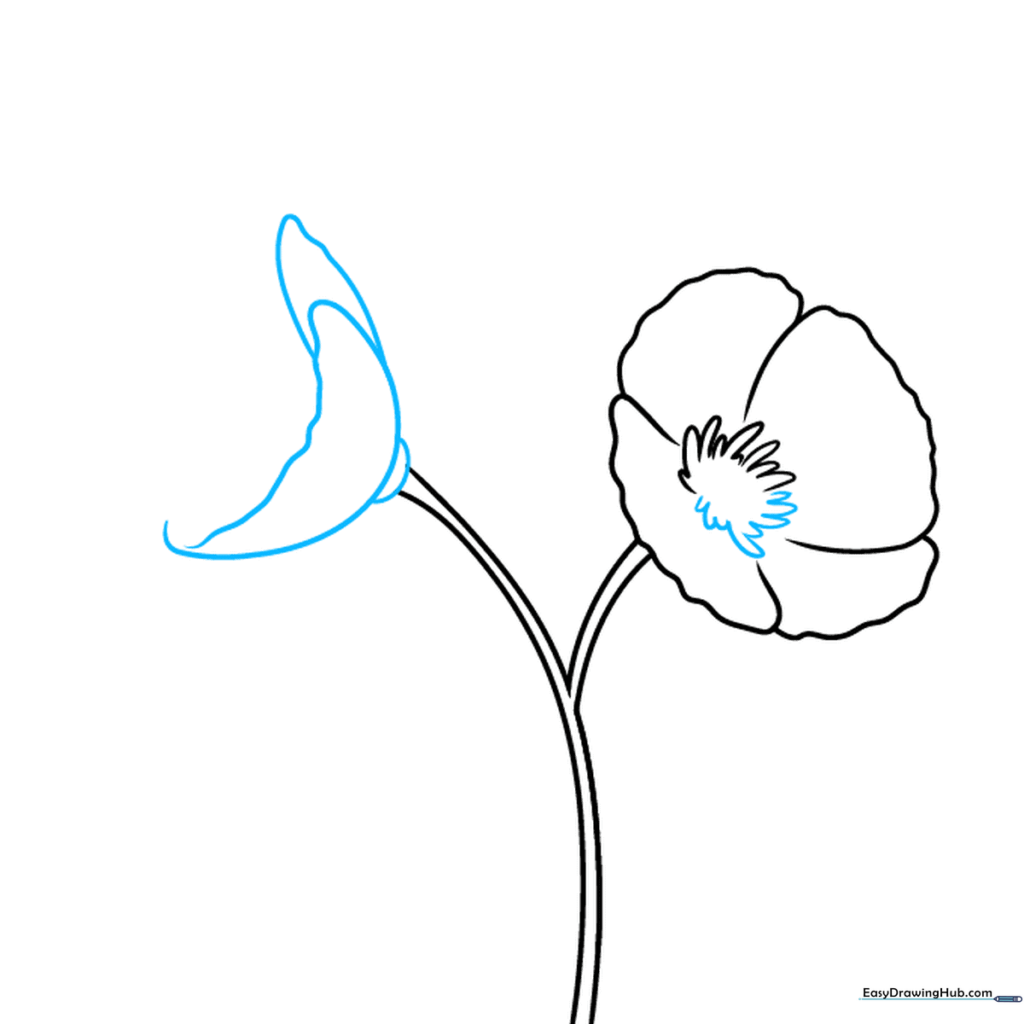
Complete the central circle with more 'U' shapes. On the other side of your stem, draw a second blossom using a long, curved line to create a cupped shape. Tip: Use a light touch to draw the 'cup'—it should look like a soft, open bowl.
Step 4: Detailing the Petal Edges
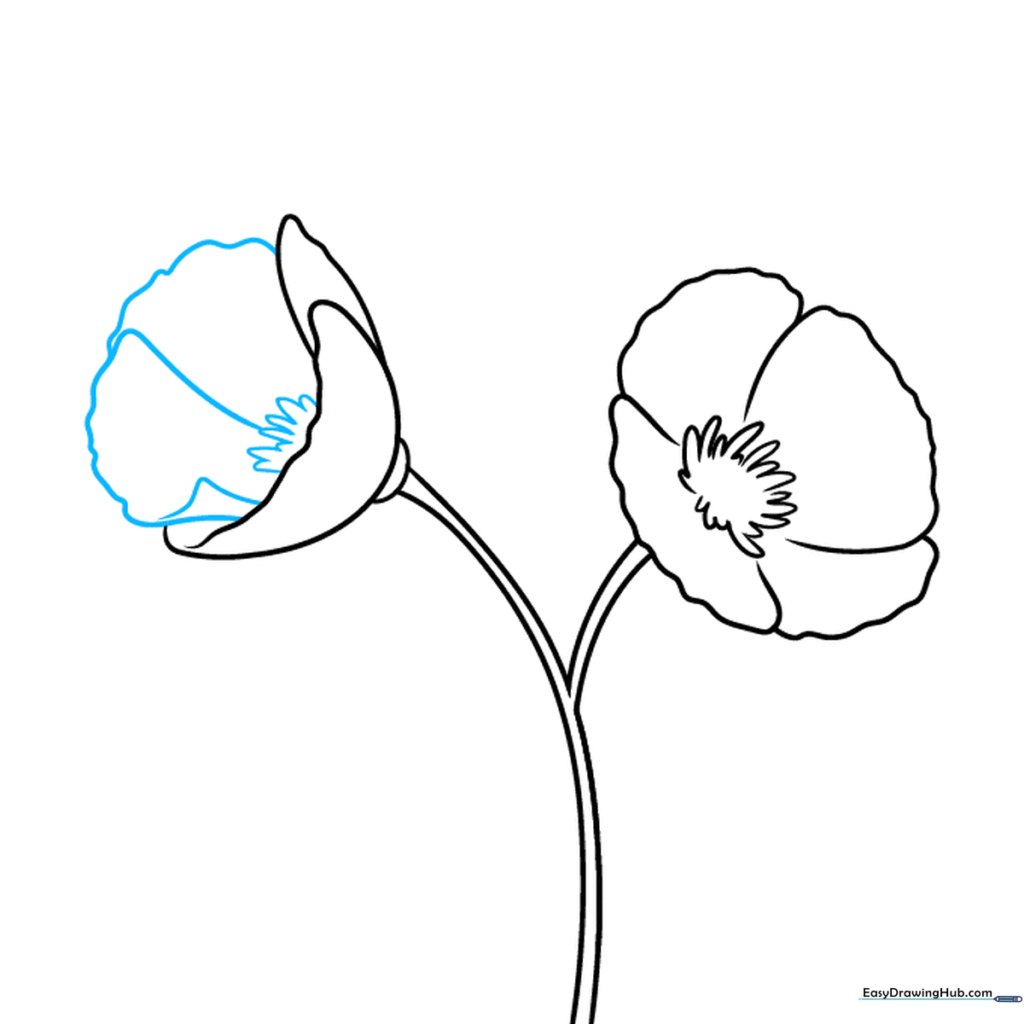
Refine the petals with overlapping wavy lines. Add an 'L' shaped line on one petal to show a slight fold or curl. Tip: Poppies have very delicate, thin petals; don't make your lines too rigid or straight.
Step 5: Adding a Second Stem
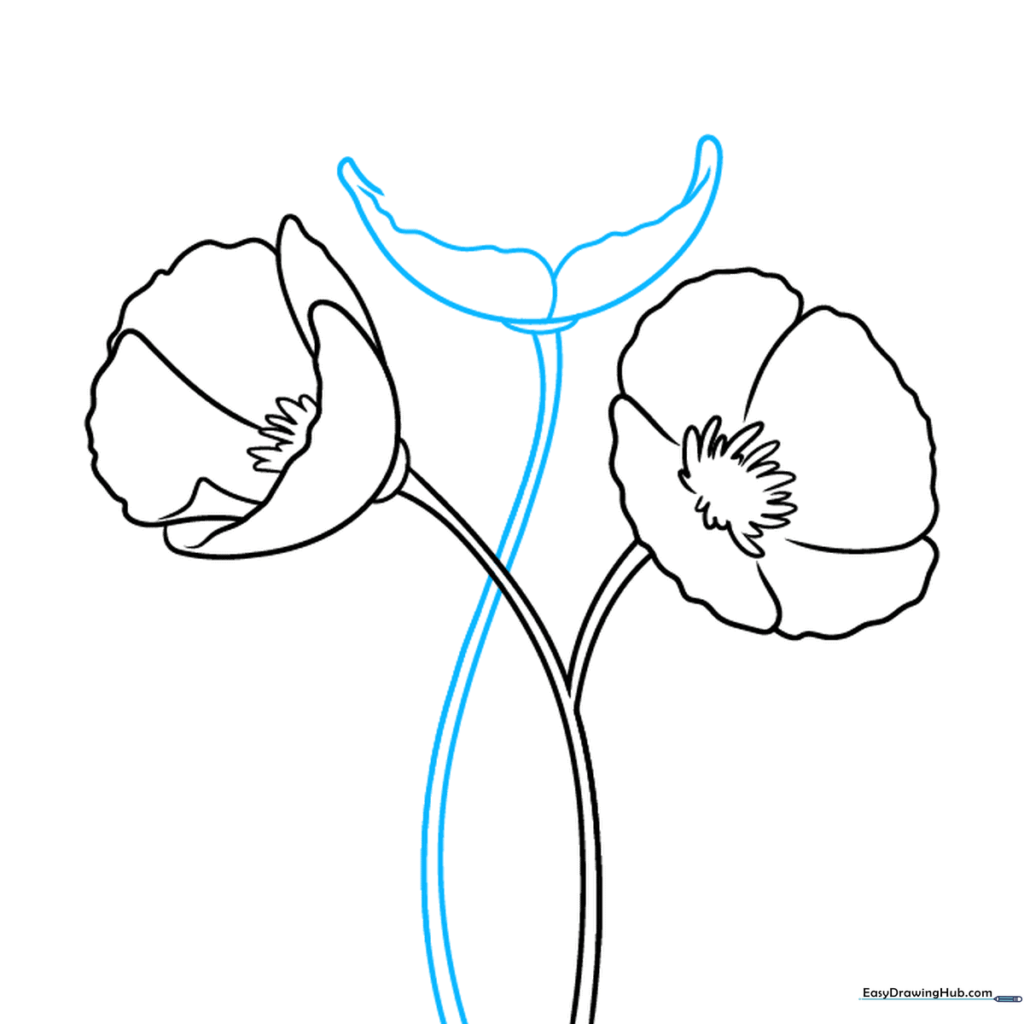
Draw a second stem using two parallel, curved lines. Top it with a curved line to form the base of another flower. Tip: Ensure the stems aren't perfectly straight; a slight 'S' curve makes the plant look more lifelike.
Step 6: Drawing the Foliage
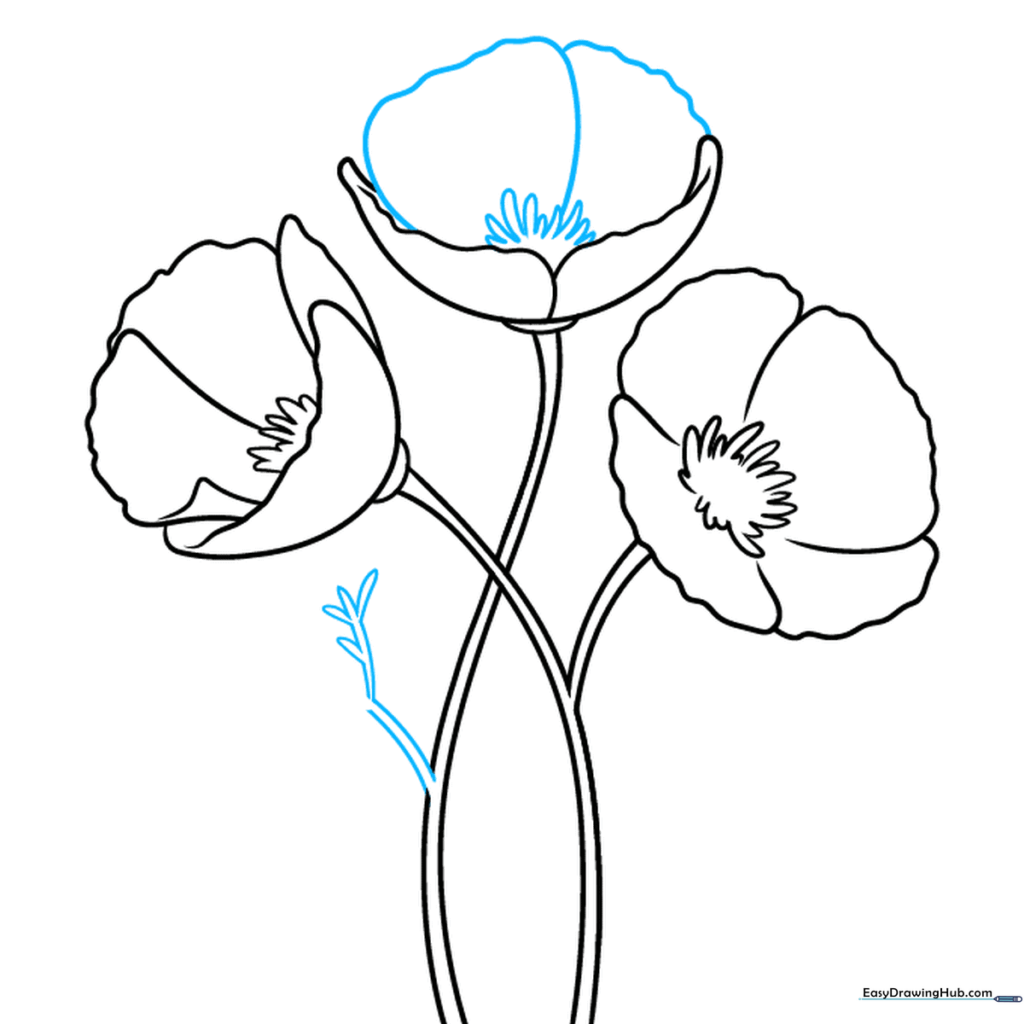
Enclose the remaining petals with wavy lines and add the flower centers. Now, start the leaves by extending branching 'U' shapes from the stem. Tip: If you make a mistake, use your eraser to gently lift the graphite before moving on.
Step 7: Expanding the Leaves
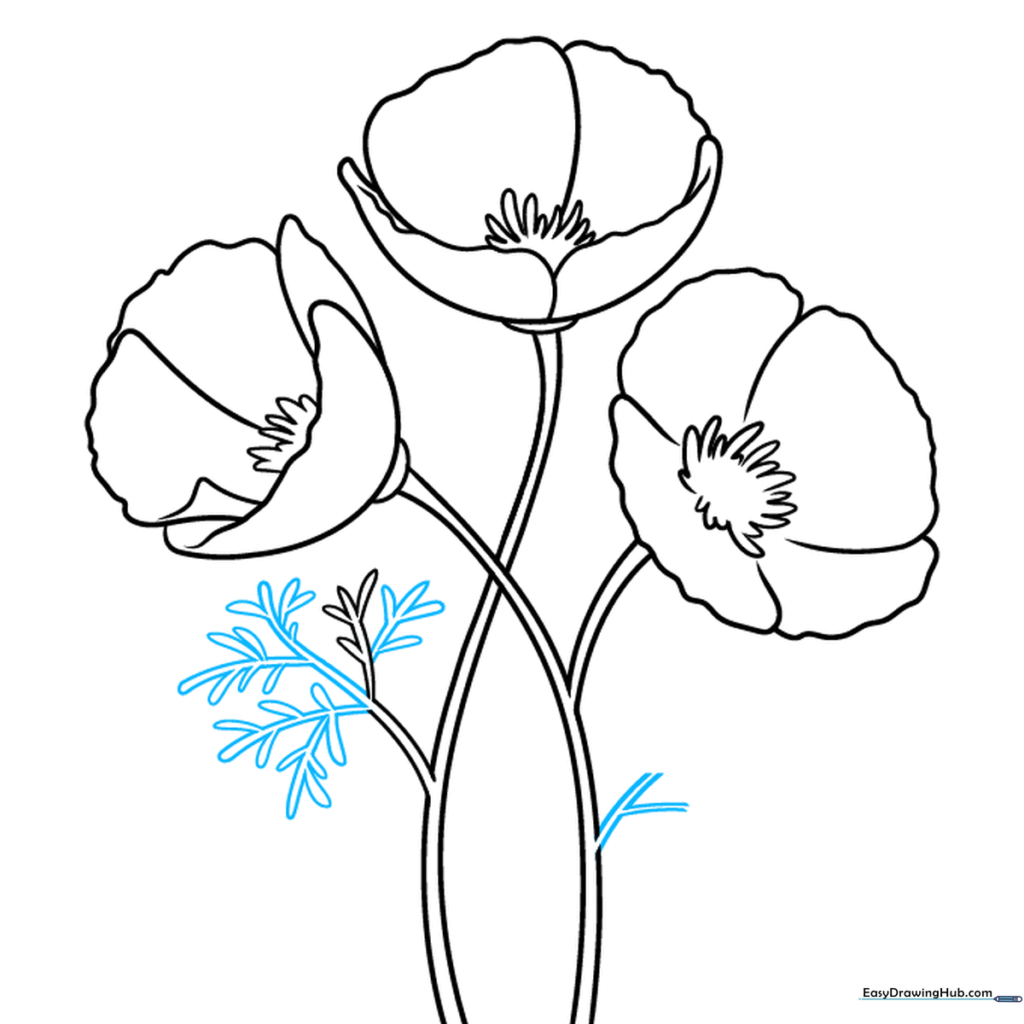
Continue building the foliage by extending pairs of lines and adding small 'U' shaped leaflets. Tip: California poppy leaves are very lacy and thin, so don't be afraid to make them look intricate.
Step 8: Adding Texture to Leaves
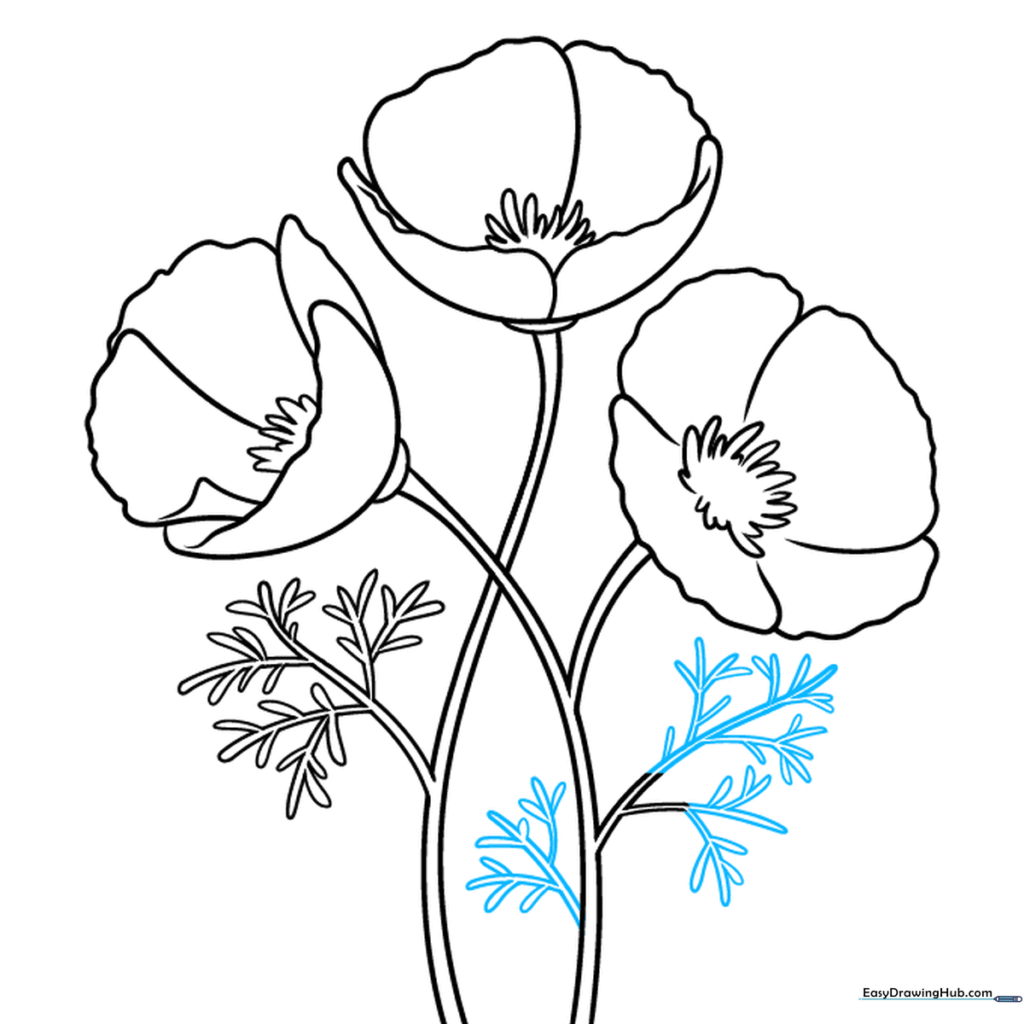
Keep adding those lacy leaflets. The more you add, the fuller your plant will look. Tip: Focus on the rhythm of your hand—short, quick strokes help create that 'lacy' effect.
Step 9: Final Touches
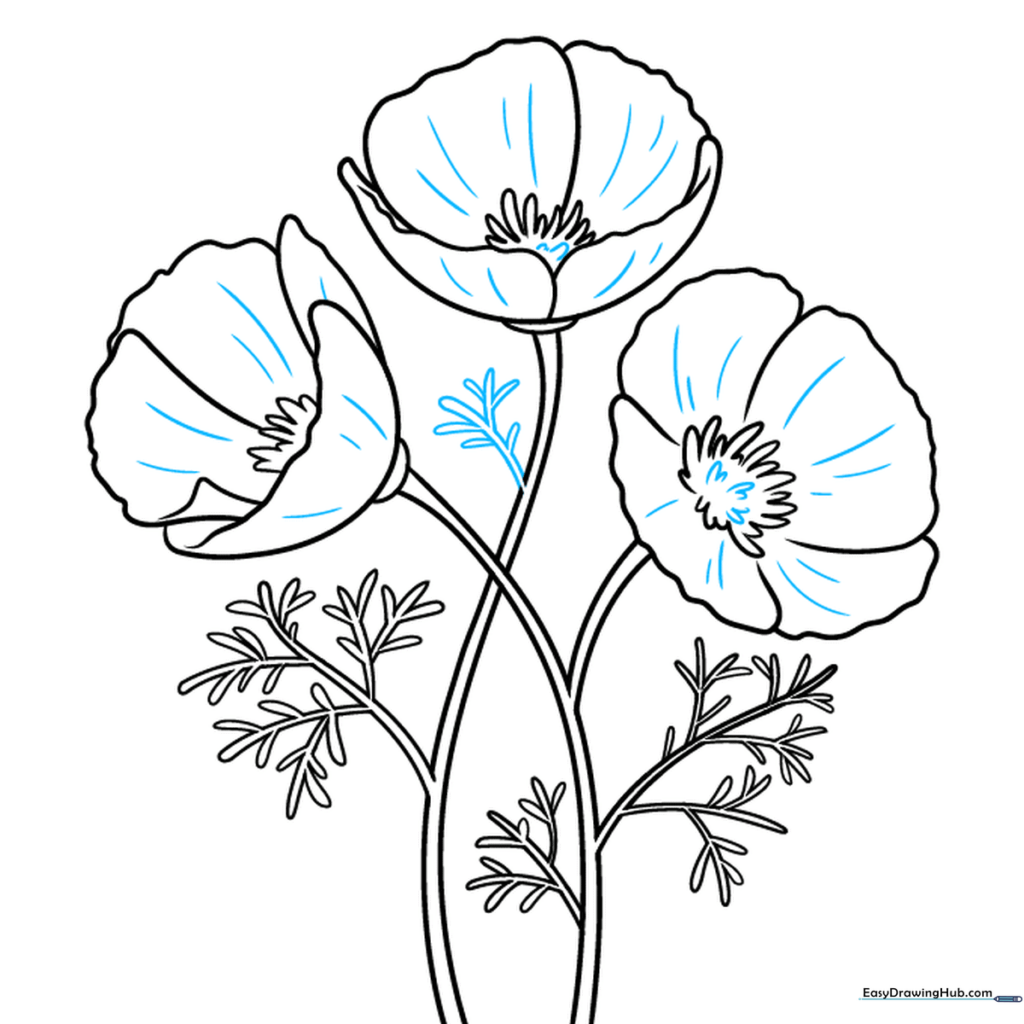
Go over your lines to ensure everything is connected. Add small curved lines to the centers of the flowers for extra detail. Tip: This is the time to darken your final outlines and erase any remaining guide lines.
Step 10: Bring Your Poppy to Life with Color
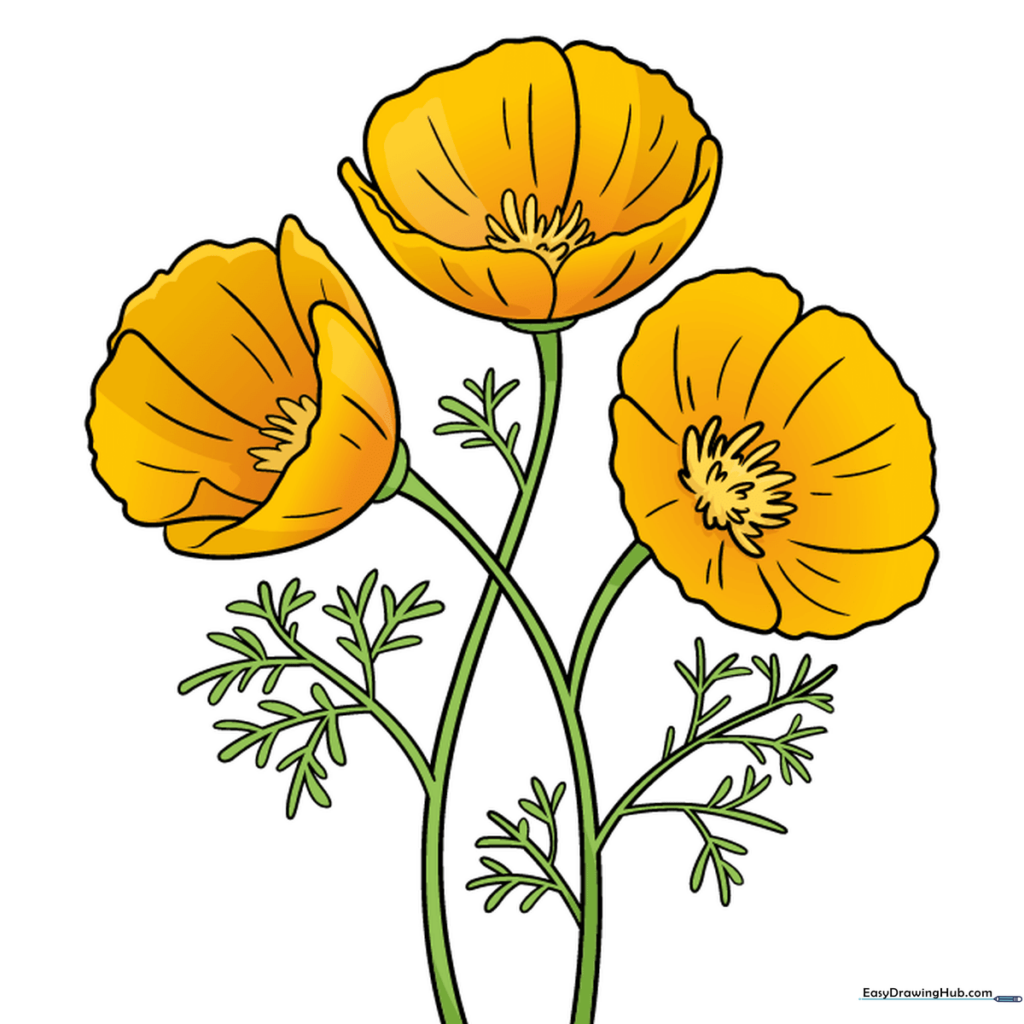
Time to color! Use bright orange or yellow for the petals and a soft green for the stems and leaves. Tip: Try layering a bit of red near the base of the petals for a realistic, sun-kissed look.
More Tutorials


