How to Draw a Calico Cat Stretching: Easy 10-Step Guide
Looking for a fun, screen-free activity? This guide is perfect for young artists ages 5+ to practice capturing movement and fur patterns. All you need is a pencil, an eraser, and some paper to bring this playful, stretching calico cat to life.
🎯 Final Result

Step-by-Step Instructions
Step 1: Sketching the Face

Start by drawing the cat’s face. Use thick, soft curves for the closed, sleepy eyes. Add a small mushroom-shaped nose and a gentle, curved mouth. Teacher's Tip: Keep your pencil lines light so you can easily adjust the expression if it looks too serious!
Step 2: Shaping the Head

Outline the head using overlapping curves for the ears and cheeks. Add short, quick strokes along the edges to suggest soft fur. Teacher's Tip: Use 'flicking' motions with your pencil to make the fur look realistic rather than perfectly smooth.
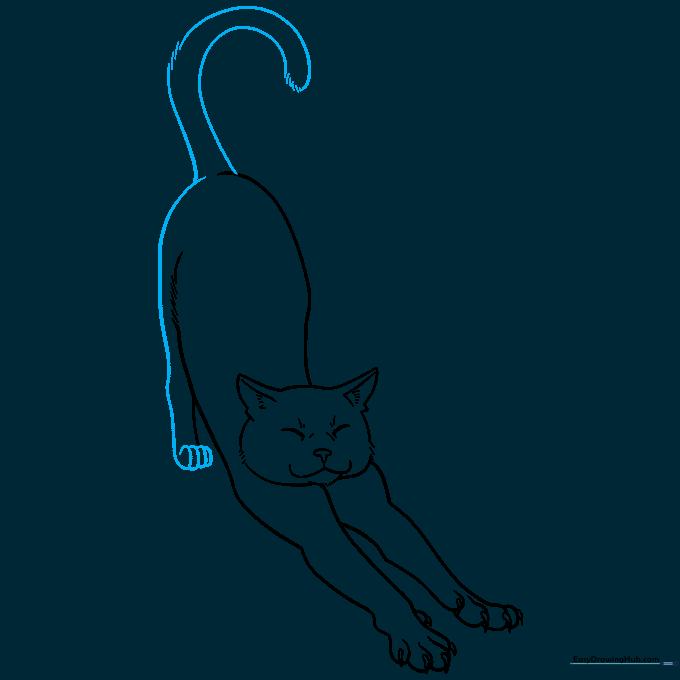
Step 3: Defining the Stretch
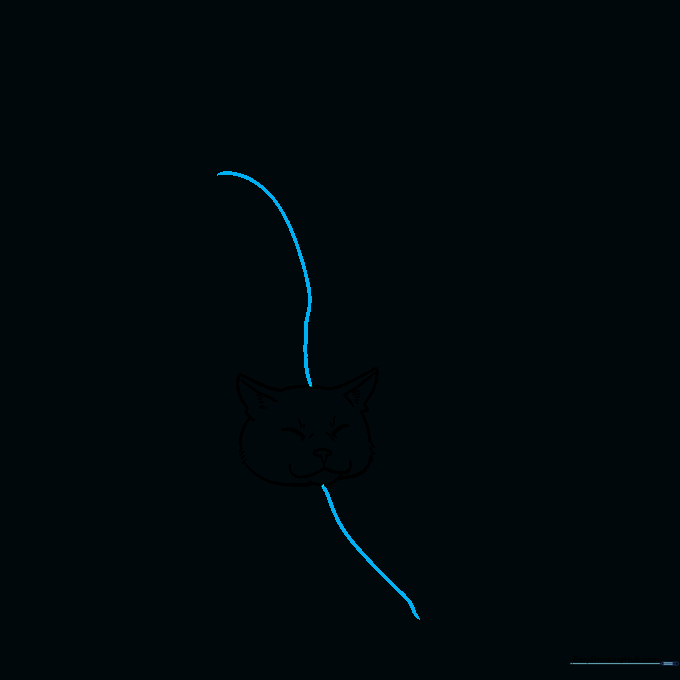
Draw a long, sweeping curve above the head and another below it. These lines define the arched back and the extended front leg. Teacher's Tip: Imagine a rubber band stretching; keep these lines long and fluid to show movement.
Step 4: Front Leg Details
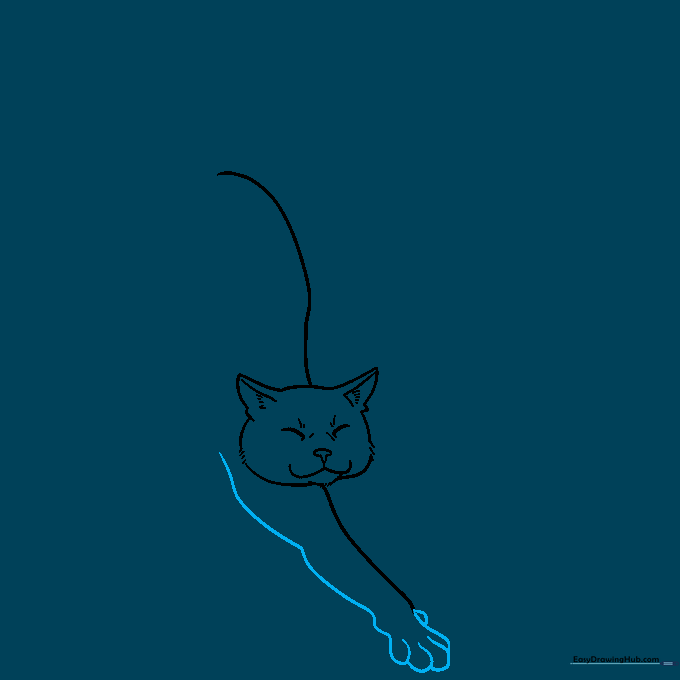
Refine the front leg by adding contours for the elbow and wrist. Use small, overlapping curves to form the toes. Teacher's Tip: Cats have soft paws; keep your curves rounded rather than sharp to make them look cuddly.
Step 5: The Second Foreleg
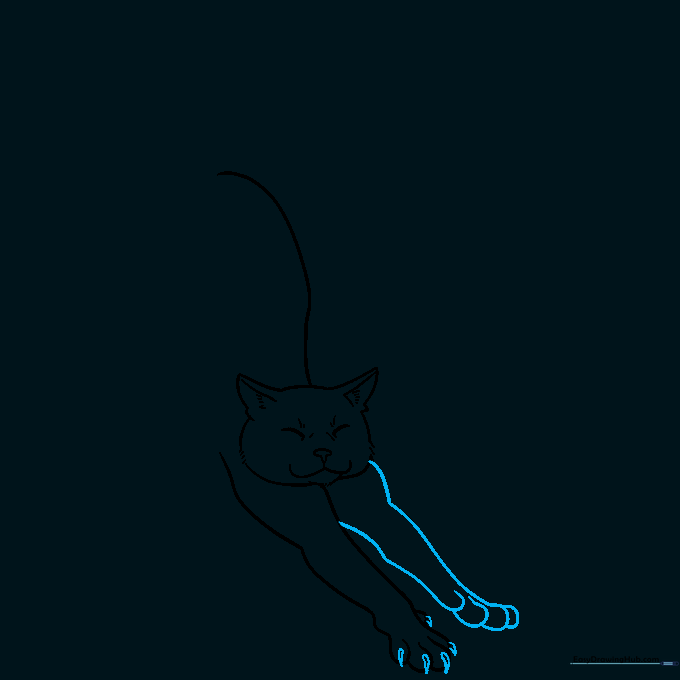
Draw the second foreleg using similar curved lines. Add sharp, triangular claws to the toes to show the cat is really digging into its stretch. Teacher's Tip: Keep the claws small—they are just little accents, not the main focus!
Step 6: Belly and Hind Leg
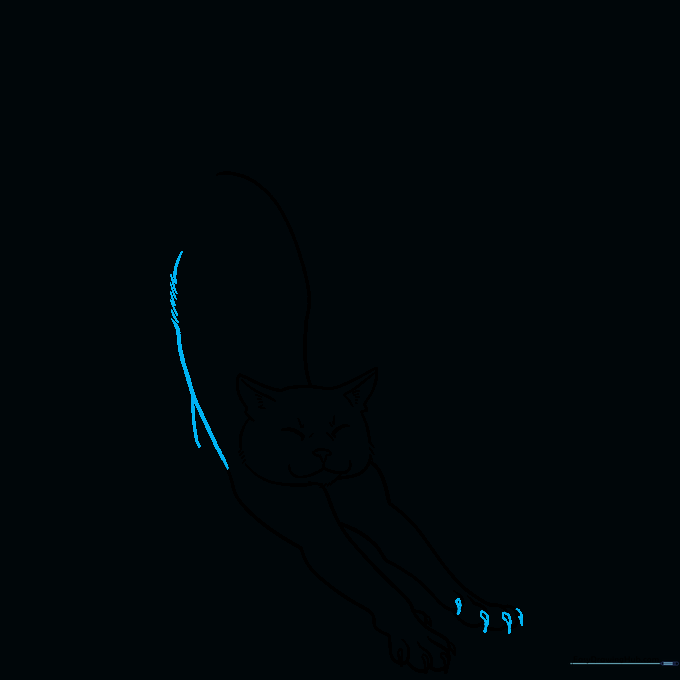
Sketch the belly with a long, soft curve. Add a few short, dense lines near the top to suggest fur texture, then extend a line downward to start the back leg. Teacher's Tip: Think about where the cat's weight is shifting as it stretches.
Step 7: Paws and Tail
Complete the back paw with overlapping lines for the toes. Extend two curved lines from the hips to form a long, elegant tail. Teacher's Tip: Add a few 'flick' marks along the tail to make it look fluffy and full.
Step 8: Adding Calico Spots
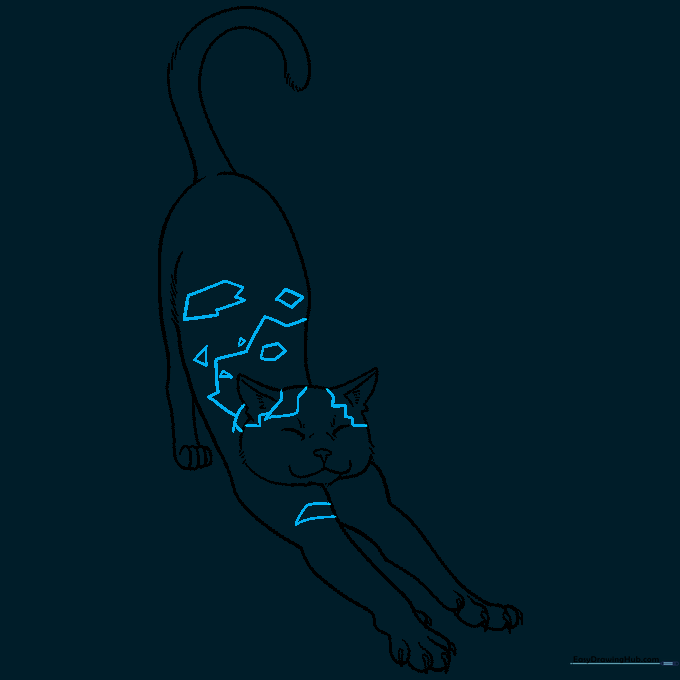
Time for the calico pattern! Draw various irregular, blotchy shapes across the body. Teacher's Tip: Don't make them too perfect—calico spots are naturally random and unique, just like real cats.
Step 9: Finalizing Patterns
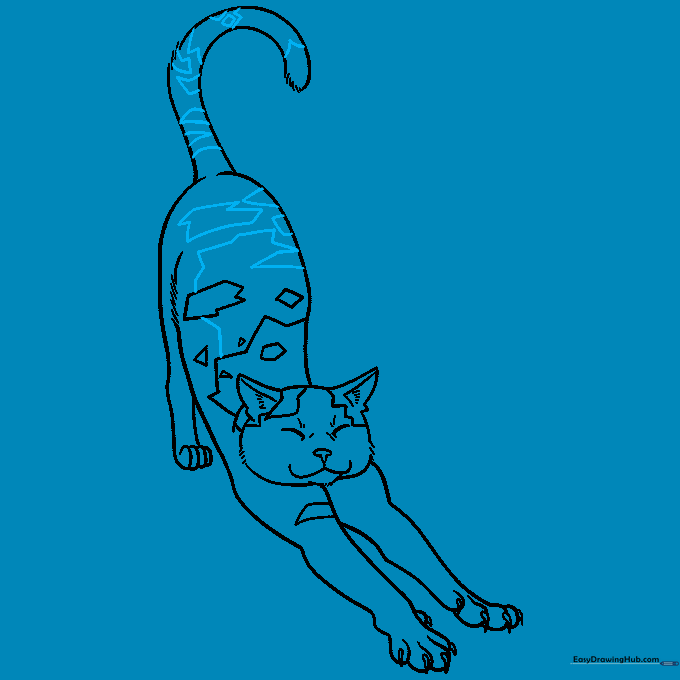
Add a few more spots along the back and tail to balance the design. Teacher's Tip: Look at your drawing from a distance; if one side looks too empty, add a small spot there to create visual balance.
Step 10: Bringing it to Life with Color
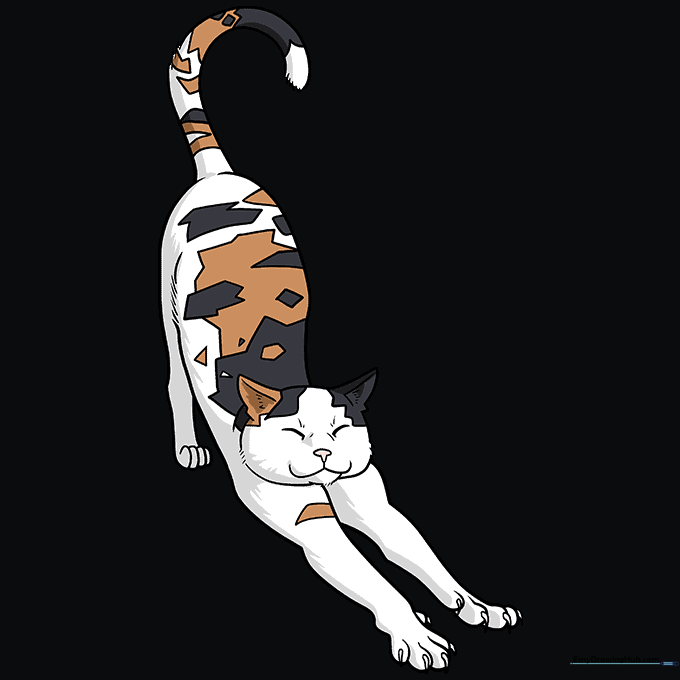
Color your cat! Use white as the base, then fill in your spots with black, brown, and orange. For a 'muted' calico, try gray and cream. Teacher's Tip: Use light pressure with your colored pencils to blend the colors softly.
More Tutorials


