How to Draw a Butterfly Garden: Easy 10-Step Guide
Bring a touch of spring to your sketchbook with this butterfly garden drawing tutorial, designed specifically for ages 5 and up. You will need a pencil, an eraser, and your favorite coloring supplies to create this whimsical scene. Follow along to practice basic shapes and build confidence in your artistic process.
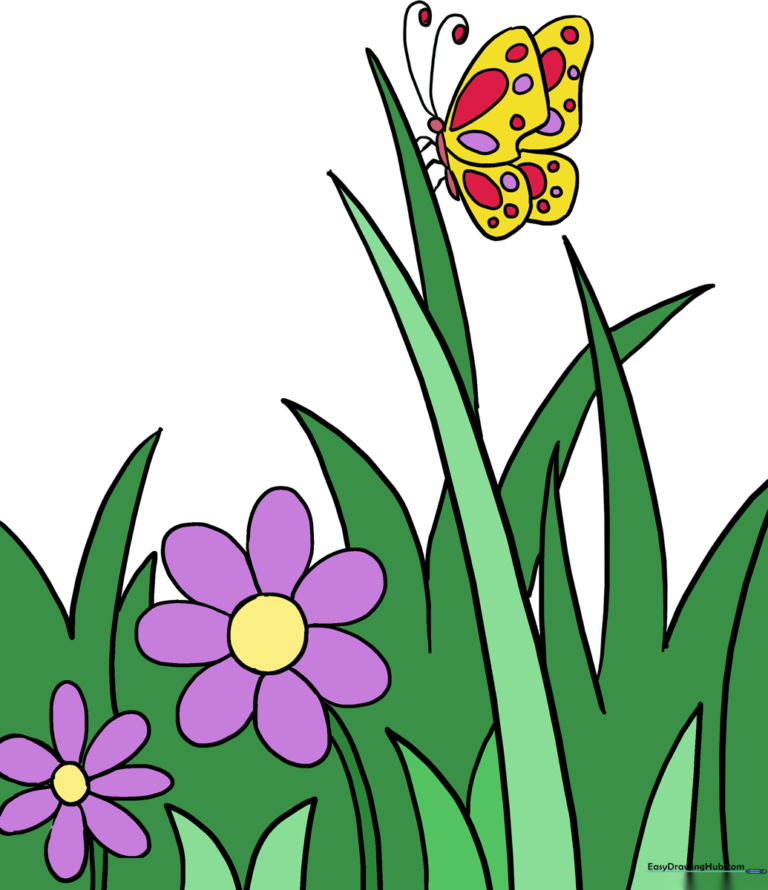
🎯 Final Result
Step-by-Step Instructions
Step 1: Sketching the Grass Blades

Start by drawing blades of grass using two long, curved lines that meet at a sharp point. Teacher's Tip: Vary the height and width of your blades to make the garden look natural and organic.
Step 2: Drawing the First Flower

Draw a small circle for the center of your flower, then surround it with 'U' shaped petals. Teacher's Tip: Keep your pencil pressure light so you can easily erase any overlapping lines later.
Step 3: Adding a Second Flower
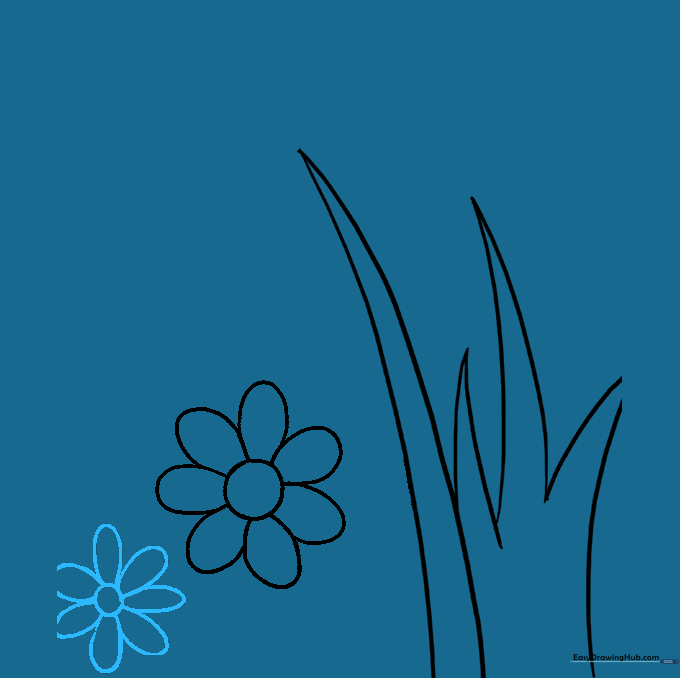
Repeat the process to draw a smaller flower nearby. Teacher's Tip: Drawing flowers of different sizes creates a sense of depth and realism in your garden scene.
Step 4: Stems and Background Grass
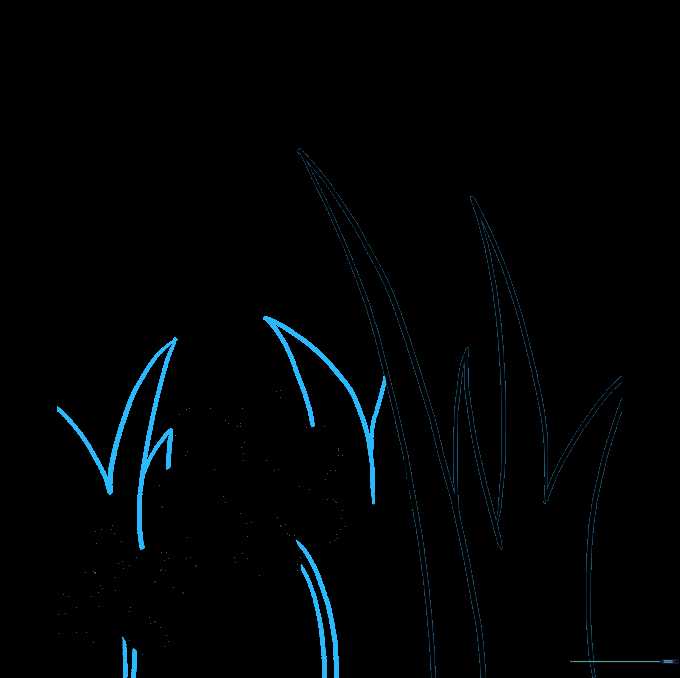
Connect your flowers to the ground with two parallel curved lines for stems. Add more grass behind the flowers to fill the space. Teacher's Tip: Use quick, confident strokes for the grass to make it look energetic.
Step 5: Adding Leaves

Draw leaves along the stems using two curved lines that meet at a point. Make these wider than your grass blades. Teacher's Tip: Leaves are great for filling in empty gaps in your drawing!
Step 6: Filling the Foreground

Add a few more tall blades of grass in the foreground to frame your garden. Teacher's Tip: Overlapping your grass blades creates a nice 3D effect.
Step 7: Sketching the Butterfly Body
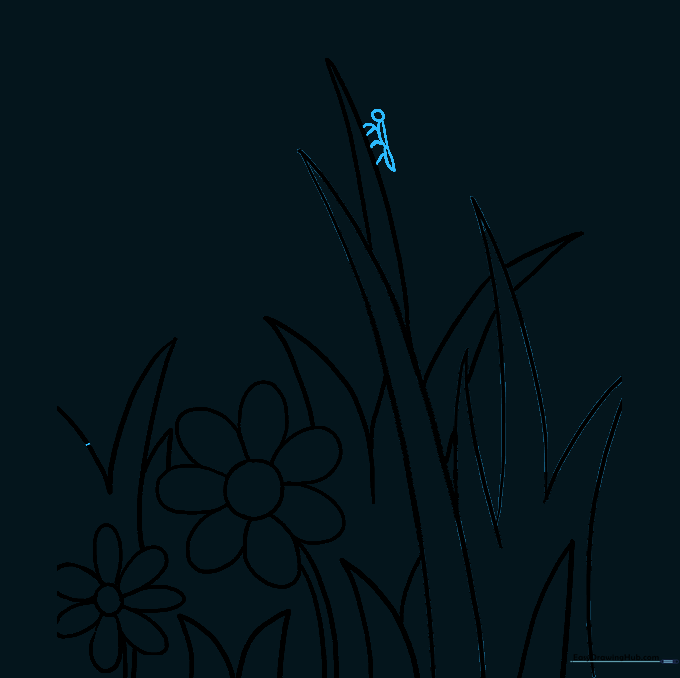
Draw a tiny circle for the head and two elongated shapes for the thorax and abdomen. Add six small legs connecting it to the grass. Teacher's Tip: Remember, insects always have six legs!
Step 8: Drawing the Wings
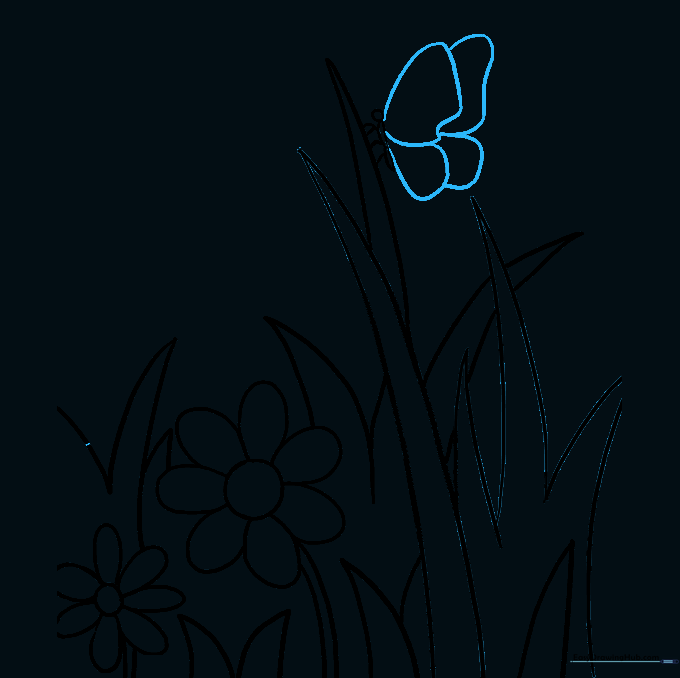
Enclose two irregular curved shapes on each side of the body for the wings. Add a second, inner outline to give them thickness. Teacher's Tip: Don't worry if the wings aren't perfectly symmetrical; nature is rarely perfect!
Step 9: Adding Wing Details
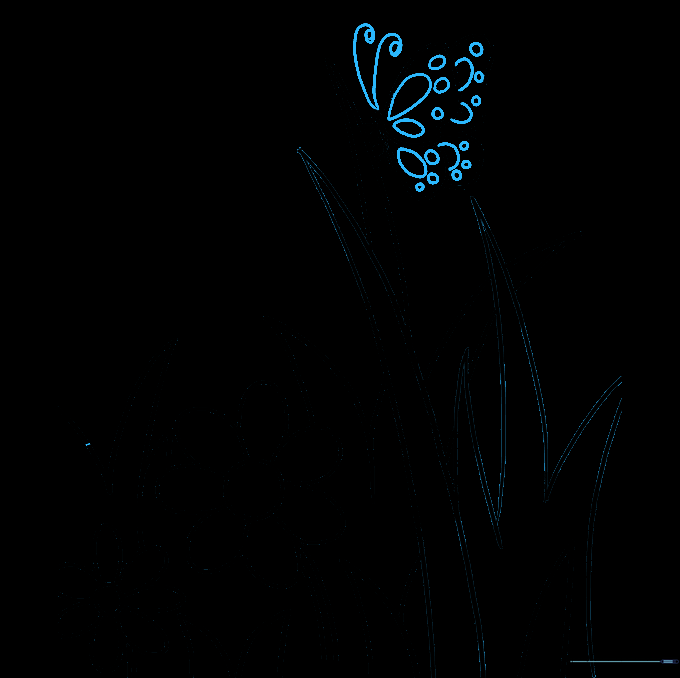
Draw two antennae with tiny circles at the ends. Add teardrops and circles inside the wings for patterns. Teacher's Tip: Use a fine-liner pen to trace your pencil lines before you start coloring.
Step 10: Bringing it to Life with Color
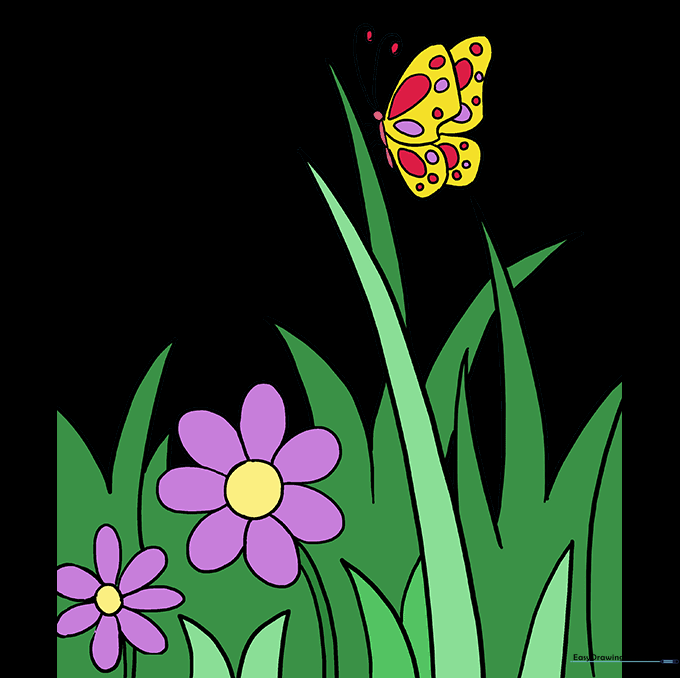
Use bright markers or colored pencils to fill in your butterfly and garden. Teacher's Tip: Try using complementary colors like purple and yellow to make your butterfly really pop off the page!
More Tutorials


