How to Draw a Bush: Easy 10-Step Guide for Kids
Bring your landscape drawings to life with this simple guide to drawing a bush. Designed for young artists ages 5 and up, this activity uses basic shapes to build confidence and fine motor control. All you need is a pencil, an eraser, and your favorite coloring supplies to create a lush, blooming plant.
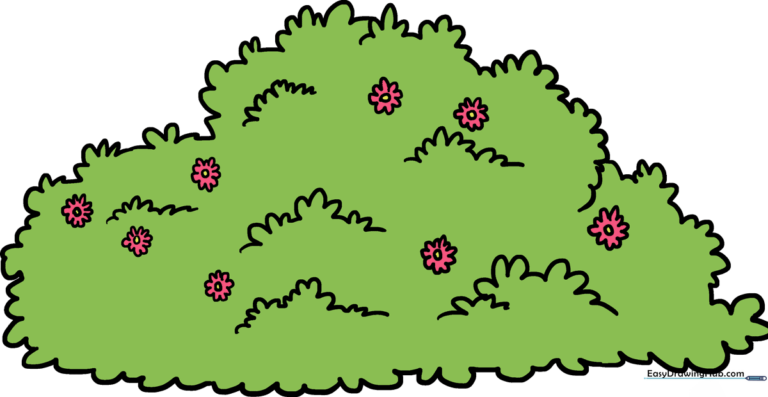
🎯 Final Result
Step-by-Step Instructions
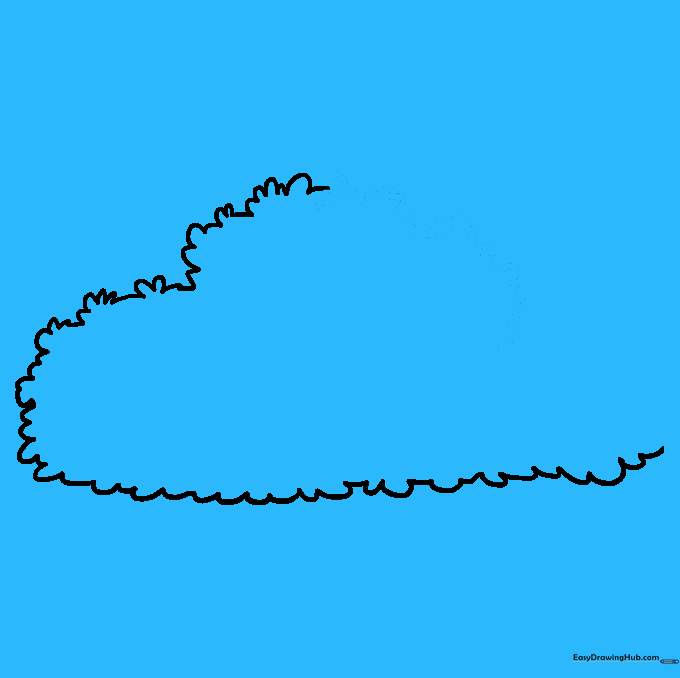
Step 1: Establishing the Base

Start by drawing a series of short, connected 'U' shaped lines along the bottom. Teacher's Tip: Think of these as little hills or waves; keep them rounded to give the bush a soft, natural look.
Step 2: Creating Volume

Continue adding 'U' shaped lines, varying their size to create two distinct 'lumps' or sections. Teacher's Tip: Varying the size of your curves makes the plant look more realistic and less like a perfect circle.
Step 3: Curving the Shape
Keep drawing connected 'U' shapes to form two or three more sections, curving your line back toward the start. Teacher's Tip: Try to visualize the bush as a big, fluffy cloud of leaves.
Step 4: Closing the Outline

Continue sketching your 'U' lines until the entire bush shape is enclosed. Teacher's Tip: Overlap your lines slightly at the ends to create the illusion of depth and dense foliage.
Step 5: Adding Interior Texture

Add rounded shapes inside the bush to represent branches. Use the same 'U' shaped technique. Teacher's Tip: These interior lines act as shadows, making your drawing look 3D rather than flat.
Step 6: Building More Boughs
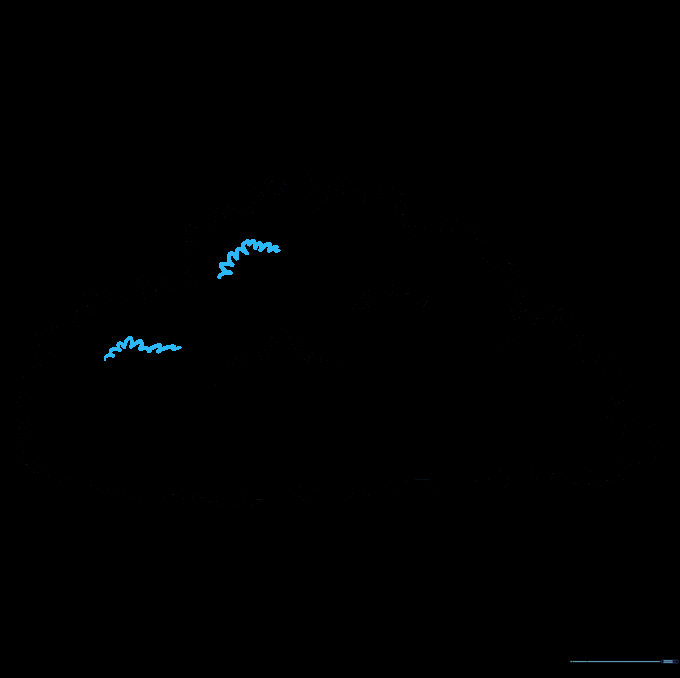
Continue adding more boughs using short, connected 'U' lines throughout the center. Teacher's Tip: Don't worry about making them perfect; bushes are messy in nature!
Step 7: Overlapping Foliage

Draw additional boughs, making sure some overlap others. Teacher's Tip: Overlapping is the secret to making your drawing look like a real, thick plant.
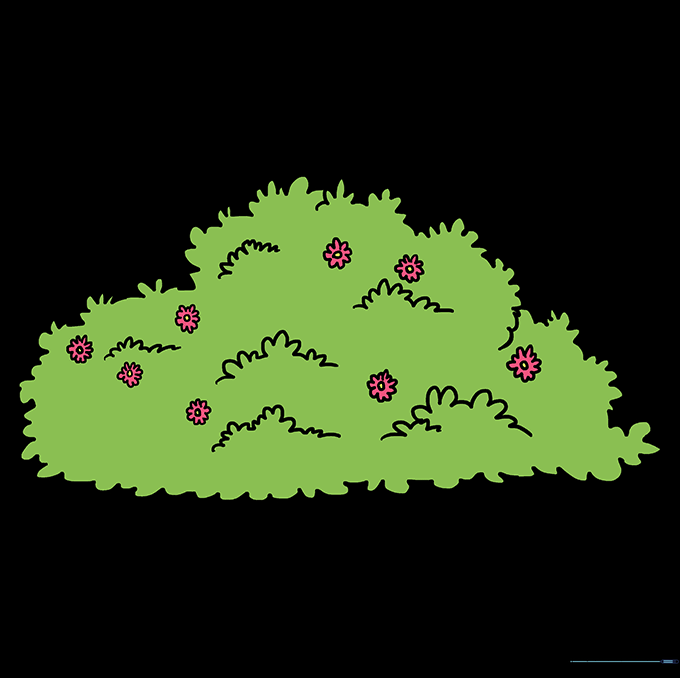
Step 8: Adding Flowers

Time to decorate! Draw small circles for flower centers, then surround them with tiny 'U' shaped petals. Teacher's Tip: Place these flowers near the edges to make them pop.
Step 9: Final Touches

Add a few more flowers to fill out the bush. Teacher's Tip: Vary the number of flowers so the bush looks natural and not too uniform.
Step 10: Bring it to Life with Color
Color your bush! Use deep greens for leaves and bright colors for flowers. Teacher's Tip: Try using two shades of green—a light one for the top and a darker one for the shaded areas underneath—to add professional-looking contrast.
More Tutorials


