How to Draw a Bull Skull: Easy 10-Step Guide
This step-by-step guide is perfect for young artists and beginners looking to master structural sketching. All you need is a pencil, an eraser, and a sheet of paper to bring this iconic desert-inspired subject to life. Follow along to develop your understanding of symmetry and form while creating a striking piece of art.
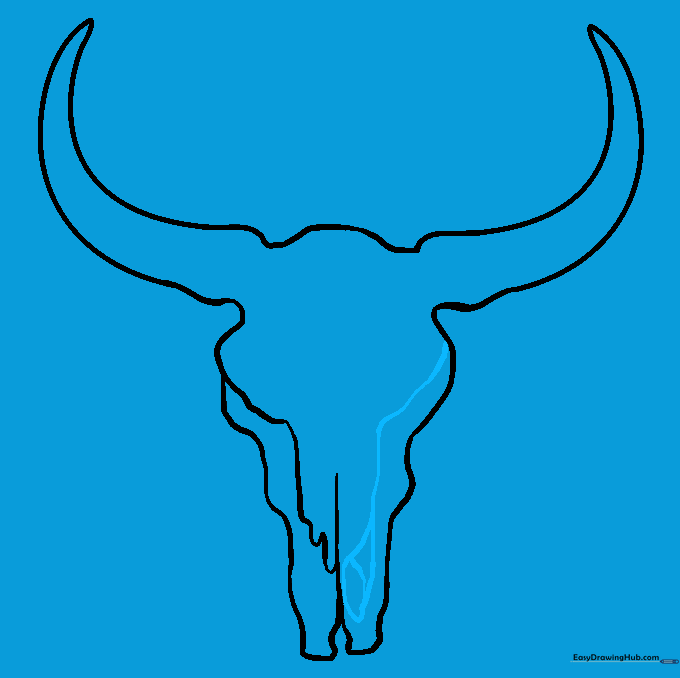
🎯 Final Result

Step-by-Step Instructions
Step 1: Sketching the First Horn

Start by drawing two curved lines that meet at a sharp point to form the first horn. Teacher's Tip: Keep the curve gentle; it should look like a soft crescent moon.
Step 2: Defining the Cranium
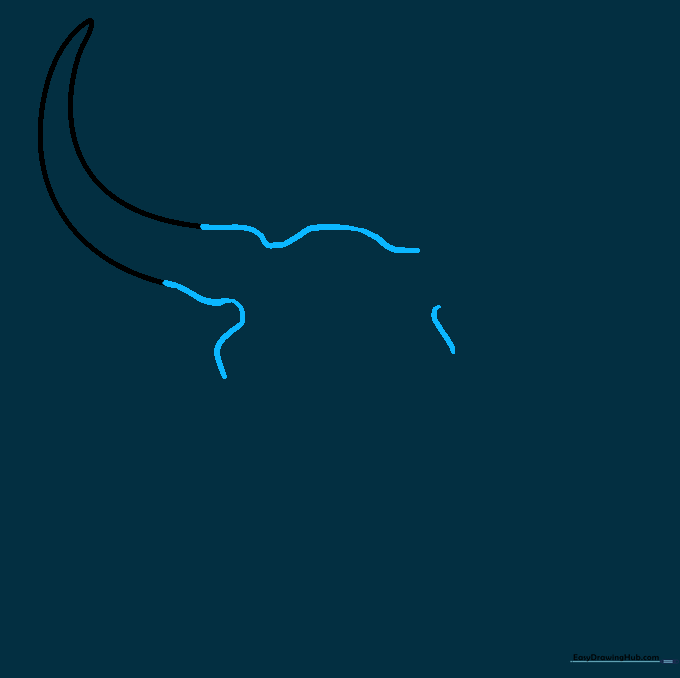
Outline the top of the skull using curved lines that connect to the horn base. Leave a small gap for the second horn. Tip: Imagine the skull is a rounded shield shape; keep your lines smooth.
Step 3: Adding the Second Horn
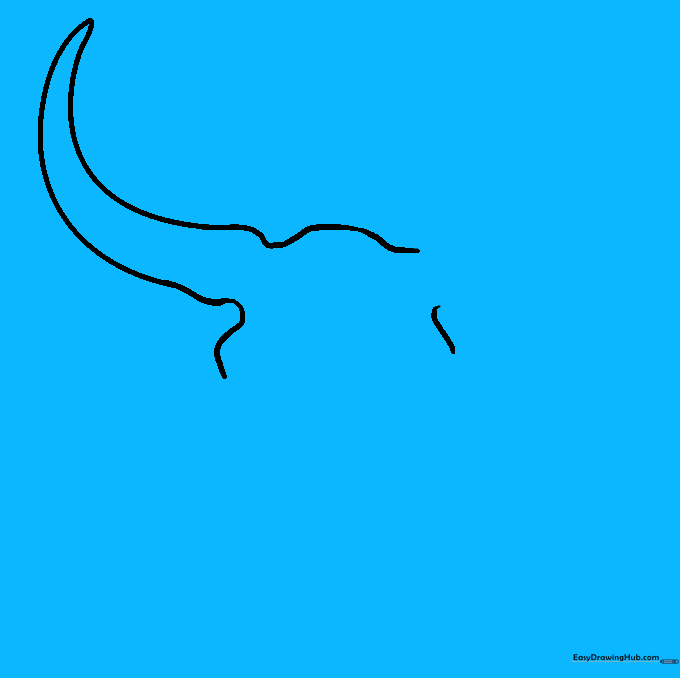
Mirror the first horn on the opposite side with two long, curved lines. Ensure the base is slightly wider than the tip. Tip: Use your pencil to measure the distance from the center to ensure both horns are balanced.
Step 4: Shaping the Nasal Area
Draw the nasal cavity using interconnected curved lines that double back on themselves. This creates the unique shape of the snout. Tip: Think of this as drawing a stylized 'heart' shape for the nose.
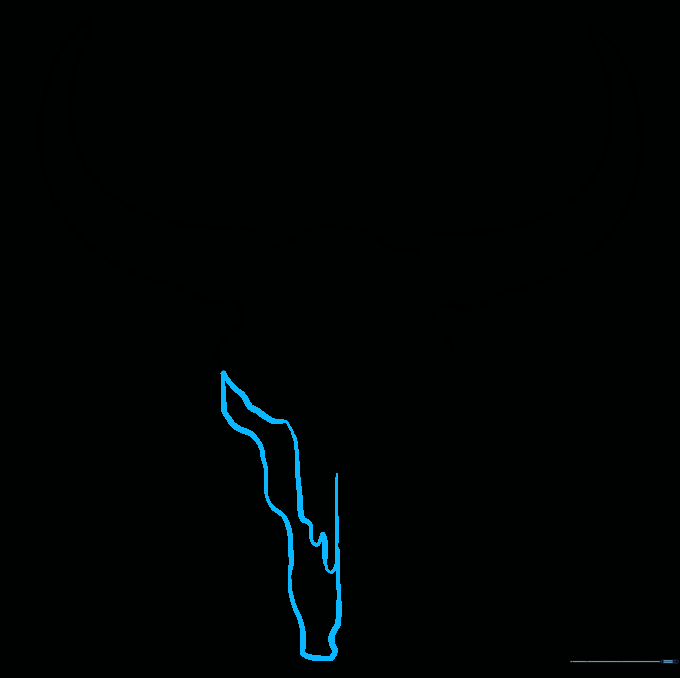
Step 5: Closing the Skull Structure
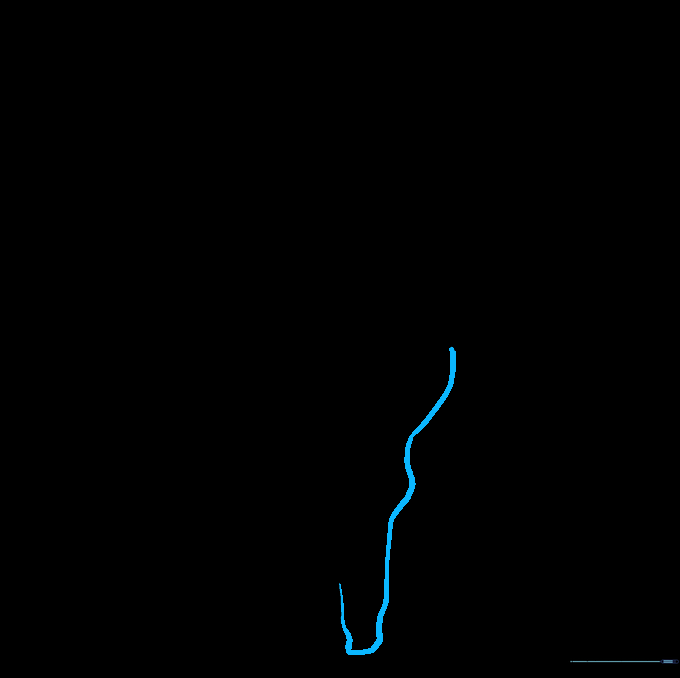
Draw a long, sweeping curved line from the eye socket down to the base of the nose. This connects the facial features into one solid form. Tip: Keep your wrist loose to get a smooth, continuous line.
Step 6: Detailing the Eye Socket
Create an irregular oval shape for the eye socket, adding a small band for depth. Tip: Don't worry about making it a perfect circle; skulls have organic, uneven shapes.
Step 7: Adding Central Features
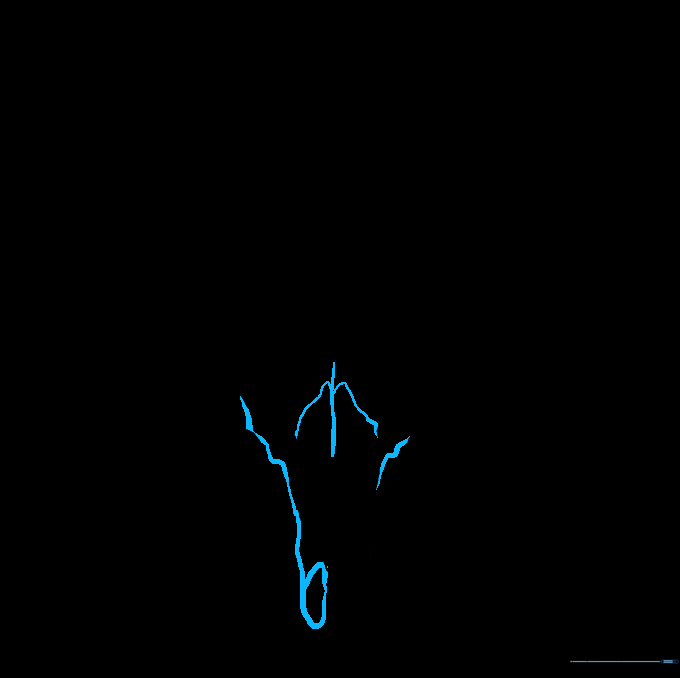
Add a vertical line down the center of the skull and connect it to the sides with small curves. This adds anatomical realism. Tip: Use a light touch here so the lines don't look too harsh.
Step 8: Horn Texture
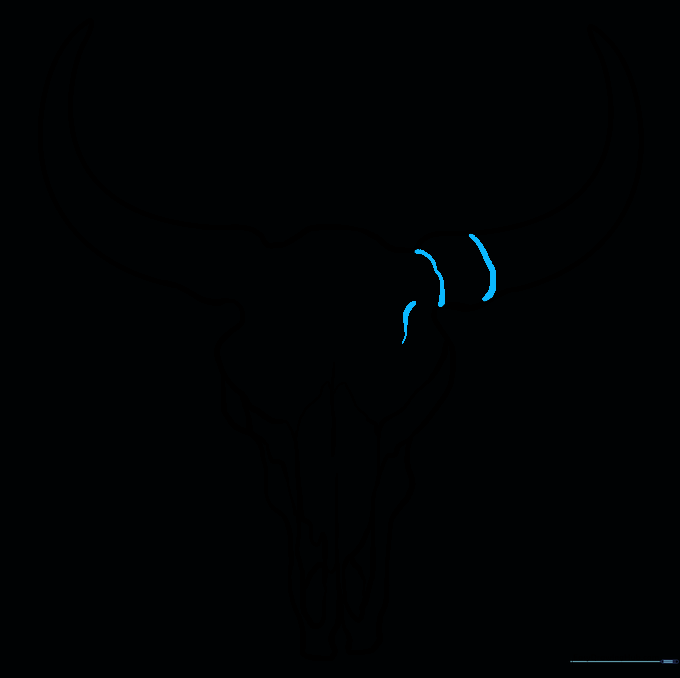
Add small, curved bands at the base of the horns to show texture. Tip: These little lines make the horns look like they are growing out of the bone.
Step 9: Final Touches
Repeat the banding process on the second horn and add a few final contour lines. Tip: Check your drawing for any stray pencil marks and erase them now.
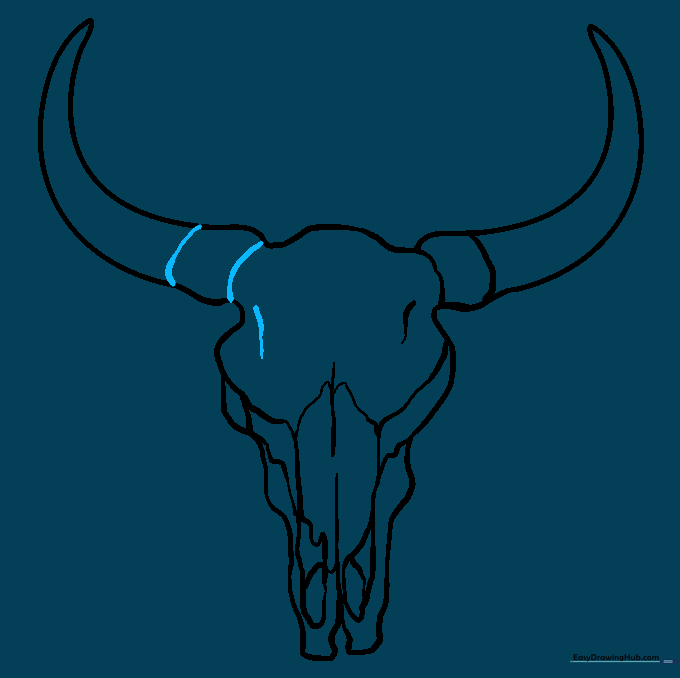
Step 10: Coloring Your Masterpiece

Bring your skull to life with color! Use shades of cream, white, or light brown. Tip: Use a darker brown for the shadows near the eye sockets to make the skull pop.
More Tutorials


