How to Draw a Building: Easy Step-by-Step Guide for Kids
Looking for a fun, screen-free activity? This tutorial is perfect for young artists ages 5+ to practice drawing structures. All you need is a pencil, an eraser, and a piece of paper to build your own architectural masterpiece.
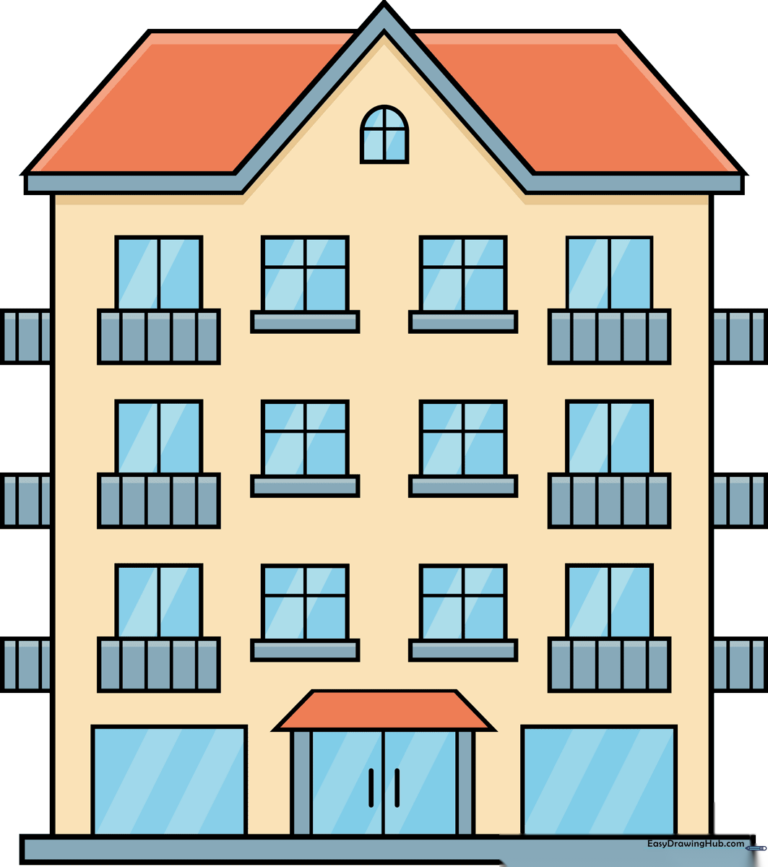
🎯 Final Result
Step-by-Step Instructions
Step 1: Sketching the Foundation
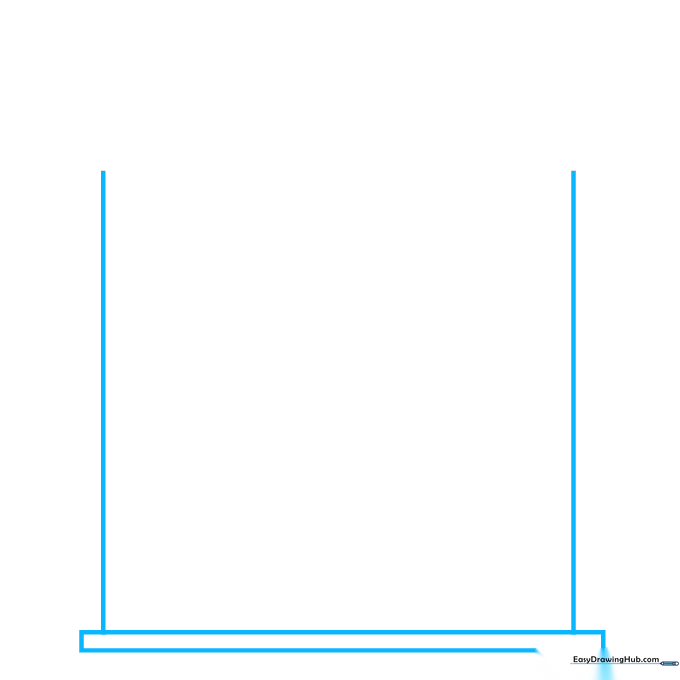
Start by drawing a narrow rectangle at the bottom of your page to serve as the foundation. Extend two straight vertical lines upward from the sides to form the main walls. Teacher's Tip: Keep your pencil strokes light so you can easily adjust the height later if you want a taller skyscraper!
Step 2: Shaping the Roof
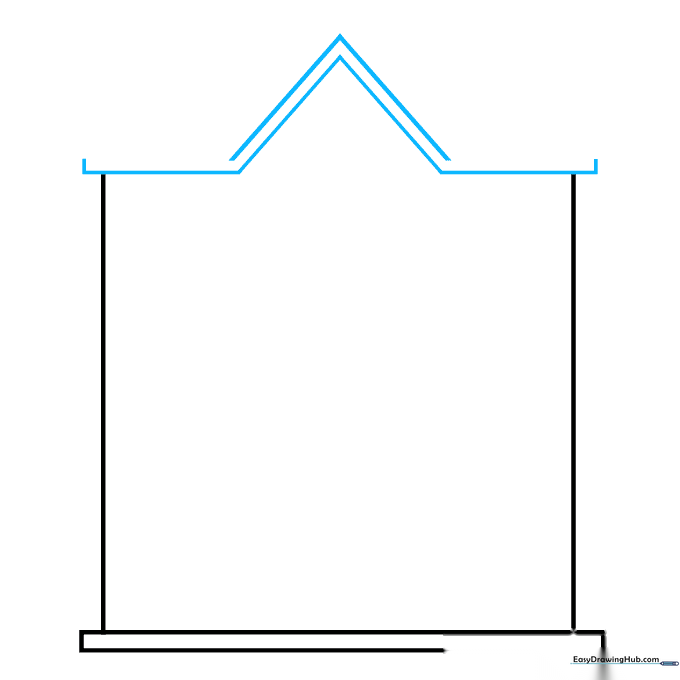
Draw horizontal lines across the top of your walls. Connect them with an inverted 'V' shape to start the roof, then draw a second parallel 'V' behind it for depth. Teacher's Tip: Use a ruler if you struggle with straight lines, but don't worry if they aren't perfect—it's a cartoon!
Step 3: Completing the Roofline
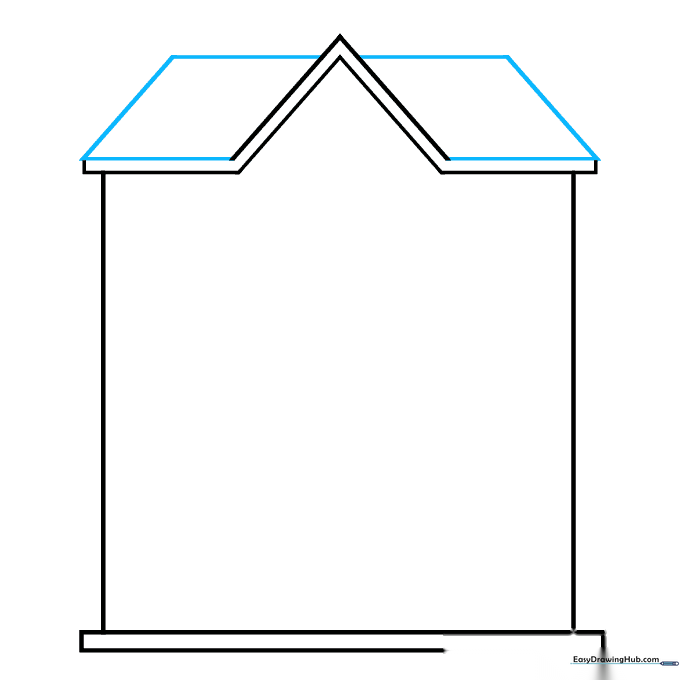
Enclose a trapezoid shape behind the 'V' to finish the roof structure. This gives your building a 3D look. Teacher's Tip: Imagine the sun is shining on one side of the roof; this helps you visualize why we are adding these extra angles.
Step 4: Adding Balconies
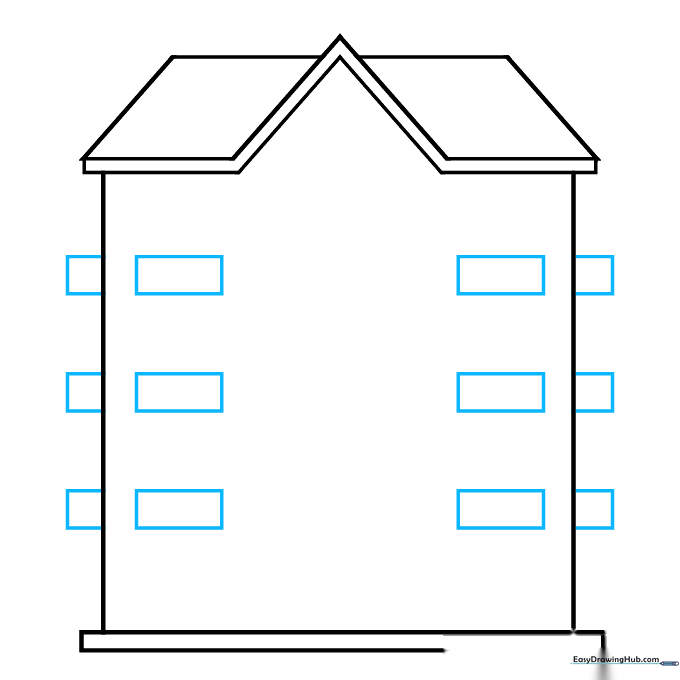
Draw small rectangles on the front and sides of your building to represent balconies. Teacher's Tip: Make sure they are aligned horizontally so your building looks stable and not like it's leaning over!
Step 5: Windows and Doors
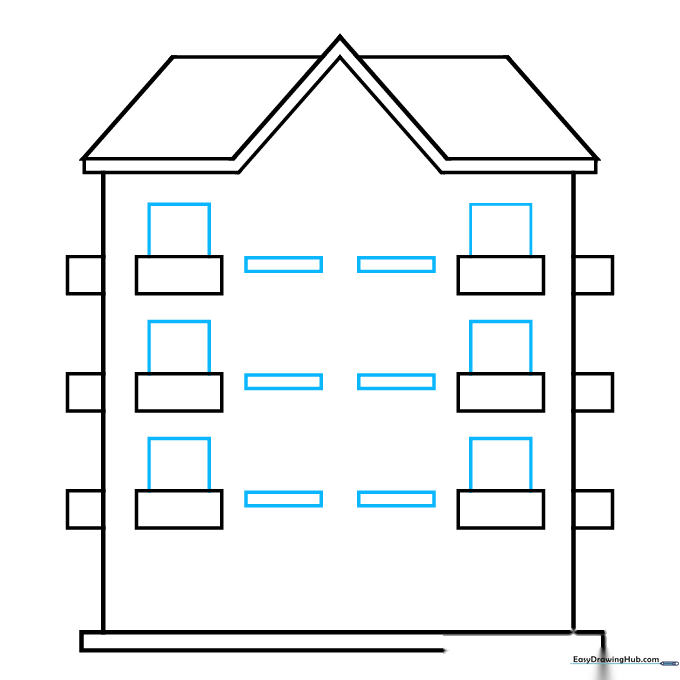
Add a square doorway on each balcony. Between the balconies, draw narrow vertical rectangles to serve as window ledges. Teacher's Tip: Keep your spacing consistent to make the building look professional.
Step 6: Adding Windows and Main Entrance
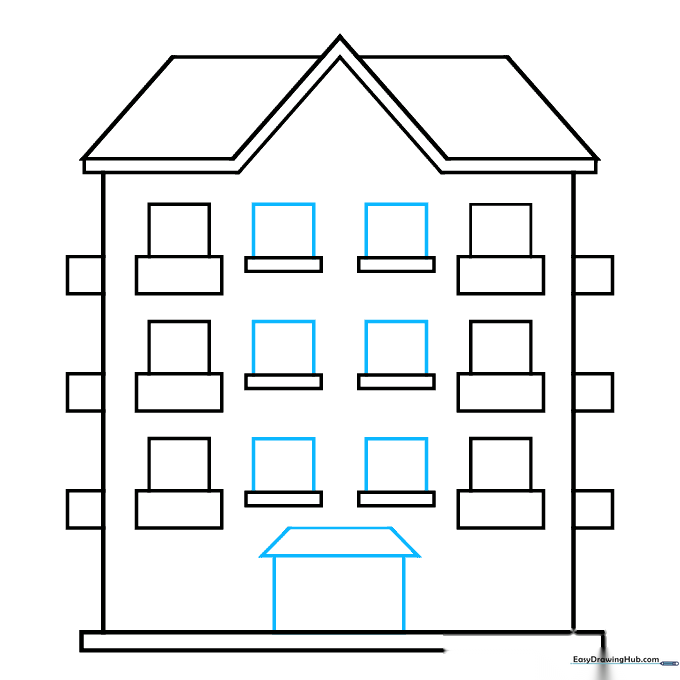
Draw a square window above each ledge. At the base, add a large rectangular door with a trapezoid awning. Teacher's Tip: The awning adds a nice architectural detail that makes the building look more inviting.
Step 7: Refining the Entrance
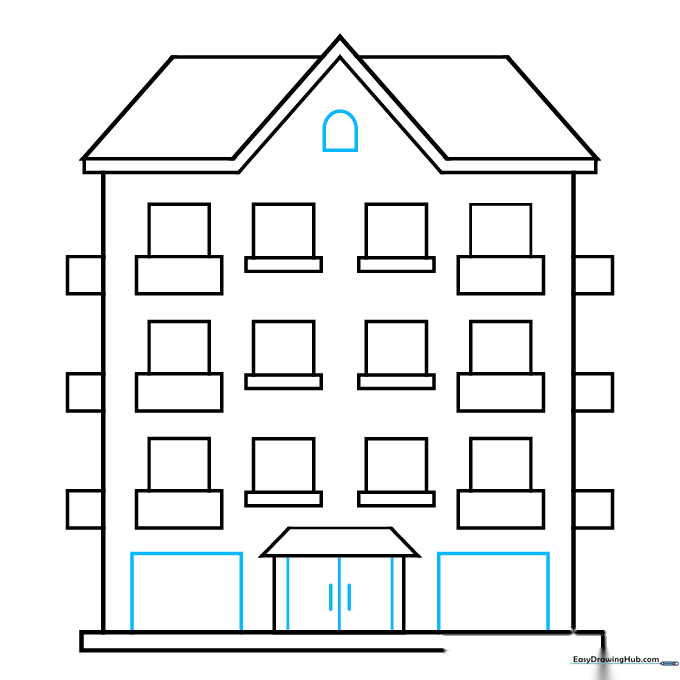
Divide the double doors with vertical lines and add small marks for handles. Add rectangles on either side of the door for decorative panels. Teacher's Tip: Small details like door handles really bring the drawing to life.
Step 8: Adding Window Panes
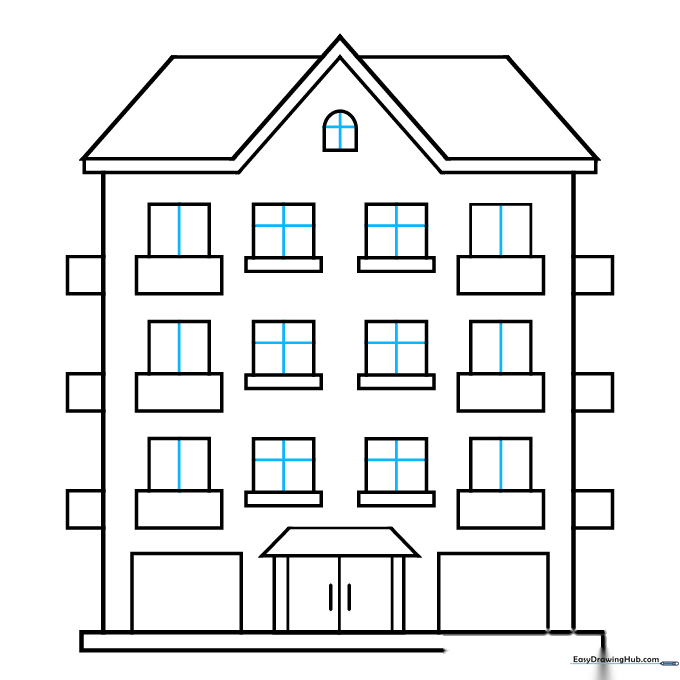
Draw intersecting lines inside your windows and balcony doors to create panes. Teacher's Tip: Use a thinner pencil lead here to keep the lines crisp and clean.
Step 9: Final Touches
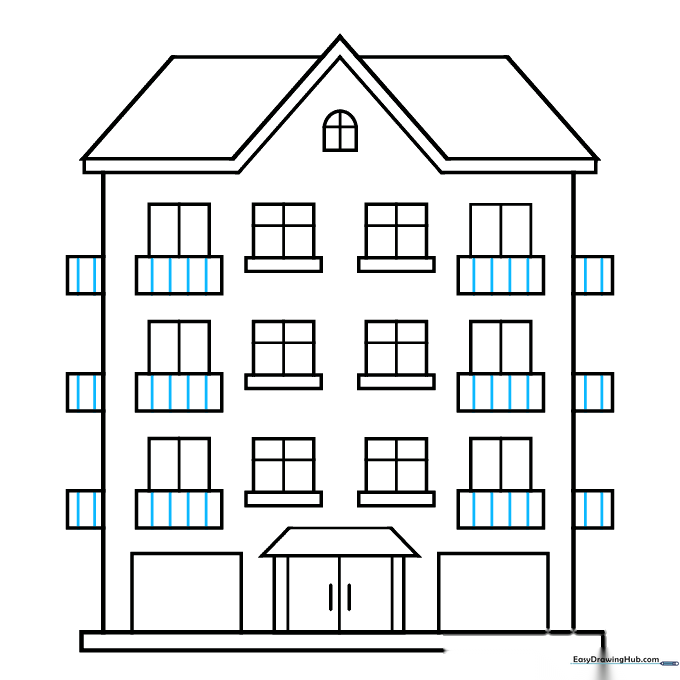
Add vertical lines to the balcony railings to complete the structure. Teacher's Tip: You're almost done! Take a moment to erase any stray guidelines before you start coloring.
Step 10: Color Your Building
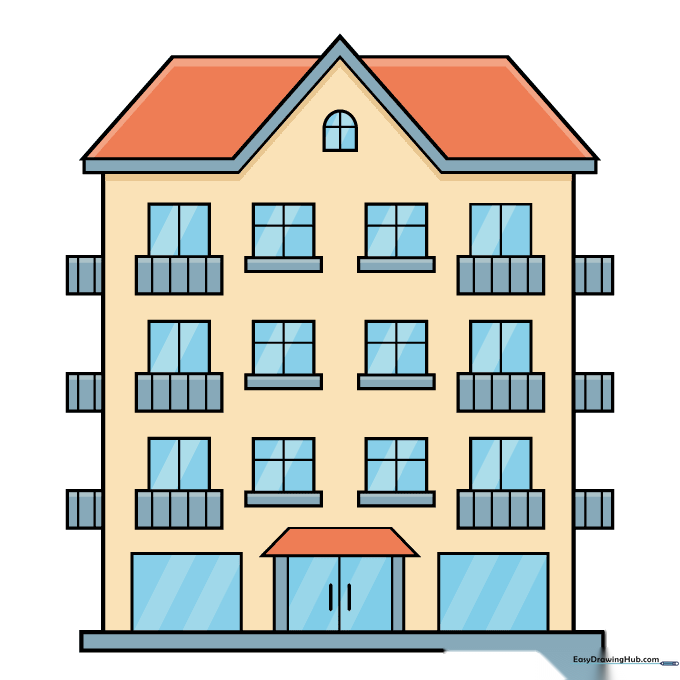
Your building is ready for color! Try using warm brick reds or tans, or get creative with bright colors. Teacher's Tip: Use a darker shade of your main color to add a little shadow under the balconies for a professional look.
More Tutorials


