How to Draw a Broken Mirror: Easy Step-by-Step Guide
Ready to create a unique piece of art? This tutorial is perfect for young artists ages 7+ who want to practice geometric shapes and expressive character design. All you need is a pencil, an eraser, and a piece of paper to bring this shattered reflection to life.
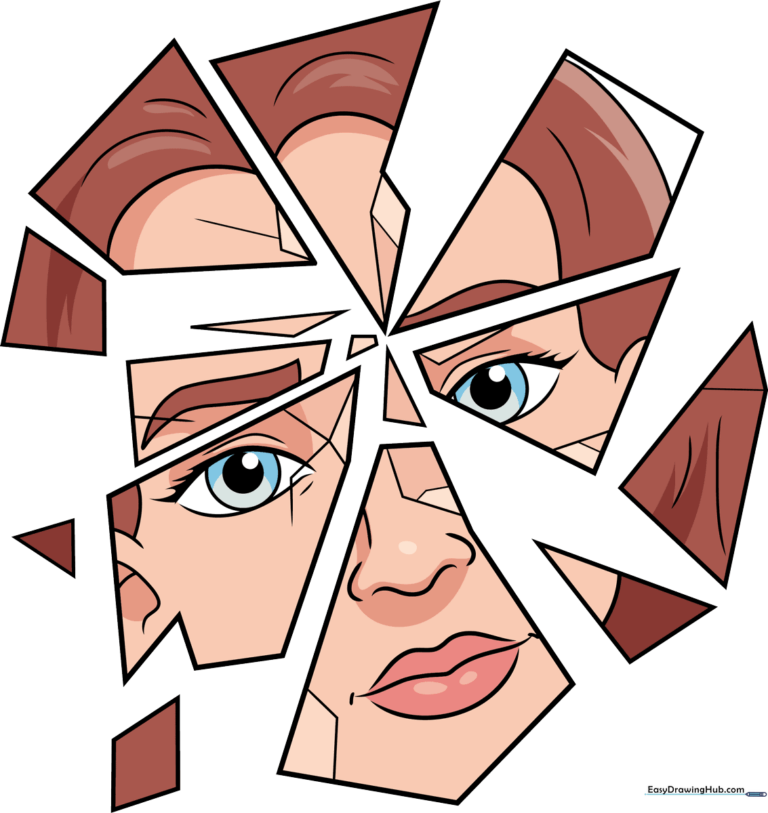
🎯 Final Result
Step-by-Step Instructions
Step 1: Establishing the Base Shards
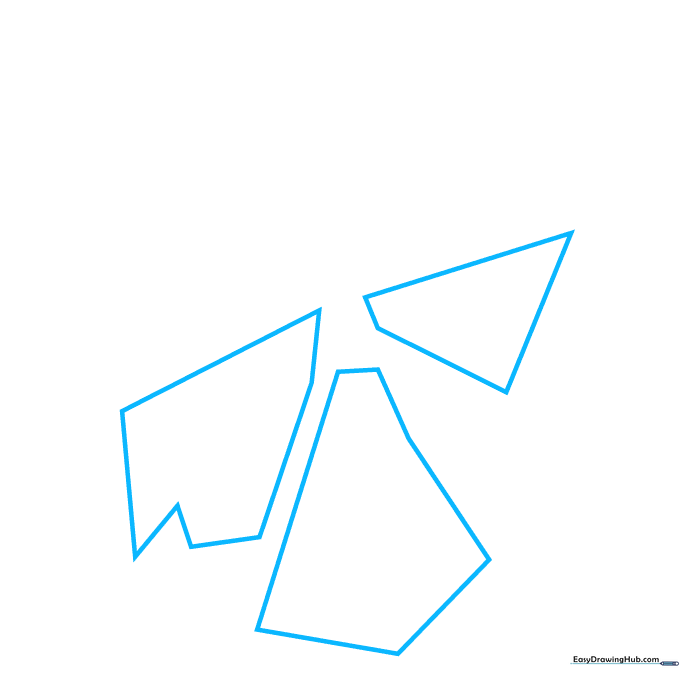
Start by drawing two diagonal lines near the center of your page. Add vertical and horizontal lines beneath them to create blocky, triangular shards. Teacher's Tip: Use a ruler to keep your lines straight, but don't worry if they aren't perfect—broken glass is naturally jagged!
Step 2: Expanding the Mirror Fragments
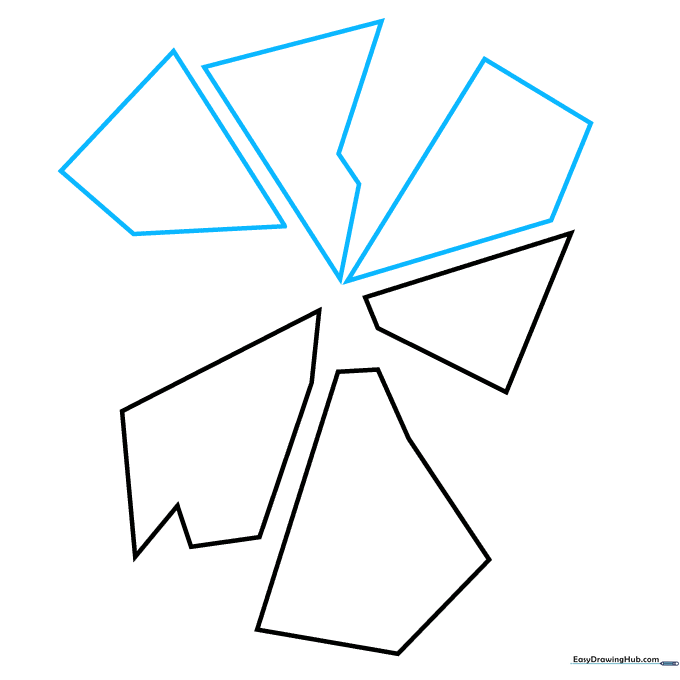
Continue adding more triangular and blocky shapes to the top half of your page. Make sure the points of these shards angle toward the center. Teacher's Tip: Vary the sizes of your triangles to make the mirror look more realistically shattered.
Step 3: Sketching the First Eye
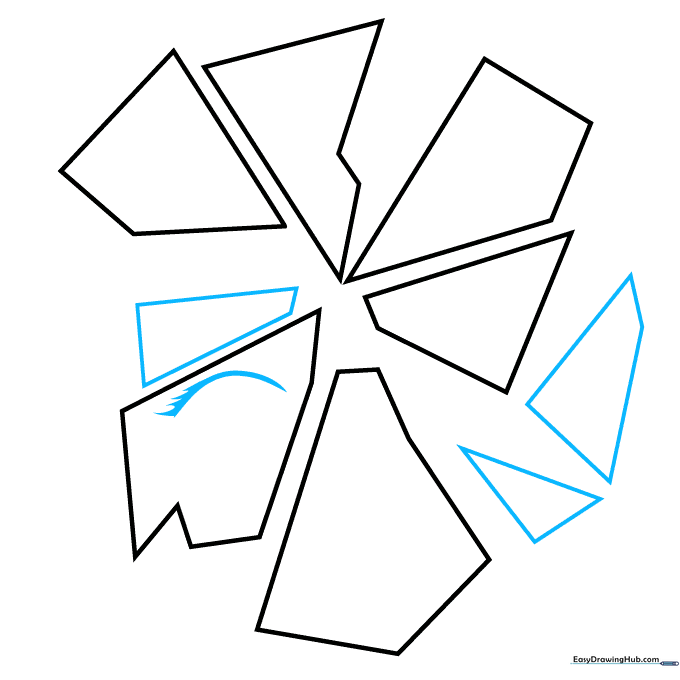
Draw three smaller shards, then sketch a curved line inside one of the left-side shapes. Add small dashes along the curve to represent eyelashes. Teacher's Tip: Keep your pencil pressure light here so you can easily adjust the eye shape if needed.
Step 4: Defining the Eye Details
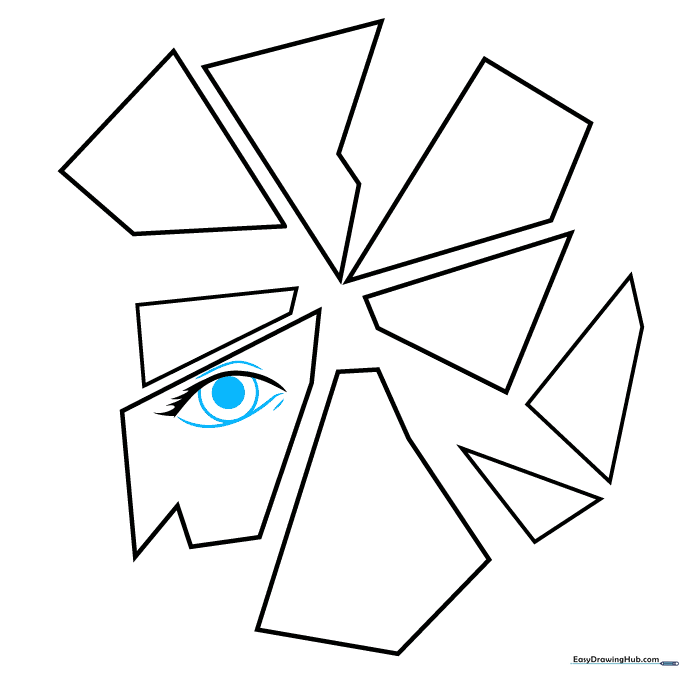
Outline the eye with a bottom curve, then add a circle for the iris and a smaller one for the pupil. Add short lines around the eye for texture. Teacher's Tip: Adding these small lines helps the eye look more expressive and 'cartoon-like'.
Step 5: Adding the Second Eye and Nose
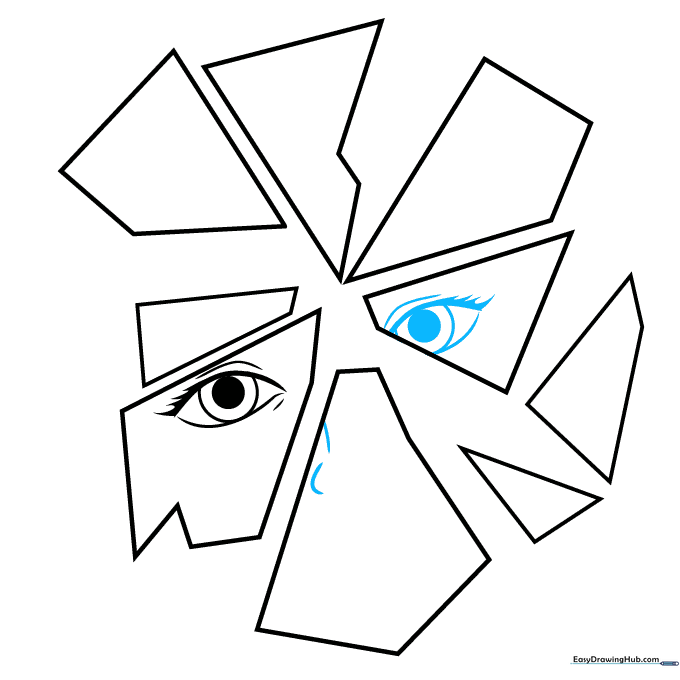
Repeat the eye-drawing process inside a shard on the right side. Then, sketch two small curves underneath the eyes to begin the nose. Teacher's Tip: Ensure the nose is centered between the two eyes for a balanced look.
Step 6: Drawing the Mouth
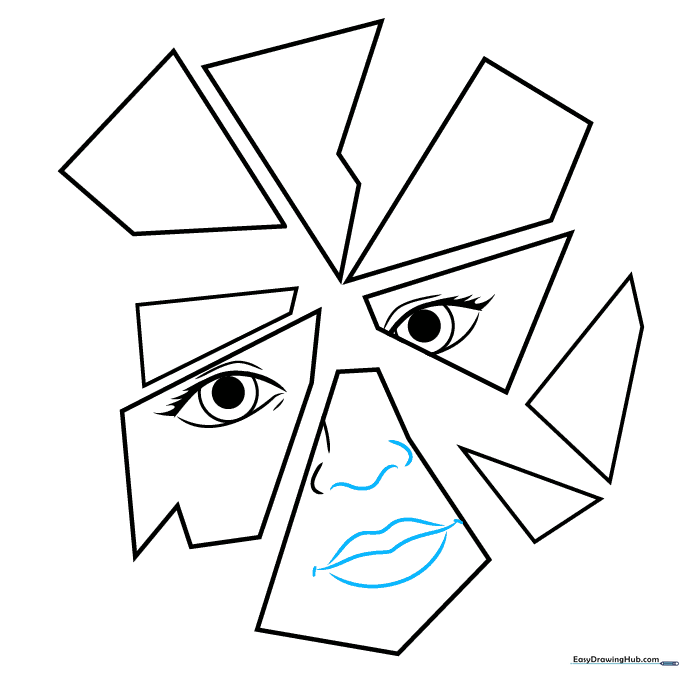
Complete the nose with a horizontal 'W' shape. For the mouth, draw a flattened 'M' shape with small dashes at the corners, adding a taller 'M' above it and a curve below. Teacher's Tip: The 'M' shape creates a natural-looking smile.
Step 7: Hairline and Ears
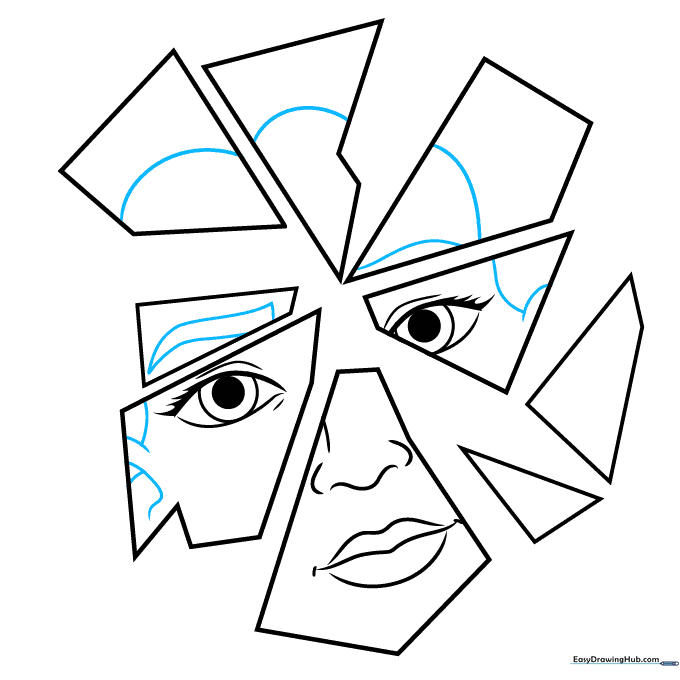
Outline the hairline using loops near the top shards. Add curved lines for the ear on the left and wavy, pointed lines for the eyebrow. Teacher's Tip: Use short, quick strokes for the hair to make it look flowy rather than stiff.
Step 8: Adding Mirror Cracks
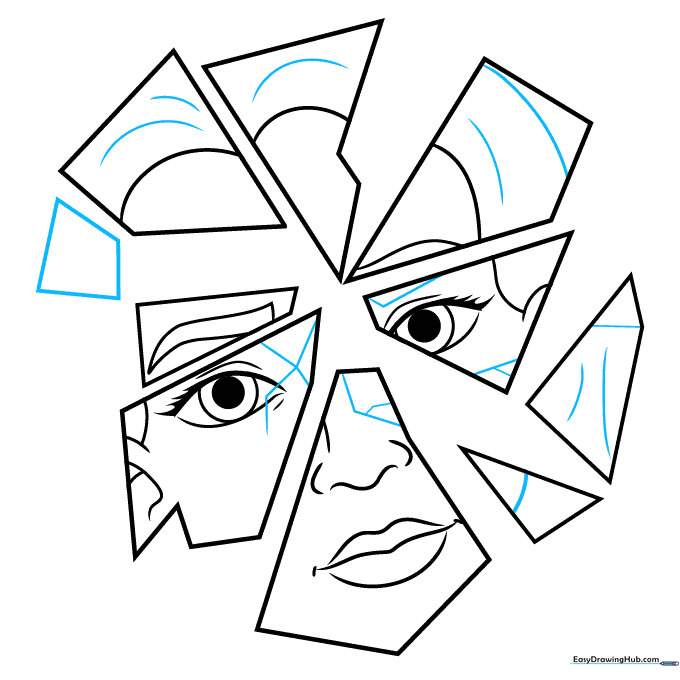
Draw another blocky shard to the left. Sketch various lines and curves throughout the mirror to represent cracks. Teacher's Tip: Cracks don't have to be straight; let them zig-zag to make the glass look truly broken.
Step 9: Finalizing the Outline

Use your ruler to add small triangles and rectangles around the larger shards to create a sense of depth. Add a few final detail lines. Teacher's Tip: Clean up any stray pencil marks with your eraser before moving to the coloring stage.
Step 10: Adding Color
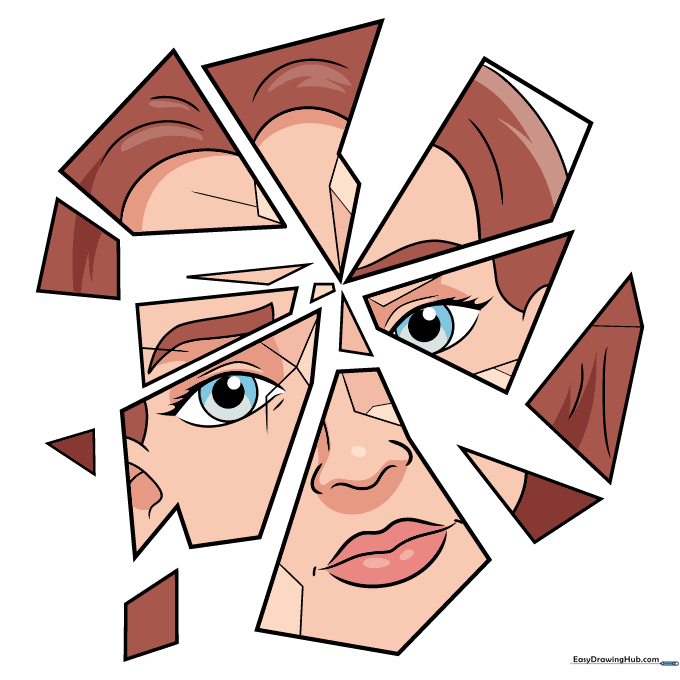
Trace your drawing with black ink. Fill in the pupils, use thicker lines for eyelashes, and add color: reddish-brown for hair, light blue for eyes, and pink for lips. Teacher's Tip: Use a light grey or blue for the glass shards to give them a reflective, mirror-like quality.
More Tutorials


