How to Draw a Bride and Groom: Easy 9-Step Tutorial
Capture a special wedding moment with this fun, step-by-step drawing guide. Designed for budding artists ages 7 and up, this project uses basic shapes to build a charming cartoon couple. Grab your pencil, eraser, and paper, and let's bring this celebration to life!
🎯 Final Result

Step-by-Step Instructions
Step 1: Sketching the Groom's Face

Start by drawing the groom's face using two soft, curved lines that meet at a rounded chin. For the eyes, draw two small circles inside larger ones. Teacher's Tip: Keep the eyes centered to give him a friendly, approachable expression.
Step 2: Adding the Suit Collar

Add the ear and hair, then draw two triangles below the chin to form the shirt collar. Extend the lines downward to create the suit lapels. Teacher's Tip: Make sure your triangles are symmetrical to keep the suit looking neat and professional.
Step 3: Sketching the Necktie and Bride's Face

Draw the necktie knot between the lapels. Next, begin the bride's face by drawing an 'L' shape for the nose and two flattened circles for her eyes. Teacher's Tip: Use short, light strokes for the eyelashes to give her a soft, delicate look.
Step 4: Styling the Bride's Hair
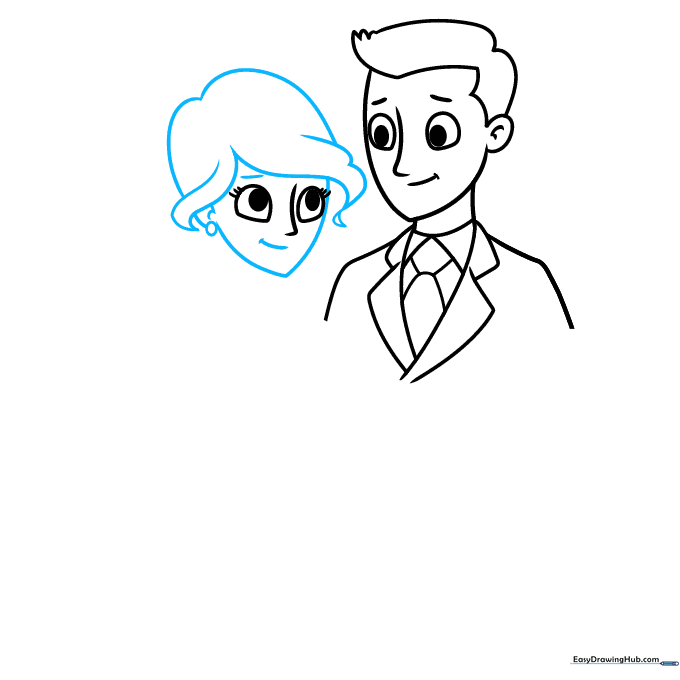
Use overlapping curved lines to frame her face with soft hair locks. Add an earring and a gentle smile. Teacher's Tip: Think of her hair as flowing ribbons to help you create natural-looking curves.
Step 5: Drawing the Bouquet
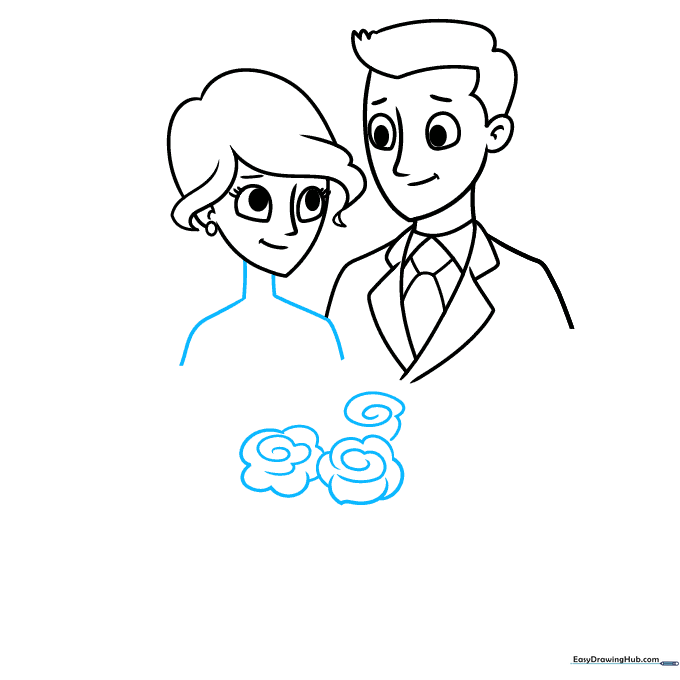
Draw the bride's neck and shoulders, then start the bouquet using small, tight spirals for the rose petals. Teacher's Tip: Don't worry about making the spirals perfect; the overlapping shapes will naturally look like a blooming flower.
Step 6: Adding Greenery

Add more roses and surround them with jagged, pointed lines to represent leaves. Teacher's Tip: Vary the size of your leaves to make the bouquet look full and realistic.
Step 7: Outlining the Dress
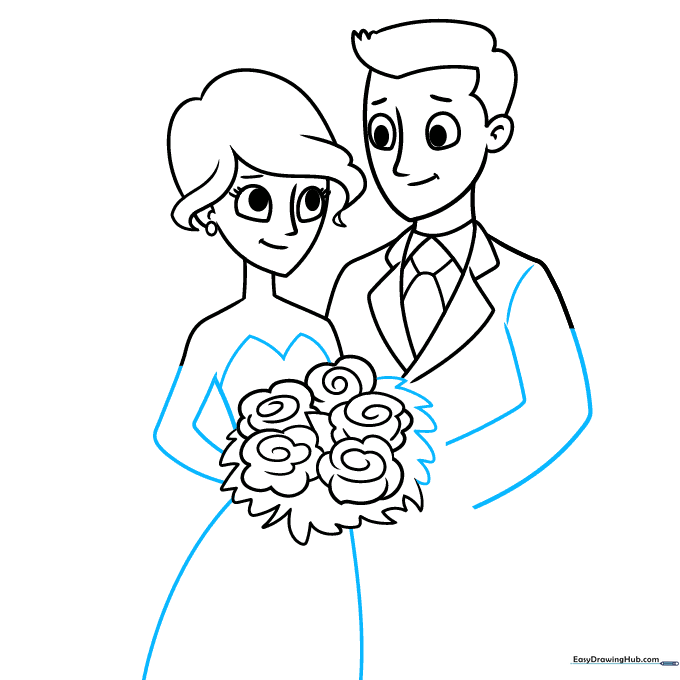
Sketch the arms and the bodice of the dress using a soft 'M' shape. Teacher's Tip: Use long, sweeping lines for the skirt to suggest the flow of fabric.
Step 8: The Veil and Suit Details

Finish the groom's jacket and add an oval bun to the bride's hair. Extend a long, graceful line from the bun to create the veil. Teacher's Tip: Keep the veil line light and airy to show it's made of sheer fabric.
Step 9: Final Touches

Add texture to the veil and dress with light, wispy lines. Draw a simple necklace to finish the look. Teacher's Tip: Use a fine-liner pen to trace your final lines before erasing your pencil marks.
Step 10: Coloring Your Masterpiece

Bring your drawing to life with color! Use soft whites and creams for the dress and veil, and choose a classic black or navy for the suit. Teacher's Tip: Use light shading on the edges of the dress to give it a 3D effect.
More Tutorials


