How to Draw a Realistic Brick Wall: Easy Step-by-Step Guide
Ready to add some grit and texture to your drawings? This tutorial is perfect for artists ages 6+ looking to master perspective and surface detail. All you need is a pencil, an eraser, and a piece of paper to start building your own crumbling brick wall.
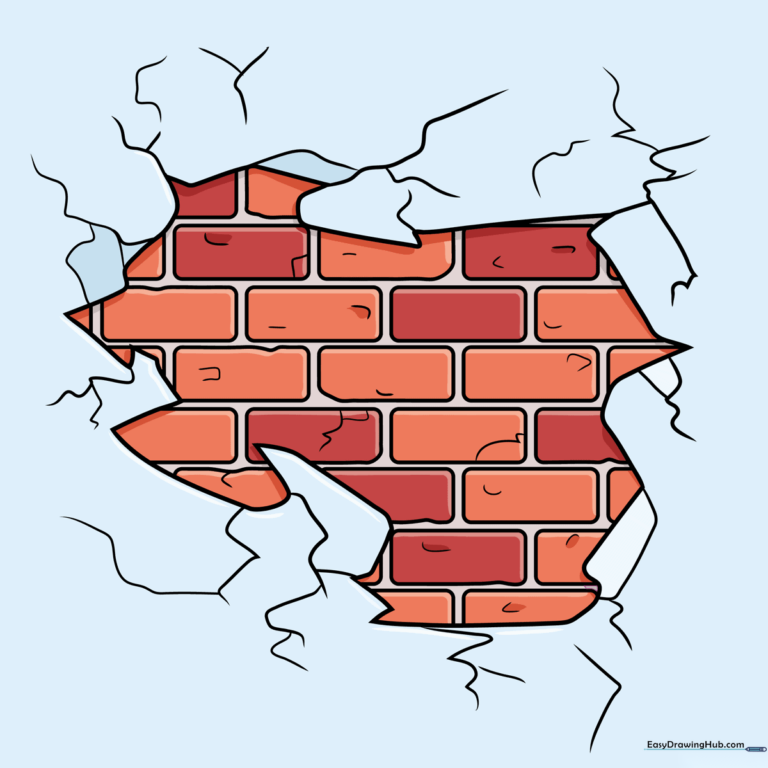
🎯 Final Result
Step-by-Step Instructions
Step 1: Sketching the Plaster Cracks

Start by drawing a series of jagged, irregular lines to outline where the plaster has broken away. Teacher's Tip: Use short, sharp strokes to make the edges look like actual crumbling stone.
Step 2: Defining the Opening

Continue the jagged lines to expand the hole in the plaster. Tip: Vary the length of your lines to create a natural, organic look rather than a perfect circle.
Step 3: Closing the Shape

Connect your lines to complete the irregular shape of the hole. Ensure the edges look sharp and broken to suggest depth.
Step 4: Drawing the First Bricks
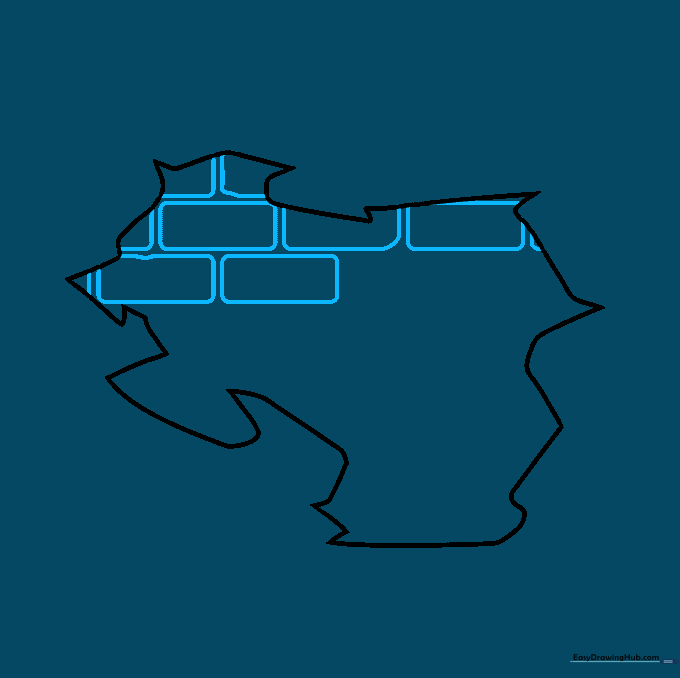
Inside the hole, draw horizontal rectangles with slightly rounded corners. Tip: Don't make them perfect! Add small bumps or dents to the edges to make them look like aged, weathered bricks.
Step 5: Stacking the Bricks
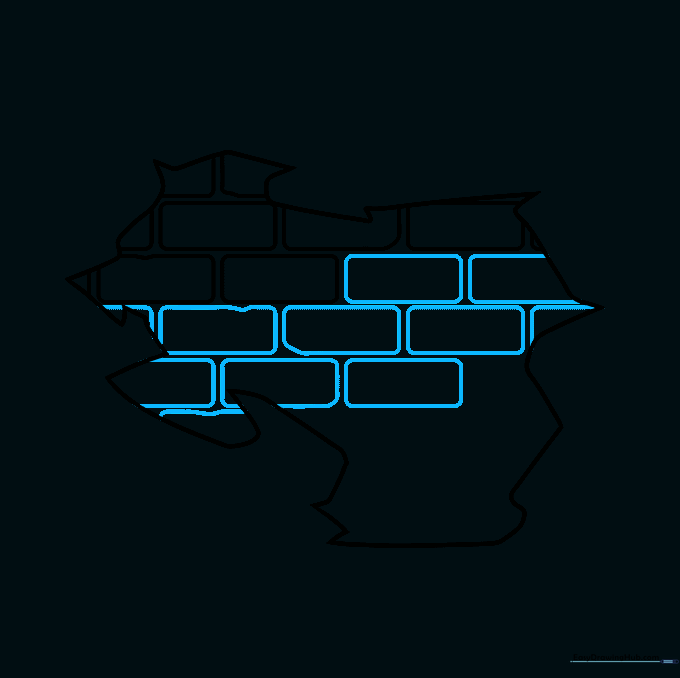
Continue adding rows of bricks. Remember to stagger them like a real wall—the middle of one brick should align with the gap between the two below it.
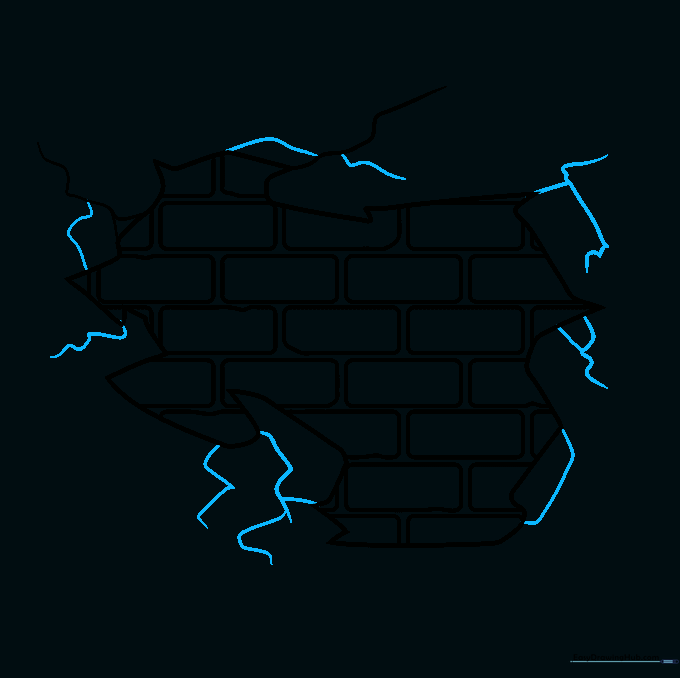
Step 6: Finalizing the Bricks and Adding Cracks
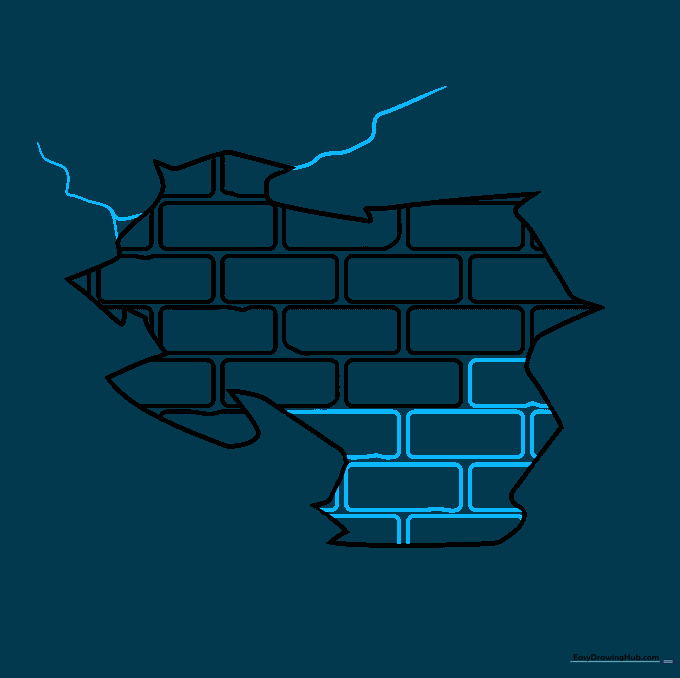
Fill the remaining space with partial bricks. Then, draw wavy, branching lines extending from the corners of the hole to represent cracks in the plaster.
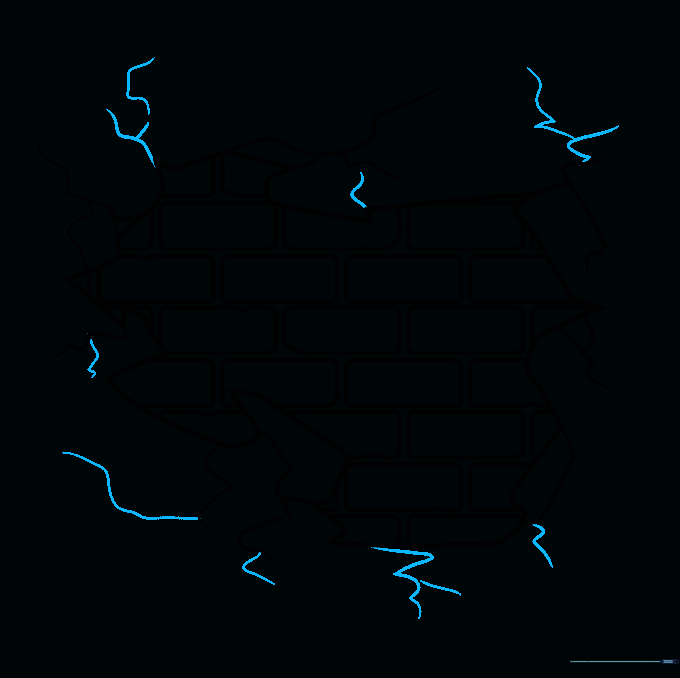
Step 7: Expanding the Cracks
Add more cracks reaching further out into the plaster. Tip: Make the lines thinner as they move away from the main hole to show they are fading out.
Step 8: Adding Detail to Cracks
Add small, branching 'Y' shapes to your existing cracks. This gives the wall a much more realistic, aged appearance.
Step 9: Adding Texture
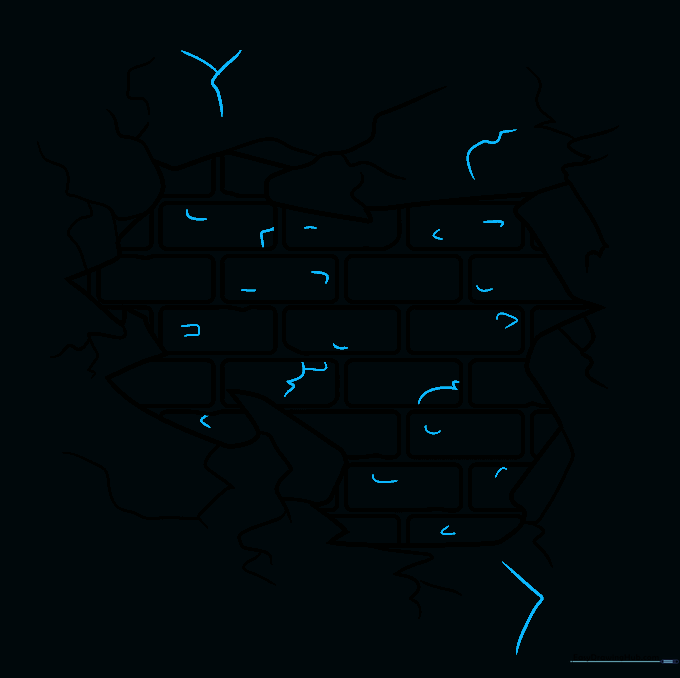
Add tiny dots and short, curved dashes inside the bricks to create texture. This makes them look rough and porous.
Step 10: Coloring Your Wall

Time to color! Use warm reds, browns, or tans for the bricks. Use a light grey or cream for the plaster. Tip: Use a darker shade of brown in the cracks to add depth.
More Tutorials


