How to Draw a Brachiosaurus: Easy 9-Step Guide for Kids
Bring this gentle giant to life with a drawing activity perfect for ages 5 and up. All you need is a pencil, an eraser, and a piece of paper to practice your shapes and lines. Follow these simple steps to build your dinosaur from the head down to the tail, developing confidence with every stroke.
🎯 Final Result

Step-by-Step Instructions
Sketching the Snout and Eye
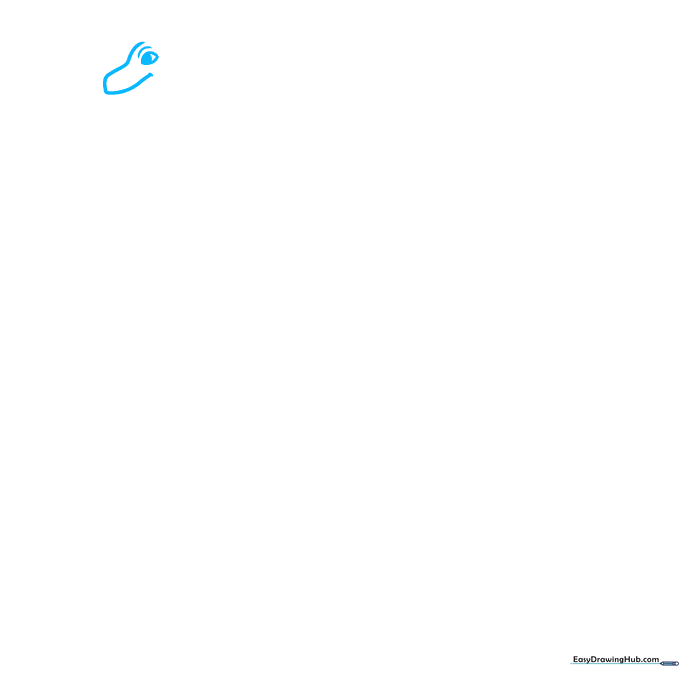
Draw a curved line that loops back on itself to form the snout. Add a teardrop shape for the eye with a round pupil inside. Teacher's Tip: Keep your pencil pressure light so you can easily adjust the shape if it looks a bit too pointy!
Defining the Jaw and Neck
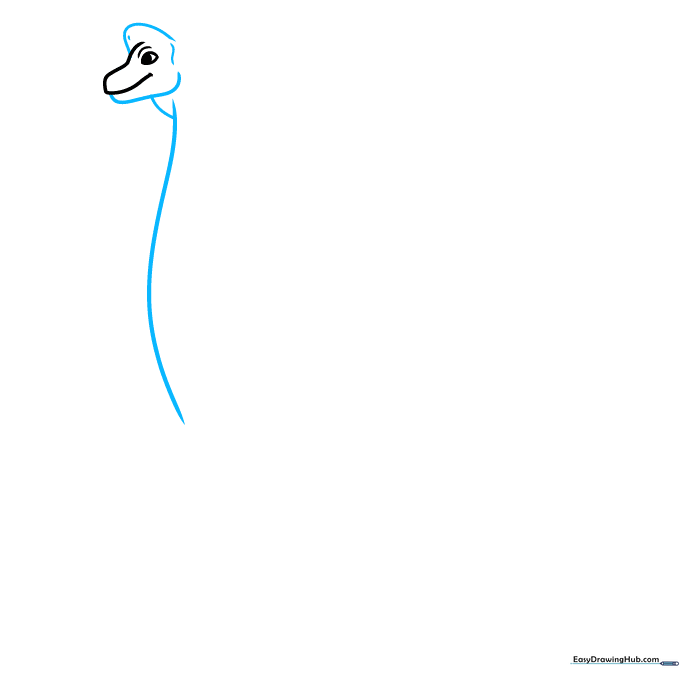
Add curved lines for the lower jaw and the top of the head, then place a small dot for the nostril. Draw a long, elegant curve for the front of the neck. Teacher's Tip: Think of the neck as a long, smooth 'S' shape to give your dinosaur that classic graceful look.
Outlining the Back and Chest
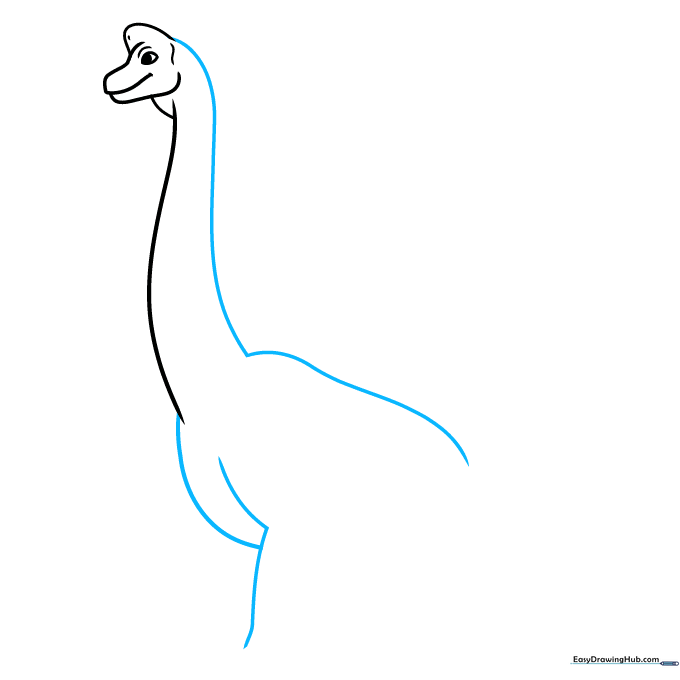
Extend a long curved line from the neck to form the back, and add another curve for the chest. Teacher's Tip: Use smooth, continuous motions rather than short, choppy lines to make the dinosaur look more natural.
Sketching the First Leg
Draw the front leg using two curved lines that meet at the bottom. Finish the foot with rounded, triangle-shaped toes. Teacher's Tip: Make the leg slightly wider at the top than the bottom to show strength.
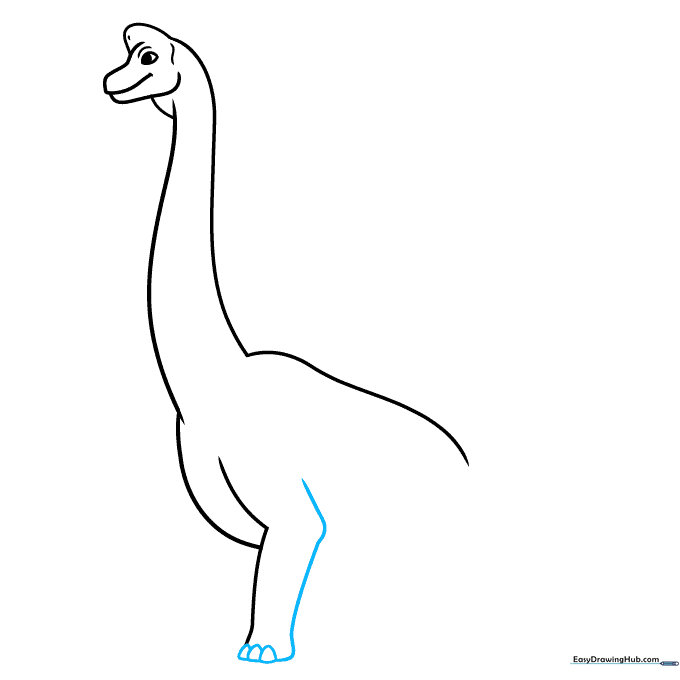
Adding the Rear Leg and Belly
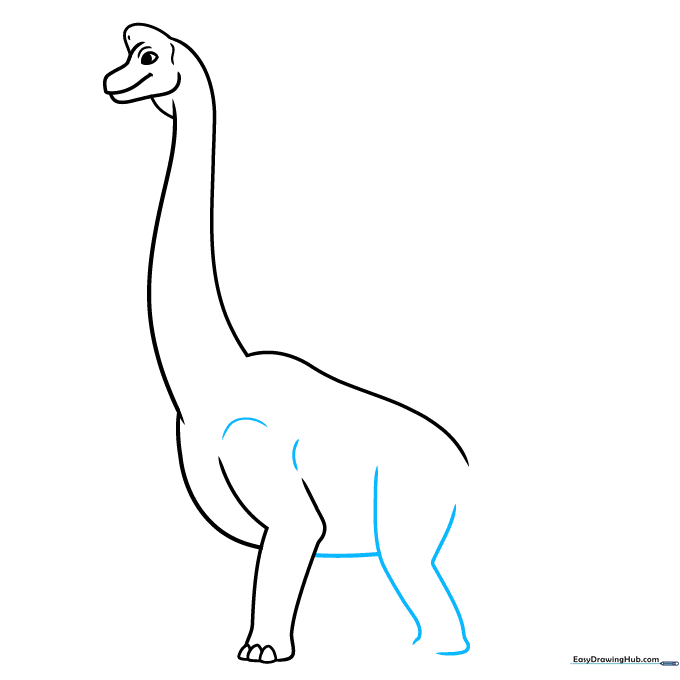
Draw the rear leg using long curves and connect it to the front leg with a line for the belly. Contour the shoulders with a small curve. Teacher's Tip: A slight dip in the belly line makes the dinosaur look like it has a bit of weight.
Completing the Front Legs
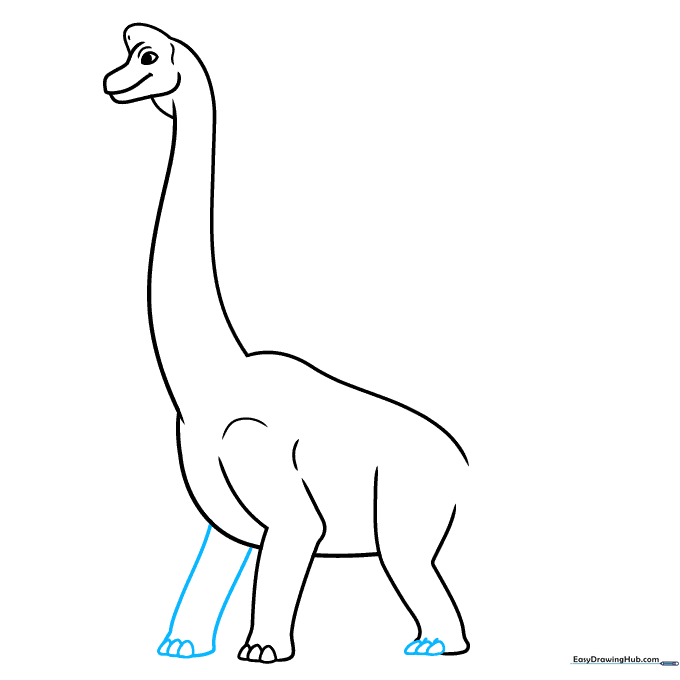
Draw the remaining front leg and add matching rounded toes. Teacher's Tip: Since this leg is further away, you can draw it slightly shorter to create a sense of depth.
Adding the Final Leg
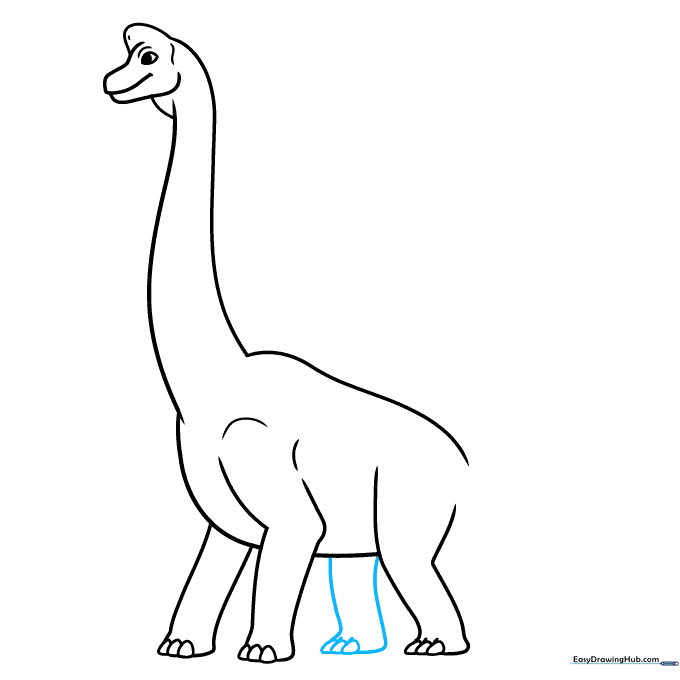
Draw the last rear leg using curved lines and toes. Teacher's Tip: Ensure the toes align with the other feet so the dinosaur looks like it's standing firmly on the ground.
Drawing the Tail
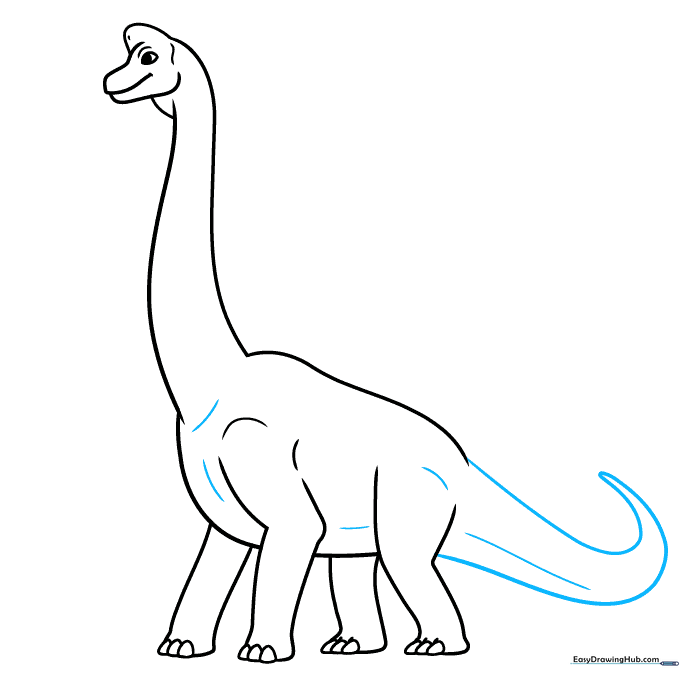
Use two curved lines to draw a long, tapering tail. Contour the hip area to blend it into the body. Teacher's Tip: A long tail helps balance the long neck—try to make it look like a smooth extension of the back.
Adding Texture Details
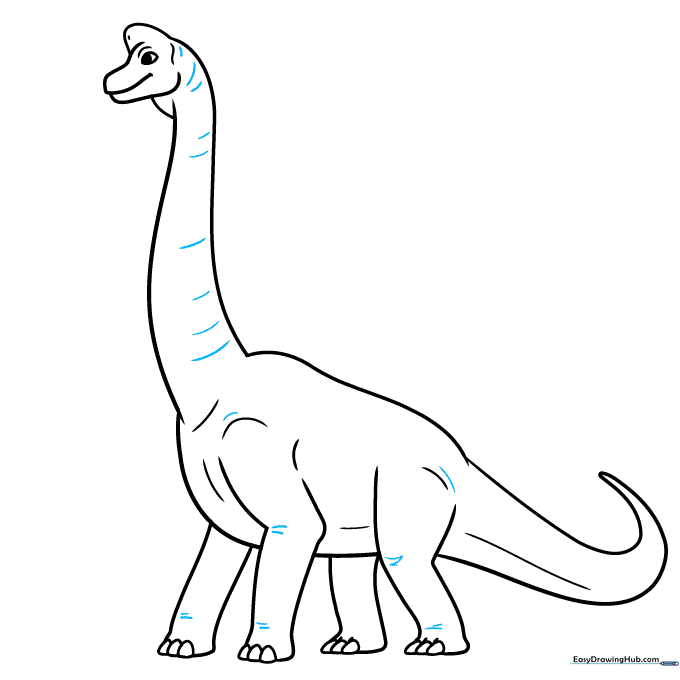
Add short, small lines around the neck and leg joints to suggest skin texture. Teacher's Tip: Don't overdo it! A few small marks go a long way in making your drawing look more professional.
Coloring Your Dinosaur
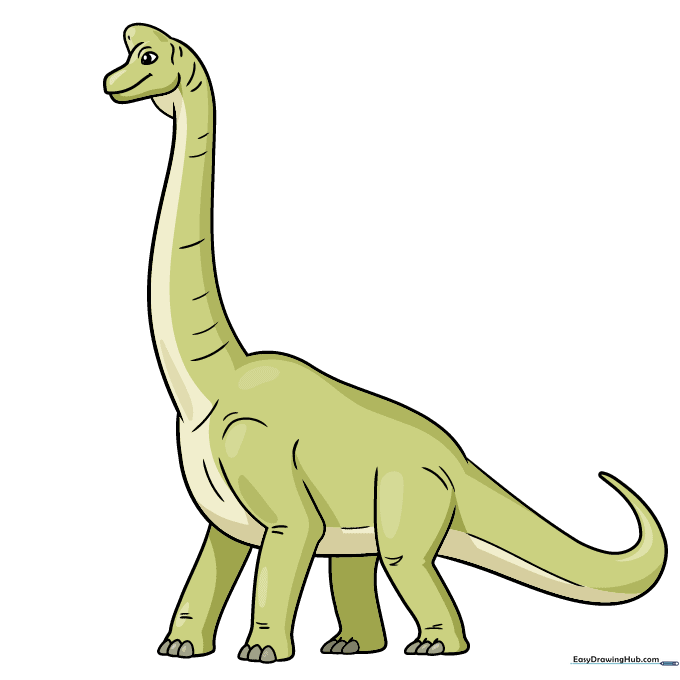
Now for the fun part! Use greens, browns, or grays to color your Brachiosaurus. Teacher's Tip: Try using a lighter shade for the belly and a darker shade for the back to give your dinosaur a 3D effect.
More Tutorials


