How to Draw a Boy Walking the Dog: Easy 9-Step Guide
This drawing guide is perfect for young artists ages 5 and up looking to practice character movement. You will only need a pencil, an eraser, and a piece of paper to bring this scene to life. Follow along to master simple shapes and learn how to show action in your drawings.
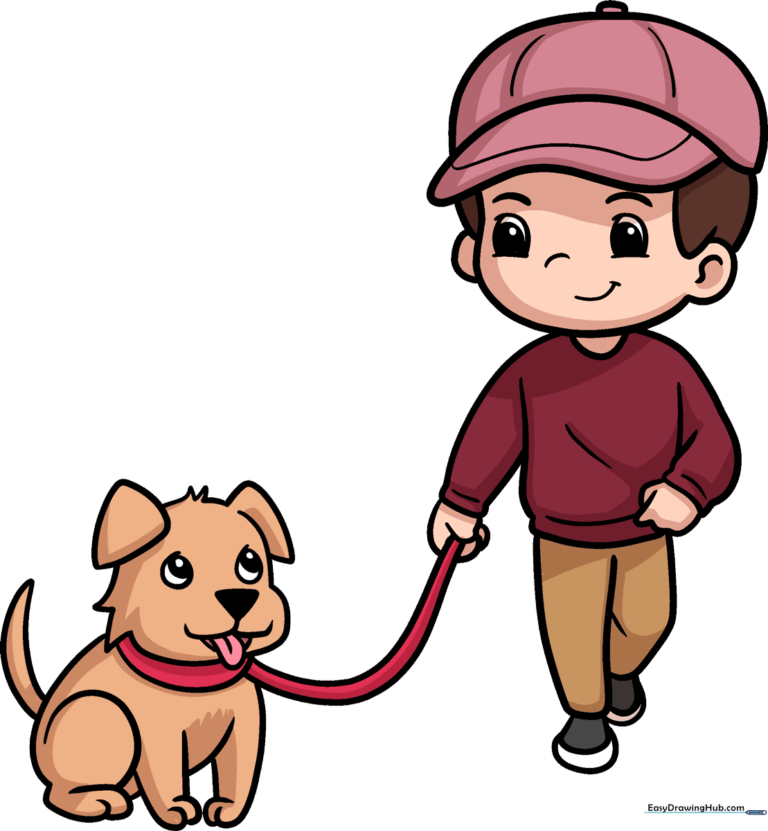
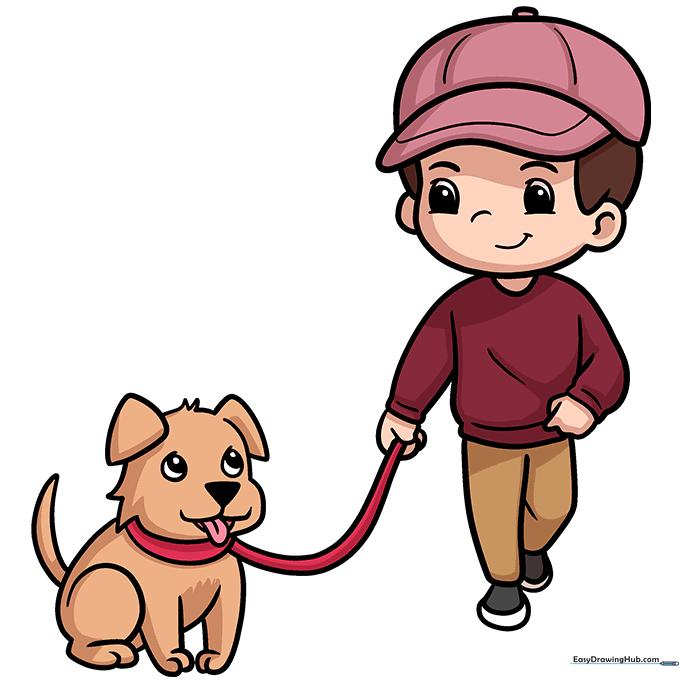
🎯 Final Result
Step-by-Step Instructions
Step 1: Sketching the Face
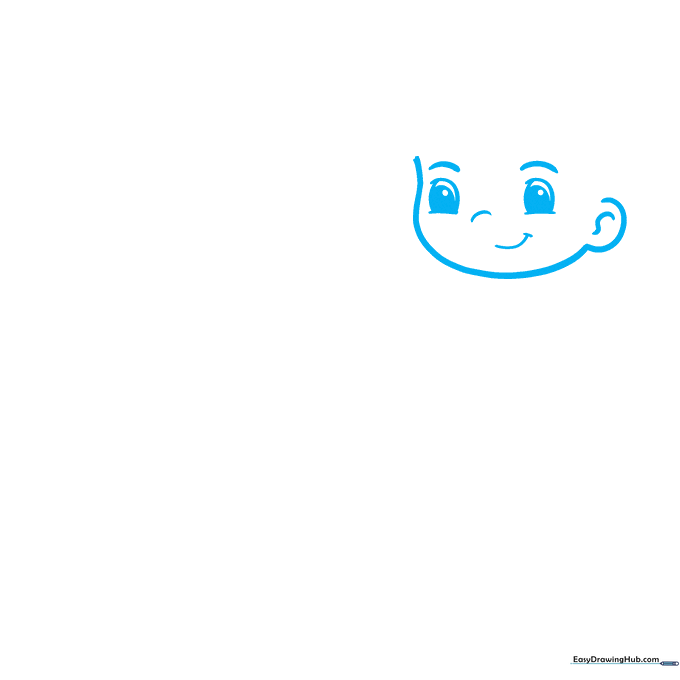
Start by drawing the boy's face using gentle curved lines for the eyes, nose, and a happy smile. Tip: Keep your pencil pressure light here; drawing the eyes as simple ovals helps maintain a cute, cartoon-like proportion.
Step 2: Adding Hair and Hat
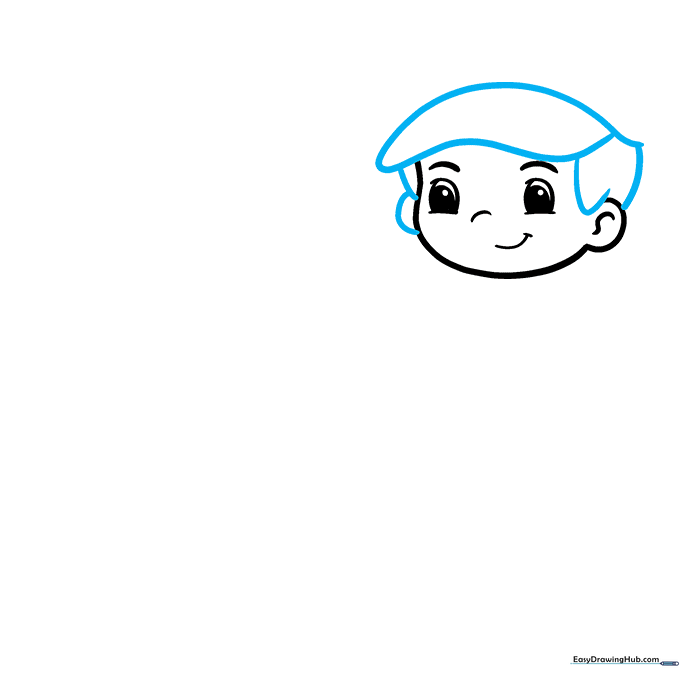
Use overlapping curved lines to define the hair and the bill of a baseball cap. Tip: Think of the cap as a simple arch sitting on top of the head to keep the shape balanced.
Step 3: Finishing the Cap
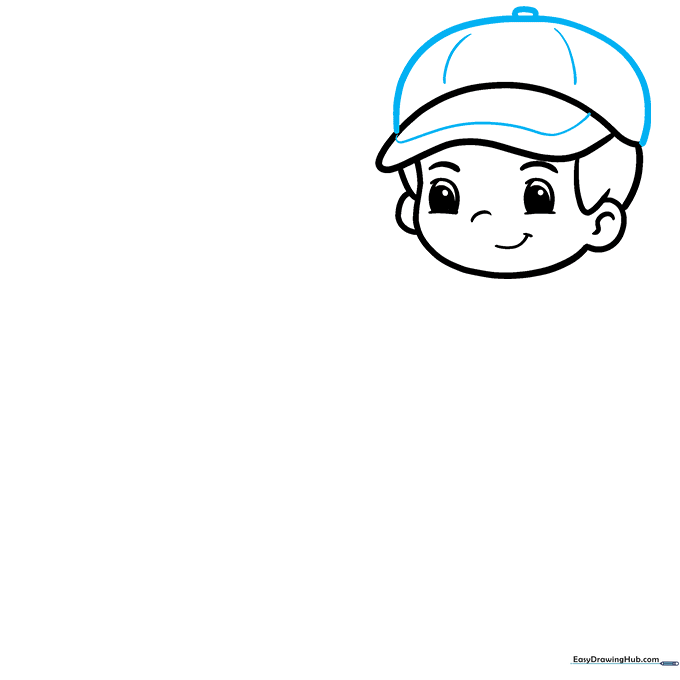
Draw the crown of the cap with a long curved line and add a small circle at the top for the button. Tip: Adding this small detail makes the hat look more realistic.
Step 4: Drawing the Upper Body
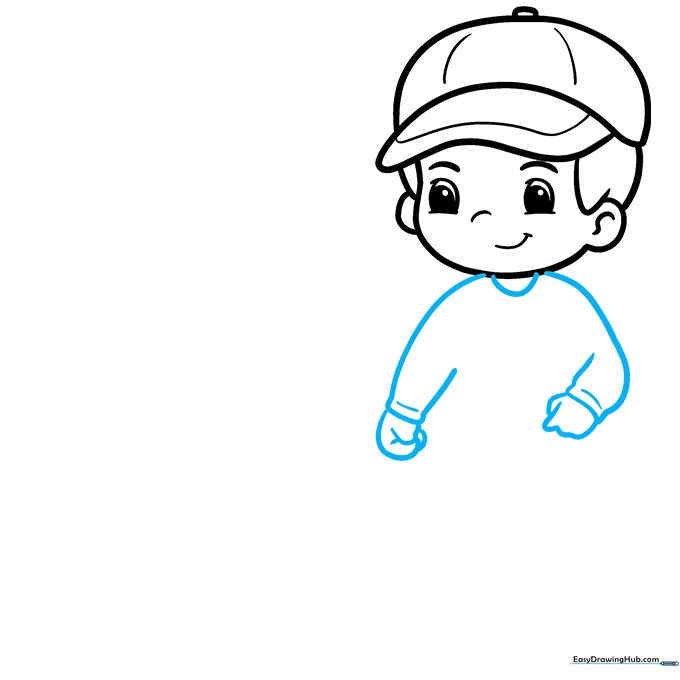
Create a 'U' shape for the shirt collar and draw rectangular sleeves. Finish with simple curved lines for the hands. Tip: Keep the hands simple—a few overlapping curves are all you need to suggest fingers.
Step 5: Adding Torso and Legs

Draw the rectangular torso and legs. Use short lines to show where the fabric folds near the shoes. Tip: Drawing the legs slightly apart helps show that the character is in motion.
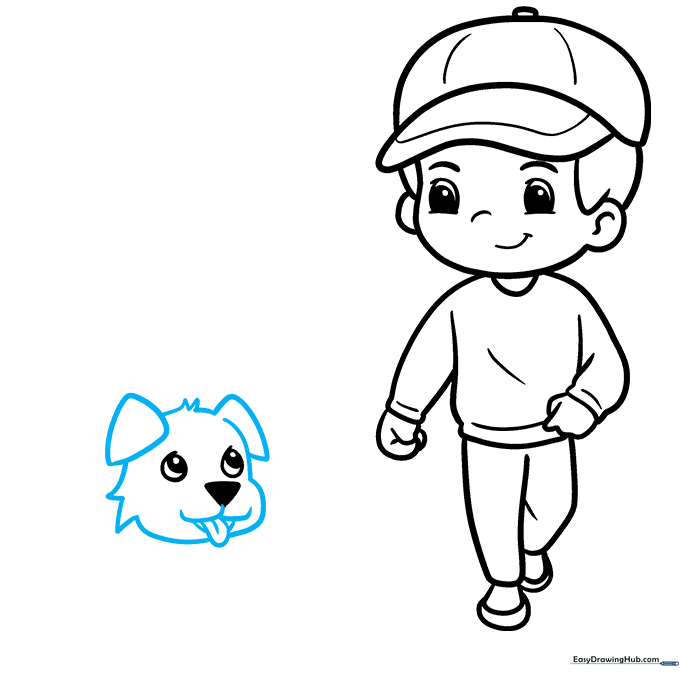
Step 6: Starting the Puppy

Draw the second leg to complete the walking pose, then start the puppy's face. Tip: Use a small triangle for the nose to give the puppy a cute, button-like look.
Step 7: Detailing the Dog
Use short, jagged lines to draw the dog's ears and fur texture. Add a lolling tongue for extra character. Tip: Jagged lines are a great way to make the drawing look like soft, fluffy fur.
Step 8: Adding the Leash
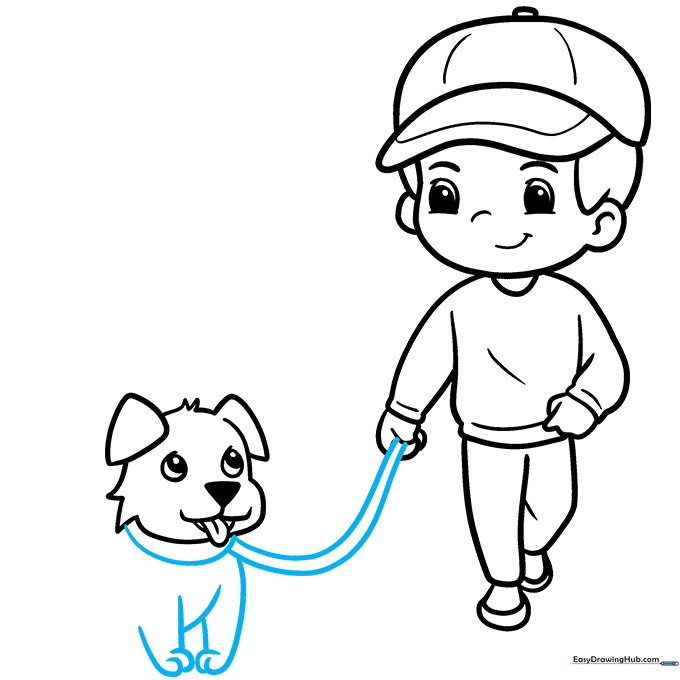
Draw the collar and use parallel lines to connect it to the boy's hand. Add the puppy's chest and front paws. Tip: Make sure the leash line is smooth to show it is pulled taut.
Step 9: Finalizing the Outline
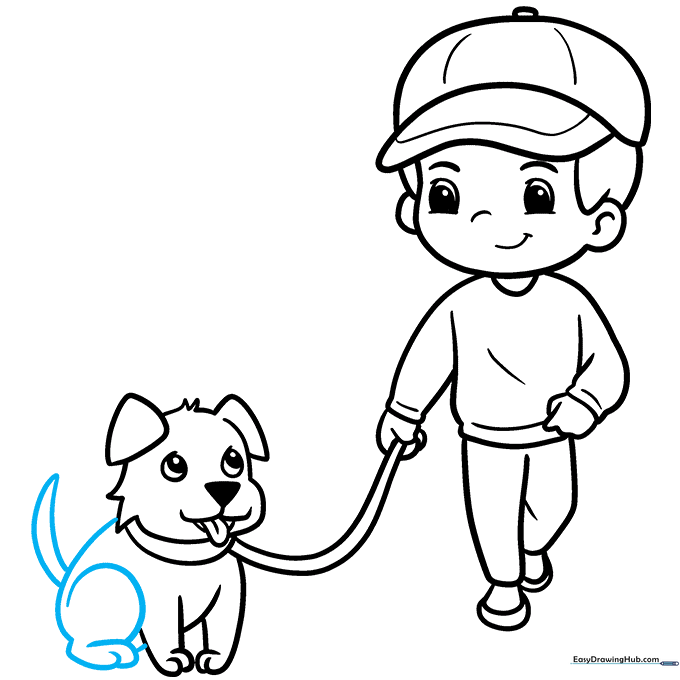
Finish the puppy by drawing the back, tail, and rear leg. Tip: A slightly curved tail makes the puppy look happy and excited to be on a walk!
Step 10: Coloring Time
Now for the fun part! Use your favorite colors to bring the boy and his dog to life. You can make the dog spotted, brown, or black—it's your art, so have fun with it!
More Tutorials


