How to Draw a Boy Face: Easy 10-Step Guide for Kids
Ready to bring a character to life? This tutorial is perfect for young artists ages 5 and up. All you need is a pencil, an eraser, and a piece of paper to start building your drawing skills today.
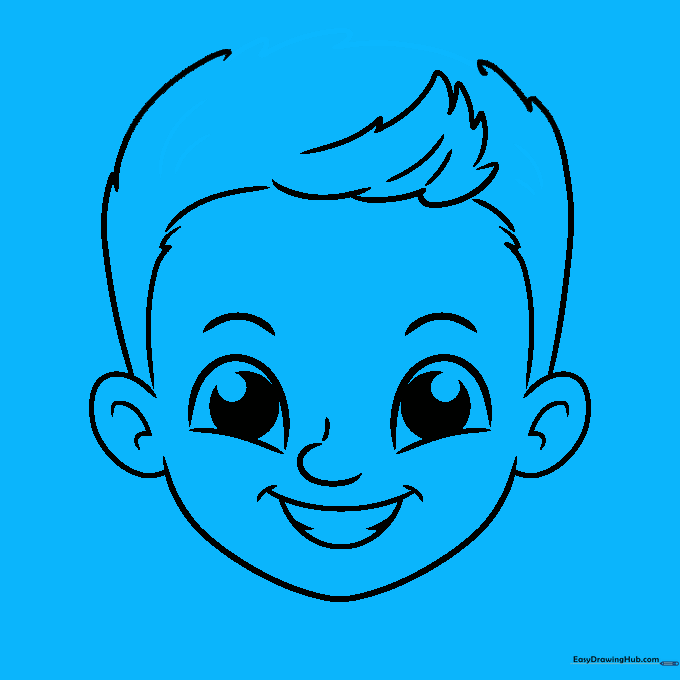
🎯 Final Result

Step-by-Step Instructions
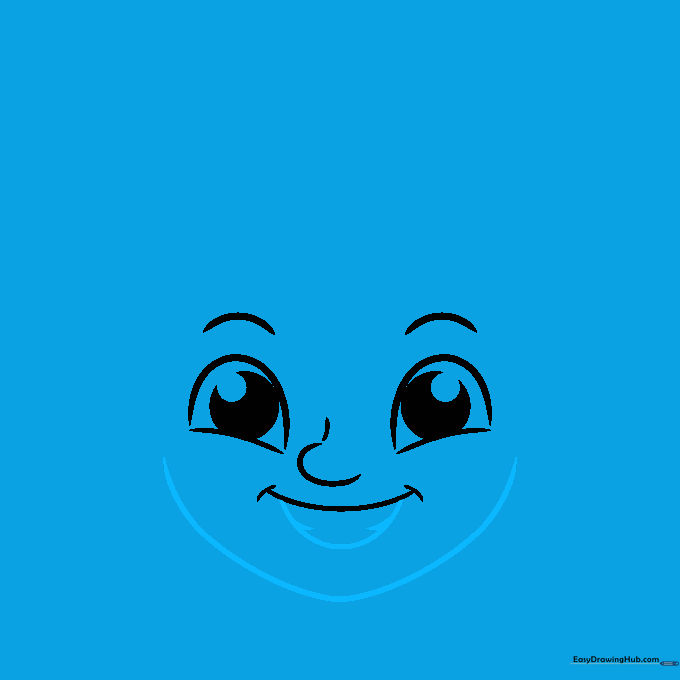
Step 1: Sketching the Eyes

Draw two curved lines with small domes on top for the eyelids. Add circles inside for the irises, then smaller circles for the pupils. Teacher's Tip: Keep the eyes level to give your character a friendly, balanced look.
Step 2: Adding Brows and Nose

Sketch a small dash above each eye for eyebrows. For the nose, draw a small loop with a tiny vertical line above it. Add a curved line with small dashes at the ends for the mouth. Teacher's Tip: Keep the nose small to maintain a cute, youthful appearance.
Step 3: Shaping the Head
Outline the face using a wide V-shape with a rounded bottom. Add a small loop under the mouth and tiny triangles for teeth. Teacher's Tip: Use a light touch; if the chin looks too pointy, just round it out with your eraser.
Step 4: Drawing the Ears
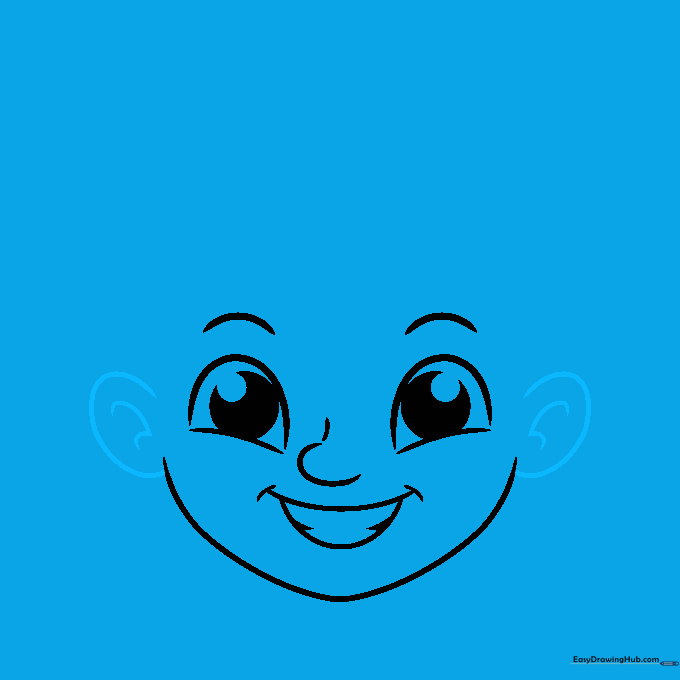
Draw ovals on either side of the head to represent the ears. Teacher's Tip: Align the top of the ears with the eyes and the bottom with the nose for correct facial proportions.
Step 5: Starting the Hairline
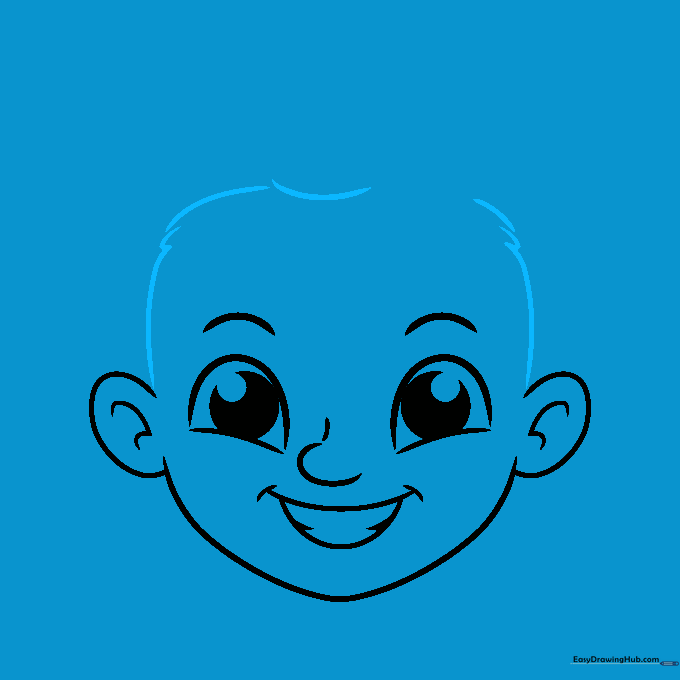
Draw a small hill shape on each side of the head, followed by a vertical line. Add a few dashes on top. Teacher's Tip: These lines act as a guide for the hair volume.
Step 6: Creating Spiky Hair

Use loose, triangular shapes to draw the hair, similar to flames. Don't worry about perfection! Teacher's Tip: Vary the size of the triangles to make the hair look more natural and textured.
Step 7: Refining the Hair
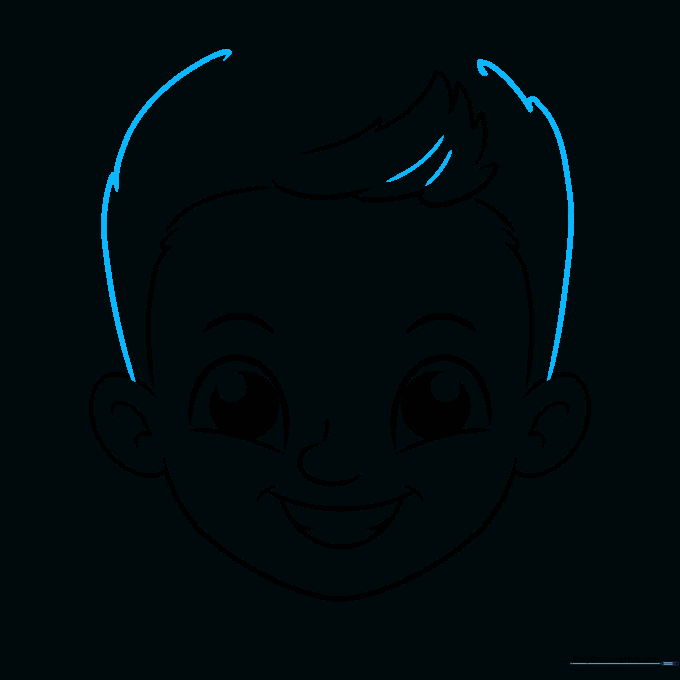
Connect the hair shapes with two curves and add a few internal lines for detail. Teacher's Tip: These internal lines help show the direction the hair is styled.
Step 8: Adding Final Hair Details
Fill in the hair with more sketchy shapes and add extra lines inside the head to define the shape. Teacher's Tip: Keep your pencil strokes confident here.
Step 9: Drawing the Neck

Add two lines for the neck and use rotated L-shapes to connect the head to the shoulders. Teacher's Tip: Make sure the neck isn't too thin so the head looks well-supported.
Step 10: Coloring Your Masterpiece

Outline your drawing with a dark pen and erase your pencil marks. Color the skin and hair with your favorite shades. Teacher's Tip: Use a lighter color for highlights on the hair to make it look shiny!
More Tutorials


