How to Draw a Realistic Wooden Crate: Easy 10-Step Guide
Master the art of 3D perspective by drawing a classic wooden crate. This project is perfect for artists ages 6+ looking to practice geometric shapes and structural detail. All you need is a pencil, an eraser, and a piece of paper to bring this sturdy box to life.
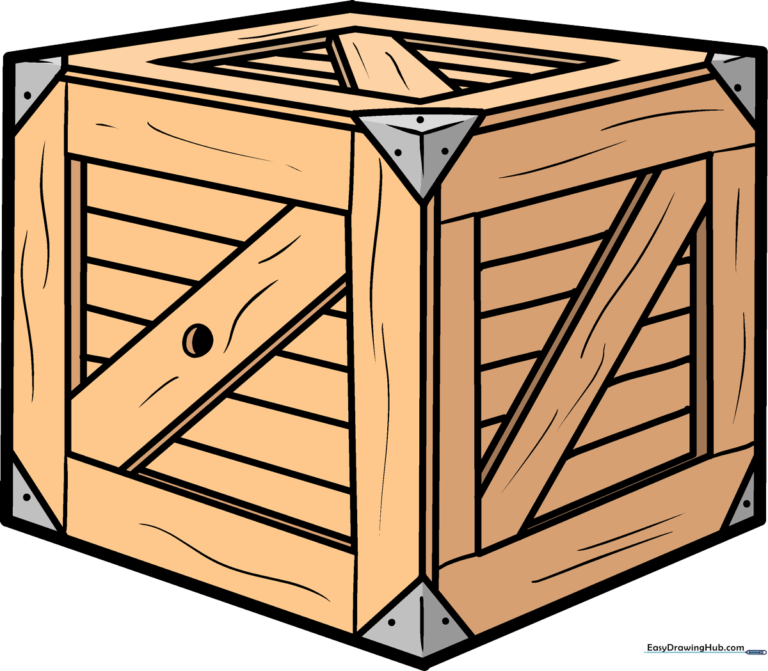
🎯 Final Result
Step-by-Step Instructions
Step 1: Sketching the Base Hexagon

Start by drawing an irregular hexagon shape. This will serve as the foundation for your crate's perspective. Teacher's Tip: Keep your pencil pressure light; these are just guide lines for the overall structure.
Step 2: Adding Corner Brackets
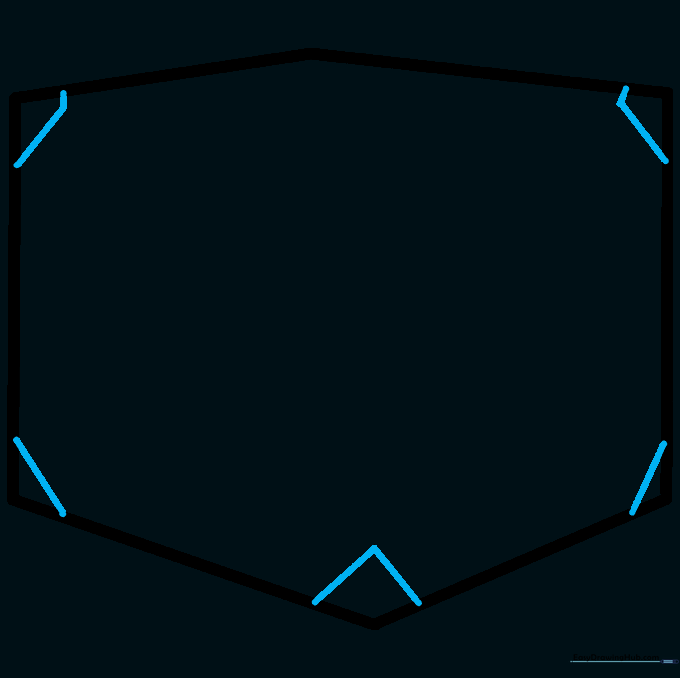
Draw small 'V' shapes or straight lines across five of the corners. These represent the metal corner guards that protect the crate. Teacher's Tip: Make sure the 'V' shapes are uniform in size to keep the box looking symmetrical.
Step 3: Defining the Cube Shape
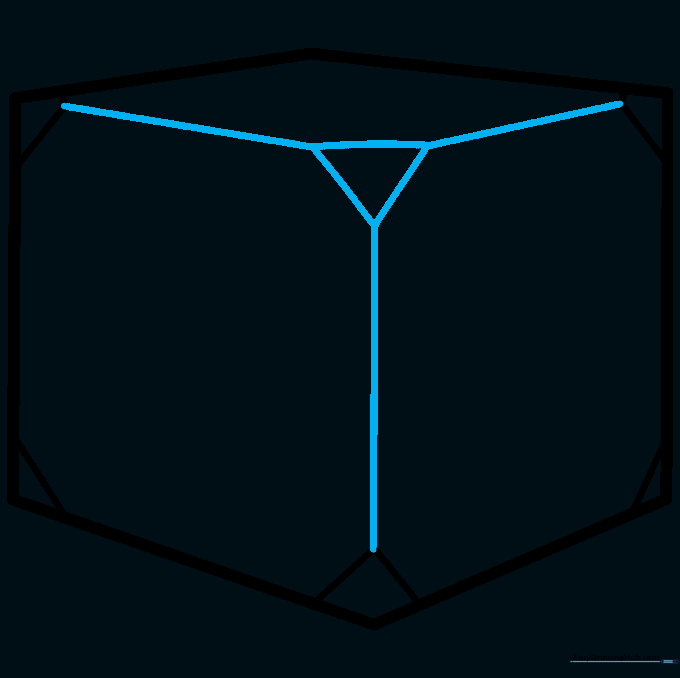
Draw a triangle near the top and connect it to the other corners with straight lines. This creates the illusion of depth. Teacher's Tip: Use a ruler if you struggle with straight lines, but try freehand first to build your muscle memory!
Step 4: Adding Rivets and Detail
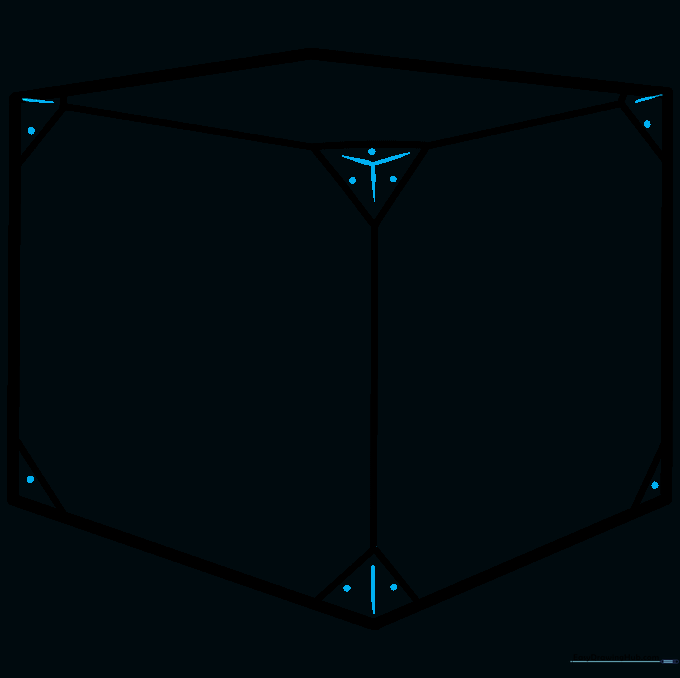
Contour the corners with straight lines and add a starburst pattern in the central triangle. Add small dots for rivets. Teacher's Tip: Vary the number of dots (1-3) to make the crate look more realistic and handmade.
Step 5: Framing the Sides
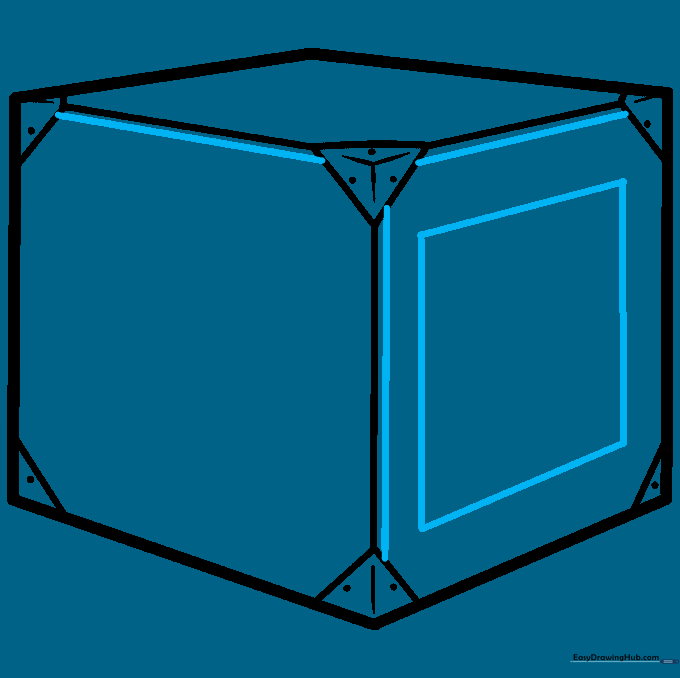
Draw a square on one side and add parallel lines to frame the crate's edges. Teacher's Tip: Keep your lines parallel to the outer edges of the box to maintain correct perspective.
Step 6: Adding Wood Planking
Add diagonal and vertical lines to the inset square to represent wooden planks. Teacher's Tip: Don't worry if the lines aren't perfectly straight; wood grain is naturally irregular!
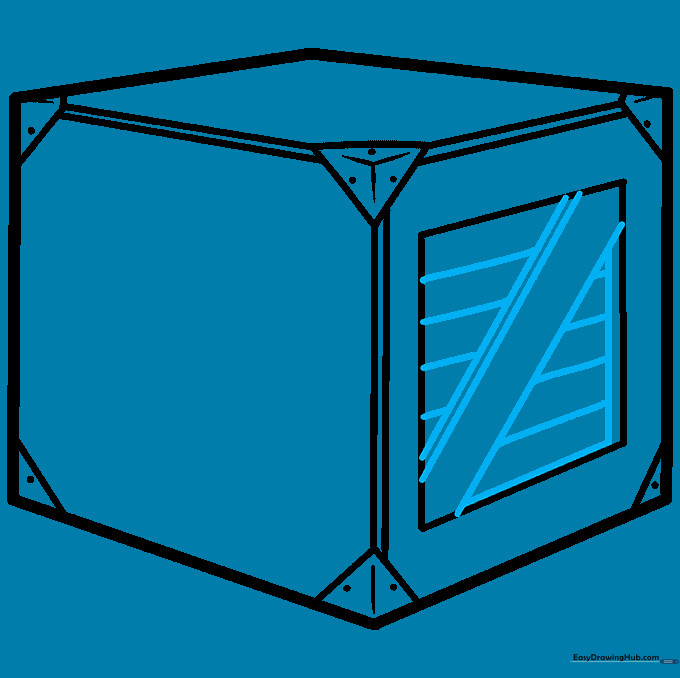
Step 7: Detailing the Front Panel

Draw a square on the front with diagonal lines and a small circle for a handle or latch. Teacher's Tip: The circle adds a focal point that makes the crate look functional.
Step 8: Completing the Top Panel

Add a diamond shape to the top and band it with perpendicular lines. Teacher's Tip: This creates the look of a lid made from multiple boards.
Step 9: Adding Wood Grain Texture
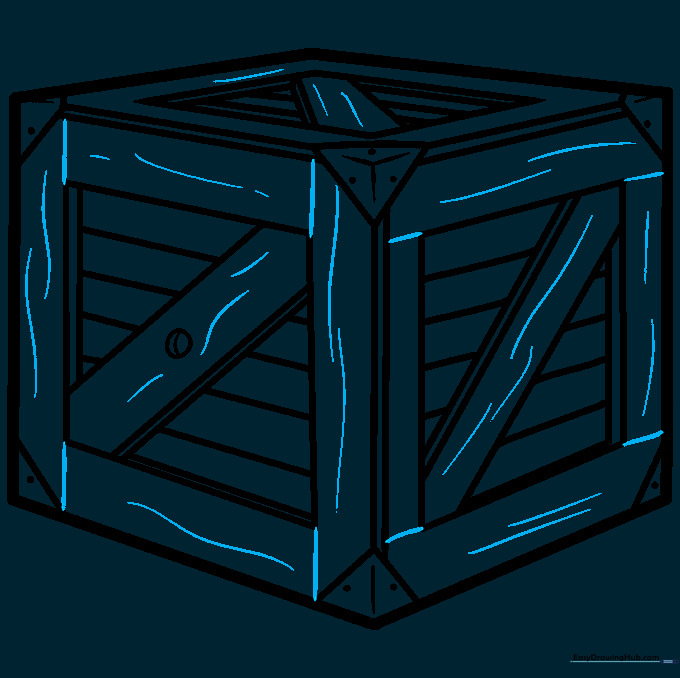
Draw wavy, curved lines across the boards. This is the secret to making your drawing look like real wood! Teacher's Tip: Keep the waves gentle and spaced out for a natural look.
Step 10: Bringing it to Life with Color
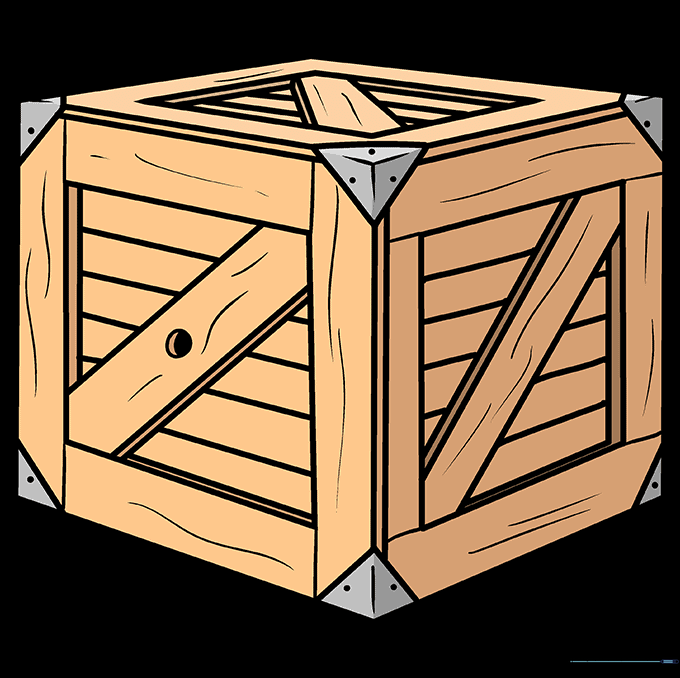
Time to color! Use shades of brown and tan for a classic wooden look, or get creative with bright colors. Teacher's Tip: Use a darker brown for the edges to create a sense of depth and shadow.
More Tutorials


