How to Draw a Book: Simple 10-Step Guide for Beginners
Ready to bring your favorite story to life on paper? This tutorial is perfect for young artists ages 5 and up. All you need is a pencil, an eraser, and a piece of paper to practice creating depth and perspective in your drawings.
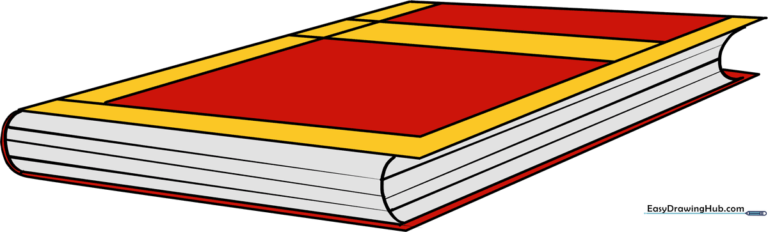
🎯 Final Result
Step-by-Step Instructions
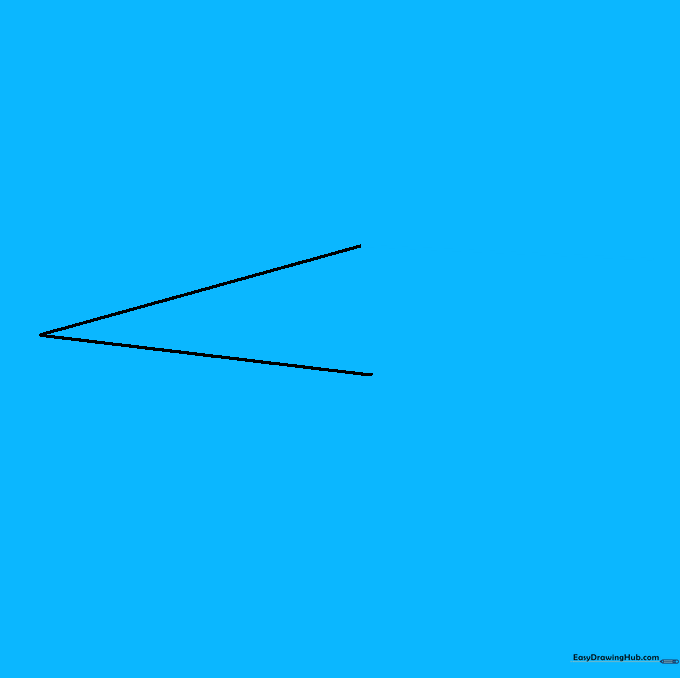
Step 1: Sketching the Spine

Draw a single, slightly diagonal line. Teacher's Tip: This line acts as the anchor for your book's spine; keep it centered on your page to give yourself plenty of room for the covers.
Step 2: Defining the Bottom Edge

Extend a straight line from the bottom of your spine. Tip: Make this line perpendicular to the spine to help the book look like it is resting on a flat surface.
Step 3: Defining the Top Edge
Draw a matching line from the top of the spine. Tip: Keep your ruler or hand steady to ensure these lines are parallel, which creates a clean, professional look.
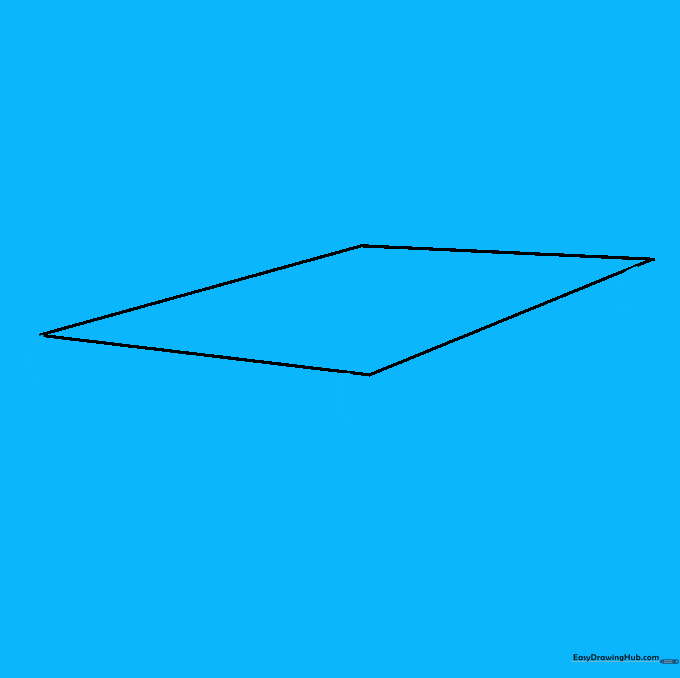
Step 4: Closing the Front Cover

Connect the ends of your lines to form a rhombus shape. Tip: This diamond-like shape is the front cover; make sure the corners are sharp.
Step 5: Adding Page Depth
Draw small 'C' shapes at the corners. Tip: These curves represent the thickness of the pages inside the book, giving it a realistic 3D feel.
Step 6: Connecting the Pages
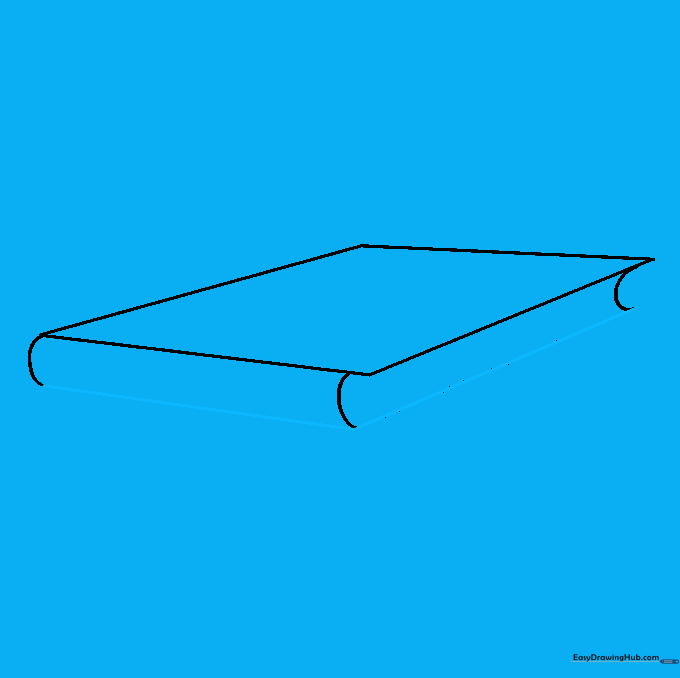
Connect those 'C' curves with straight lines. Tip: Imagine you are drawing the side of a box; these lines define the thickness of the book.
Step 7: Adding Cover Details

Draw an 'L' shape and parallel lines on the cover. Tip: These lines suggest where a title or design would go, making your book look like a real library volume.
Step 8: Adding Page Texture

Draw parallel lines along the side of the book. Tip: Keep these lines close together to mimic the look of many individual pages stacked tightly.
Step 9: Completing the Back Cover
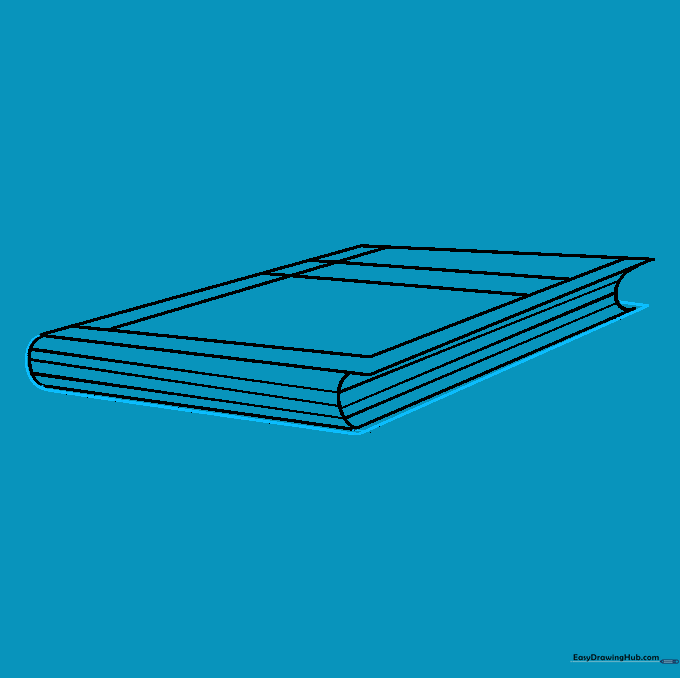
Add a small line to show the back cover peeking out. Tip: This small detail adds a sense of realism and completes the 3D structure.
Step 10: Adding Color
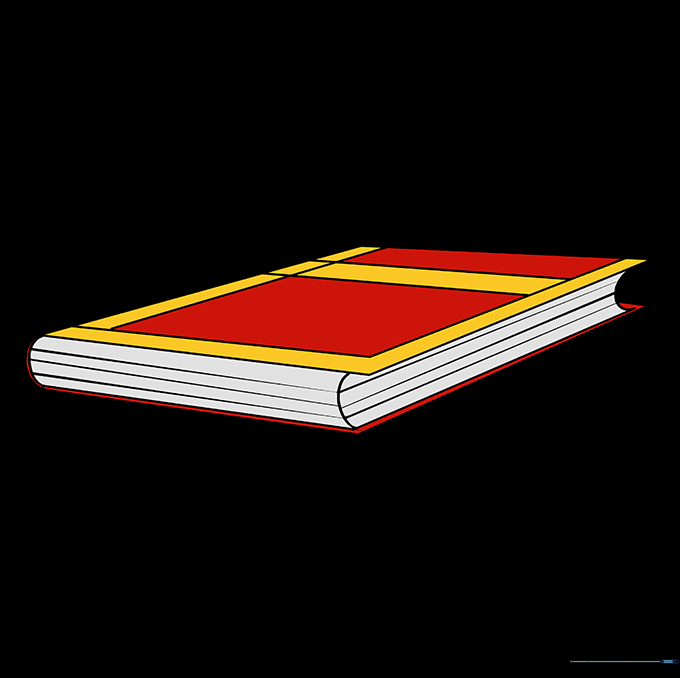
Color your book! Tip: Use a darker shade for the spine and a lighter shade for the pages to create contrast and make your drawing pop.
More Tutorials


