How to Draw a Boat: Easy 10-Step Guide for Kids
Ready to set sail? This tutorial is perfect for young artists ages 5 and up. All you need is a pencil, an eraser, and a piece of paper to bring this classic sailboat to life while practicing your line control and spatial awareness.
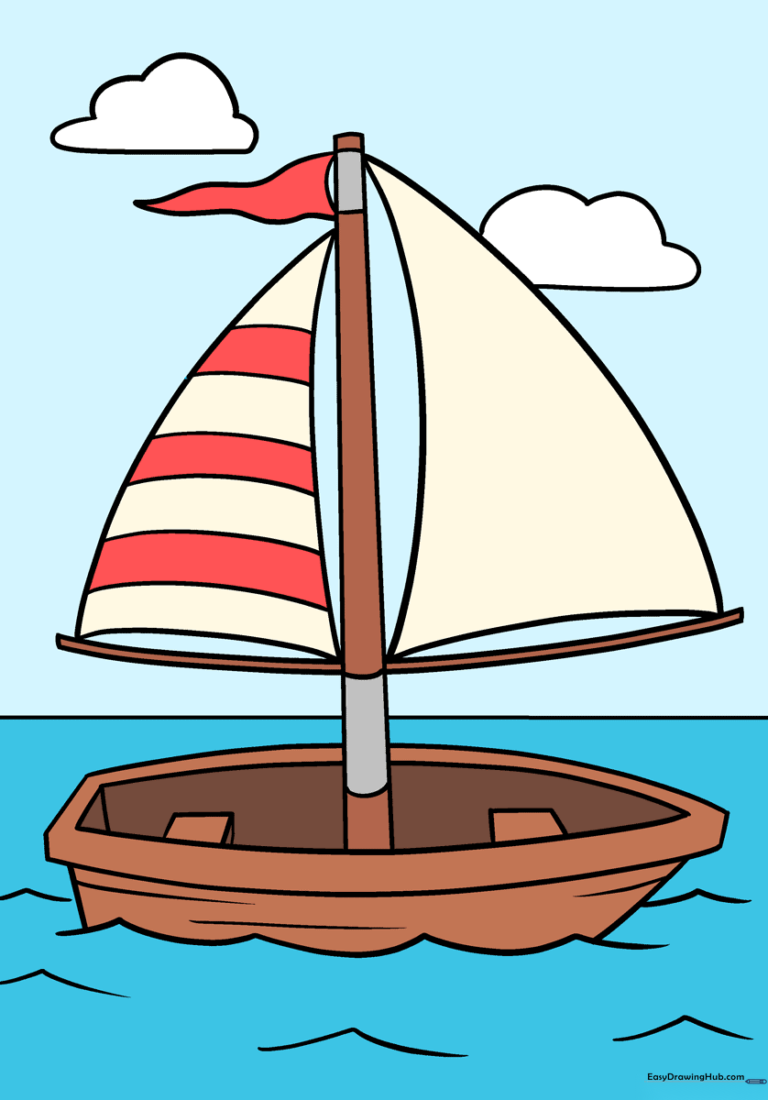
🎯 Final Result
Step-by-Step Instructions
Step 1: Sketching the Hull
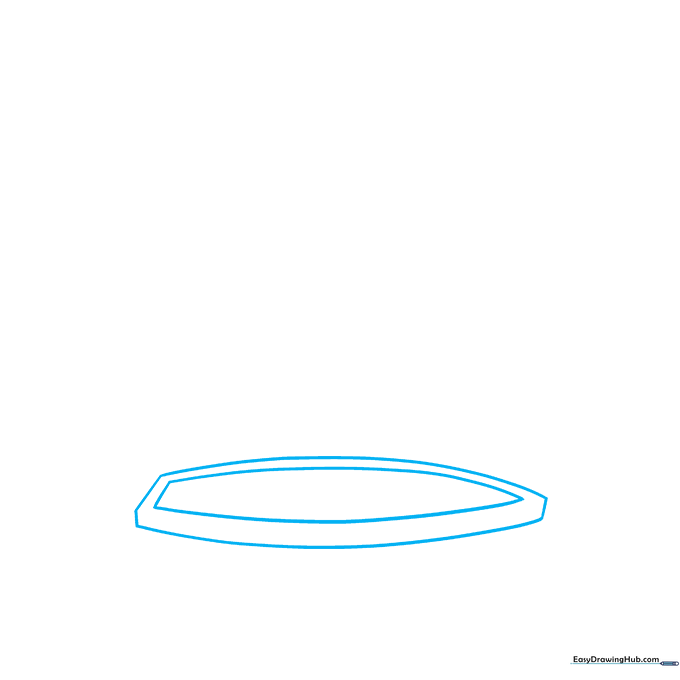
Draw the base of the boat by sketching a flattened teardrop shape. Tip: Keep your pencil pressure light so you can easily adjust the curves if they aren't perfectly symmetrical on the first try.
Step 2: Adding Wood Texture
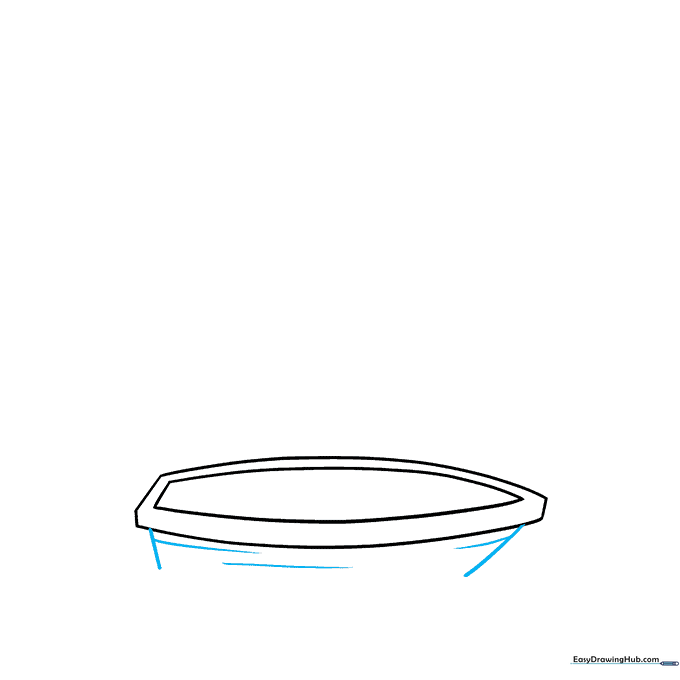
Extend two curved lines downward from the top of the hull. Add short, horizontal curved lines across the hull to mimic the look of wooden planks. Tip: Vary the spacing of these lines to make the wood look more natural.
Step 3: Creating the Waves
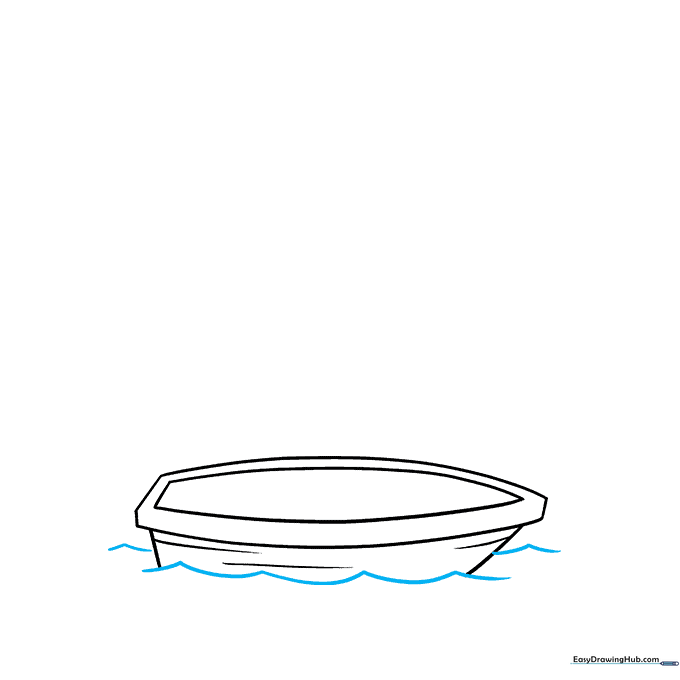
Draw a series of connected curved lines beneath the hull to create the appearance of splashing water. Tip: Make the waves at the front and back slightly larger to show the boat is moving through the water.
Step 4: Drawing the Horizon
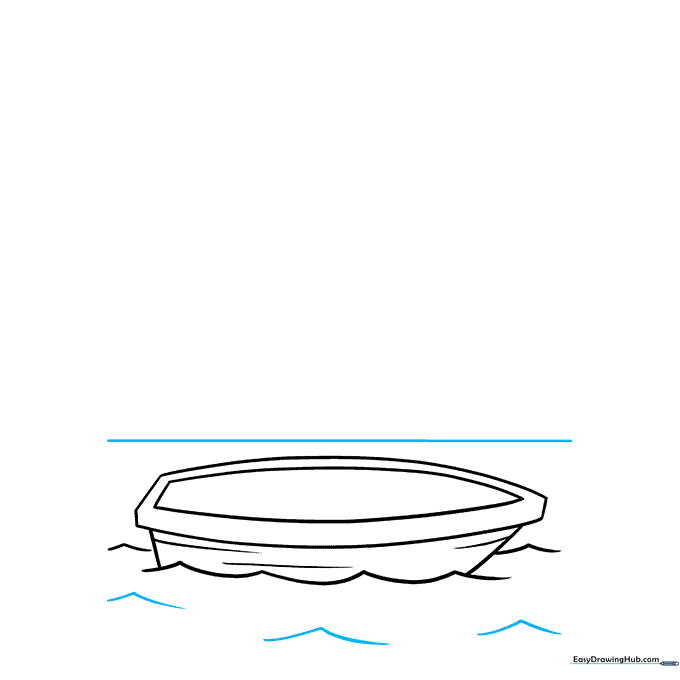
Draw a straight horizontal line above the boat to represent the horizon. Add a few more small waves near the boat to create depth. Tip: Use a ruler if you want the horizon line to be perfectly straight.
Step 5: Constructing the Mast
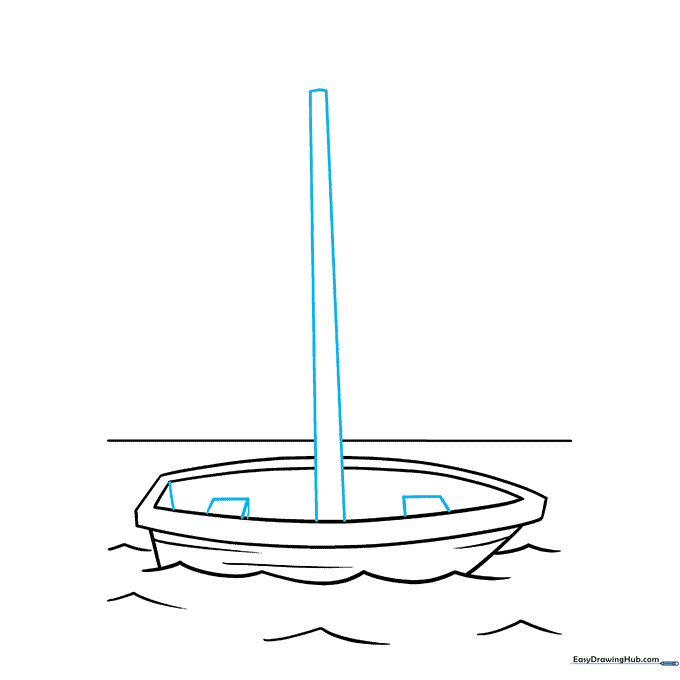
Draw two vertical lines in the center of the boat and connect them at the top. Erase the line between them to create the mast. Add rectangular shapes inside the hull for seats. Tip: Ensure your mast is perfectly vertical to keep the boat looking balanced.
Step 6: Adding Depth
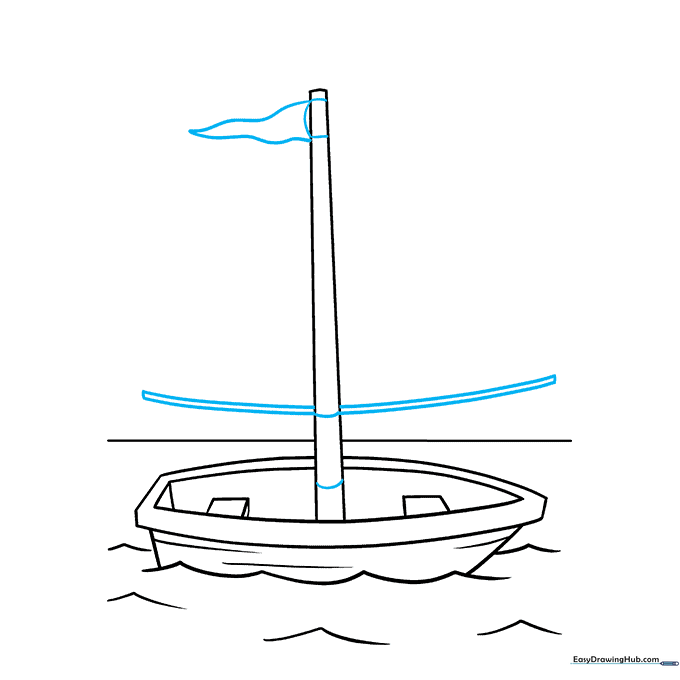
Draw a diagonal line from the back corner of the hull to give the boat a 3D perspective. Tip: This small detail makes the drawing look much more professional and realistic.
Step 7: First Sail
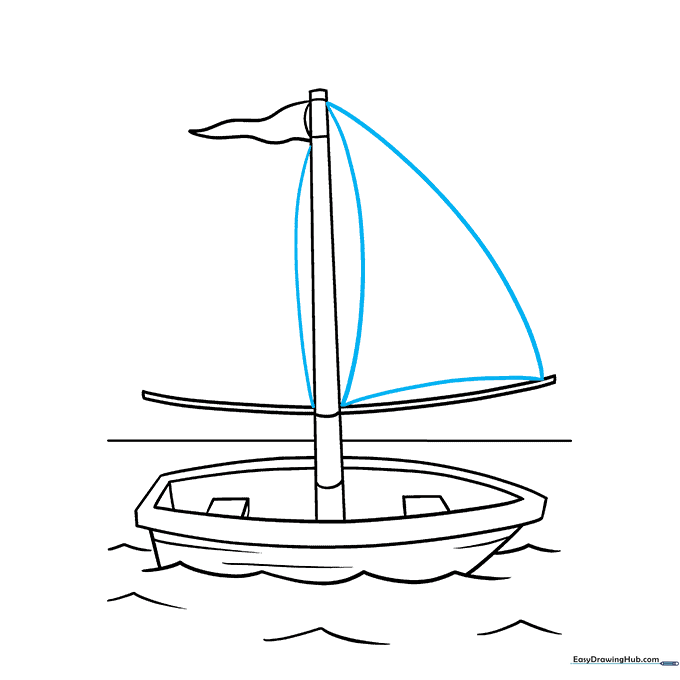
Use long, sweeping curved lines to enclose a large triangular sail attached to the mast. Tip: Imagine the wind blowing the sail to help you decide how much curve to add to the lines.
Step 8: Second Sail and Details
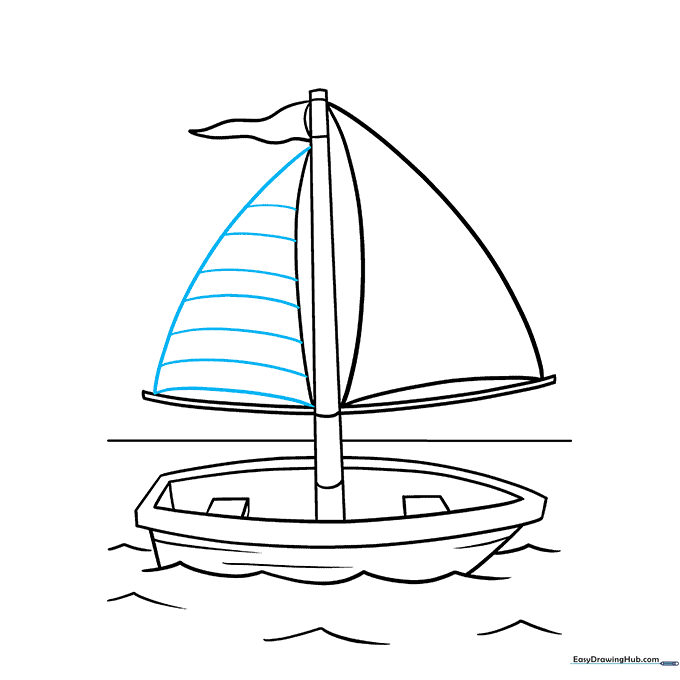
Draw a second, smaller triangular sail. Add horizontal curved lines across both sails to represent the fabric folds. Tip: Keep these lines parallel to each other for a clean, tidy look.
Step 9: Adding Clouds
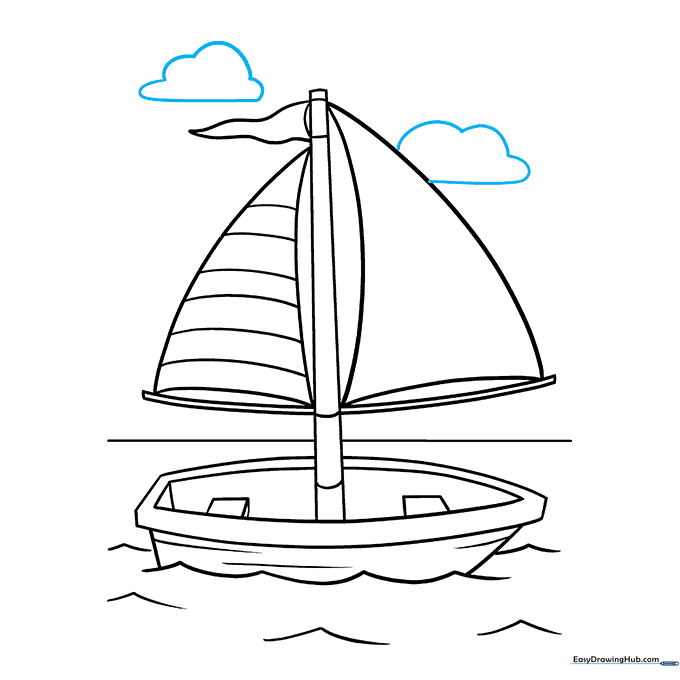
Fill the empty sky with fluffy, rounded cumulus clouds using soft, scalloped lines. Tip: Don't make the clouds too uniform; variety in size makes the sky look more natural.
Step 10: Coloring Your Masterpiece
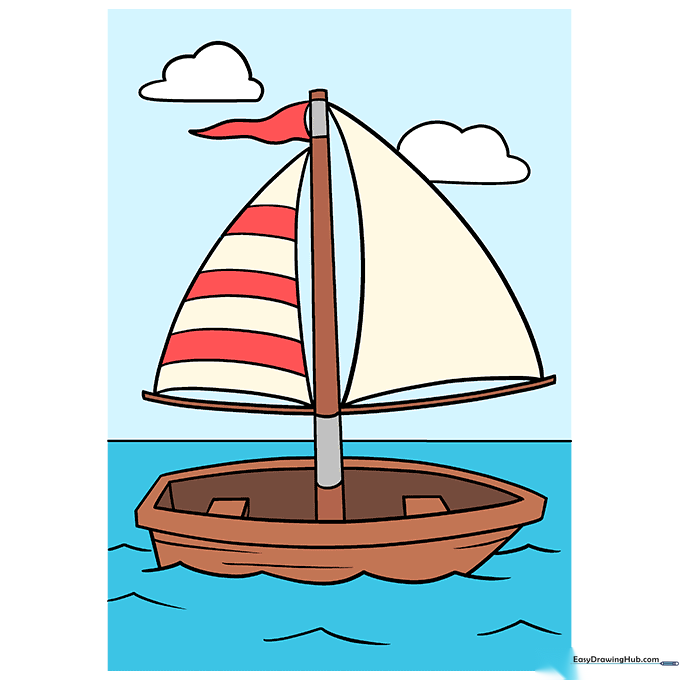
Time to bring your boat to life! Use brown for the wooden hull and choose bright, bold colors for your sails. Tip: Use light blue for the water and leave some white space to show the reflection of the sun.
More Tutorials


