How to Draw a Blood Donor Day Poster: Easy 10-Step Guide
Celebrate the life-saving impact of blood donation with this beginner-friendly poster tutorial. Designed for ages 7+, this project requires only paper, a pencil, and your favorite markers. Follow along to build confidence in drawing human anatomy and symbolic shapes while creating a powerful visual message.
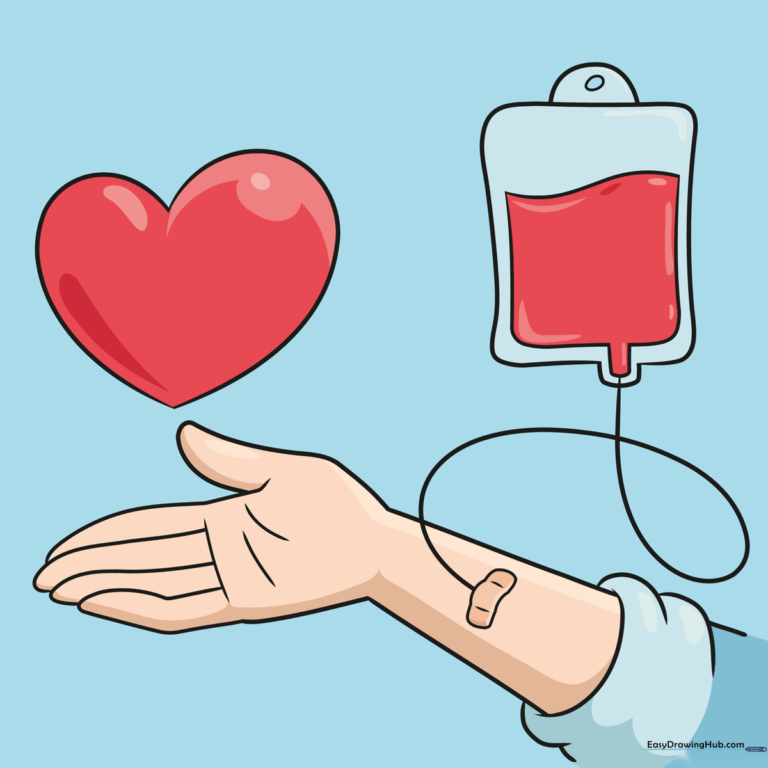
🎯 Final Result
Step-by-Step Instructions
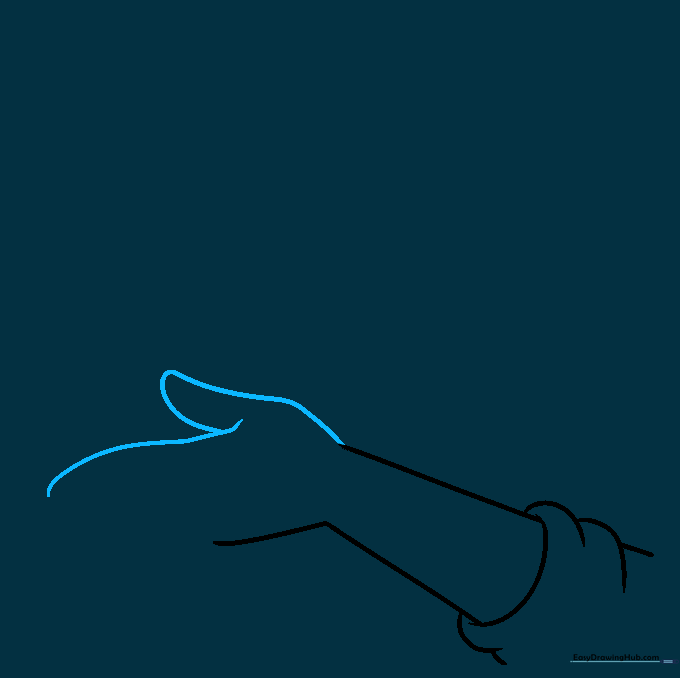
Step 1: Sketching the Rolled Sleeve

Draw two sets of curves to represent the fabric of a rolled-up sleeve. Teacher's Tip: Keep your pencil lines light and loose; if the sleeve looks too big, it will crowd your hand, so start small near the upper-middle of your page.
Step 2: Outlining the Arm

Extend two lines from the sleeve to form the forearm, stopping near the center of your paper. Connect the lower line to a curved shape for the back of the hand. Teacher's Tip: Use a ruler if you struggle with straight lines, but keep the hand curve soft and rounded.
Step 3: Drawing the Thumb
Add a simple curve to create the thumb. Teacher's Tip: Think of the thumb as a small 'C' shape. Placing it in the lower half of your paper ensures you have plenty of room above for the blood bag and heart later.
Step 4: Adding Fingers

Draw two parallel lines for each finger, capping them with rounded ends. Teacher's Tip: Keep the fingers slightly separated to make them look natural rather than clumped together.
Step 5: Defining the Palm
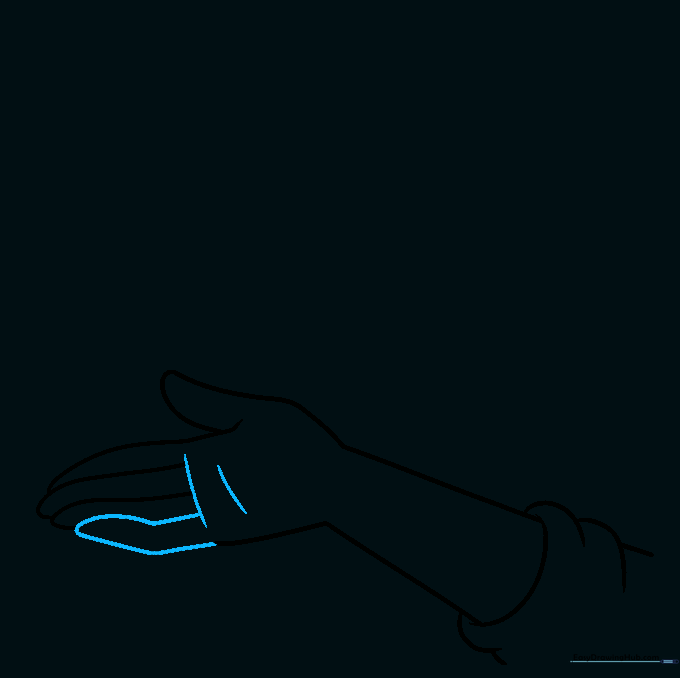
Add two diagonal lines across the palm to create depth. Teacher's Tip: Don't draw the lines all the way across; stopping them short makes the hand look more three-dimensional. Add an L-shape for the pinky finger to finish the hand structure.
Step 6: Drawing the Medical Tubing
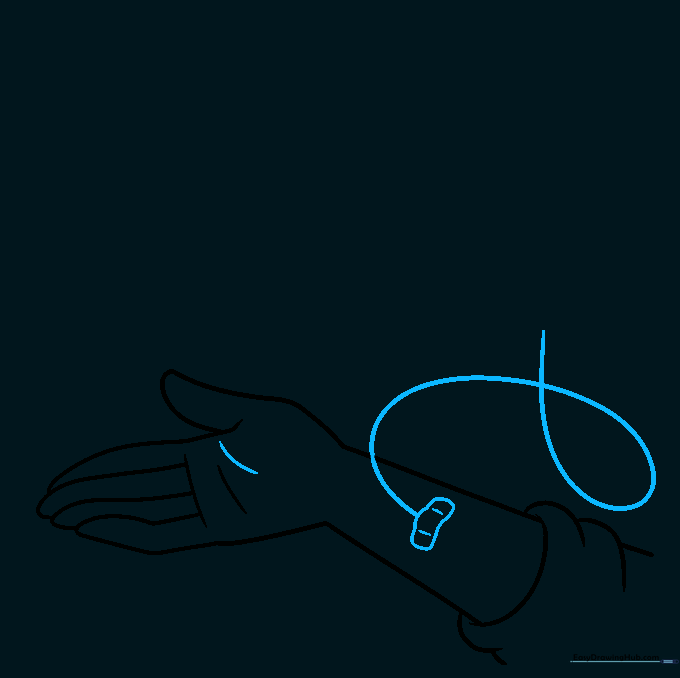
Draw a bandaid on the arm, then sketch a curvy, coily line leading away from it. Teacher's Tip: Make the bandaid look 'puckered' by adding a small curve in the middle. Keep the tubing line loose and flowing.
Step 7: The Blood Bag Base
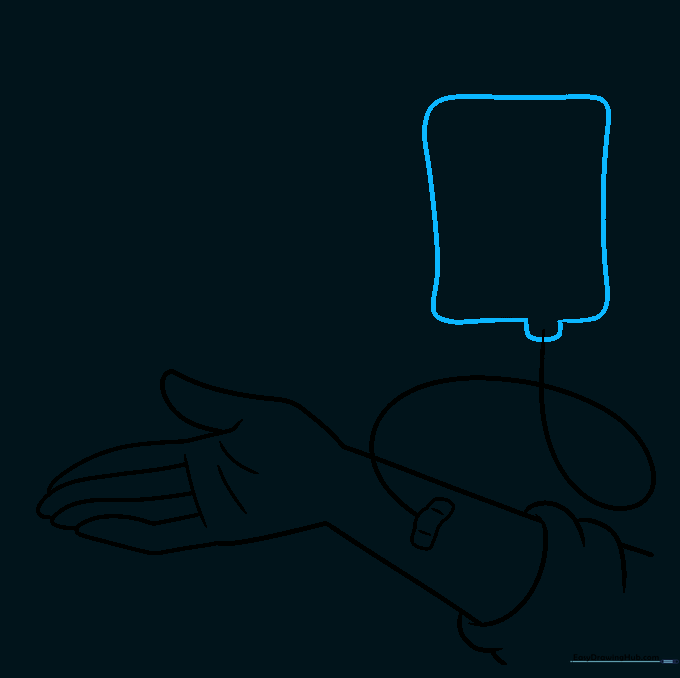
Sketch a rectangle with rounded corners for the blood bag. Add a small cylinder at the top where the tube connects. Teacher's Tip: Use a light touch with your pencil so you can easily erase any overlapping lines later.
Step 8: Adding Bag Detail
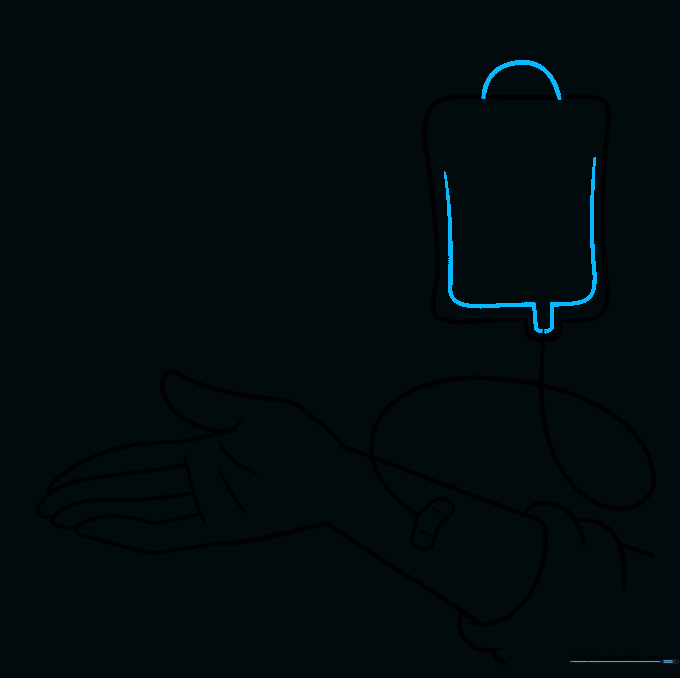
Trace an inner border inside the rectangle to give the bag volume. Add a small semicircle on top. Teacher's Tip: Make one side of the inner border slightly higher to create a realistic 'full' look.
Step 9: Filling the Bag and Adding a Heart
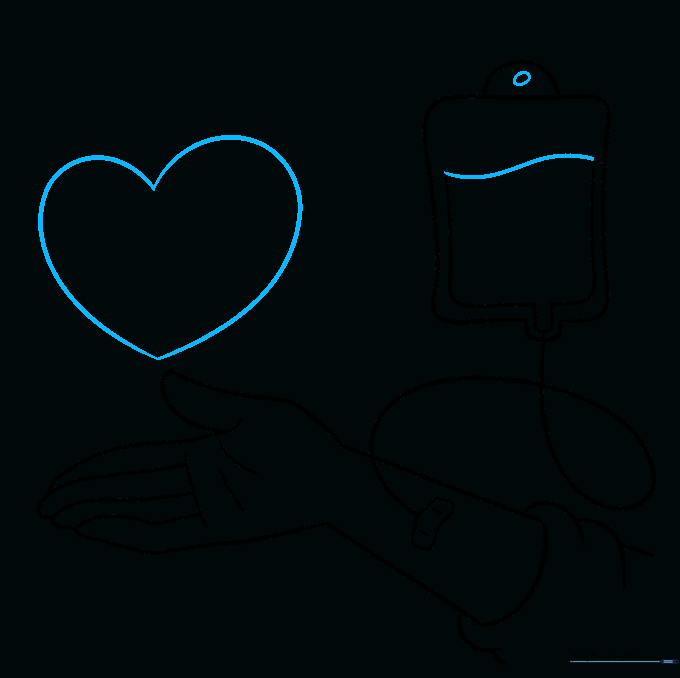
Connect the inner lines with a wavy line to show the liquid level. Add a circle to the top tab for hanging. Finally, draw a large, plump heart in the empty space. Teacher's Tip: Use big, sweeping motions for the heart to make it the focal point of your poster.
Step 10: Final Touches and Coloring
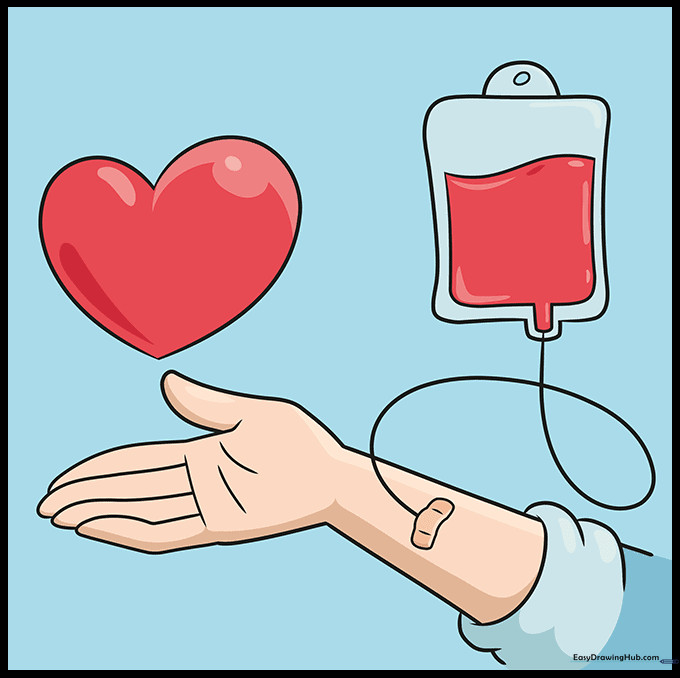
Review your lines, erase any stray marks, and prepare to color! Use bright reds for the blood and heart to make your message pop. Teacher's Tip: Use a darker red for the edges of the heart to add a professional-looking shadow.
More Tutorials


