How to Draw a Blizzard: Easy Winter Scene Tutorial
Capture the magic of a winter storm with this fun, step-by-step drawing project. Designed for young artists, this tutorial uses basic shapes to build a snowy scene featuring a snowman, a cozy house, and swirling winds. Grab your pencil and eraser to bring this chilly landscape to life.
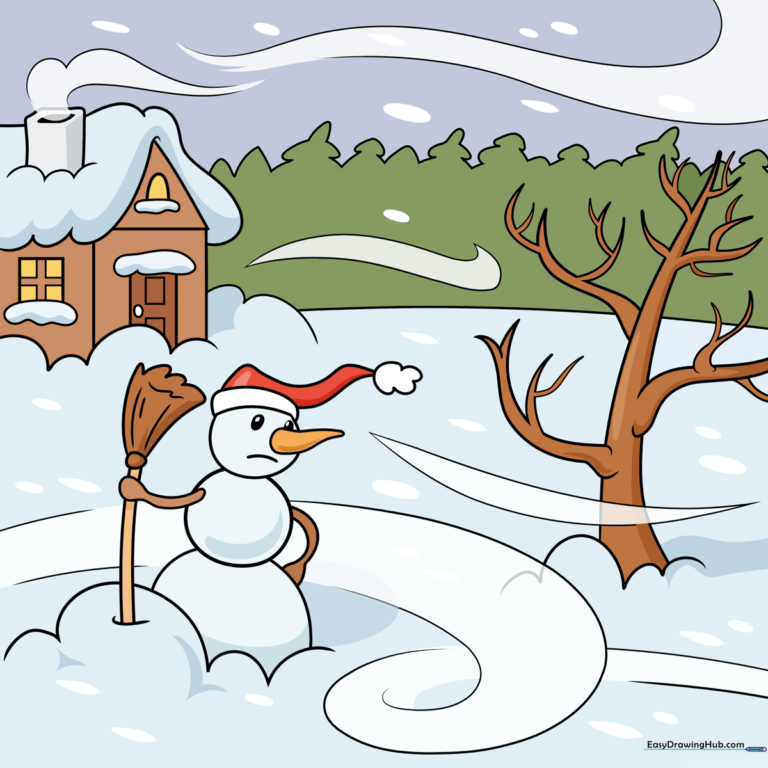
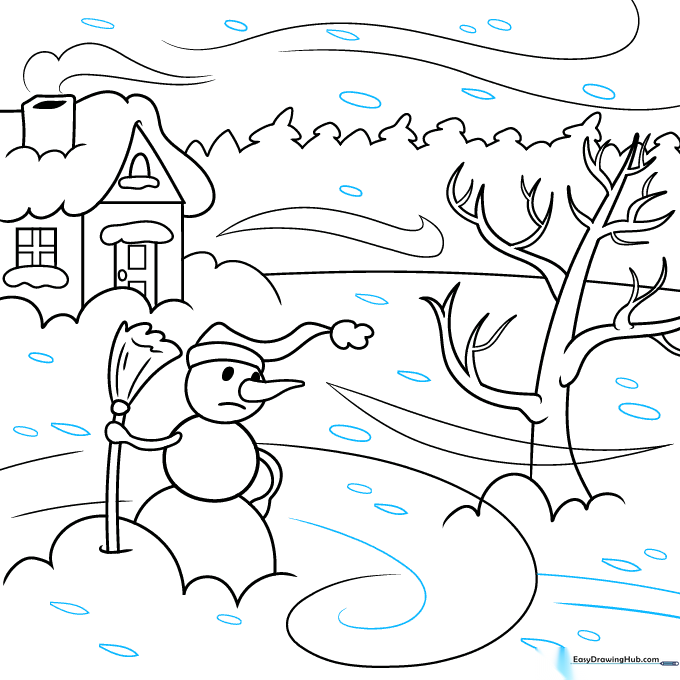
🎯 Final Result
Step-by-Step Instructions
Step 1: Sketching the Snowdrift Base

Start by drawing the base of your snowdrift using soft, connected curved lines. Add a circle for the snowman's body and a smaller one for the head. Teacher's Tip: Keep your pencil strokes light—you'll want to erase the overlapping lines later to make the snowman look like he's sitting in the snow.
Step 2: Adding Snowman Details
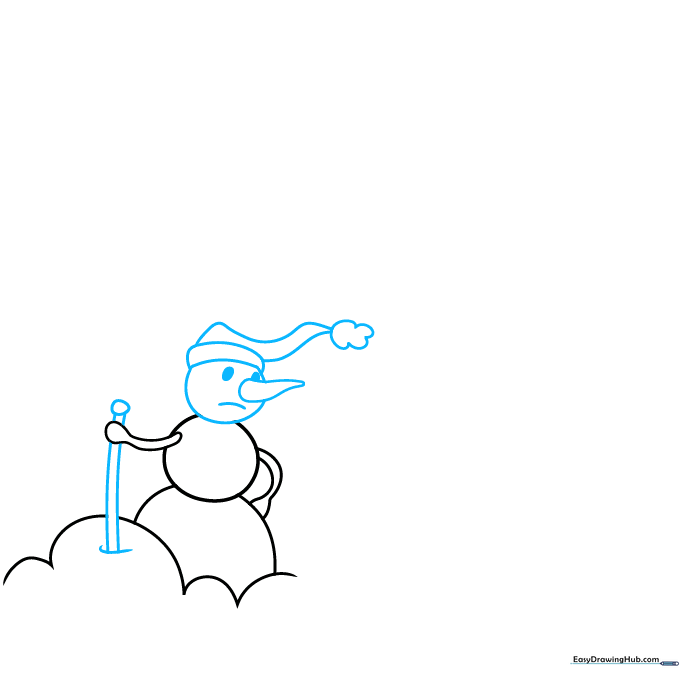
Draw parallel lines for the snowman's arms, adding a small circle for the hand. On the face, add two shaded ovals for eyes, a triangle for the carrot nose, and a curved line for a smile. Top it off with a cozy hat. Teacher's Tip: Use a sharp pencil for the facial features to make them pop against the snowy background.
Step 3: Sketching the Winter Tree
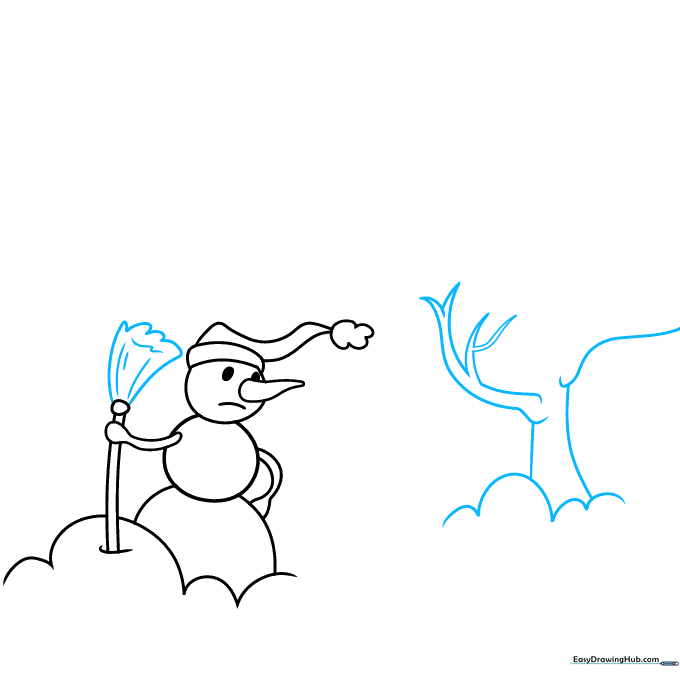
Use curved lines to texture the top of the snowman's broom. Next, draw a leafless tree nearby. Start with the trunk and add a snowdrift at its base. Teacher's Tip: Trees in winter look best with irregular, wobbly lines—don't worry about making them perfectly straight!
Step 4: Branching Out
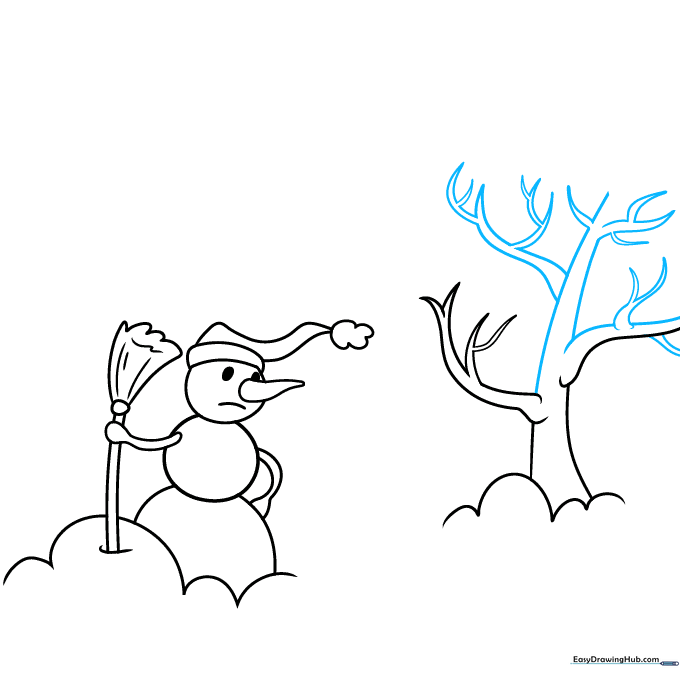
Continue adding smaller, thinner branches to your tree. Ensure the twigs meet at sharp points to mimic the look of bare wood in the cold. Teacher's Tip: Vary the length of your branches to make the tree look more natural and less like a cartoon.
Step 5: Building the Snowy House
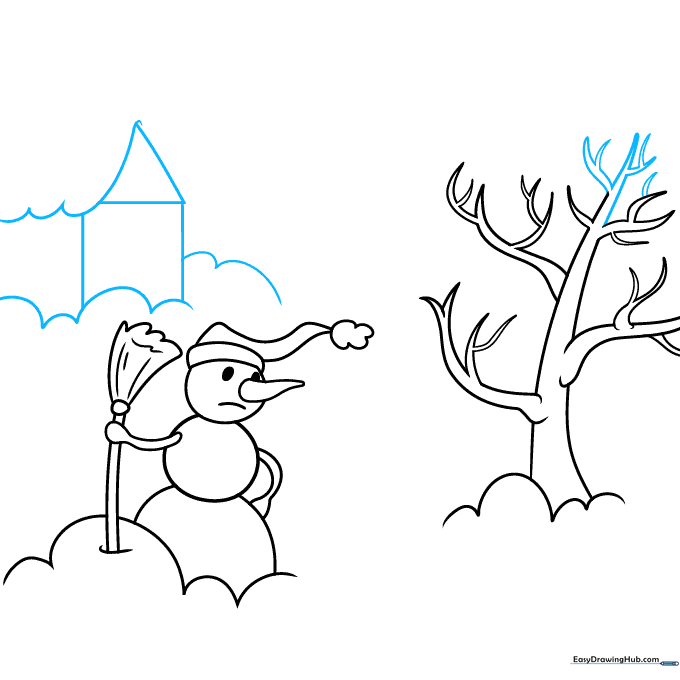
Draw a rectangular house with a triangular roof. Add curved lines along the roof and foundation to represent heavy snow accumulation. Teacher's Tip: Think of the snow as a blanket—it should look soft and rounded, not sharp or jagged.
Step 6: Adding Doors and Windows
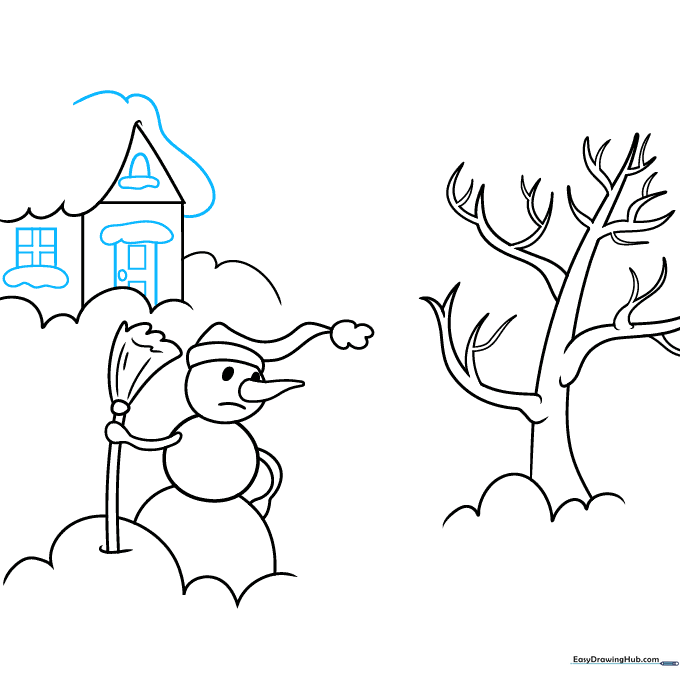
Use squares and rectangles to add windows and a door to your house. Add extra curved lines beneath the window sills to show where snow has piled up. Teacher's Tip: Keep the windows simple so they don't distract from the snowy atmosphere.
Step 7: Creating the Horizon
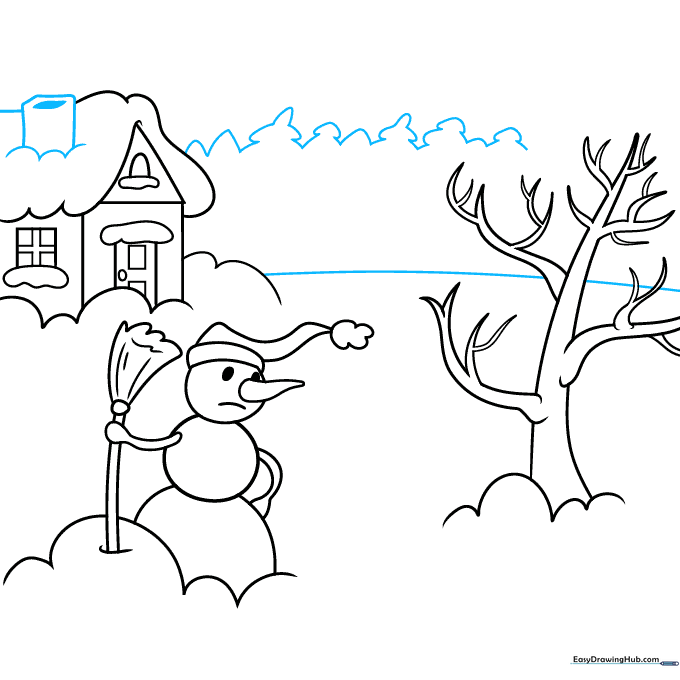
Draw a curved horizon line behind the house and tree. Add the tops of a pine forest in the distance. Don't forget the chimney with a parallelogram opening! Teacher's Tip: Use a lighter touch for the background trees to make them look further away.
Step 8: Drawing the Wind
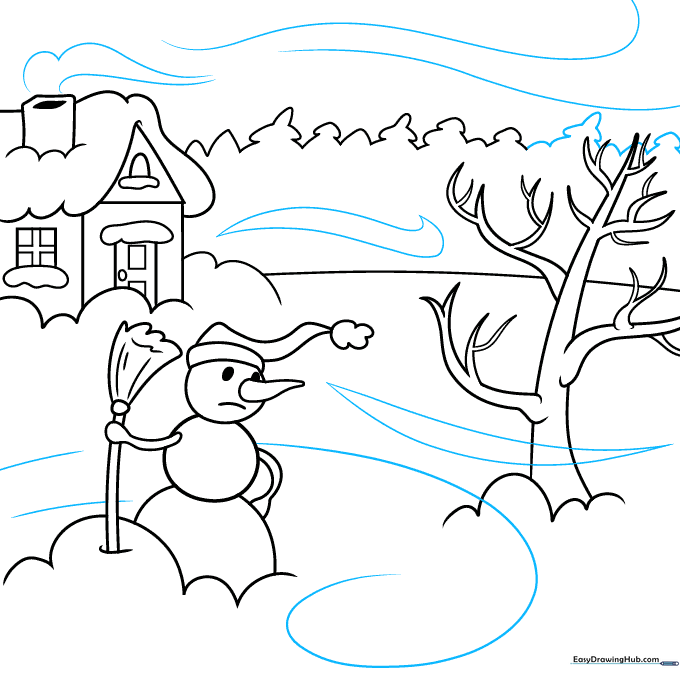
Use pairs of curved lines to show the wind blowing across the sky and around the objects. Some lines should spiral to show the intensity of the storm. Teacher's Tip: Vary the thickness of these lines to make the wind look like it's moving at different speeds.
Step 9: Adding Falling Snow
Fill the sky with small ovals to represent the falling snow. Teacher's Tip: Don't make them too uniform! Scatter them randomly so the snow looks natural and chaotic, just like a real blizzard.
Step 10: Bringing it to Life with Color

Now for the fun part! Color your scene. Keep the snow white, but use light blue or gray shading to create shadows and depth. Teacher's Tip: Use a light touch with your blue pencil—you want the snow to look cold, not dark.
More Tutorials


